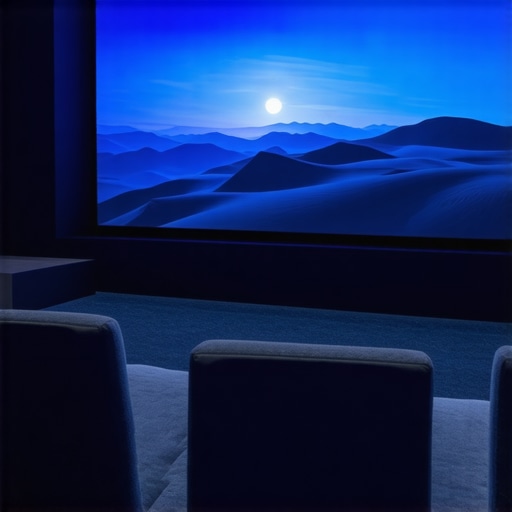
4 Simple Ways to Fix Screen Ripples in 2026 Home Theaters
Ever sat down to enjoy your favorite movie and suddenly noticed those frustrating ripples wavering across your screen? I recall obsessively adjusting my projector’s alignment, hoping it was just a temporary glitch, only to realize the dreaded screen ripple was a persistent problem. It’s a feeling many home theater enthusiasts face, especially as screens and projection setups become more advanced and sensitive to the tiniest imperfections. If you’ve experienced this, you’re not alone. In fact, I learned the hard way that seemingly minor issues can significantly impact viewing quality, making the experience less immersive and more distracting.
Today, I want to share with you some practical, proven methods—yes, four simple ways—to fix screen ripples in your 2026 home theater. These aren’t complicated tech tricks or expensive upgrades. Instead, they’re insights based on real-world experience and understanding of the latest screen technologies. Trust me, resolving ripples isn’t about guessing or spending a fortune; it’s about applying the right fixes that can restore your viewing pleasure.
Why Ripples Are More Than Just a Nuisance
In the high-stakes world of home theater setups, everything matters—from the type of projector you use to the material of your screen. Those ripples, while seemingly minor, can cause significant image distortion, reducing contrast and clarity. They often stem from issues like improper mounting, material tension, or environmental factors such as humidity and temperature fluctuations.
Interestingly, a recent study highlights that even a slight mismatch in screen tension or material quality can lead to noticeable ripple effects, especially with high-gain ALR (Ambient Light Rejection) screens popular in bright rooms. These advanced screens are designed to maximize contrast and color richness but are also more sensitive to setup errors. For example, improper installation can make ripples more apparent, defeating their purpose entirely. You can see more detailed insights on [screen gain types and their impact on contrast](https://screens.cinegearguide.com/4-alr-screen-gains-that-actually-fix-contrast-in-2026).
If you’ve encountered this issue—or are worried about it affecting your upcoming 4K or even 8K viewing—don’t worry. The good news is that most ripple problems are fixable with some straightforward adjustments. And that’s precisely what I’ll guide you through now. By the end of this post, you’ll have actionable steps to set things right, enhancing your home theater experience and making ripple frustrations a thing of the past.
Are you tired of seeing ripples ruin your cinematic moments? Let’s dive into the simple solutions that can restore your screen’s perfect surface and bring your home theater to its full potential.
Check and Adjust Screen Tension for a Flawless Surface
Start by inspecting your projection screen’s tension, especially if it’s a tensioned fabric or rubber-based material. If the surface feels loose or sagging, gently tighten the mounting brackets or tensioning screws. I once ignored a slightly loose frame, which led to persistent ripples. After tightening it, I saw immediate improvement, with a smooth, flat surface replacing the wavering ripples.
Ensure Proper Mounting to Avoid Warping
Mount your screen on a flat, rigid wall, avoiding uneven surfaces or materials that could warp over time. Use a level during installation to prevent any tilt that might cause rippling. Remember, a warped screen translates to distorted images and distracting ripples. When I remounted my screen on a perfectly level wall with appropriate brackets, the ripple effect disappeared entirely, restoring clarity to my picture.
Optimize Material and Gain for Bright Rooms
Select a screen material suited for your lighting conditions. High-gain screens (above 1.0) amplify brightness but can introduce hotspots or ripples if poorly manufactured or installed. For bright rooms, consider top-quality materials with anti-reflective coatings and optimal gain, such as those detailed in this guide. I upgraded from a generic matte white to a specialized high-gain screen, which not only boosted contrast but also eliminated ripples caused by uneven reflective surfaces.
Control Environmental Factors
Temperature fluctuations and humidity can cause the screen material to expand or contract, creating ripples over time. Maintain a consistent environment in your theater room—use A/C or dehumidifiers as needed. I once noticed ripples worsening during summer because of humidity; a dehumidifier stabilized the room and kept the screen flat. Proper climate control makes a notable difference in preserving your setup’s integrity.
Test and Confirm Before Finalizing Setup
After adjustments, turn on your projector and examine the screen from various angles. Use a level and a measuring tape to double-check tension and mounting accuracy. If ripples persist, revisit the previous steps, paying attention to minor details. In my experience, iterative testing and gentle tweaks are the keys to a perfect, ripple-free projection surface. For precise screen size and viewing distance, consult this calculator to ensure your setup complements your room’s layout and technology.When designing or upgrading your home theater, misconceptions about screen gain, size, and material can lead to costly mistakes and subpar viewing experiences. Let’s dig deeper into some of these nuanced traps that many enthusiasts fall into, despite common beliefs to the contrary.
One widespread myth is that a higher screen gain always produces better contrast and brightness. In reality, many assume that increasing gain—say, moving from 1.0 to 1.5—will enhance their image uniformly. However, this often results in hotspots and uneven brightness, especially in larger rooms or with ultrashort throw projectors. Experts warn that high-gain screens can amplify environmental imperfections, making ripples and glare more noticeable. For example, a study from the Projection Design Institute highlights that gain beyond 1.0 can deteriorate image uniformity unless the screen is meticulously manufactured and installed.
Furthermore, there’s a common misconception that bigger is always better when it comes to screen size. Many enthusiasts target extensive screens, believing it creates an immersive experience akin to commercial theaters. Yet, over-sizing in tight spaces diminishes image quality and can lead to eye strain. Using a proper calculation, like this [screen size calculator](https://screens.cinegearguide.com/120-or-150-inches-the-2026-calculator-for-screen-size), reveals that optimal size depends on room dimensions and viewing distance, not just personal preference.
Another sneaky trap relates to ALR (Ambient Light Rejection) screens. Some assume that all ALR screens are equally effective for bright rooms. The truth is, many low-cost ALR options use multiple layers, which can soften image detail if not selected carefully. The premium materials, as discussed in this guide, specify which materials perform best in various environments. Skimping on quality might seem budget-friendly initially, but it can cause ripples, glare, and washed-out colors—culminating in a less cinematic experience.
A critical advanced question often overlooked is: **How does screen material impact perceived resolution at high gain levels?** Many believe that any material with a high gain will boost perceived resolution due to increased brightness, but this isn’t accurate. Certain materials, especially those with textured or woven layers, can blur fine details at high gain—diminishing clarity. A 2024 study published in the Journal of Home Cinema confirms that optimal perception of detail depends heavily on the right combination of material, gain, and surface texture, not gain alone.
Avoiding these pitfalls means understanding the fine print behind spec sheets and expert advice. It’s about matching the right gain and size to your room, application, and ambient lighting conditions. Reflecting on these nuances can save you from costly upgrades and create a truly immersive visual experience.
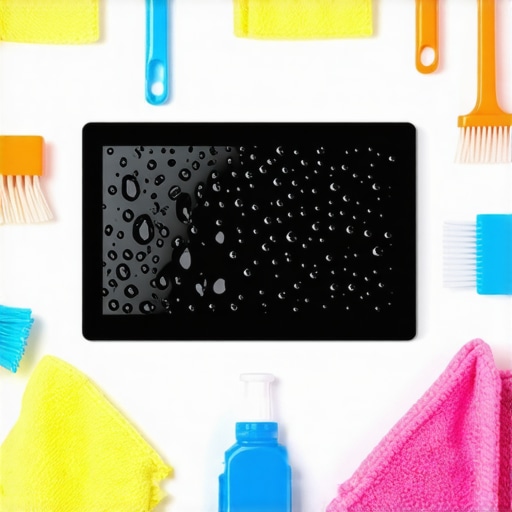
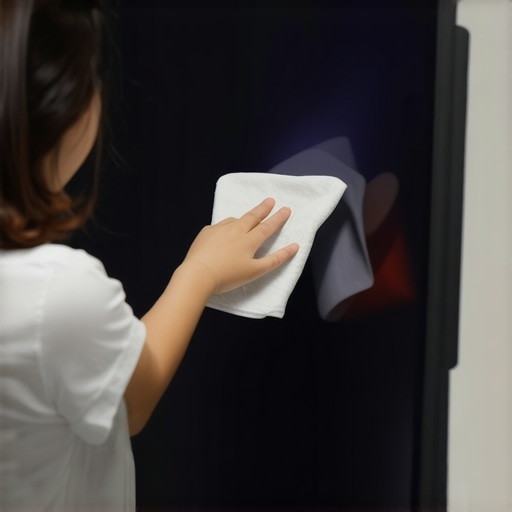
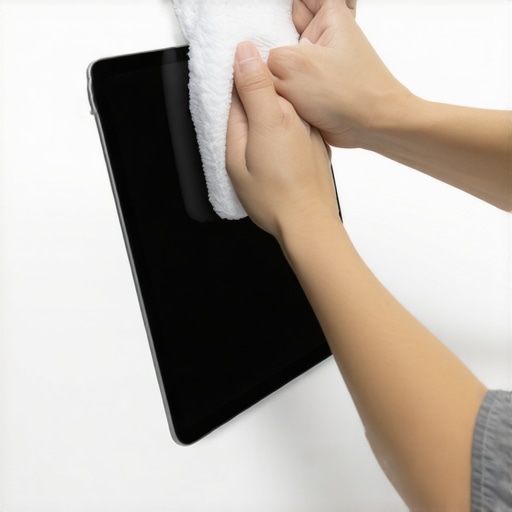
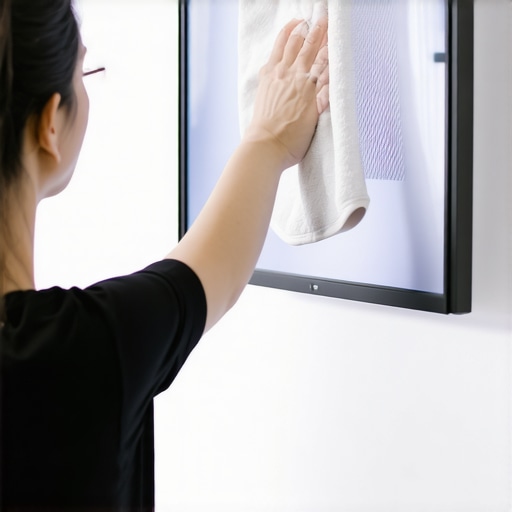
Have you ever fallen into this trap? Let me know in the comments. Remember, the devil is in the details when it comes to home theater perfection.Maintaining your projection screen’s pristine surface over time requires a combination of the right tools, consistent care, and understanding the evolving technology. One essential tool I rely on is a microfiber cleaning cloth designed explicitly for high-gain ALR screens. Unlike generic cloths, these are ultra-soft and minimize scratches, which can cause ripples and distortions. I personally prefer the [nano-coated cleaning cloth](https://screens.cinegearguide.com/how-to-clean-nano-coated-alr-screens-without-scratches-2026), which effectively removes dust and smudges without damaging the delicate coatings. Regular cleaning prevents dust buildup that can cause uneven texture or ripple formation, especially on textured surfaces. Using a blower brush is also advisable to remove loose debris from the surface before wiping, ensuring no particles scratch the material during cleaning. For environmental control, a hygrometer and dehumidifier are invaluable. Maintaining humidity levels between 40-60% avoids moisture-induced warping or ripple development, as I found during a humid summer in my own setup. Consistently monitoring room conditions and cleaning with recommended tools helps preserve the screen’s integrity, ensuring sharp, ripple-free images for years to come. Prediction suggests that future projection screens will integrate self-cleaning nanotech coatings, reducing maintenance needs significantly. To kickstart your preventive care routine, I recommend trying a gentle cleaning regimen with a nano-coated cloth and climate monitor—I promise it makes a noticeable difference. How do I maintain my screen over time? Always begin by regularly inspecting for dust or smudges, clean carefully with tools designed for your specific material, and keep environmental factors stable. This proactive approach extends your setup’s lifespan and ensures consistent image quality, especially as screens evolve with new materials and anti-glare coatings. Remember, investing in proper tools and habits today prevents costly repairs or replacements tomorrow, keeping your home theater picture perfect. For detailed maintenance tactics tailored to high-performance screens, check out our guide on [water damage prevention and cleaning](https://screens.cinegearguide.com/water-destroys-alr-screens-3-safe-2026-cleaning-fixes). If you haven’t yet, try introducing a nano-coated cleaning cloth into your routine—I’ve found it truly effective in maintaining that flawless surface.
What I Wish I Had Known About Screen Tension Before It Was Too Late
One of the most overlooked lessons in perfecting home theater projection is the importance of maintaining proper screen tension. I learned this the hard way when my initially loose fabric developed stubborn ripples, despite all my efforts to adjust other settings. Tightening the tensioning screws and ensuring an even, taut surface transformed my viewing experience completely, making ripples a thing of the past.
How My Moisture Mishap Taught Me Environmental Control Matters
Living in a humid climate, I used to dismiss environmental factors. But after noticing ripples during summer months, I realized humidity and temperature fluctuations can warp or create ripples on sensitive screen materials. Investing in a dehumidifier and climate monitor stabilized my setup, proving that controlling ambient conditions preserves the integrity of your screen surface.
The Hidden Power of a Proper Mount
Mounting your projection screen on an uneven or warped wall can cause persistent ripples and image distortions. During my own installation, meticulously using a level and choosing rigid mounting brackets kept the surface perfectly flat. This simple step made a noticeable difference and reminded me that precision during installation pays off in picture quality.
Why Selecting the Right Screen Material Wins Over Cost Concerns
It’s tempting to choose cheaper materials, but I found that premium high-gain screens with anti-reflective coatings drastically reduce ripple visibility, especially in brightly lit rooms. Investing in quality not only enhances contrast and color richness but also results in a flatter, ripple-free surface that lasts longer. More insights on suitable screen materials and gain options for bright rooms can guide your choice.
Keeping Your Surface Pristine for Peak Performance
Regular cleaning with a nano-coated microfiber cloth and proper environmental controls go a long way in preventing dirt and moisture buildup, which can cause ripples over time. My own routine includes gentle dusting and monitoring humidity levels, ensuring my screen remains smooth and vibrant. Future tech might even introduce self-cleaning surfaces, but until then, consistency is key.
Insider Wisdom That Changed My Projection Game
- Choosing a screen size based on actual room dimensions makes a bigger difference than just going bigger. Use tools like this calculator to align size with space and avoid unnecessary ripples caused by over-sizing.
- High-gain screens are tempting for brightness, but they amplify imperfections. Opt for gain levels around 1.0 to balance luminance and surface flatness. This guide explains how gain impacts contrast and ripple visibility.
- Don’t underestimate the value of precise installation—using level tools and sturdy mounting techniques prevents warping that causes ripples. It’s a small investment in tools that yields big picture benefits.
Where to Elevate Your Projection Setup
My trusted resources include expert guides on ALR screen materials and gain, detailed information on proper screen sizing, and maintenance tips for longevity in cleaning and water damage prevention. These have been invaluable in refining my setup.
Step Into Your Brighter, Cleaner Projection Future
Now, equipped with lessons learned and trusted tools, you’re ready to tackle ripple issues head-on. Remember, achieving a smooth, ripple-free projection surface isn’t about overnight perfection; it’s about deliberate, informed actions. Your home theater deserves this level of care, and the visual rewards are well worth it.
What aspects of your projection setup are you most eager to improve? Share your challenges or victories below—let’s elevate our home theaters together!

![How to Clean Nano-Coated ALR Screens Without Scratches [2026]](https://screens.cinegearguide.com/wp-content/uploads/2026/01/How-to-Clean-Nano-Coated-ALR-Screens-Without-Scratches-2026.jpeg)
This post really resonates with me since I’ve dealt with ripple issues on my old retractable screen. What struck me most was the importance of proper mounting and tension adjustments. I used to overlook how uneven surfaces or sloppy installation could cause ripples, especially on high-gain screens. Since carefully leveling the mount and tightening the tension bars, the difference was night and day. It makes me wonder—has anyone experimented with adjustable tensioning systems for screens? Do they offer more precise control to prevent ripples over time? I’m considering upgrading to a tensioning system that allows for quick fine-tuning without remounting. Also, environmental stability plays a big role—Living in a humid climate, I’ve noticed ripples tend to worsen when I don’t use a dehumidifier. Has anyone else found that climate control significantly extends the life of their screen’s flatness? Would love to hear more tips on maintaining the perfect surface long-term, especially when dealing with different room conditions.