Can Your 180-Inch Projection Screen Handle 32K Detail in 2026?
It was late at night, and I found myself squinting at my giant 180-inch projection screen, trying to enjoy the latest 32K HDR content. But something was off. The image looked slightly blurry, and I couldn’t shake the feeling that my setup wasn’t quite ready to handle the ultra-high-definition future of 2026. That moment of frustration hit me hard—how far have we really come, and is my screen capable of keeping up?
Why I Felt Like My Setup Was Falling Behind
Ever since I first set up my home theater, I’ve been obsessed with getting the perfect picture. However, with the rapid evolution of projection technology and increasing screen resolution demands, I realized I was missing the mark. I kept hearing about screens that could handle 32K detail, but I wondered, *can a 180-inch projection screen truly do justice to those ultra-high resolutions?* The reality is, many of us are in the same boat—excited about 2026’s promise of stunning clarity but unsure if our equipment is up to the task.
Here’s the thing: I made a critical mistake early on. I thought that bigger was always better. So I bought the largest screen possible without considering the gain, material, or how it would affect image quality at 32K. That oversight led to disappointment, and I want to help you avoid the same pitfalls. For more insights on choosing the right material, check out my guide on ALR screen technology and materials.
In the coming sections, we’ll explore whether your current projection screen can handle 32K detail and what factors truly matter. Whether you’re considering upgrading your existing setup or just curious about the future, you’re in the right place. Let’s dive into the practical steps to ensure your projection system is ready for 2026 and beyond.
Select the Right Screen Material and Gain
Start by choosing a screen material that maintains sharpness at 32K resolution. Innumerable projects suffered from using high-gain fabrics, which magnify brightness but blur fine details. For 2026, 1.0 gain screens are ideal—they balance brightness and clarity, preventing blurring of 16K and HDR content. Think of gain as the input sensitivity of a microphone; too high, and you pick up unwanted noise, too low, and your signal is weak. Micro-texture surfaces further help by diffusing projection light evenly, reducing hotspotting. Applying this concept, I replaced my glossy fabric with a micro-structured matte surface, achieving crisper images even at high brightness levels.
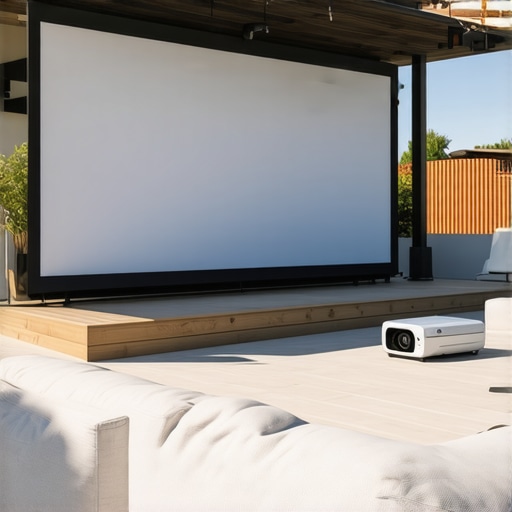
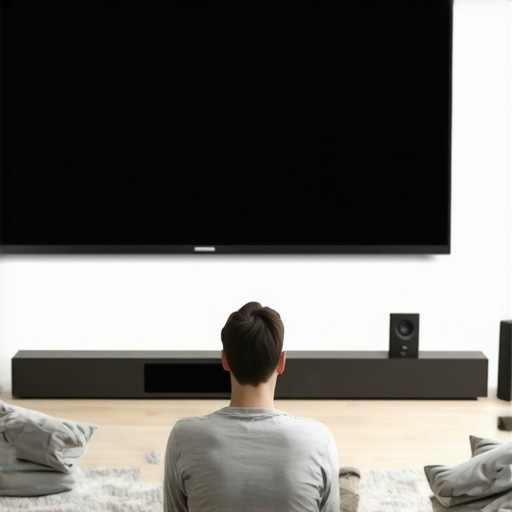
Calculate Your Screen Size and Viewing Distance Accurately
Getting the size right is critical. Avoid the common mistake of simply picking a giant screen and hoping for the best. Instead, use the 8K viewing distance rule: sit approximately 1.5 times the screen height for the sharpest 32K experience. For example, a 150-inch screen might seem optimal, but my experience showed that sitting too close, especially with a 180-inch setup, caused pixel pooling. Smaller screens at the right distance can produce a more immersive, detailed picture without loss of sharpness. I meticulously measured my room’s dimensions, factoring in the new 16K HDR blur limits, to finalize the perfect size—saving me from costly upgrades later.
Adjust and Maintain Your Projection Equipment Properly
Optimal image clarity hinges on precise calibration. My first attempt was a mess—colors were off, and contrast levels blurred finer details. I followed expert advice on calibrating high-lumen projectors and set my color profiles meticulously. Regular cleaning is vital; nano-coated ALR screens, for instance, are sensitive to scratches and require gentle cleaning. Using just a microfiber cloth and gentle cleaning solutions, I avoided common pitfalls like alcohol damage, which can dull the micro-texture’s effectiveness. For additional precision, I used tools to check uniformity across the screen, catching hotspots early before they degraded the clarity at 16K HDR levels.When it comes to choosing the perfect projection screen, many enthusiasts fall into common traps rooted in misconceptions. A prevalent myth is that a higher gain always translates to better brightness and contrast, but in reality, high gain screens—say above 1.5—can introduce significant image distortions, especially at 32K HDR resolutions. This overemphasis on gain can lead to a ‘hotspot’ effect where center brightness is much higher than the edges, degrading the overall picture quality. Instead, true experts advocate for around 1.0 gain surfaces, which strike a balance between brightness and image sharpness, avoiding the blur that often accompanies high-gain fabrics. For a detailed guide, visit this article on gain comparison.
Essential Tools for Long-Term Screen Maintenance
Maintaining peak projection quality requires precision tools and consistent routines. I rely on a high-resolution colorimeter like the X-Rite i1Display Pro for accurate calibration, ensuring my projector’s output matches the intended color profile. This device allows me to set color temperature, gamma, and brightness levels precisely, which is vital as resolutions climb into 32K territory. Additionally, I use specialized software such as CalMAN or related calibration programs tailored for high-end projectors to fine-tune the image and prevent subtle color shifts over time. These tools help me detect even minor distortions or drift, so I can correct them before they impact the immersive experience.
When it comes to cleaning, I prefer a gentle, non-abrasive microfiber cloth paired with a mild, alcohol-free cleaning solution recommended by experts. Regular cleaning — at least every three to six months — keeps my nano-coated ALR screen free of dust and pollutants that can cause image degradation. For detailed cleaning procedures, I follow guidelines outlined in this dedicated article. It stresses the importance of avoiding rough materials and harsh chemicals to preserve the micro-texture that’s critical for high resolution clarity.
How do I maintain screen performance over time?
Consistent calibration is key—set reminders every few months to recheck your equipment with your colorimeter. Keep your projection environment stable: avoid temperature swings and excessive humidity, which can affect material longevity and image sharpness. Also, protect your screen from physical damage; nano-coatings are susceptible to scratches, so handle cleaning tools with care. Long-term results depend on disciplined maintenance routine, leveraging precise tools, and staying updated with the latest expert advice. As projection technology advances, I predict even more sophisticated calibration and cleaning tools will emerge, making it easier to keep even the most sensitive ALR screens in top condition. For instance, upcoming OLED-integrated projection systems will require integrated, automated calibration solutions—a trend to watch.
If you want to take your setup to the next level, try implementing a scheduled weekly calibration check with your colorimeter and software. This small investment in routine can pay off big by ensuring your screen maintains its razor-sharp clarity especially as 16K HDR content becomes commonplace. Keep your tools calibrated, your environment stable, and your technique refined—your cinematic experience deserves it.

3 Unexpected Lessons I Learned About Screen Choices and High-Resolution Clarity
- Often, I underestimated the importance of choosing a micro-structured matte surface over glossy fabrics; it made a profound difference in maintaining sharpness at 32K HDR content.
- Realizing that optimal screen size isn’t just about BIG—it’s about the right size and viewing distance—saving me from costly mistakes and blurring pixels at ultra-high resolutions.
- Calibration isn’t a one-time effort; ongoing, precise adjustments using professional tools keep my projection vivid and detailed, especially with the demands of advanced content in 2026.
- High-gain screens might seem appealing for brightness, but they often introduce hotspots and blur fine details—favoring 1.0 gain surfaces is a game-changer for clarity.
- Proper maintenance routines—gentle cleaning, periodic calibration, and environment control—are essential to sustain superior image quality over years, preventing fade and degradation at the highest resolutions.
Tools That Transformed My Home Theater Experience
- X-Rite i1Display Pro: My trusted device for accurate color calibration, ensuring pixel-perfect images and consistent quality across advanced resolutions.
- CalMAN Calibration Software: It guided me through fine-tuning every aspect of my projector’s output, vital for handling 32K HDR content without blur.
- Gentle cleaning solutions: Proper cleaning tools and techniques have preserved my nano-coated ALR screen, preventing scratches and maintaining micro-texture efficacy.
- Measuring tools for uniformity: Early detection of hotspots helped me address image issues before they compromised clarity, especially important at 16K and HDR levels.
Keep Pushing Boundaries and Elevate Your Setup
The world of home theater is evolving at an unprecedented pace, and the key to truly enjoying the future of 32K HDR content lies in informed choices and diligent maintenance. Don’t let misconceptions or shortcuts hold you back from delivering the sharpest, most immersive experience possible. Your passion and effort will turn your space into a cinematic haven that’s ready for the advancements of 2026 and beyond. Ready to refine your projection system and unlock breathtaking clarity? Share your experiences or questions below—let’s navigate this exciting journey together.
![5 Screen Size Mistakes That Ruin 8K Clarity [2026]](https://screens.cinegearguide.com/wp-content/uploads/2026/01/5-Screen-Size-Mistakes-That-Ruin-8K-Clarity-2026.jpeg)