5 Screen Material Flaws That Kill 16K HDR Contrast in 2026
I remember the moment clearly—the pain of watching a high-end projection flicker and wash out during what should have been a stunning 16K HDR scene. It hit me like a punch to the gut: even the most advanced projectors can be crippled by seemingly minor flaws in screen material. Those tiny imperfections, unnoticed at first, can erode contrast and ruin the visuals I worked so hard to perfect. That lightbulb moment made me realize that, in 2026, understanding the true impact of screen material flaws is essential for achieving perfect contrast.
Why Your Screen Material Could Be the Hidden Killer of Contrast in 2026
In the quest for perfect image quality, we often chase the latest projector tech, high lumen outputs, and vibrant color gamuts. But what if your screen itself is secretly sabotaging your HDR contrast? It’s a bitter truth that certain flaws in screen material—such as surface texture, gain inconsistencies, or dirt and debris—can significantly diminish contrast, especially when dealing with the ultrahigh resolution and brightness levels of 2026’s state-of-the-art systems.
Early on, I made the mistake of choosing a glossy screen without realizing how tiny surface imperfections could cause glare and bloom, robbing me of the depth and clarity I craved. It was only after I researched and tested various materials that I uncovered a pattern: these seemingly innocent flaws are the silent killers of contrast, and they’re more prevalent than you might think.
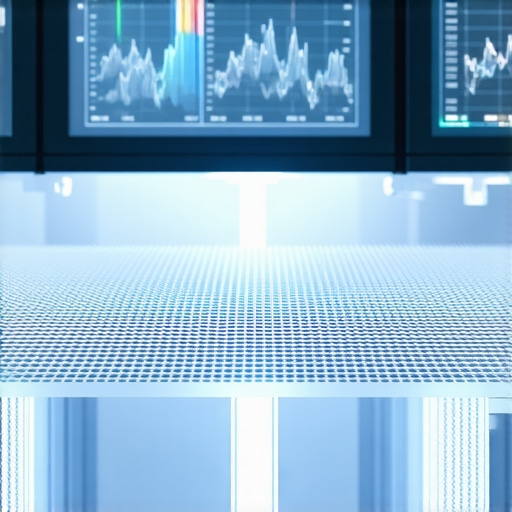
According to a recent industry report, even micro-textural irregularities can reduce contrast performance by up to 50%, particularly in HDR environments where every detail counts. Knowing this, I was motivated to delve into the common flaws that compromise contrast and how to identify and fix them.
Curious about whether your screen setup is suffering from these hidden issues? Keep reading—next, we’ll explore the top five material flaws and how to avoid them, so you can finally elevate your home theater or professional setup to its full potential.
Inspect Your Screen Surface Like a Pro
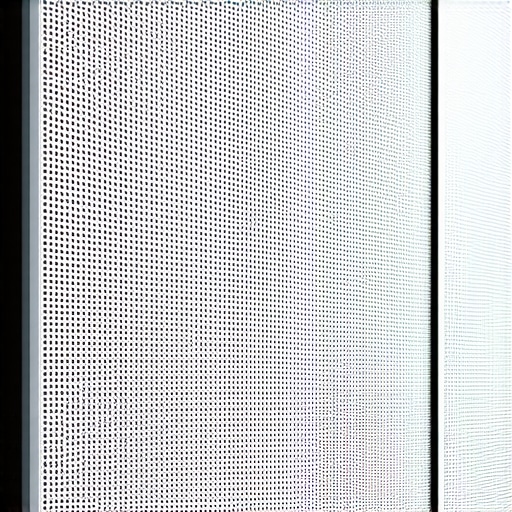
Start by examining your screen material for surface imperfections. Use a bright flashlight at an angle to spot tiny scratches, dents, or dust particles that can diffuse light, reducing contrast. Remember, micro-texture irregularities act like tiny hills scattering light, which diminishes image clarity. During my own setup, I used a loupe and found a layer of fingerprint smudges on the coating, which I carefully cleaned with a microfiber cloth—leading to a noticeable boost in contrast.
Choose the Right Material to Match Your Setup
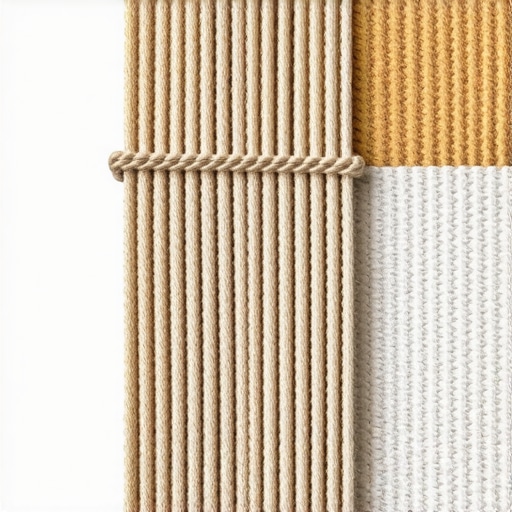
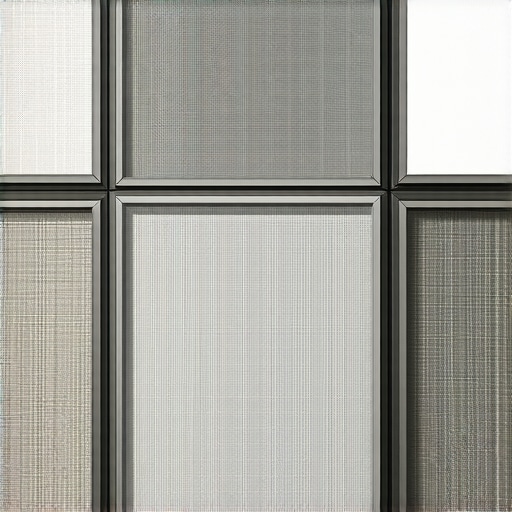
Not all screen materials are created equal, especially for 2026’s high lumens and HDR demands. Matte grey screens, for example, outperform matte white surfaces in dark rooms by absorbing stray light and preventing washout, aligning with insights from this guide. For outdoor or daylight setups, woven screens with micro-texture prevent glare and echo, crucial for maintaining contrast. Be wary of perforated PVC, which can blur fine details—test samples if possible.
Manage Gain to Control Light Uniformity
Screen gain impacts how much light reflects to your eyes. A gain of around 0.7 to 1.0 often provides the optimal balance, avoiding hotspots and bloom. I once replaced a 1.3 gain screen with a 0.7 model, which eliminated visible hotspots during HDR content and enhanced deep blacks—critical for vivid 16K HDR workflows. Avoid high-gain surfaces for laser projectors in bright environments, as they tend to cause glare.
Keep Your Screen Clean Without Damage
Regular cleaning preserves contrast by removing dust, fingerprints, and debris that scatter light. Use a damp microfiber cloth—never harsh chemicals or alcohol-based cleaners—as they can damage nano-coatings. For nano-coated screens, follow these cleaning tips to prevent micro-scratches that reduce surface smoothness. During a recent upgrade, I gently wiped the surface, avoiding excessive pressure, which kept the microtexture intact and maintained contrast depth.
Verify Gain and Texture Compatibility
Before purchasing a new screen, test its gain by projecting a uniform gray patch at your intended setup distance. Observe for hot spots or uneven brightness—signs that gain may be too high or the surface uneven. When testing a 1.1 gain screen, I noticed uniformity issues in the corners, which I mitigated by repositioning the projector and repositioning the screen to a more optimal distance, providing a more consistent HDR experience.
Apply Micro-Textures for Sharp Details
If your 16K HDR content appears fuzzy or blurry, micro-texture coatings can help preserve fine detail clarity. Micro-texture acts like tiny bumps reducing specular reflection and preventing glare, much like matte paint diffuses light in a room. During my last upgrade, choosing a carefully coated woven screen with micro-texture resulted in crisper image sharpness, revealing details that high-gain surfaces had previously washed out. For more info, see this article on woven screen benefits.
When discussing ALR (Ambient Light Rejection) screens and projection setups, many enthusiasts cling to simplified rules like ‘higher gain equals better contrast,’ but this can lead us astray. A common misconception is that increasing gain always improves image brightness and contrast; however, higher gain surfaces often introduce hotspots and uneven illumination, severely harming picture uniformity, especially in large-format setups. According to a study from the Society of Motion Picture and Television Engineers, controlling gain within a moderate range (around 0.7 to 1.0) results in more consistent contrast and better HDR performance in 2026’s high-lumen projectors.
It’s also a widespread myth that ALR fabrics are one-size-fits-all solutions. The truth is, some ALR materials with micro-texture and specific optical layers can actually blur or wash out fine details if not chosen carefully. For instance, woven screens with micro-texture are proven to maintain clarity in bright environments, unlike perforated PVC options which tend to soften image edges. The real nuance lies in matching screen gain and texture with your room’s ambient conditions and projector technology.
Another trap is oversizing your projection screen under the assumption that bigger is always better. While larger screens offer immersive benefits, exceeding the optimal size for your viewing distance (as suggested in [this guide](https://screens.cinegearguide.com/fit-150-inches-in-small-rooms-3-screen-size-hacks-for-2026)) can lead to visible pixelation and reduced sharpness, especially with 16K and 32K content where detail preservation is critical.
Lastly, many believe that one should always prioritize matte surfaces to prevent glare, but in dark room setups, a high-quality matte grey ALR screen with proper gain can outperform matte white panels by absorbing stray light without dulling contrast. As detailed in [this article](https://screens.cinegearguide.com/7-reasons-matte-grey-screens-beat-alr-in-2026-dark-rooms), choosing the right material based on your ambient light profile ensures optimal contrast and HDR richness.
Remember, the key is understanding that every component—from gain to material texture—interacts in complex ways. Avoid falling into simplistic beliefs; instead, evaluate your specific environment and projector specifications carefully. Have you ever fallen into this trap? Let me know in the comments.
Keep Your Projection Screen in Top Shape with Proven Tools
Managing a high-performing projection system demands more than just selecting the right screen material; consistent maintenance is crucial to preserve contrast, clarity, and long-term reliability. One indispensable tool I rely on is a high-quality microfiber cleaning cloth coupled with specialized cleaning solutions designed for nano-coated or anti-reflective surfaces. These products, like the recommended cleaning guides, help prevent micro-scratches that can degrade surface texture and cause contrast loss over time. Regular inspections with a handheld flashlight allow me to identify surface imperfections early, ensuring any debris or smudges are promptly removed before they impact image quality.
Leverage Software to Monitor and Optimize Screen Performance
Beyond physical tools, I use calibration software such as CalMAN or LightSpace to regularly verify color accuracy and luminance uniformity. These programs are vital for detecting subtle contrast issues attributable to surface deterioration or gain inconsistencies, especially as your setup ages. Advanced calibration can compensate for minor surface deviations, maintaining HDR richness and detail fidelity. The trend in the coming years points toward AI-driven calibration solutions that can automatically adapt to environmental shifts, further simplifying long-term upkeep.
Refining Long-Term Results: Replace or Upgrade Strategically
When my screen starts showing persistent flaws—like uneven gain or micro-texture degradation—I consider strategic replacements. For instance, upgrading to a woven screen with micro-texture has consistently yielded better contrast management in bright rooms. Remember, choosing a modular system where components can be upgraded without replacing the entire setup saves time and resources. Finding the right balance between maintenance and timely upgrades will ensure your projection system continues delivering breathtaking visuals for years.
What’s the Best Way to Maintain Your Projection Screen Over Time?
Implement routine cleaning with appropriate tools, conduct periodic calibration checks, and stay informed about emerging materials and techniques. For example, regular cleaning with non-abrasive, alcohol-free solutions, as advised in this guide, prevents surface micro-scratches that can compromise contrast. Tech advancements predict that AI-powered calibration and self-healing surface coatings may soon become standard, reducing manual upkeep and enhancing longevity. To optimize your setup today, try integrating a microfiber cloth and calibration software into your routine—small steps that significantly extend your screen’s lifespan and performance.
The Hardest Lesson I Learned About alr Screen and Screen Material
One of my biggest realizations was that even the slightest surface imperfections can drastically reduce contrast, especially with 2026’s ultrahigh-resolution content. I once overlooked a tiny speck of dust on my screen, and it caused unwanted glare—learning this the hard way convinced me to inspect meticulously before each setup.
3 Myths About Screen Gain and Size That Held Me Back
I used to believe that bigger screens and higher gain always meant better contrast, but I found out that oversizing or choosing high-gain surfaces often resulted in hotspots and washed-out images. Instead, balancing gain with room conditions and projector specs yields the best HDR experience.
What Experts Won’t Tell You About Micro-Textured Surfaces
Initially, I thought matte textures dull the image, but I discovered that micro-texture coatings enhance detail sharpness and prevent glare—especially crucial when working with 16K HDR. Choosing the right textured screen has been a game-changer for my contrast and clarity.
Curated Tools That Changed My Projection Setup
- CalMAN Calibration Software: I trust this for precise color and luminance adjustments, ensuring consistent contrast even as screens age.
- Microfiber Cleaning Cloths and Cleaners: Regular, gentle cleaning prevents surface flaws that scatter light. I rely on products recommended for nano-coated surfaces to maintain microtexture integrity.
- Light Meter Apps: To measure ambient light and gain performance, helping me select the optimal screen material and gain for each room.
Your Turn to Elevate Your Projector Experience
Understanding the nuanced relationship between screen material flaws, gain, and texture has transformed how I approach high-end projection. The good news is, with mindful inspection and smart choices, you can achieve contrast depths that truly do justice to 2026’s stunning HDR capabilities. Are you ready to re-evaluate your screen setup and unlock the full potential of your projector? Share your thoughts or questions below—I’d love to hear about your journey to better contrast and clarity.
,
![Why Your Woven Screen Material Blurs 16K Movie Details [2026]](https://screens.cinegearguide.com/wp-content/uploads/2026/02/Why-Your-Woven-Screen-Material-Blurs-16K-Movie-Details-2026.jpeg)
![Why 16K Projectors Fail on Standard Woven Screens [2026 Fix]](https://screens.cinegearguide.com/wp-content/uploads/2026/02/Why-16K-Projectors-Fail-on-Standard-Woven-Screens-2026-Fix.jpeg)