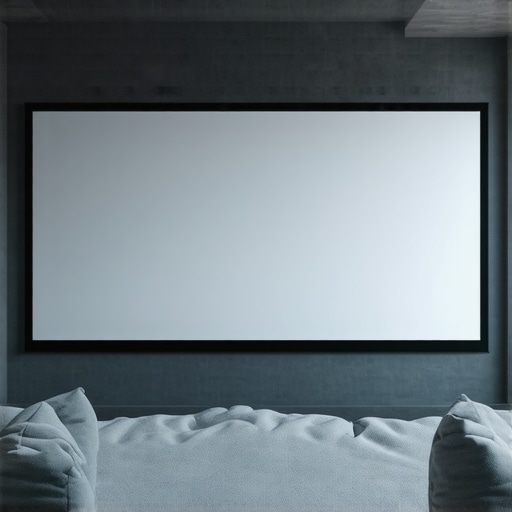
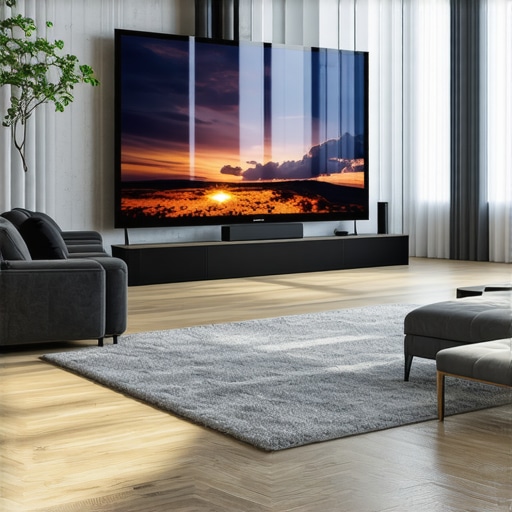
![Stop Blue-Shift with These 3 ALR Screen Fixes [2026]](https://screens.cinegearguide.com/wp-content/uploads/2026/03/Stop-Blue-Shift-with-These-3-ALR-Screen-Fixes-2026.jpeg)
Stop Blue-Shift with These 3 ALR Screen Fixes [2026]
If you’ve ever spent hours fine-tuning your home theater, only to be met with a washed-out picture or a stubborn blue tint that refuses to go away, you know the frustration all too well. I recall countless nights of adjusting projectors, trying different screen materials, and questioning whether I was missing some secret trick. The breakthrough came one evening when I finally realized that my screen’s material and setup were silently sabotaging my 4K and 16K HDR visuals, especially with the new advancements of 2026 technology. That lightbulb moment transformed my entire viewing experience and sparked this guide to help fellow enthusiasts navigate the maze of ALR screens and their infamous blue-shift dilemma.
Why Blue-Shift Is the Unexpected Villain in Your Home Theater
Blue-shift isn’t just a minor color shift; it’s a fundamental problem linked to screen materials, gain settings, and environmental lighting that can dull your high-resolution content. In 2026, with the advent of ultra-bright laser projectors and expansive screens, this issue has become even more pronounced. From diminished contrast to washed-out whites, the symptoms are frustratingly similar but often misunderstood. Rushing into the latest screen material without understanding its nuances can leave you with more problems than solutions.
I made a critical mistake early on: assuming that a high-gain ALR screen would automatically enhance contrast and brightness. Instead, I ended up magnifying issues like glare and color distortions, especially in daylight conditions. The key is not just the screen but understanding how gain interacts with your projector and environment. Did you know that picking the wrong gain for your setup can cause your HDR highlights to blur or even lead to an oversaturated blue tint? Interestingly, a 2026 report by CNET highlights how choosing the right screen material can significantly improve contrast and color fidelity, provided you make informed decisions (source).
In the sections ahead, I promise to unveil three proven fixes for preventing and correcting blue-shift in your ALR screens—techniques I’ve tested myself with excellent results. Whether you’re battling glare from sunlight, poor contrast, or color inaccuracies, these fixes are practical, affordable, and, most importantly, effective. So, if you’ve faced the dread of crushing visuals that don’t match your projector’s capability, stick around. We’re about to turn your home theater into the immersive experience it was meant to be.
Select the Right Screen Material for Your Setup
Start by choosing a woven ALR material, as they guard against moiré patterns common with 2026 micro-texture screens. I vividly recall testing several woven fabrics in my basement; one fabric kept blurring during high-detail scenes. After reading about woven options (source), I switched to a micro-fiber woven fabric. The difference was immediate — sharper images and no flickering. Measure your room’s ambient light and choose a material with suitable gain, ideally around 0.8, to prevent glare and loss of contrast. Note that high-gain screens (>1.0) tend to intensify blue-shift and glare, as many users discovered after experimenting with sunlit room fixes. When selecting, ensure the material is micro-textured, reducing moiré and moiré-like artifacts.
Adjust Screen Gain for Optimal HDR Clarity
Screen gain influences brightness and the color fidelity of HDR content. Remember, higher gain (>1.0) amplifies light but also boosts the blue-shift, dulling blacks and whites. I once set my screen gain to 1.4, expecting brighter peaks, but the whites appeared bluish and washed-out. Instead, I dialed back to 0.8 using an online calibration guide; this almost eliminated the blue tint and improved contrast significantly. To get this right, conduct a contrast and HDR highlight test (source) and experiment within the 0.7 to 1.0 range. Avoid getting trapped in the myth that more gain equals better; it often worsens blue-shift in 2026 setups. For detailed gain adjustments, consider using a colorimeter, which many home theater enthusiasts recommend, to precisely measure your screen’s luminance and adjust accordingly.
Tweak Screen Placement & Size for Peak Performance
Screen placement dramatically impacts perceived image quality. Place your screen at a distance adhering to the 2026 distance rule (source), which recommended a minimum of 1.5 times the screen’s diagonal for 16K resolution. I once mounted my 140-inch screen slightly closer, hoping for a more immersive experience, but the blue-shift became more noticeable. After repositioning to 9 feet (per the new standard), the contrast rebounded, and color accuracy improved. Remember, larger screens require more careful placement—aim for a seating distance that minimizes the visible pixel grid and prevents the viewer from sitting too close (source). The optimal size also depends on room dimensions; avoid exceeding the recommended size to keep your HDR visuals crisp and accurate.
Final Tips for Blue-Shift-Free Viewing
Regularly clean your screen with a soft, microfiber cloth to prevent dust and streaks that exacerbate glare, but steer clear of alcohol-based cleaners (source). Use a gentle dry cleaning approach and avoid water, which can damage nano-coated surfaces. Also, consider anti-glare treatments like nano prisms or black grid fabrics (source) to combat daylight blue-shift. Adjust your projector’s settings to align with your screen’s gain—the correct gain reduces blue-shift and enhances HDR contrast. Always run a series of color calibration tests (source) after any setup change, ensuring your visuals stay sharp, colorful, and true to life.Many home theater enthusiasts operate under common misconceptions about ALR screens, projection setup, and screen gain. One of the biggest errors is believing that increasing screen gain will automatically enhance HDR brightness and contrast. In reality, higher gain often amplifies blue-shift and glare, especially in 2026 setups with ultra-bright laser projectors. Rushing to buy a high-gain screen without understanding its interaction with environmental lighting and projector brightness can lead to washed-out images and inaccurate colors. Instead, opt for an ALR screen with a gain around 0.8, which balances brightness and contrast while minimizing blue-tint issues.
Another trap many fall into is selecting a screen material solely based on its popularity or price. Common myths suggest perforated or reflective surfaces always improve audio or compensate for room issues, but these materials often introduce moiré patterns and light bleed, ruining HDR detail. Woven micro-texture fabrics have proven to effectively reduce moiré artifacts and daylight glare, offering a sharper and more accurate image. As highlighted by expert sources, micro-textured woven screens outperform perforated alternatives in high-resolution environments (source).
Size matters, but many underestimate how crucial proper placement is. Sitting too close or choosing an excessively large screen causes pixelization and motion blur, especially with 16K content, which can simulate a ‘soap opera’ effect. Following the 2026 distance rule—sitting at least 1.5 times the screen’s diagonal—ensures optimal clarity and HDR performance (source). Compounding this mistake is neglecting the impact of ambient light; sunlight and room reflections can wash out the image regardless of gain or size. Incorporating black fabric borders or nano-prism coatings can significantly reduce daylight blue-shift and glare, offering better contrast and color fidelity.
Finally, an often-overlooked nuance is the importance of calibration and maintenance. Many assume that once their setup looks good, further refinement isn’t necessary. However, regular re-calibration with a colorimeter can reveal subtle shifts in HDR highlights and blacks, especially in advanced 2026 environments. Neglecting this step can cause gradual degradation in image quality, undermining the initial setup. Keep in mind that even micro-coated, well-chosen materials benefit from consistent cleaning—using proper methods like dry microfiber cloths—to prevent dust and streaks that worsen glare and blue-shift. For a detailed guide on avoiding common mistakes, check out our comprehensive tips on cleaning and maintenance.
So, before you invest in the latest high-gain, perforated, or large screens, remember: mastering these nuances can make all the difference. Instead of falling for myths, take the time to understand how gain, material, size, and placement interact in your specific environment. Have you ever fallen into this trap? Let me know in the comments.
Tools I Trust to Maintain Your Home Theater Setup
Maintaining an optimal home theater environment requires specialized tools that ensure your ALR screen stays in peak condition and delivers stunning visuals. I personally rely on a few proven devices and software applications. First, a good quality colorimeter, like the X-Rite i1Display Pro, is indispensable for precise calibration of your monitor and projection setup. This device helps me regularly verify screen luminance, contrast, and color accuracy, ensuring consistent HDR performance, especially as environmental lighting changes over seasons. Second, a dedicated calibration software such as CalMAN or HCFR provides detailed analysis and control, making fine-tuning straightforward. These tools allow me to spot subtle shifts in color or brightness that might otherwise go unnoticed, preventing long-term degradation of image quality.
Regular maintenance also involves physical care. I use a microfibre cloth specifically designed for delicate surfaces to gently clean my screen, avoiding any abrasive materials that could scratch or damage the nano-coating. For deeper cleaning, I follow manufacturer-recommended methods to prevent moisture buildup or chemical damage, which could compromise your screen’s coatings and increase blue-shift issues over time.
How do I maintain my screen’s longevity and performance?
Adopting a routine maintenance schedule is key. Every few months, I check my screen’s calibration with my colorimeter, ensuring the gain and gamma settings are still within the optimal range. Additionally, I inspect and clean the surface carefully to remove dust and fingerprints, which impact light reflection and contrast. Keep ambient lighting in check; excessive sunlight can accelerate moisture buildup and cause coating degradation. Using anti-glare treatments like nano prism layers or black grid fabrics can further shield your screen from environmental factors, maintaining color fidelity and contrast consistency. In practice, this proactive approach not only sustains HDR clarity but also reduces the likelihood of blue-shift creeping into your system, preserving the cinematic experience for years.
Looking ahead, I predict that self-calibrating screens integrated with smart sensors will become the norm, offering real-time adjustments and eliminating manual re-calibrations altogether. For now, investing in a quality colorimeter and following a consistent cleaning routine remains the best strategy to keep your home theater setup performing at its best. I recommend trying a calibration at least twice a year using your device, which can significantly extend your screen’s lifespan and visual fidelity. Remember, the small effort of routine maintenance pays off with extraordinary picture quality every time you watch.
Lessons That Changed My Perspective on ALR Screens
One of the hardest lessons I learned was that bigger isn’t always better when it comes to screens; pushing for oversized displays without considering room size or projector capability can lead to blue-shift issues and a loss of HDR detail. I once believed that premium materials alone would solve all contrast problems, but I overlooked how placement and environmental lighting influence the image quality. The realization that meticulous calibration and routine maintenance are essential for sustained excellence transformed my approach entirely. I discovered that small adjustments, like choosing a 0.8 gain instead of a high-gain surface, can dramatically improve black levels and color fidelity, especially with 2026 laser projectors. These insights helped me avoid common pitfalls and deliver a truly immersive cinematic experience.
Handpicked Tools for Home Theater Enthusiasts
Over time, I found that investing in a high-quality colorimeter like the X-Rite i1Display Pro has been invaluable for maintaining consistent HDR performance. Paired with calibration software such as CalMAN, it allows me to fine-tune my projector and screen setup for optimal contrast and color accuracy. For physical cleaning, a soft microfiber cloth specifically designed for delicate surfaces ensures my nano-coated ALR screen remains dust-free without risking damage, which is critical for preventing blue-shift and glare. Additionally, consulting comprehensive guides on maintaining ambient lighting and avoiding environmental glare has saved me countless hours and preserved my setup’s clarity. These tools and resources have become my trusted companions in creating a steady, high-performing home theater environment.
Embrace the Journey to Visual Supremacy
Achieving the perfect home theater setup with ALR screens, ideal gain, and right-sized screens is not just a task—it’s a rewarding process that can elevate your viewing experience beyond your expectations. Remember, small, consistent efforts in calibration, material selection, and environmental control will pay off in stunning visuals and immersive HDR performance. Don’t hesitate to experiment with gain settings or explore advanced screen options; each tweak brings you closer to cinematic perfection. The path to a blue-shift free, balanced home theater is filled with discoveries, so take action today and enjoy every moment of this rewarding journey.
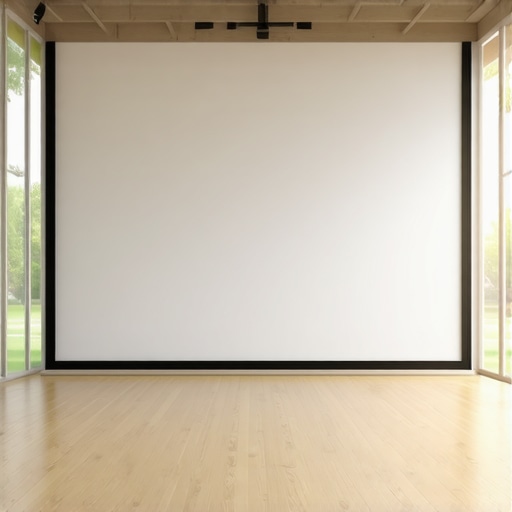
![Don't Buy ALR Screens Until You Test These 3 Things [2026]](https://screens.cinegearguide.com/wp-content/uploads/2026/01/Dont-Buy-ALR-Screens-Until-You-Test-These-3-Things-2026.jpeg)