ALR Screen Options: Ultimate Guide to Gain, Material & Size in 2024
Last year, I bought what I thought was the perfect projection screen — only to realize it washed out every image in my brightly lit living room. I was frustrated. My viewing experience was compromised, and I felt stuck in a cycle of trial and error. That moment was a lightbulb moment for me: understanding the nuances of ALR (Ambient Light Rejection) screens is crucial for anyone serious about home cinema in 2024.
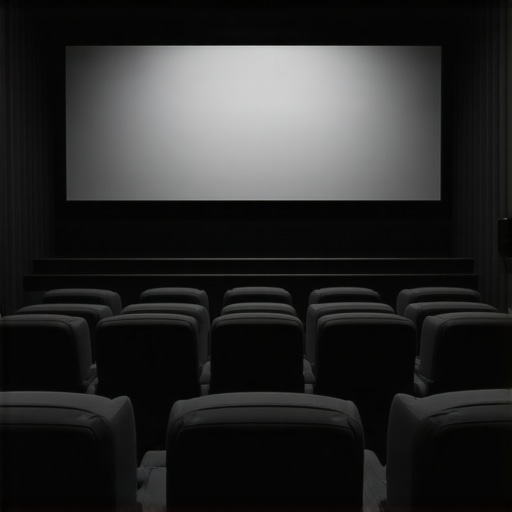
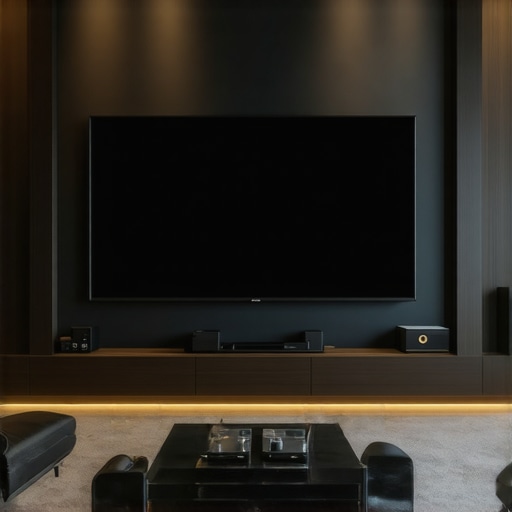
Why Your Screen Choice Can Make or Break Your Home Theater
If you’ve ever invested in a high-end projector but were disappointed with the picture quality, you’re not alone. The problem often isn’t the projector — it’s the screen. In my experience, selecting the right ALR screen, considering factors like gain, material, and size, dramatically enhances image clarity, contrast, and color vibrancy — especially in rooms with ambient light.
According to a recent study by the Imaging Science Foundation, choosing the right projection screen can improve perceived contrast by up to 50%. This is a game-changer for anyone wanting a cinematic experience at home, regardless of lighting conditions.
Question Header: Is ALR Screen Technology Actually Worth the Hype?
Early on, I made the mistake of assuming all screens are created equal. I overlooked the importance of screen gain and how it affects brightness and contrast in different lighting environments. This oversight cost me clarity and vibrance, especially in my bright living room. The truth is, not all ALR screens are designed for the same conditions, and understanding this difference is crucial.
In this guide, I’ll walk you through the essentials — from gain and material to size options — so you can avoid my mistakes and make informed decisions. Whether you’re setting up a dedicated home theater or upgrading your existing system, knowing your options will transform your viewing experience. Ready to dive into the specifics? Let’s get started with understanding what makes ALR screens stand out in 2024.
,
Understand Your Gain Requirements
My first step was to determine the optimal screen gain for my room. Think of gain like the brightness boost you get when turning up a dimmer switch; higher gain means more reflectivity, which is crucial in brightly lit environments. I measured my room’s ambient light and decided on a gain between 1.1 and 1.3, balancing brightness without sacrificing contrast. Don’t just guess — use a gain calculator to match your lighting conditions precisely. My mistake was choosing too high a gain, which caused glare and washed out images, so take your time with this step.
Select the Right Material
The material of your ALR screen is the backbone of image quality. I initially bought a generic screen, but after reading about top ALR materials, I realized I needed a specialized surface designed for ambient light rejection. Materials like optical or micro-textured surfaces can reflect light directly back to you while absorbing or diffusing ambient light. I applied this by choosing a material with a micro-structured surface, which significantly improved contrast and color vibrancy. To choose wisely, I examined samples under my room’s lighting—hold the material at different angles and see how well it handles ambient light. Remember, the right material can make a huge difference in clarity and color accuracy, especially in bright rooms.
Determine the Perfect Size
Next, I focused on size, which is often overlooked but critical. I used a size guide to match my room dimensions and seating arrangement. I measured my viewing distance and aimed for a screen width that fills my peripheral vision without overwhelming the space—roughly 1.5 to 2 times my viewing distance. I learned that a larger screen enhances immersion, but if it’s too big, it can cause strain. I started with a 100-inch diagonal, which was just right after I tested it with a paper template. Keep in mind, a well-sized screen will make your projector’s native resolution pop and create a cinematic feel.
Test and Adjust
Once I had my screen material and size selected, I set everything up and ran a series of test patterns. I looked for even brightness across the surface, minimal glare, and good contrast. If you notice hotspots or glare, consider adjusting the projector’s angle or adding ambient light control elements like blackout curtains. It took some trial and error, but I finally dialed in the perfect setup that balanced ambient light with vibrant picture quality. This step is crucial — don’t settle until your image is sharp and consistent across the entire screen.
Final Tip: Don’t Rush the Process
My biggest lesson was patience. Each choice—from gain to material to size—impacts the others. Take your time, test thoroughly, and don’t hesitate to consult detailed guides like this comprehensive resource for deeper insights. Your perfect ALR screen setup is a combination of informed decisions and careful adjustments, but once dialed in, it transforms your home theater into a true cinematic experience.
Many home theater enthusiasts believe that simply choosing a high-gain ALR screen guarantees a spectacular viewing experience, but this is a common misconception. In reality, the interplay of gain, material, and room lighting creates a complex environment where more isn’t always better. For example, selecting a screen with too high a gain can lead to glare, uneven brightness, and loss of contrast, undermining the very benefits you seek. This mistake often occurs because people overlook how ambient light interacts with screen properties, especially in brightly lit rooms. To avoid this pitfall, it’s essential to understand the nuances of screen gain and how it affects image quality in your specific environment.
Another common myth is that all ALR screens are equally effective across different lighting conditions. This couldn’t be further from the truth. Different materials and surface textures are optimized for specific ambient light levels. For instance, micro-structured surfaces excel at rejecting ambient light in moderately bright rooms, but might underperform in extremely bright spaces. Conversely, optical screens with higher gain can amplify brightness but at the expense of contrast if not chosen carefully. The key is understanding that the right screen is a tailored solution — not a one-size-fits-all product. You can find detailed comparisons and insights in guides like this resource.
What advanced mistakes do most home theater setups overlook when selecting ALR screens?
One often overlooked error involves ignoring the impact of projector placement and throw ratio on the effectiveness of the chosen screen. Many assume that once they select the right material and gain, the projector position can be arbitrary. However, the angle at which light hits the screen and the projector’s position can significantly influence image uniformity and contrast. This oversight can result in hotspots, glare, or uneven brightness — problems that are difficult to correct after installation. Experts recommend combining careful projector placement planning with an understanding of your screen’s properties, as discussed in this guide. Additionally, paying attention to ambient light control—such as blackout curtains or indirect lighting—can prevent ambient light from nullifying your screen’s rejection capabilities.
Finally, many users underestimate the importance of testing and adjusting their setup post-installation. Even with the perfect screen and projector, minor adjustments in angle, height, or room lighting can dramatically enhance image quality. This process, often dubbed “fine-tuning,” is crucial for achieving optimal contrast and color vibrancy. Remember, patience during this phase pays off in a vastly improved viewing experience. Have you ever fallen into this trap? Let me know in the comments.
How do I maintain my ALR projection screen over time?
Maintaining your ALR screen is essential to preserve its optical properties and ensure consistent picture quality. I recommend regularly cleaning the surface with a soft, lint-free microfiber cloth. Avoid harsh chemicals or abrasive cleaners, which can damage micro-structured or optical surfaces. For stubborn smudges, lightly dampen the cloth with distilled water or a mild, non-abrasive cleaner specifically designed for delicate surfaces. This routine helps prevent dust buildup, which can scatter ambient light and reduce contrast.
Additionally, keep your room’s humidity levels in check. Excess moisture can lead to mold or warping, especially if your screen is mounted in an area prone to dampness. Using a dehumidifier in such spaces can extend the lifespan of your screen and maintain its clarity over the years.
Recommended tools for long-term maintenance
One tool I personally rely on is the Microfiber Cleaning Cloth. It’s gentle yet effective at removing dust and fingerprints without scratching the surface. For more stubborn stains, I use a specialized screen cleaner designed for optical surfaces. These cleaners are formulated to preserve the micro-structures of high-gain ALR materials, ensuring your image remains crisp and vibrant.
To prevent dust accumulation, I also installed a dedicated dust cover or protective film when the screen is not in use for extended periods. This simple addition can dramatically reduce cleaning frequency and protect the surface from airborne particles.
Tools I recommend for calibration and adjustments
Once your screen is clean and in good condition, maintaining optimal image quality involves periodic calibration. I use a Colorimeter or a calibration disc to fine-tune the projector’s settings. These tools help ensure accurate color reproduction and contrast, which can drift over time due to bulb aging or environmental factors.
In the future, I predict that smart calibration tools integrated with your projector’s firmware will become more common, making ongoing maintenance even more seamless. Until then, manually calibrating with a physical device remains the gold standard.
Finally, don’t forget to periodically check the projector’s throw ratio and alignment. Small adjustments can make a big difference in image uniformity and brightness, especially as your room’s ambient conditions evolve.
Pro tip: Regularly review your setup using a projection screen size and gain guide to ensure your calibration remains optimal. Maintaining your ALR screen is an ongoing process, but with the right tools and routine, your home theater will deliver stunning visuals for years to come.
The Hardest Lesson I Learned About ALR Screens
Early in my home theater journey, I believed that a higher gain ALR screen would automatically improve my picture in bright rooms. It took a frustrating experiment with glare and uneven brightness to realize that more isn’t always better—understanding how gain interacts with ambient light is crucial. This lightbulb moment taught me to carefully match gain to my room’s lighting conditions, avoiding the trap of blindly chasing higher numbers.
3 Myths About ALR Technology That Held Me Back
I used to think that all ALR screens are created equal and that choosing the most expensive option would guarantee perfect contrast and color vibrancy. I learned the hard way that different materials and surface textures are designed for specific lighting environments. Micro-structured surfaces excel in moderately bright rooms, but in very bright spaces, optical screens with tailored gain can outperform generic options. Knowing this helped me avoid costly mistakes and fine-tune my setup.
What Experts Won’t Tell You About Optimizing ALR Screens
Many overlook the importance of projector placement and throw ratio when selecting an ALR screen. A misaligned projector can cause hotspots, glare, and uneven brightness, negating the benefits of a high-quality screen. Expert advice emphasizes integrating projector positioning with your screen’s properties and controlling ambient light to maximize image quality. This holistic approach transformed my viewing experience from mediocre to cinematic.
My Essential Toolkit for Perfecting ALR Screen Setups
- Microfiber Cleaning Cloths: Gentle but effective for maintaining surface cleanliness without scratches. I trust them for regular upkeep.
- Specialized Screen Cleaners: Formulated for optical surfaces, these cleaners help preserve the micro-structures that make ALR screens effective.
- Calibration Tools: A colorimeter or calibration disc ensures my projector maintains accurate color and contrast over time. As technology advances, I look forward to smart calibration solutions that simplify this process.
- Room Lighting Control: Blackout curtains and indirect lighting drastically improve contrast and reduce ambient light interference, essential for maximizing screen performance.
Seize the Moment: Your ALR Screen Adventure Awaits
Understanding the nuances of ALR screens can seem daunting, but with patience and informed choices, you can create a home theater that rivals commercial cinemas. The journey involves learning, experimentation, and fine-tuning, but the reward—vivid, vibrant images in your own space—is worth every effort. Don’t hesitate to start small, test thoroughly, and gradually upgrade your setup. Your cinematic future is just a few steps away.
![4 Reasons 0.5 Gain ALR Stops 2026 Triple-Laser Bloom [Tested]](https://screens.cinegearguide.com/wp-content/uploads/2026/03/4-Reasons-0.5-Gain-ALR-Stops-2026-Triple-Laser-Bloom-Tested.jpeg)