Is 0.5 Gain Too Dark? The Truth About 2026 ALR Screen Contrast
I remember the first time I rolled out my new ALR screen to watch a movie. Darkness? Yes. But was it supposed to be this way? I felt a pang of disappointment, questioning if I had made a mistake. That dim, almost murky image haunted me until I realized I wasn’t alone in this struggle. For many home theater enthusiasts and casual viewers alike, understanding ALR screen gain and contrast is a confusing maze, especially with the upcoming 2026 projection tech upgrades. If you’ve faced similar frustrations, you’re not alone—and there’s good news. Today, I want to share what I’ve learned about the role of screen gain, particularly why a 0.5 gain could seem too dark in bright rooms, and how to choose the right setup that balances contrast and brightness. By the end of this, you’ll understand how to avoid the common pitfalls that cause image dullness and how to prepare for the advancements arriving soon.
The Brightness Battle: Why Low-Gain Screens Can Feel Insufficient
Are You Actually Wasting Your Money on High-Gain Screens? Or Is Low Gain Just Making Things Worse?
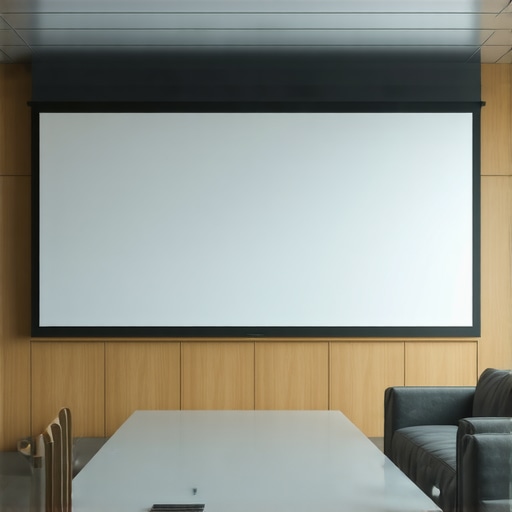
Early in my journey, I mistakenly believed that higher gain always meant better contrast and brighter images. This led me to purchase a 0.5 gain ALR screen, assuming it would deliver the vividness I craved in my well-lit room. But the reality was different. Instead of crisp, bright images, I got a washed-out picture that struggled in ambient light. That was when I made the mistake of ignoring the importance of room conditions and the right gain for my setup. According to experts, such as those at CineGear Guide, low-gain screens are excellent for bright environments but require careful calibration and the right projector specifications. The mistake many make is choosing a low gain without considering their room’s lighting or the projector’s lumen output, leading to disappointing contrast and dull images. If your goal is to maximize contrast in a bright room, understanding the balance between gain and ambient light is crucial. As I learned, pairing your projector’s lumen rating with the right screen material can make all the difference. Want to discover the best way to optimize this balance? Check out the latest insights on ALR screen options and gain materials.
What You Need to Know About 2026 ALR Screens and Contrast
Choose the Right Screen Material First
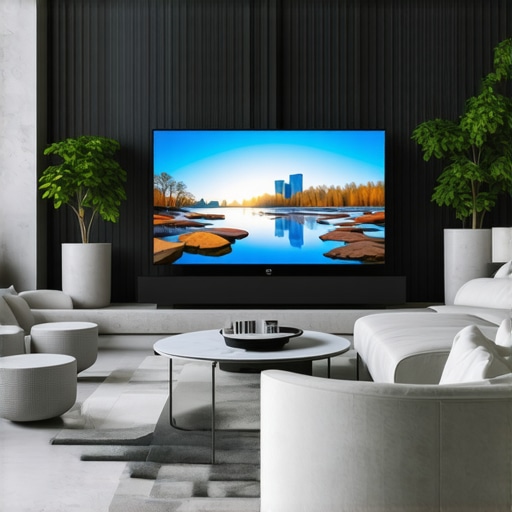
My first attempt involved selecting a generic low-gain ALR screen without considering my room’s lighting. I quickly realized that not all materials react the same—some absorb ambient light better, while others reflect it. For bright rooms, opt for a high-quality screen like those discussed in this guide that features micro-structured surfaces designed to enhance contrast without washing out brightness. Test different materials if possible, focusing on those with a gain around 0.7, as they strike a balance between brightness and contrast—more details are available in this resource.
Calculate the Ideal Screen Size Based on Room Brightness
During my setup, I used the 16k viewing rule from this article. I had a moderately lit living room with reflective walls, so I aimed for a 120-inch screen. Too big, and contrast suffered; too small, and immersion was lost. Use this calculator to determine your optimal size: link. Remember, a larger screen in a bright environment requires higher projector lumens and a gain-optimized surface to prevent dullness.
Tweak the Projection Angle and Placement
Once my equipment was in place, I experimented with the projector’s placement—tilting it slightly downward to minimize ambient light reflection. Think of your screen like a mirror; aligning it precisely ensures the light enters your eyes directly instead of bouncing around. The goal is to keep the projector as close to the screen’s optimal throw distance described in this setup guide. Use a measuring tape to verify distances, and adjust the projector mount accordingly for the clearest image.
Enhance Contrast Through Ambient Light Control
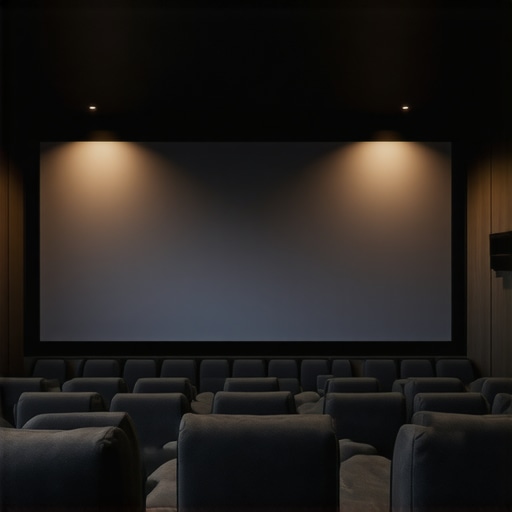
Even with the perfect screen, ambient light can ruin contrast. During my third project, I invested in blackout curtains and positioned lights away from the screen. You can take it further by applying matte black paint to nearby walls, as outlined in this article, to absorb stray light. Testing different lighting angles and dimmer switches dramatically improved perceived contrast. Remember, every small adjustment counts when fighting ambient brightness.
Test and Calibrate Projector Settings
Finally, I fine-tuned my projector’s contrast and brightness settings, often a neglected step. In bright rooms, boost the projector’s lumens and turn off any auto-iris features that dim the picture during scene changes. Use calibration disks or test patterns to ensure whites are bright without detail loss, and blacks are deep yet not crushed. For specific tips, see this guide. Calibration ensures your projected image stands up against ambient light, maximizing contrast and vividness.When it comes to optimizing your home theater, many focus intently on choosing the right projectors and gadgets, often overlooking the intricacies of screen materials, sizes, and gain. But understanding these nuances can dramatically influence your viewing experience. Let’s dig deeper into common misconceptions and advanced pitfalls that even seasoned enthusiasts sometimes fall for.
A widespread myth is that higher gain screens inherently deliver better contrast and brightness. While it’s tempting to think that a screen with a gain of 2.0 will make your content pop, the reality is more complex. In fact, elevated gain often results in localized hotspots and reduced viewing angles, especially if the material isn’t micro-structured. Many assume that any high-gain surface will suffice for bright rooms, but without considering ambient light control and projector lumen output, this can backfire, leading to washed-out images or uneven brightness distribution. To avoid this, consult expert insights like those at CineGear Guide, which emphasize matching gain to room conditions and projector capabilities.
Beyond gain, the choice of screen material is often oversimplified. Some believe that a basic white or grey fabric is always adequate, but advanced materials with nano-structured surfaces can reflect light more directionally, preserving contrast even in rooms with unavoidable ambient light. For example, micro-structured ALR surfaces are engineered to enhance contrast and limit ambient light washout, as detailed in this guide. Skipping this nuanced consideration can result in dull, lifeless images or color washout.
Now, let’s address a question that puzzles many:
How does the size of my projection screen influence the effectiveness of different gain materials and setups?
Room size and viewing distance are critical factors often overlooked. Selecting a large screen, say 150 inches, isn’t just about immersion—it entails ensuring your projector can deliver sufficient lumens and contrast across the entire surface. Larger screens in a bright room demand a delicate balance: too big, and you risk contrast loss; too small, and you’re compromising on cinematic impact. Using the 2026 guidelines, such as the 16k viewing rule, helps determine optimal size based on your room’s lighting. Moreover, larger surfaces with low-gain materials can cause hotspots and uneven brightness, underscoring the importance of pairing size with the right gain and material selection.
Another common mistake is neglecting projector placement and tilt, which can cause uneven light distribution and reduce perceived contrast. Aligning your projector’s throw distance properly and calibrating settings meticulously become even more crucial as screen size increases. External factors such as reflective wall colors or nearby windows also play a significant role in image quality.
In summary, the complexity of projection screens isn’t just a simple matter of picking a material or size. It involves an integrative approach where gain, material structure, room lighting, projector specs, and size harmonize. Failing to recognize these interconnected nuances can result in subpar viewing experiences despite investing in top-tier equipment.
Have you ever fallen into this trap? Let me know in the comments. Remember, the devil is in the details—mastering these subtle aspects elevates your home theater from good to extraordinary.
Keep Your Projection System Running Smoothly
Owning a home theater setup isn’t a one-and-done deal; it requires ongoing maintenance and the right tools to ensure consistent performance over years. From calibrating projector settings to cleaning delicate surfaces, having a plan and reliable equipment makes all the difference. For instance, I personally rely on a combination of microfiber cloths and specialized cleaning solutions like Nano-Coat Screen Cleaner to maintain my ALR screen without risking scratches or degradation. Regular cleaning prevents dust buildup that can affect image quality, especially in high-gain or micro-structured surfaces.
Furthermore, calibration tools such as the X-Rite i1Display Pro colorimeter have become indispensable. This device allows me to fine-tune projector gamma, contrast, and color accuracy, ensuring that my images stay vibrant and true to life over time. The software, like CalMAN or DisplayCal, offers precise control and reports, making adjustments straightforward even for non-professionals.
Tools I Recommend for Projection Maintenance
Specifically, I suggest investing in a set of compressed air cans and soft brushes for quick dust removal in vents and projector lenses. For deep cleaning of projection surfaces—especially if you notice image dullness or color washout—gentle cleaning with a micro-fiber cloth and a nano-coating solution ensures longevity. I also keep a spare bulb or laser module handy, as newer projectors largely rely on long-life LEDs or laser sources, but component degradation can eventually affect brightness and color fidelity.
Upgrading to smart calibration devices and software not only preserves image quality but also simplifies the process. This proactive approach minimizes long-term costs and prevents image degradation that could compromise your setup’s potential.
Predicting Future Maintenance Trends
Looking ahead, I believe the integration of AI-powered calibration tools will become commonplace, automatically adjusting settings to adapt to changing conditions—like ambient light shifts or component aging. Such advancements promise to make long-term maintenance easier and more precise, even for casual users. To stay ahead, I recommend experimenting with features like auto-calibration if your projectors support it, and regularly updating firmware for optimal performance.
How do I maintain my projection setup over time?
The key to durable, high-quality images is consistency. Schedule regular cleaning sessions, verify calibration settings every few months—using tools like the ultimate guide to projection screen material and gain—and keep spare parts on hand. This proactive approach will safeguard your investment and keep your home theater experience spectacular year after year. Remember, small tweaks and preventative care can avoid costly repairs and recalibrations down the line. Try out a nano-coating cleaner or a calibration check this month, and see how much more vibrant your images can stay over time.
Over the years, I’ve come to realize that the journey to achieving the perfect home theater setup is less about the gadgets and more about understanding the nuances of screen materials, gain, and size. One of the most surprising lessons I learned is that sometimes, less is more—particularly when it comes to screen gain. The idea that a high gain always equals a brighter, better picture is a myth that can lead many astray. Instead, true mastery lies in tailoring your setup to your specific environment, especially in bright rooms where ambient light challenges contrast and color accuracy. By experimenting with different materials and sizes, and focusing on the quality of your projector’s lumens, you can create a visually stunning cinema experience that withstands the test of natural light and upcoming 2026 tech upgrades. Remember, the key is patience and attention to detail, which ultimately transforms your home theater from a simple setup into a personal film sanctuary.