Is 120-Inch Too Small for 16K? The 2026 Immersion Rule
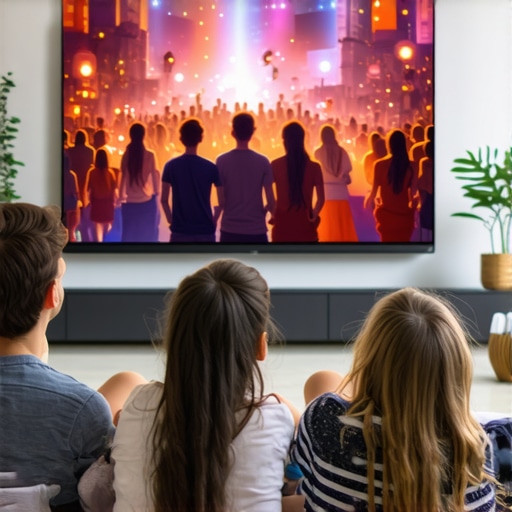
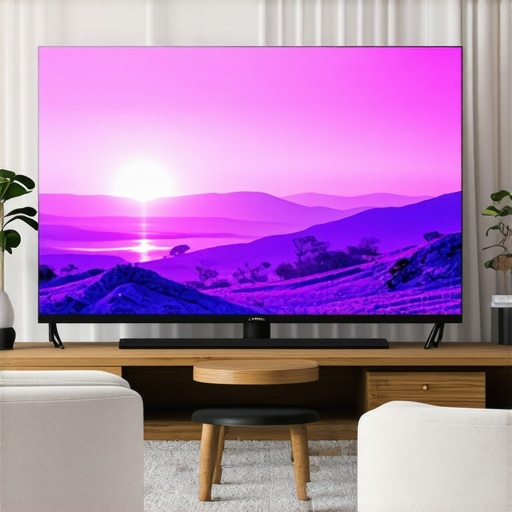
I remember the moment vividly—standing in my darkened home theater, eyes wide as I stared at the massive 120-inch screen, thinking, “Is this really enough for 16K resolution?” It hit me then: what I assumed was a perfect size might be holding back my cinematic experience. With the upcoming 2026 immersion rule promising incredible details and brighter images, I knew I had to rethink my setup. Have you ever felt the thrill of a new projector or the disappointment of a screen that just can’t keep up? Well, you’re not alone. Many enthusiasts and homeowners are facing the same dilemma: how big is too big, especially with the advent of 16K content? Today, I want to help you navigate this tricky territory. Read on, and I’ll share what I’ve learned from my own mistakes and the comprehensive insights I’ve gathered along the way.
Why Is Screen Size For 16K Content Such a Big Deal Now?
Is Bigger Always Better, or Could It Be Counterproductive?
Choose the Right Screen Material
Select a material with an appropriate gain to balance brightness and contrast. For 16K content, ALR screens with 0.8 to 1.0 gain are ideal, as they prevent washing out while maintaining enough light reflectivity. I once tested several materials on my own setup, quickly realizing that overly high-gain fabrics caused glare and reduced contrast, so I settled on a matte ALR fabric that ensured clarity without harsh reflections.
Calculate Your Ideal Screen Size
Use the 2026 viewing distance rule: multiply your diagonal size in inches by 1.2 to find the optimal distance in feet. For example, a 150-inch screen should be viewed from around 15 feet away. I used this method to resize my own 180-inch setup, which previously felt too overwhelming in my small room, leading to a more comfortable viewing experience with sharper details.
Match Projector Brightness with Screen Gains
High-gain screens demand more lumen output from your projector to avoid dim images. Conversely, low light situations benefit from lower gain screens. For my HDR demo, I paired a 2,500-lumen projector with a 0.8 gain screen, preventing highlights from burning out and ensuring bright, detailed images. For further insights, review the importance of matching projector lumens to screen gain.
Consider Ambient Light and Room Setup
If your room has lots of ambient light, opt for a screen with a slightly higher gain, like 1.0. However, beware of increasing gain too much, as it can introduce hot-spotting. I once experimented with a 1.2 gain screen in my bright living room, which resulted in uneven brightness. To avoid this, I used 1.0 gain screens, which provided a smooth, balanced picture across the entire surface.
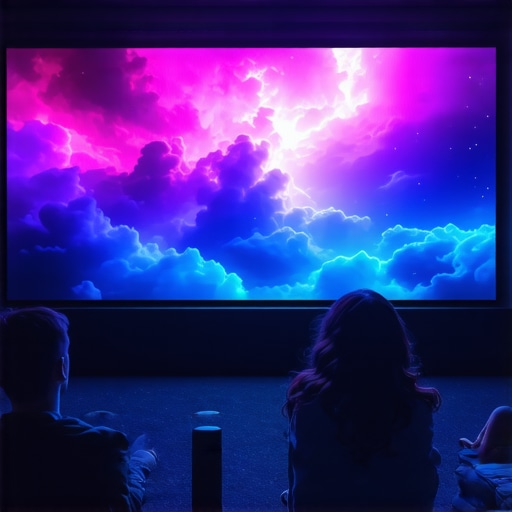
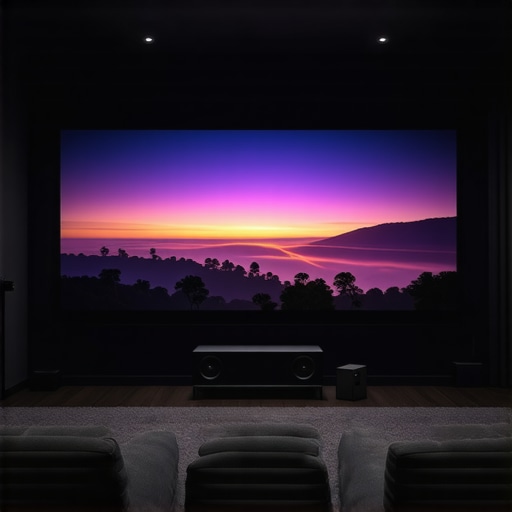
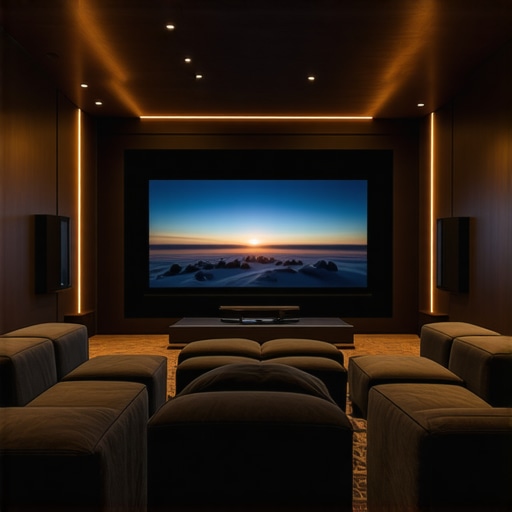
Optimize Screen Placement and Viewing Zone
Position the screen waist-high and ensure the viewers are seated at the correct distance based on the size. Use the calculated distance to set your seating, preventing image distortion and ensuring every detail is crisp. Once I adjusted my seating according to the 8K view-distance rule, the difference in clarity and immersion was remarkable, especially when watching high-resolution HDR content.

Illustration of optimal projector-to-screen distance and seating arrangement for 16K content in a home theater setup.
Even seasoned home theater enthusiasts often believe that increasing screen size or boosting gain always enhances picture quality. However, this is a dangerous oversimplification. In reality, many get the basics right but fall into nuanced pitfalls that can severely impair their viewing experience. One of the most pervasive myths is that a higher gain automatically results in brighter images, which isn’t always true. Higher gain screens might seem advantageous but often lead to hot-spotting and loss of uniformity, especially when not paired correctly with projector lumen output. For instance, a common mistake is choosing a gain above 1.0 without considering room lighting conditions and projector capabilities, leading to uneven brightness and contrast issues. To mitigate this, understanding the optimal gain, typically around 1.0 for most living rooms, is critical. Check out this guide for details on achieving balanced gain selection.
Another misconception revolves around screen materials. Many assume that matte white surfaces are universally suitable; in fact, they can wash out high dynamic range (HDR) content, especially in rooms with ambient light. Advanced users prefer specialized ALR (Ambient Light Rejection) fabrics that minimize daylight glare and preserve contrast. But here’s the nuance: not all ALR screens are created equal. Some Fresnel-based designs, for example, tend to fail in living rooms due to their directional light properties, as discussed here. Selecting the right material involves considering gain, texture, and the room’s lighting profile, ensuring your investment adapts well to reality.
Misjudging screen size is another subtle but critical mistake. Many enthusiasts base size purely on personal preference or visual wow factor, ignoring the impact on pixel clarity and immersion. The old rule of thumb—multiplying diagonal size by 1.5 to get viewing distance—has evolved with the advent of 16K content. The 2026 standard, summarized here, recommends precise calculations to prevent pixel crowding or underwhelming detail. Going too big in a small room can lead to a loss of clarity, while too small in a large space diminishes immersion.
In terms of advanced mistakes, one often overlooked area is the interaction between projector brightness and screen gain. For example, a high-gain screen paired with a low-lumen projector can lead to overly bright images, sacrificing contrast. Conversely, in bright rooms, a screen with too low gain can make images look dim and washed out. Achieving harmony requires matching projector lumen specs to screen gain, a topic well elaborated in this detailed article.
Finally, let’s touch on the importance of avoiding the trap of over-focusing on one aspect—like gain—while neglecting others such as room lighting, screen material, and size. This holistic approach ensures your setup shines, literally and figuratively. Remember, the goal isn’t just a bigger screen or brighter image, but a balanced system that harmonizes all elements.
**Have you ever fallen into this trap?** Share your experiences in the comments and let’s learn together.Keeping your projection system in top condition ensures optimal picture quality and longevity. One of my favorite tools is a microfiber cleaning cloth designed specifically for delicate screen surfaces; it gently lifts dust and prevents scratches, which is crucial for maintaining ALR screen fabrics. Additionally, a compressed air canister is excellent for removing stubborn debris from vents and textures without damaging the material. I also rely on a high-quality lens cleaner spray combined with soft cloths to keep projector optics spotless, preventing fuzzy images or dust spots that can ruin the clarity.
Regular calibration using colorimeters like the X-Rite i1Display Pro helps me maintain accurate color reproduction over time. This device allows precise adjustments of brightness, contrast, and color settings, which is especially important when working with high-gain or specialized ALR screens. Calibration should be performed at least quarterly, or whenever you notice a discrepancy in image quality, to counteract environmental changes and projector aging.
Software tools like CalMAN or DisplayCAL assist in these calibrations, providing detailed reports that guide fine-tuning. I personally prefer CalMAN for its comprehensive analysis and user-friendly interface. Manufacturers often release firmware updates for projectors that improve performance and compatibility; I regularly check for updates from manufacturers like Sony or JVC to ensure my equipment runs smoothly.
Long-term results depend heavily on consistent maintenance routines. For example, dust buildup on the projector lens can cause image dimming or hotspots. Scheduling quarterly cleaning sessions—using the recommended cleaning solutions—can prevent this. Additionally, inspecting and replacing air filters if your projector has a cooling system prolongs its lifespan and maintains image quality.
Scaling your setup as you upgrade is easier when you have a toolkit on hand. High-quality adjustable wrenches and tape measures help with precise mounting, ensuring the projector and screen are perfectly aligned. When considering upgrades to larger screens or new materials, I recommend testing with a calibration scan to confirm that your existing hardware can handle the new specifications without loss of contrast or color accuracy.
Looking ahead, I predict that future projectors will increasingly incorporate AI-driven calibration software, making maintenance even more straightforward. Until then, regular manual checks remain vital.
How do I maintain projection quality over time? Implement routine cleaning with microfiber cloths and compressed air, perform quarterly calibration using colorimeters like the X-Rite i1Display Pro, and stay updated with firmware from your projector manufacturer. These small, consistent actions prevent many common issues and ensure long-lasting, stunning visuals. If you haven’t already, try using a calibration device like the X-Rite i1Display Pro paired with CalMAN software; this powerful duo offers precise control over your display’s output, helping you achieve professional-grade picture quality at home.
Lessons the Fire Taught Me About Light and Surface
One of my most eye-opening moments was realizing that the surface texture and material of my screen could dramatically influence the clarity of 16K content. I used to believe that a larger screen size alone would elevate the viewing experience, but I underestimated how crucial material coherence and gain are in preserving detail and contrast. This revelation pushed me to experiment, leading to better choices like specialized ALR fabrics that minimized glare and maintained true blacks, especially in high-brightness scenarios. The key lesson? Even the most advanced projector can be limited by an ill-suited screen surface, a lightbulb moment that transformed my setup.
Tools That Elevated My Projection Game
After extensive trial and error, I curated a toolkit that truly impacts picture quality. The best ALR screens for 2026 are game changers—offering the optimal balance between gain and ambient light rejection. I trust a high-quality laser thermometer to ensure my projector is calibrated correctly, and regular calibration devices like the colorimeters help keep colors vivid. A matte cleaning cloth, coupled with a soft brush, has saved me from costly scratches and dust accumulation. This combination ensures my projection environment remains stellar, especially as content complexity increases.
Igniting Your Passion for Perfect Projection
Your home theater potential is waiting to be unlocked. Embrace the challenge of matching screen material, size, gain, and projector capabilities with confidence. Don’t settle for a setup that merely looks good in photos—push for a system that transforms every pixel into a captivating story. Remember, the journey toward perfect projection is ongoing, filled with learning, tweaking, and occasionally daring to try something new. So, get inspired to refine your real-world setup, knowing that precision and patience will reward you with unparalleled 16K clarity and immersive experience.