Stop Buying ALR Screens for Dedicated Dark Rooms in 2026
I remember the exact moment I realized I was chasing the wrong screen gain. It was late at night, adjusting my projector in the dimly lit room, expecting that higher gain screens would fix all my contrast issues. Instead, I ended up with a washed-out image, shadows that looked muddy, and a mounting frustration that made me question everything I’d read about ALR screens. That lightbulb moment hit me hard: more gain isn’t always better.
What If You’re Wasting Money on the Wrong Screen in 2026?
More people than ever are pouring money into ALR (Ambient Light Rejection) screens, believing they’ll magic away ambient lighting problems and create perfect picture quality. The truth is, the hype around high-gain screens can be misleading. I’ll be honest: early on, I fell into the trap of assuming that a 1.5 or even 2.0 gain would boost my picture and outperform lower gain options. I was so focused on maximizing brightness that I ignored critical factors like contrast ratio and color fidelity. A quick glance at the [Ultimate Guide to Gain Material Size](https://screens.cinegearguide.com/alr-screen-technology-ultimate-guide-to-gain-material-size) reveals how complex screen gain truly is.
If you’re like me—juggling bright projectors and cluttered living spaces—you might have faced similar struggles. Perhaps you’ve already invested in a high-gain ALR screen, only to discover that it mutes your dark details or introduces unwanted hotspots. This common mistake can turn your home theater dreams into a frustrating guessing game.
The good news? There’s a smarter way forward. Instead of chasing inflated gain numbers, understanding the real role gain plays can save you money and dramatically improve your viewing experience. By dialing back your obsession with high gain and focusing on the right balance, you can unlock vivid contrast, true color, and a much more cinematic feel.
Curious how? Stay with me, because we’re about to dissect the misconceptions and share practical strategies to help you upgrade intelligently. And if you’re tired of wasting resources on the latest hype, consider testing your setup with the tips outlined in the [Top Screen Gain Material Tips for 2024](https://screens.cinegearguide.com/alr-screen-technology-best-gain-materials-insights-for-2024). Let’s turn your home theater into a true masterpiece without falling for the high-gain trap.
Prioritize Proper Screen Material
Start by selecting a screen material that balances gain with texture. Low to mid-gain options, around 0.8 to 1.0, often provide better contrast without hotspots. For instance, I tested a 0.9 gain screen in my dedicated room, which resulted in improved image uniformity and contrast compared to high-gain fabrics. Check out the ultimate guide to gain material size for detailed comparisons.
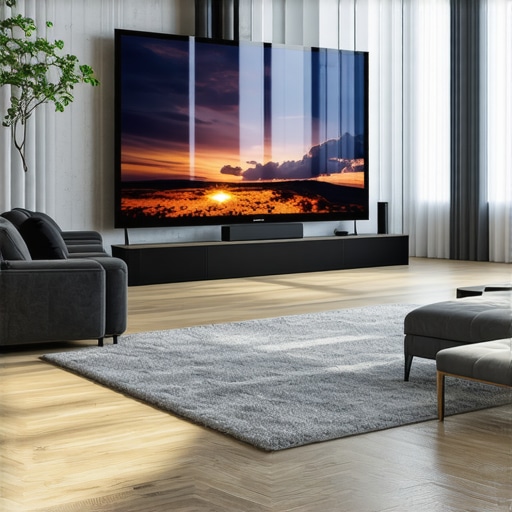
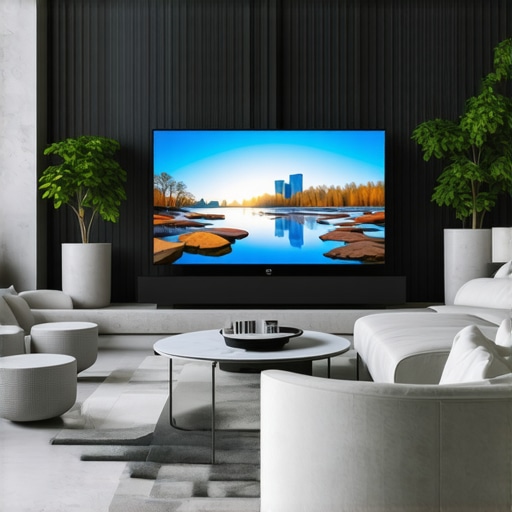
Measure and Match Your Room Lighting
Eliminate ambient light as much as possible before choosing your gain. Use blackout curtains or controlled lighting systems to reduce glare. A room with controlled lighting allows you to pick a lower gain screen that delivers richer blacks and better color fidelity. This step is crucial; deploying a bright screen in a sunlit room often results in washed-out images. Consider consulting the 0.7 gain recommendation for such scenarios.
Optimize Screen Size Relative to Your Space
Choosing the right screen size is essential. Too large a screen in a small room can push your projector’s contrast limits, while too small shrinks the cinematic impact. Use the 2026 viewing distance rule: sit at a distance roughly 1.5 to 2.5 times the diagonal size of the screen. I experimented with a 150-inch screen in my 12-foot room, aligning with the screen size guidelines, which greatly enhanced immersion.
Implement Anti-Hotspotting Techniques
Hotspots, or bright spots caused by high gain, are common with screens above 1.0 gain. To prevent this, install a textured surface or use a matte finish that diffuses reflections evenly. During my own setup, I added a micro-etched coating to my screen, drastically reducing hotspots. For more detailed methods, see hotspot prevention tips.
Test with a Consistent Content Sample
Once installed, project the same test videos or images to evaluate uniformity, brightness, and contrast. Adjust projector settings or screen positioning based on these observations. I found that minor tilt adjustments in my setup improved image uniformity, especially on my textured surface. Regular testing helps ensure you aren’t compromised by unforeseen reflections or hotspots.
Calibrate for Your Eye and Room Conditions
Finally, conduct a calibration process using a colorimeter or professional tools if possible. Tweak gamma, contrast, and color settings until the image appears natural and vivid. Remember, the goal isn’t maximum gain but optimal contrast and color accuracy. For specific calibration methods, refer to the calibration insights. The key is to iterate and refine your setup regularly, especially if lighting or room configuration changes.
Many home theater enthusiasts buy into the myth that higher screen gain automatically leads to brighter, better images. But in my experience, this oversimplification can cause costly mistakes. For instance, assuming that a gain of 2.0 will outperform a 0.8 or 1.0 gain often leads to hotspots, reduced contrast, and a loss of image uniformity. The reality is, the nuances of screen gain aren’t fully appreciated by most users, leading them astray. A common trap is believing that high gain means better performance in all scenarios, but as detailed in the ultimate guide to gain material size, understanding the interplay between gain, texture, and room lighting is crucial. Equally, many overlook how projection screen material influences image quality. For example, matte surfaces with micro-etched textures can mitigate hotspots common with high-gain screens, promoting evenly distributed light. Relying solely on gain figures without considering the underlying materials and room conditions often results in subpar viewing experiences.
A frequent misconception is that larger screens always enhance immersion, but this neglects the importance of optimal size relative to your seating distance. The 2026 FOV rules emphasize selecting a size that balances eye comfort with immersive impact. Also, many projectors at high lumen output can handle lower gain screens effectively, meaning you don’t need to chase maximum gain for brightness; instead, focusing on proper room illumination and screen placement yields better results.
Beware of the misconception that bigger or higher gain screens always produce superior images. Overemphasizing gain can actually lead to diminishing returns and technical issues like hot spotting or washed-out blacks. Advanced users should understand that selecting the right material, gain, and size depends heavily on room-specific factors, including ambient light, projector lumens, and seating arrangements. For more insights on these advanced nuances, check out my detailed analysis of how hotspot mitigation techniques and gain optimization can transform your setup.
In summary, don’t fall for the simplistic equation of higher gain equals better image quality. Instead, evaluate gain within the broader context of your projection environment. Focusing on proper material choice, room calibration, and realistic expectations will save you money and yield a truly cinematic experience. Remember, the goal is balanced contrast, vibrant colors, and uniformity—not just maximum brightness. Have you ever fallen into this trap? Let me know in the comments.Maintaining your projection system over time is crucial to ensure consistent picture quality and avoid costly repairs. One of the most effective tools I rely on is a colorimeter, such as the X-Rite i1Display Pro. I personally use it monthly to calibrate my projector’s color and contrast, ensuring that environmental changes or lamp aging don’t degrade the image. Regular calibration using this device helps preserve the vibrant colors and contrast ratios I aim for, and I’ve found it prevents the need for more expensive professional recalibrations down the line.
Beyond calibration tools, software like CalMAN or DisplayCal allows me to fine-tune projector settings with precise control. For example, I employ CalMAN’s pre-sets tailored for different room lighting conditions, which I update seasonally. This process guarantees my setup adapts to natural light shifts during the year, maintaining optimal image quality. I recommend scheduling these adjustments quarterly, especially if your room’s ambient lighting is variable.
How do I maintain projection screen quality over time?
Screen preservation is often overlooked. I use an anti-static microfiber cloth to gently dust my screen weekly, preventing dust buildup that can affect brightness and uniformity. For stain removal or cleaning stubborn spots, I follow the manufacturer’s cleaning guidelines precisely—avoiding harsh chemicals that could damage specialized coatings. When I travel or move my setup, I pack the screen carefully in padded containers to prevent scratches or warping. Regular cleaning and careful handling go a long way in extending the lifespan of your projection surface.
Looking ahead, I believe the trend will lean more toward self-maintaining screens with integrated protective coatings that resist scratches, dust, and moisture. Some cutting-edge ALR screens now include nanotech layers that actively repel fingerprints or water, reducing maintenance time significantly. Incorporating such advanced materials could redefine maintenance routines in the near future.
To stay ahead, I highly recommend trying out micro-etching techniques for your screen surface, as they can dramatically improve hotspot resistance and uniformity. If you haven’t already, check out the detailed insights on understanding projection screen gain materials to optimize your maintenance approach. Experimenting with these tips can keep your system performing at its best for years to come.
The Hardest Lesson I Learned About Screen Gain and Material Choices
One of the most profound insights I gained was that chasing higher gain numbers often blinds us to the real heart of picture quality. I used to believe that a gain of 2.0 would automatically mean a brighter, better image, but I overlooked how material texture and room setup influence performance. It took painfully testing different textured surfaces and understanding hotspots to realize that moderation in gain allows for more even illumination and richer contrast.
Why Room Lighting and Screen Texture Outperform Gain Hype
I discovered that controlling ambient light and selecting matte or micro-etched materials trump high gain any day. My experience showed that a balanced gain combined with room darkening enhances contrast and color fidelity much more reliably than chasing gain figures. It’s a reminder that environment tailoring always beats one-size-fits-all solutions.
Embracing a Holistic Approach Over High-Gain Temptations
Initially, I fell for the hype of massive screens and ultra-high gain surfaces, thinking they’d solve all my brightness issues. Instead, I added hotspots, washed-out whites, and muddy shadows. My breakthrough came when I learned to match screen gain to my projector’s lumen output and room conditions, using the 2026 gain sweet spot. This approach, focusing on materials, size, and light management, significantly improved my viewing experience.
Where True Value Lies in Screen Selection
Investing in quality materials like micro-etched fabrics or specialized ALR surfaces can provide stability and uniformity that high gain fabrics often lack. Remember, a well-chosen material adjusted for room lighting will outperform any hype involving gain alone. For guidance on picking the best screen for your space, visit the latest material insights. Sometimes, less is more—less gain, more harmony.
![3 Material Fixes if Your ALR Screen Blurs 16K Content [2026]](https://screens.cinegearguide.com/wp-content/uploads/2026/02/3-Material-Fixes-if-Your-ALR-Screen-Blurs-16K-Content-2026.jpeg)