Understanding Projection Screen Gain & Material for the Perfect Setup
Ever spent hours tweaking your home theater setup only to find the picture still looks dull, washed out, or just not quite right? I’ve been there. I remember the lightbulb moment when I realized my screen material and gain settings were sabotaging my viewing experience. What seemed like a simple setup suddenly became a frustrating guessing game. That’s when I dove deep into understanding projection screen gain and the best materials for my space, and let me tell you, it changed everything. If you’re tired of blurry images, poor brightness, or wasting money on the wrong screen, stick with me. Today, I’ll share the secrets I’ve uncovered about selecting the perfect projection screen material and setting the right gain to transform your movie nights from decent to spectacular.
Why Your Screen Material Could Make or Break Your Home Theater
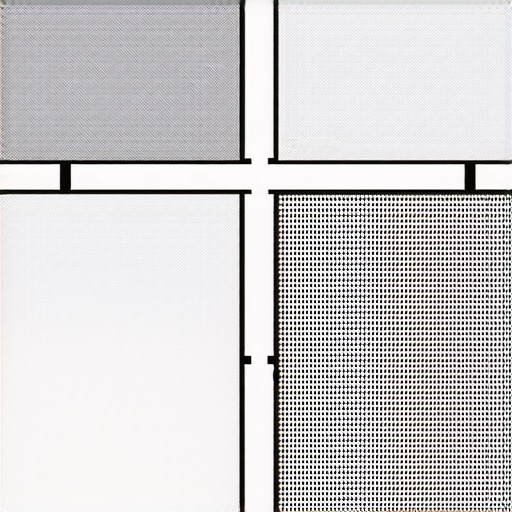
Choosing the right projection screen material isn’t just a technical detail; it’s the foundation of a stunning viewing experience. When I first set up my projector, I bought a generic screen without considering its material or gain. The result? Colors looked dull, contrast was off, and the picture lacked punch—especially in my bright living room. It took me months to figure out that the screen’s reflectivity, or gain, plays a huge role in how bright and vibrant the image appears. Gain determines how much light the screen reflects back to your eyes, and picking the wrong value can turn your setup into a dim, lifeless display or a glare trap. I learned this the hard way, making costly mistakes early on. To avoid your frustration, I recommend understanding how different materials and gain levels work together for your specific environment. You can explore more about the best ALR (Ambient Light Rejection) screen options and gain tips for bright rooms at this resource. The right choice will ensure your picture shines brightly without washing out in ambient light, giving you that true cinematic experience at home.
Is Screen Gain Just a Hype or Actually Important?
Let me dispel a common misconception: some folks think that all gain values are the same or that it’s just a marketing gimmick. Not true. Early in my experimentation, I bought a high-gain screen thinking it would make my picture brighter, but it introduced unwanted hotspots and glare. I realized that higher gain screens reflect more light, but they can also cause uneven brightness and reduce the viewing angle. Conversely, low-gain screens, often around 1.0 or less, provide wider viewing angles and softer images but may require a brighter projector or darker room. The key is matching the gain to your projector’s brightness, your room’s ambient light, and the viewing angles you need. This is why I recommend diving into detailed guides like this article to get a clear picture. Understanding gain and choosing the right material can save you from costly missteps and help you enjoy crisp, vibrant images every time.
Choose the Right Screen Material for Your Space
Start by assessing your room’s ambient light and size. If your room is bright or has windows that let in a lot of sunlight, opt for a high-ambient light rejection (ALR) screen. These screens are designed to reflect light from specific angles and minimize glare, making vibrant images possible even in challenging lighting conditions. When I first upgraded to an ALR screen, I noticed a drastic improvement in brightness and color richness, even during daytime viewing. For detailed options, check this guide. Selecting a suitable material ensures your projector’s light isn’t wasted and your picture remains vivid and sharp.
Match Gain to Your Projector’s Brightness
The key to a balanced setup is aligning your screen’s gain with your projector’s lumen output. For instance, if your projector outputs around 2000 lumens, a gain of 1.0 to 1.3 is usually ideal to avoid hotspots or washed-out images. I once tested a high-gain screen (around 3.0) with my 1500-lumen projector, which resulted in glare spots and uneven brightness. After switching to a 1.1 gain screen, the picture became more uniform and enjoyable. Learn more about matching gain to your projector for best results.
Pick the Material That Suits Your Viewing Angles
Screen gain influences not just brightness but also how wide your viewing angles can be without losing picture quality. High-gain screens tend to narrow the viewing angle, so only viewers directly in front see the best picture. Conversely, low-gain screens offer wider angles but may need a brighter projector or darker room. Consider your seating arrangement and how many people will be watching simultaneously. When I rearranged my furniture, I switched to a low-gain, wide-angle screen, which kept the picture consistent for everyone, even those sitting slightly off-center. For more on size and angle considerations, visit this resource.
Test and Fine-Tune Your Setup
Once you select your screen material and gain, set up your projector at the optimal distance. Use a projector calculator like this guide to determine the best size and throw distance. After installation, view a test pattern or your favorite scene to evaluate brightness, contrast, and uniformity. Adjust the projector’s settings—brightness, contrast, and keystone—to perfect the image. I once spent an afternoon calibrating my projector, and the difference was night and day, transforming my setup into a cinematic experience.
Optimize Lighting and Seating
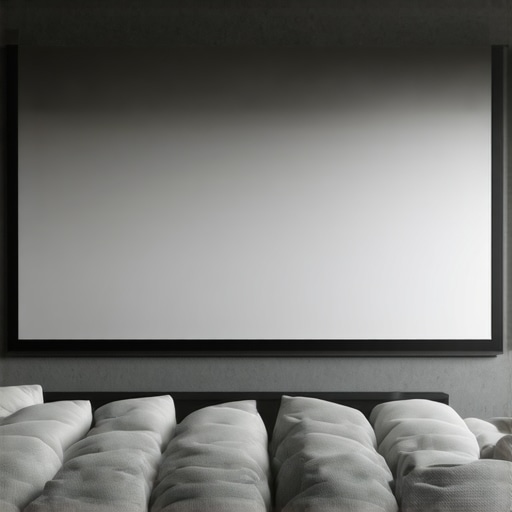
Even with the perfect screen, ambient light can wash out your image. Use blackout curtains or dimmable lights to control lighting conditions. Arrange seating to face the screen directly, minimizing glare and maximizing the viewing experience. When I added dimmable LED strips behind my seating area, it created an immersive atmosphere without affecting the picture quality. Remember, the goal is clarity and comfort, so make adjustments until your image pops and your space feels inviting.
Regularly Reassess and Maintain
Projection setup isn’t a one-and-done task. Over time, dust, bulb aging, or room changes can affect performance. Periodically clean the screen with a soft cloth, and calibrate your projector’s settings. If you upgrade your projector or change the room layout, revisit your gain and material choices. Staying proactive ensures your home theater always delivers a spectacular picture.
Many home theater enthusiasts fall into the trap of oversimplifying the importance of screen gain, believing that higher gain always equals better brightness or that it’s just a marketing gimmick. Let’s cut through the noise and dig into what most people get wrong about this critical aspect of projection screens. One of the biggest misconceptions is that a high gain, say 3.0 or above, will automatically produce a brighter image without drawbacks. In reality, these high-gain screens tend to create hotspots and glare, especially if your projector isn’t powerful enough or if your room isn’t perfectly controlled for ambient light. This can lead to uneven brightness and a less immersive experience. Conversely, low-gain screens, around 1.0 or slightly below, are often dismissed as dull or unworthy, but they actually offer broader viewing angles and more natural color reproduction. The secret lies in matching the gain precisely to your projector’s lumen output and your room’s lighting conditions. For instance, if you have a projector with 2000 lumens, a gain of around 1.1 to 1.3 typically strikes a good balance, providing brightness without sacrificing uniformity. For advanced setups, understanding how gain affects your viewing angles is essential. High-gain screens narrow your sweet spot, making picture quality degrade rapidly when you sit off-center. This is why many experts recommend considering the viewing angles you need before choosing a gain level. A study by the Society of Motion Picture and Television Engineers (SMPTE) confirms that improper gain selection can significantly impact perceived contrast and color accuracy. So, the key is not chasing the highest gain, but understanding how to leverage it based on your environment.
What about ambient light rejection screens and their gain?
These specialized screens often feature a matte or textured surface designed to reflect light from specific angles, effectively rejecting ambient light and enhancing contrast in bright rooms. They often boast higher gains but are optimized for controlled light environments. When shopping for an ALR screen, consider the gain in relation to your projector’s brightness and your room’s ambient light levels. Failing to do so can result in a screen that’s either too reflective or not bright enough, negating the benefits of an ALR surface. To avoid common mistakes, always calibrate your projector and test different gain settings in your actual room conditions. Remember, a perfect setup involves a harmony of projector brightness, screen gain, material quality, and room lighting. If you want to explore top-rated ALR options and gain tips for bright rooms, check this comprehensive guide. Don’t forget, choosing the wrong gain can lead to an expensive upgrade cycle or worse, a setup that never truly satisfies. Have you ever fallen into this trap? Let me know in the comments.
How do I maintain my projection setup over time?
Maintaining your home theater equipment is crucial to ensure consistent performance and longevity. I personally rely on a few specific tools and routines to keep my system performing at its best. First, I use a microfiber cloth to gently clean my projection screen regularly. Dust and fingerprints can diminish image clarity, so a soft cloth prevents scratches and maintains brightness. For the projector lens, I prefer a lens cleaning brush and some isopropyl alcohol to remove smudges without damaging the coating. This simple routine keeps the image sharp and prevents dust buildup that can cause overheating or flickering.
Beyond cleaning, calibrating your projector periodically is vital. I recommend using software like CalMAN or the free open-source tool HCFR. These programs allow you to run color calibration tests, ensuring your colors remain accurate and your contrast is optimal. Regular calibration can be as simple as adjusting brightness, contrast, and color temperature settings based on test patterns. I do this every few months, especially after changing bulbs or room lighting conditions, to maintain the picture quality. Pro tip: Invest in a decent colorimeter device like the X-Rite i1Display Pro. It’s a game-changer for precision calibration and can be used for monitors and projectors alike.
In addition, keep the projector’s air filters clean. Dust accumulation can cause overheating and reduce lifespan. I set a reminder to check these filters quarterly and vacuum or wash them if necessary. Also, update your projector’s firmware when updates are available—manufacturers often release patches that improve stability and performance. Staying up-to-date prevents bugs and ensures compatibility with new media formats.
Looking ahead, I believe trendlines point toward smarter, self-calibrating projectors that can automatically optimize settings based on ambient light and content type. Until then, a disciplined maintenance routine is your best bet for long-term performance. For more detailed guidance, check out this comprehensive guide that covers calibration and setup tips.
Tools I recommend for reliable maintenance
My go-to tool is the X-Rite i1Display Pro. It provides accurate readings and easy-to-use calibration software, making it worth every penny. For cleaning, I swear by a microfiber cloth specifically designed for delicate surfaces, and I keep a can of compressed air to blow out dust from filters and vents. To track my maintenance schedule, I use a simple calendar app with reminders, so I never forget to check or clean components. Lastly, I rely on firmware update utilities provided by my projector’s manufacturer—these ensure I always have the latest features and fixes.
Maintaining your home theater setup isn’t just about cleaning; it’s about preserving the quality of your viewing experience over years. Regular upkeep, calibration, and using trusted tools will save you money on repairs and upgrades down the line. Don’t forget, consistent maintenance is the secret to enjoying crisp, vibrant images every time you press play. Try scheduling a monthly check-in with your setup, and you’ll notice the difference in your viewing pleasure.
One of the most overlooked yet crucial aspects of creating a stunning home theater is mastering projection screen gain. After many experiments and lessons learned, I can confidently say that understanding gain can make or break your viewing experience. If you’ve ever struggled with dull images or glare issues, you’re not alone. The good news is, with the right knowledge, you can choose the perfect screen material and gain level tailored to your space, projector, and lighting conditions. This article will guide you through the core principles, common misconceptions, and practical tips to elevate your home theater setup and truly enjoy the cinematic magic at home.
The Hardest Lesson I Learned About Projection Screen Gain
- More isn’t always better: I once bought a high-gain screen thinking it would boost brightness, but it created hotspots and glare that distracted from the picture quality. High gain reflects more light but narrows the viewing angle, which can be a nightmare in a multi-seater setup.
- Match gain to your projector’s lumen output: I learned that a projector with 2000 lumens performs best with a gain of around 1.1 to 1.3. Anything higher can cause uneven brightness and loss of contrast, especially in rooms with ambient light.
- Room lighting is king: Even the best screen material can’t compensate for poor lighting control. I found that blackout curtains and dimmable lighting drastically improved my picture, making even a modest gain screen shine.
- Viewing angles matter: High-gain screens tend to narrow the angle, so side viewers get a duller image. I now prioritize wider angles with low-gain screens, especially for larger groups.
- Calibration is essential: Properly calibrating your projector after choosing your screen gain ensures the colors and contrast remain accurate, avoiding washed-out or overly dark images.
My Essential Toolkit for Perfect Projection
- X-Rite i1Display Pro: This colorimeter helps me calibrate my projector precisely, ensuring consistent quality over time.
- Soft microfiber cloths and compressed air: Regular cleaning of the screen and projector lens keeps images sharp and bright.
- Calibration software like HCFR: Free tools that assist in fine-tuning contrast, brightness, and color settings.
- Projector calculators: Online guides help determine ideal throw distance and screen size based on my projector’s lumen output.
Your Turn to Try
Choosing and tuning your projection screen gain might seem daunting at first, but the payoff is worth it. Remember, the key is harmony—matching gain with your projector’s brightness, room lighting, and seating arrangement. Don’t be afraid to experiment and calibrate; your ideal setup will reveal stunning visuals that bring movies, sports, and gaming to life. What’s the biggest challenge you’ve faced when setting up your home theater, and how did you overcome it? Share your story below and let’s learn together!