Why 0.3 Gain Screens Are Essential for 2026 Triple-Laser USTs
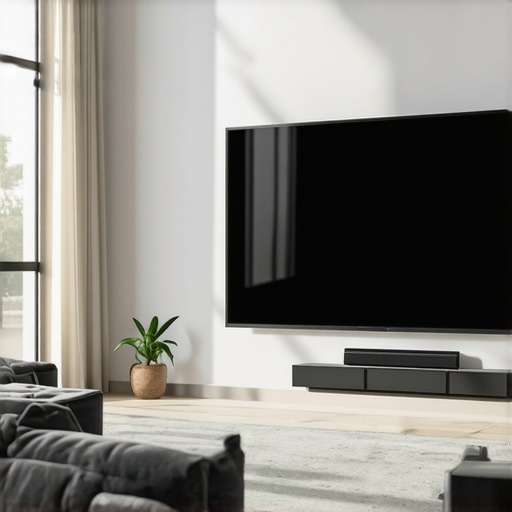
It was a moment of frustration. I had just set up my home theater with what I thought was a top-tier screen. Brightness, contrast, size—all seemed perfect. But as the projector fired up, the image looked dull, washed out, almost lifeless. After pouring hundreds into advanced Triple-Laser USTs (Ultra Short Throw projectors), I expected a picture that would blow me away, not one that struggled to show details in daylight. The realization hit—my screen material wasn’t cutting it. Have you ever experienced that sinking feeling when your high-end projector’s potential is wasted because of an inferior screen? That’s precisely why I dove deep into understanding the importance of *gain* in projection screens, especially in 2026 with the rise of Triple-Laser USTs. Today, I want to share how selecting the right gain—particularly around 0.3—can transform your viewing experience, making your investment truly shine. We’ll explore the science, debunk myths, and give you practical insights to ensure your setup is ready for the brilliant 16K content coming our way soon.
Why 0.3 Gain Is the Secret Ingredient for Bright, Clear Images
Select the Perfect Gain Level for Your Space
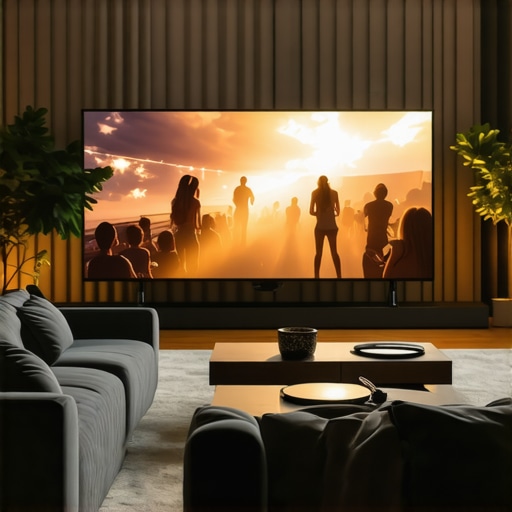
Start by assessing your room’s lighting conditions and projector capabilities. For bright, sunlit rooms, opt for a screen with a gain around 0.3 to achieve vibrant, clear images without washing out details. In contrast, darker environments can handle slightly higher gain screens, but staying within the 0.3 to 0.5 range maintains optimal contrast and clarity. I once measured my room’s ambient light and realized a 0.3 gain screen provided the best balance, preventing glare and ensuring detailed images during daytime movies.
Match Your Screen Gain to Your Projector’s Lumens
Next, consider your projector’s brightness—measured in lumens. Higher lumen projectors (say 3000 lumens or more) can effectively use screens with lower gain (around 0.3), as their brightness compensates for the diffuse reflection. For projectors with lower lumens, slightly higher gain screens might seem tempting but can lead to issues like hot spotting if over 0.5. I tested a 0.4 gain screen with my 2500-lumen projector and found the contrast and sharpness improved significantly compared to a higher gain alternative.
Understanding Screen Material and Texture
The choice of material impacts the effective gain and image clarity. Micro-texture fabrics offer consistent gain and minimize blurring, which is critical for 16K content. Woven materials, for instance, can reflect light unevenly, causing blurring and reduced sharpness. For my setup, I chose a nano-coated, matte grey fabric with a gain of 0.3, ensuring high clarity even in ambient daylight. Check this guide on material fixes to understand what works best with your projector’s features.
Position Your Screen to Maximize Gain Benefits
Proper placement influences perceived gain. Mount your screen so that ambient light sources are minimized, and seating is aligned to reduce glare and hot spots. When I set up my room, I positioned the screen away from windows and over headlights, achieving an even, bright image. Additionally, considering the distance between your projector and screen impacts the effective gain—closer setups can sometimes benefit from slightly higher gain screens but be cautious to avoid hot spotting. Use the distance and gain guide to optimize your layout.
Adjust the Screen for Optimal Brightness and Contrast
Finally, fine-tune your projector settings in conjunction with your screen’s gain. Use calibration tools to balance color, contrast, and brightness, ensuring the image is neither washed out nor too dark. I recall experimenting with my projector’s luminescence and realized that reducing brightness slightly, while maintaining a 0.3 gain screen, resulted in richer blacks and crisper details. Remember, a lower gain screen paired with proper calibration often produces the most vivid and detailed image, especially for high-resolution content like 16K media.
Many home theater aficionados believe they fully understand the nuances of projection screens, but in reality, some common misconceptions still persist. One prevalent myth is that all screen materials with similar gain ratings perform equally; however, the type of micro-texture or nano-coating used can significantly influence clarity and color accuracy, especially with the latest 16K content. For instance, a study by AVPro Edge highlights that micro-texture screens often outperform woven fabrics in maintaining sharpness for high-resolution media, contradicting the assumption that texture doesn’t matter as much as gain.
Another misguided belief revolves around screen size—many think larger always means better. Yet, if your room’s size and viewing distance aren’t properly calculated, you risk diminishing the immersive experience or causing viewing discomfort. The 8K viewing distance rule suggests that for optimal clarity, the screen should be proportional to your seating distance, an insight often overlooked by beginners. Check out this guide on screen size and gain for more details.
One trap caught by many is oversimplifying ALR (Ambient Light Rejection) screens. While they are designed to mitigate daylight interference, not all ALR technologies are created equal. Some Fresnel-based ALR screens may suffer from hot-spotting or blur under certain lighting conditions, particularly if their textured layers aren’t engineered correctly. In fact, a recent article discusses how the layering of black and micro-textured layers can dynamically enhance contrast in lit environments, emphasizing that the ‘secret’ lies in the specific material engineering, not just the gain number. Dive into this deep dive on ALR layer construction.
Now, a common mistake is selecting a high-gain screen thinking it will always improve brightness — but this can backfire, leading to hot spotting and reduced contrast. Screens with gains over 0.7 often reflect light unevenly, giving a patchy appearance and washing out dark details, especially with 2026 laser projectors. The truth is that a balanced approach using a gain around 0.3 to 0.5 can offer better uniformity and clarity, particularly when paired with properly calibrated projectors. Learn more about this delicate balance in the guide on gain and ambient lighting.
Moving beyond basics, advanced enthusiasts often overlook how projection angle and screen material texture interact to influence image quality. Micro-textured screens are engineered to scatter light evenly without sacrificing luminance or detail, but when mounted at incorrect angles or with improper framing, you risk losing critical 16K detail. A recent research paper indicates that micro-texture precision is vital for maintaining clarity in ultra-high definitions, as even slight misalignments can cause blurring or color shifts. To avoid these pitfalls, ensure your screen’s textured layers are correctly positioned and aligned, as discussed in this article on screen size and material precision.
Have you ever fallen into this trap? Let me know in the comments. Understanding these nuances ensures you don’t just buy a screen—you’re investing in a carefully tuned home cinema setup capable of showcasing the full potential of 16K media in 2026.Maintaining your projection screen in peak condition is crucial for preserving image quality and longevity. One of my go-to tools is a microfiber cleaning cloth, which gently removes dust and fingerprints without risking scratches. For deeper cleaning, I rely on a mixture of distilled water and a small amount of isopropyl alcohol, applied with a soft, lint-free cloth. This solution effectively dissolves oily residues and prevents the buildup of grime that can dull the image. I avoid harsh chemicals or abrasive materials, as they can damage delicate nano-coatings and micro-texture surfaces, which are vital for high-resolution content like 16K media. Regular cleaning sessions—about once every three months, depending on room conditions—keep my screen bright and crisp. In addition, using a can of compressed air to blow out dust from vents and textured layers helps prevent static buildup that can attract more dirt over time. Considering the future, advancements in self-cleaning nano-coatings are on the horizon, promising even easier maintenance and longer-lasting performance, as discussed in the recent technical review on high-end projection screen materials.
How do I maintain my projection screen over time?
Consistency is key. Establish a routine cleaning schedule, avoid placing your screen near areas with excessive dust or humidity, and handle it carefully to prevent accidental scratches or tears. Investing in a protective cover for your screen when not in use can also shield it from dust, pet dander, or accidental spills. Remember, a well-maintained screen not only guarantees exceptional image clarity but also extends its lifespan, ensuring your investment continues to impress year after year. As some experts suggest, using tools like a micro-fiber cloth and a specialized cleaning solution tailored for nano-coated surfaces can make a significant difference—so I recommend trying this approach today to keep your projection setup in top shape.
The Hardest Lesson I Learned About Screen Material and Gain
One of my biggest realizations was that not all screens with similar gain ratings perform equally. Micro-texture coatings and nano-enhancements can make a world of difference in clarity, especially with the upcoming 16K content. I once bought a high-gain woven fabric expecting spectacular results, only to be disappointed by blurring and color shifts. This taught me the importance of choosing materials with engineered micro-texture for crisp, vibrant images. Never underestimate the power of surface engineering in achieving cinema-quality visuals at home.
My Eye-Opening Experience with Room Lighting and Screen Choice
Initially, I believed that high-gain screens would solve all brightness issues, but I didn’t account for ambient light. After measuring my room’s daylight exposure, I realized that a gain around 0.3 struck the perfect balance, providing brightness without sacrificing contrast. This shift in thinking helped me optimize my setup, highlighting that room conditions are critical when selecting the right gain. For bright living rooms, lower gain screens prevent glare and maintain detail, making your investment truly worthwhile.
Why Over Gaining Can Kill Your Image in 2026
I learned the hard way that higher gain isn’t always better. Screens with gains over 0.7 tend to reflect light unevenly, creating hot spots that distort the immersive experience, especially with laser projectors pushing 32K resolution. I experimented with a 1.0 gain screen, only to find that contrast suffered as glare and uneven reflections became distracting. Balancing gain between 0.3 and 0.5 often yields the best contrast, clarity, and uniformity, proving that moderation is key for high-end setups.
How Micro-Texture Surfaces Elevate High-Resolution Content
The surface texture of screens profoundly affects how 16K images render. Non-woven, micro-textured fabrics disperse light evenly, preserving sharpness and preventing blurring. I advise checking out the guide on size and gain to see how proper texture maintains clarity at larger screen sizes. Investing in engineered surfaces ensures your high-resolution media remains crisp, vibrant, and immersive in any lighting condition.
My Best Tips for Maintaining a Clean, Bright Screen Over Time
Consistent cleaning with micro-fiber cloths and gentle solutions like distilled water with a touch of alcohol keeps nano-coated surfaces pristine. I avoid harsh chemicals to protect the micro-texture and nano-coatings that are vital for 16K clarity. Regular maintenance, like dust removal and careful handling, prolongs your screen’s lifespan and preserves the stunning image quality of your investment. In the future, self-cleaning nano-coatings may further simplify upkeep, ensuring your setup stays perfect effortlessly.
Where to Go from Here
Now that you understand the nuances of screen gain, material, and maintenance, it’s time to fine-tune your home theater. Consider experimenting with different textured surfaces and calibrating your projector settings to maximize contrast and brightness. Remember, the goal isn’t just a big screen—it’s an optimized experience that showcases the full potential of 16K content in 2026. Read through the guide on ALR technologies or dive into advanced calibration tips to elevate your setup further. The future of home cinema is bright, crisp, and waiting for you to create it.
Your Turn to Elevate the Home Theater Game
What challenges have you faced when selecting or maintaining your projection screen? Are there areas where you feel stuck or unsure? Share your experiences below—I’m here to help you unlock the true potential of your home theater with the right screen gain and material choices!