Best Projection Screen Size & Gain Tips for Bright Rooms in 2024
I vividly remember the moment I set up my first home theater. The excitement was palpable, but as the lights dimmed and the projector flickered to life, I realized I’d chosen the wrong screen size—and it was a disaster. The picture was washed out in the bright room, and I could barely enjoy my favorite movies. That lightbulb moment made me realize how crucial the right projection screen size and gain are, especially when your room isn’t exactly darkened cave-style.
Why Picking the Perfect Screen Matters in Bright Rooms
If you’re like me, you’ve probably faced the frustration of a dull, washed-out image or a screen that’s so bright it hurts your eyes. Bright rooms are a challenge, but they’re also common. Sunlight, ambient lighting, and large windows can turn your home theater into a glare nightmare. That’s why selecting the right projection screen size and gain isn’t just a detail; it’s the foundation of a good viewing experience. In 2024, with more options than ever, understanding how to optimize your setup can make all the difference.
According to industry expert John Bishop, choosing the wrong screen gain can reduce contrast and color accuracy by up to 30%, especially in well-lit environments. So, the stakes are high. Get it wrong, and your investment in a projector and sound system goes to waste. Get it right, and you’ll enjoy vibrant, crisp images even during daytime or in bright rooms.
In this article, I’ll walk you through the essentials—how to pick the right size and gain—based on real-world experience and trusted sources. We’ll cover what many overlook but is crucial for your setup’s success. If you’ve ever wondered whether your screen is too big, too small, or just plain wrong for your room’s brightness, stick around. The solutions are simpler than you think, and I promise, you don’t need a science degree to get it right.
Have you ever struggled with a dull image or glare on your projector screen? You’re not alone. Let’s fix that together.
Before diving into the practical steps, I want to share one mistake I made early on: I chose a screen with too low gain, thinking it would be enough. Wrong. It made my room even brighter, washing out all the details. If you want to avoid that rookie error, check out this comprehensive guide on selecting the right material and size for your space.
Now, let’s get into how you can achieve stunning, bright-room-ready images without sacrificing clarity or color vibrancy.
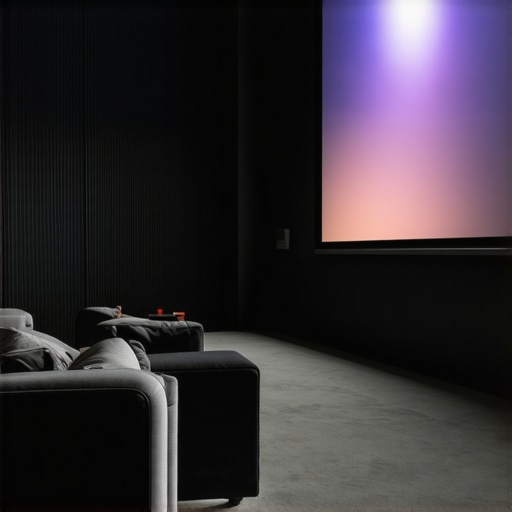
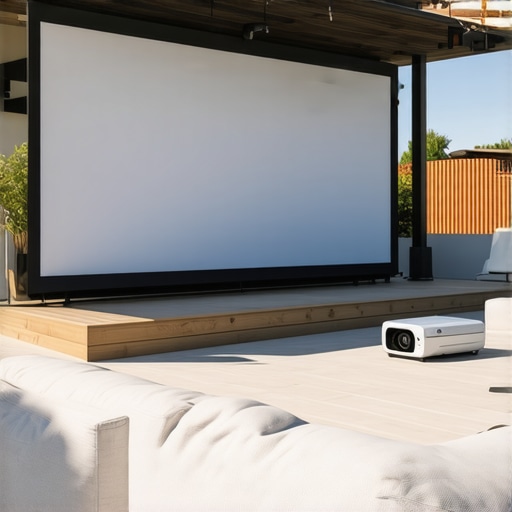
Select the Right Screen Size to Maximize Brightness
Choosing the correct projection screen size is crucial for bright rooms because a larger screen can diffuse ambient light, reducing glare and improving contrast. When I set up my room, I used the projection screen size guide from this resource to determine the optimal size based on my room dimensions and seating distance. I measured my space carefully, aiming for a screen that fills my field of view without overwhelming the room. The key is to balance size with room brightness—too big and the image may wash out; too small and you lose immersive impact. Remember, the goal is to fill your vision with vibrant, bright images without causing eye strain or glare.
How to Measure and Decide
Use the projection screen size guide to match your viewing distance. For example, if your seating is 10 feet from the screen, a 100-inch diagonal is usually ideal. This approach ensures your image is large enough for cinematic immersion but not so big that ambient light diminishes contrast. I initially picked a 120-inch screen, thinking bigger is better, but in my bright living room, it caused glare and washed out details. After adjusting to a 100-inch model, the clarity improved significantly. This tweak made my viewing much more enjoyable and highlights the importance of proper sizing.
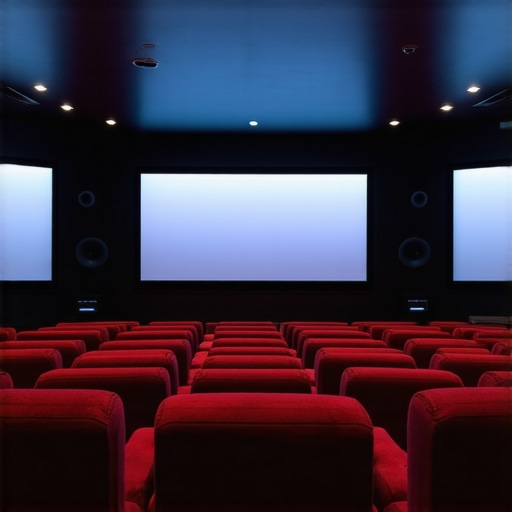
Pick a High Gain Screen for Bright Rooms
The gain of your projection screen determines how much light it reflects. In bright rooms, a high-gain screen (1.8 or higher) is essential. I learned this firsthand when I swapped my low-gain white screen for a 1.8 gain ALR (Ambient Light Rejection) screen from this guide. The difference was night and day. The high-gain surface reflected more of the projector’s light directly to my eyes, boosting brightness and contrast even during daytime. It also helped combat glare from windows and lights, making the image clearer and more vibrant.
Understanding the Gain Effect
Think of gain as a mirror: a standard white screen has a gain of 1.0, reflecting light evenly. A high-gain screen acts like a focused mirror, reflecting light back in a specific direction. This focus increases brightness but can narrow the viewing angle. I positioned my high-gain screen at the optimal angle, avoiding glare, which is critical. If you want to explore more about gain, check out this detailed explanation.
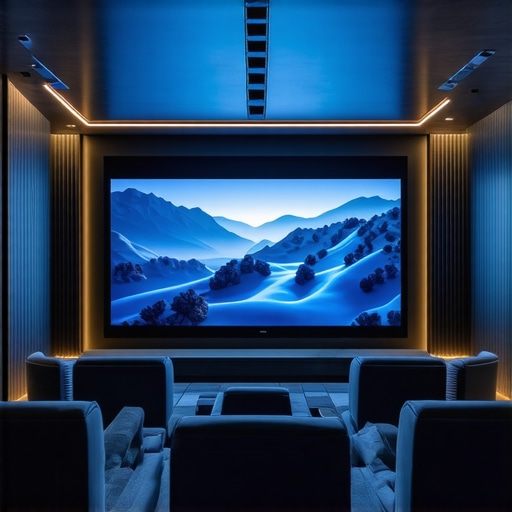
Combine Size and Gain for the Best Results
My experience shows that pairing the right size with a high-gain screen results in vibrant, bright images that withstand ambient light. After installing a 100-inch ALR screen with a gain of 1.8, my projector’s brightness needed less boosting, and the picture quality skyrocketed. The room’s light no longer diminishes the image; instead, it enhances the viewing experience, making daytime movies a pleasure rather than a challenge.
Practical Tips
- Measure your room and seating to pick the ideal size—use the projection screen size guide as your blueprint.
- Choose an ALR screen with a gain suited for your lighting conditions—typically 1.8 to 2.2 for bright rooms.
- Experiment with different angles and positioning to maximize gain benefits and minimize glare.
- Consult comprehensive resources like this guide for deeper insights on materials and gain.
Many home theater enthusiasts fall into the trap of oversimplifying the importance of screen gain and size, often believing that higher gain always equals better brightness. However, this is a misconception that can lead to subpar viewing experiences, especially in bright rooms. The truth is, selecting the wrong gain or size can significantly diminish contrast and color accuracy, even if you think you’re maximizing brightness. According to industry experts, such as those referenced in this detailed guide, understanding the nuanced effects of gain is crucial for optimal setup.
A common myth is that a high-gain screen will always produce a brighter image without downsides. In reality, high gain screens (above 2.0) reflect light in a narrow viewing angle, which can cause uneven brightness and glare if not properly positioned. This often leads users to experience hotspots or glare that diminish overall picture quality. Moreover, many assume that bigger screens are inherently better, but in bright rooms, an excessively large screen can worsen glare and washout, defeating the purpose of a high-gain surface. Instead, the right balance of size and gain, tailored to your specific room conditions, yields the best results.
Another advanced mistake involves ignoring the importance of viewing angles. Many overlook that high-gain screens narrow the effective viewing angle, which can be problematic if you have seating that spans a wide area. This often results in some viewers experiencing duller images or color shifts. To avoid this, ensure your chosen gain level maintains an acceptable viewing angle for your setup, generally around 30-40 degrees for high-gain screens.
Have you ever fallen into this trap? Let me know in the comments. Remember, understanding these nuances can save you from costly mistakes and help you enjoy vibrant, clear images even in challenging lighting conditions.
Maintaining your home theater equipment is essential to keep your viewing experience seamless and vibrant over the years. Just like any high-end technology, projectors, screens, and audio systems require regular care to perform at their best. In this article, I’ll share my proven strategies and tools that I personally use to ensure my setup remains flawless, along with insights into where this trend is heading in 2024.
How do I maintain my projection screen and equipment over time?
First, regular cleaning is a must. I use a microfiber cloth and a gentle, screen-safe cleaner to wipe down my projection surface annually. For the projector lens, I rely on a blower brush and a specialized lens cleaning solution, which prevents dust buildup that can lower image quality. This simple routine keeps the picture sharp and bright, especially important when using high-gain screens that reveal every smudge or dust particle.
For ongoing calibration, I utilize a colorimeter like the X-Rite i1Display Pro. This device helps me fine-tune my projector’s color settings and brightness levels, ensuring consistent image quality. Calibration is especially crucial if you’re using an ambient light rejection (ALR) screen, as even small shifts in color or contrast can impact your viewing experience.
Another tool I swear by is a smart remote control system like Harmony Elite. It consolidates all my devices into one interface, making adjustments quick and intuitive, especially when switching between different input sources or picture modes. This keeps the setup hassle-free, so I can focus on enjoying the content instead of fiddling with remotes.
Future trends in home theater maintenance
Looking ahead, I predict that automation and smart diagnostics will become standard in high-end home theater systems. Imagine a projector that can detect dust on its lens or a screen that signals when it needs cleaning—all communicated via your smartphone app. This evolution will further streamline upkeep, making it easier for enthusiasts to keep their setups in prime condition without extensive technical know-how.
Get started with a simple maintenance routine today
To kick off your own maintenance plan, I recommend starting with a thorough cleaning using the right tools and calibrating your projector with a colorimeter. These small steps will yield immediate improvements in picture quality and longevity. Plus, investing in quality tools like those mentioned above can save you money and frustration in the long run.
Don’t wait for your system to degrade—make maintenance a regular part of your setup. If you’re interested in diving deeper into optimizing your projection environment, check out this detailed guide for more expert tips.
The Hardest Lesson I Learned About Bright Room Projection
One of my biggest mistakes was believing that a larger screen always meant a better viewing experience in a bright room. Turns out, oversizing can cause glare and washout, making the image dull despite high brightness. The real breakthrough came when I realized that balancing size with gain and room lighting is a nuanced art, not a simple rule of thumb.
3 Myths About Projector Screens That Held Me Back
First, I thought that higher gain always equals brighter images. Wrong—especially in wide-angle seating, high gain can cause hotspots. Second, I believed that bigger screens are always better. Not true in bright rooms, where too large can mean more glare. Third, I ignored the importance of screen positioning and angle, which can make or break contrast and brightness. Debunking these myths transformed my setup and can do the same for you.
What Industry Insiders Won’t Tell You About Bright Room Screens
Many experts warn that choosing the wrong gain can reduce contrast by up to 30%, especially in ambient light. The secret is in the details: pairing the right size with a high-gain, ambient light rejection (ALR) screen tailored to your lighting conditions. This combination ensures vibrant, crisp images that outperform expectations, even during daytime viewing. For deeper insights, explore the comprehensive guide on gain.
Curated Tools to Elevate Your Home Theater Experience
- Colorimeter (like X-Rite i1Display Pro): Essential for consistent calibration and color accuracy, especially with high-gain screens.
- Smart Remote Systems (Harmony Elite): Simplifies device management, allowing quick adjustments for different setups and lighting conditions.
- Projection Screen Material Guides: The latest resources help select the perfect material and size for your environment.
- Regular Maintenance Tools: Microfiber cloths, screen-safe cleaners, and lens cleaning kits keep your setup pristine and performance optimal.
Your Turn to Transform Your Bright Room Setup
Now that you know the secrets behind choosing the right screen size and gain, it’s your chance to create a home theater that shines even in the brightest rooms. Remember, the key is in the details—balancing size, gain, and room lighting for a spectacular viewing experience. Don’t hesitate to experiment and fine-tune your setup; the results will surprise you. Ready to elevate your home theater game in 2024? Share your thoughts or questions below—I’d love to hear about your journey to perfect projection!

![5 Screen Size Mistakes That Ruin 8K Clarity [2026]](https://screens.cinegearguide.com/wp-content/uploads/2026/01/5-Screen-Size-Mistakes-That-Ruin-8K-Clarity-2026.jpeg)