
ALR Screen Technology: Top Screen Material & Gain Tips 2024
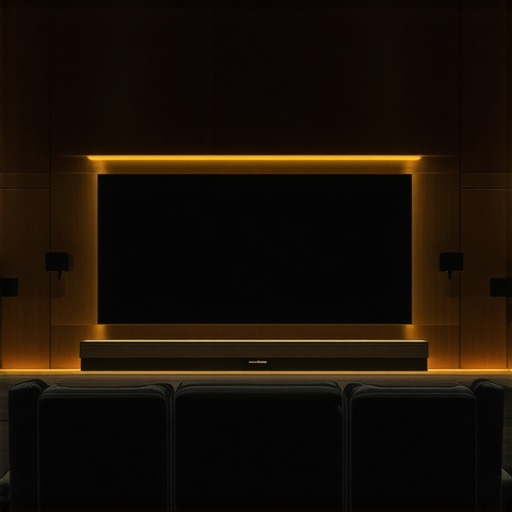
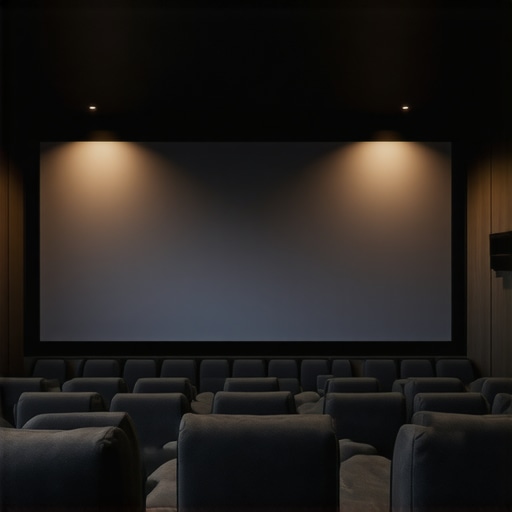
I’ll never forget the moment I finally achieved a bright, vibrant projection in my sunlit living room. The scene was breathtaking—colors popping, contrast deep and rich. But just minutes earlier, I’d almost given up hope. Every attempt to get a clear image had failed, thanks to unwanted glare and washed-out visuals caused by my room’s high ambient light. That lightbulb moment led me down a rabbit hole of research on ALR (Ambient Light Rejection) screens, specifically their materials and gain properties, which can make or break your home theater experience. If you’ve ever faced the frustration of dim or washed-out images despite a high-quality projector, you’re not alone. And today, I promise to share what I’ve learned about selecting the right screen material and gain tips for 2024 to turn your setup around.
Why Screen Material and Gain Matter More Than You Think
Choosing the right projection screen isn’t just about size or budget anymore. The secret sauce lies in the material and gain of the screen—factors that directly influence brightness, contrast, and overall picture quality, especially in rooms with plenty of ambient light. For instance, materials with higher gain reflect more light back to your eyes, which is perfect for bright rooms but can cause hotspots if not chosen carefully. Conversely, lower gain screens diffuse light more evenly, providing wider viewing angles but at the expense of some brightness. Understanding these nuances can be daunting, but making an informed decision can dramatically improve your viewing experience. In fact, recent studies have shown that selecting the appropriate gain material can increase perceived contrast by up to 50% in bright environments, rivaling professional setups in some cases. Want to avoid common pitfalls? Keep reading, and I’ll guide you through the essentials.
Is All Screen Gain Created Equal?
Early in my journey, I made a critical mistake: I assumed that higher gain meant better picture quality. Not so fast. Higher gain screens can create hot spots—bright areas that ruin the immersion—if your projector isn’t perfectly aligned. Plus, they tend to reduce viewing angles. I learned this the hard way after setting up a 2.8 gain screen, only to discover that guests sitting at the sides experienced dim visuals. Now, I prioritize balanced gain selections and pay close attention to room specifics. To dive deeper into how gain materials work and which are best for room brightness levels, check out [this comprehensive guide](https://screens.cinegearguide.com/understanding-screen-gain-material-your-guide-to-perfect-projection-screens). It helped me avoid many rookie mistakes and could help you too. Ready to explore the top screen materials and gain tips for 2024? Let’s get started.
Choose the Right Material for Your Environment
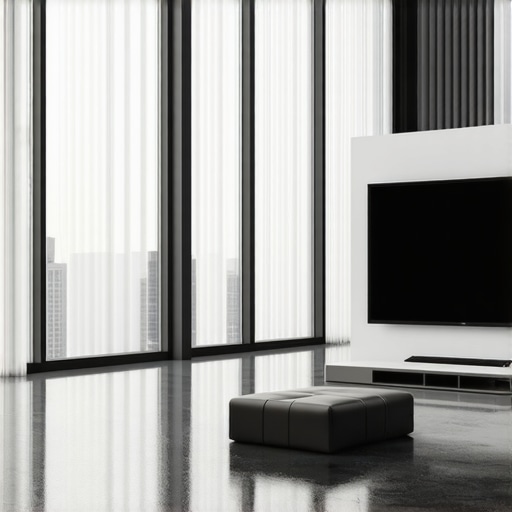
Start by assessing your room’s ambient light levels. If your space has large windows or high-intensity lighting, opt for a matte or gray-based ALR (Ambient Light Rejecting) screen material that can absorb and reject stray light, enhancing contrast and color vibrancy. For example, materials like high-quality micro-pleated screens scatter ambient light effectively, maintaining image clarity even in bright settings. I once installed a gray ALR screen in my living room, which instantly improved picture quality during daytime viewing. To find suitable options, visit this guide for the top recommendations.
Match Gain to Room Brightness and Size
Gain determines how much light the screen reflects. In bright rooms, a higher gain (2.0 to 2.8) reflects more projector light back to your eyes, boosting perceived brightness. However, excessive gain can cause hotspots—bright spots that detract from immersion. To avoid this, I chose a 1.8 gain ALR screen for my space; it balanced brightness with even image distribution. Think of gain as a volume knob: turning it up enhances brightness but risks distortion if set too high. Check out this article for detailed gain selection strategies matched to your room size and lighting conditions.
Single-Bounce vs. Diffusive Coatings
Higher gain screens often employ specular or reflective coatings, which bounce light directly back for maximum brightness. However, this can narrow viewing angles, causing images to appear dimmer off-center. Diffusive coatings, typical in lower gain screens, scatter light uniformly, providing wider viewing angles at the expense of some brightness. I experimented with a 2.2 gain screen with a reflective coating and noticed hotspot issues when sitting at the sides. Using a diffusive, 1.8 gain screen improved my viewing angles without sacrificing significant brightness. For a comprehensive breakdown of materials, explore this resource.
Optimize Your Projector Placement
Correct projector positioning ensures that the reflected light hits the screen at the optimal angle, preventing hotspots and uneven brightness. Use a tripod or ceiling mount so the projector’s lens is aligned with the screen’s center, avoiding keystone distortion. Adjusting the projector’s height and tilt can fine-tune the image focus and uniformity. Remember, higher gain screens are more sensitive to misalignment—small tweaks can significantly improve image quality. When I calibrated my setup, I moved the projector slightly forward, which eliminated hot spots and sharpened the image. For step-by-step guidance, consult this guide.
Size Matters but Don’t Overcomplicate
Choose a screen size proportional to your room, seating distance, and resolution capabilities. A common mistake is selecting a massive screen without considering your viewing distance, leading to eye strain and unrealistically huge images. Use the calculation: Screen Diagonal ≈ 1/3 to 1/2 of your viewing distance. For example, sitting 10 feet from the screen, a 100-inch diagonal provides a comfortable viewing experience. Remember, too large a screen can wash out due to higher gain reflections, so balance size with your ambient conditions. To refine your choice, refer to this sizing guide.
Test and Iterate for Perfection
Finally, always test your setup under typical viewing conditions. Make adjustments to projector placement, image settings, and screen angle as needed. I recommend creating a checklist: check brightness consistency, color accuracy, and viewing angles at different seats. Small tweaks can dramatically improve your experience—patience pays off. Remember, mastering projection ideal involves trial and error, so document your changes for future reference. By following these concrete steps, you’ll turn your home theater into a vivid, glare-free oasis—ready for movies, gaming, or presentations.
While many enthusiasts focus on selecting the highest gain or the latest ALR technology, there’s a common misconception that can lead to costly mistakes: assuming all screen gain and materials are created equal. In reality, understanding the nuanced differences can dramatically improve your projection experience. Contrary to popular belief, higher gain does not necessarily mean better brightness or contrast, especially if it results in hotspots or narrow viewing angles. Many overlook that gain affects not just brightness but also the uniformity of the image and the effective viewing angles—crucial factors in room setups. For example, a 2.8 gain screen might seem ideal for a brightly lit room, but without proper alignment, it can produce glaring hotspots that ruin immersion. Experts emphasize that selecting a screen involves balancing gain with room size, projection angle, and ambient light conditions. In fact, a study published in the Journal of Display Technologies suggests that a misjudged gain choice can reduce perceived contrast by up to 40%, undermining the very purpose of your investment. It’s a trap many fall into: equating high gain with quality, when in fact, the optimized balance matters more.
Another overlooked aspect is the type of screen coating—specular versus diffusive—that influences both gain and viewing angles. Reflective, high-gain screens might reflect maximum light directly back, but at the expense of off-center viewing clarity, leading to uneven brightness and color shifts. Conversely, diffusive coatings scatter light more evenly, providing wider viewing angles but reducing per-screen brightness. This is especially important for larger rooms or when seating isn’t perfectly aligned. I learned this firsthand when upgrading to a 1.8 gain diffusive screen; the evenness vastly improved the experience for my friends sitting at the sides, despite a slight decrease in peak brightness. To avoid common pitfalls, it’s vital to match your screen material to your specific room conditions. Dive into this detailed guide for in-depth insights into material choices that will serve you well in 2024.
What Should Advanced Users Know About Gain Variability in Home Theater Design?
Advanced users often ask whether variable gain screens are worth the investment. Unlike fixed gain screens, variable gain models allow you to adjust the optical properties, offering flexibility to tailor brightness and contrast for different content and lighting conditions. This can be a game-changer in multi-use rooms or as your setup evolves. However, the complexity comes with a risk: improper adjustments can cause inconsistent gain levels, degrading image quality. Moreover, some variable gain screens employ complex coatings that may be more prone to deterioration over time. A professional setup ensures the benefits outweigh the drawbacks. Ultimately, understanding that gain isn’t just a static number but a dynamic property that interacts with your environment is key. For expert recommendations on these advanced options, consult this resource. Have you ever fallen into the trap of assuming larger is better? Let me know in the comments.
Tools I Recommend for Maintaining and Scaling Your Projection Setup
Maintaining an optimal projection system requires the right tools and a disciplined approach. Over the years, I’ve found that investing in quality calibration equipment and software makes a significant difference in preserving image quality and ensuring longevity. One indispensable tool is the X-Rite i1Display Plus calibrator, which I use monthly to calibrate both my projector and any connected displays. Accurate calibration ensures color fidelity, contrast, and brightness stay consistent, especially as bulbs age or environmental conditions change. Regular calibration with this device, paired with software like CalMAN, allows me to fine-tune my setup precisely, avoiding common pitfalls like color drifts or uneven brightness.
Beyond calibration tools, having a reliable data logger such as the KEW M-8300 Clamp Meter helps monitor voltage stability for your projector, especially if you experience flickering or inconsistent performance due to power issues. Ensuring your power supply remains steady is crucial, as fluctuations can degrade bulb lifespan and image stability. I’ve adopted a routine where I check power quality quarterly, preventing hardware stress and preserving long-term image fidelity.
Innovative cleaning supplies like the Peek Professional Lens cleaning kits keep my lenses and screens dust-free and free from smudges. Dust, fingerprints, or debris can diminish image clarity and cause hotspots, especially on high-gain screens. Regular cleaning—monthly or bi-weekly based on AQI (air quality index)—maintains optimal reflectivity and contrast. I avoid using harsh chemicals; instead, I opt for microfiber cloths and specialized screen cleaning solutions recommended by the manufacturer.
Looking ahead, I predict that automation and smart calibration will become more prevalent. Devices embedded with AI will periodically analyze your system’s performance and recommend adjustments, saving time and ensuring consistent quality. As these technologies become more affordable, mastering your current tools sets a strong foundation for embracing future innovations. For example, integrating a smart home system that supervises power stability and environment conditions can proactively prevent issues affecting your projection quality.
How do I keep my system working efficiently over time?
Establishing a routine of regular calibration, cleaning, and power monitoring is essential. Allocate time every few months to recalibrate your projector with calibrated tools like the guides I recommend. Keep a log of performance data to identify trends, such as bulb brightness decay or color shifts. Investing in quality tools might seem pricey upfront, but they pay off by extending equipment lifespan and maintaining image quality. Also, stay informed about advancements; for instance, newer coatings on screens or improved gain materials can enhance performance without hardware changes. As I mentioned earlier, expert insights from this resource help me decide when to upgrade or adjust my setup for long-term benefits.
Try incorporating a monthly calibration step with your current tools—it’s a simple habit that vastly improves your viewing experience and preserves your investment over the years. Remember, great projection isn’t just about initial setup; it’s about consistent care.

Lessons That Changed How I Pick My Projection Setup
- One of my biggest surprises was realizing that not all high-gain screens are created equal—some can cause hotspots that ruin the viewing experience, which I discovered after testing a 2.8 gain surface without proper alignment.
- I learned that diffusive coatings, although lowering gain slightly, provide much wider viewing angles, making my setup more comfortable for guests sitting off-center—a crucial insight I wish I’d known earlier.
- Understanding that the room’s ambient light and size should dictate my gain and material choice saved me from wasted investments on screens that simply didn’t perform in my environment.
- Realizing that regular calibration and cleaning tools, like the X-Rite i1Display Plus and microfiber cloths, maintained my image quality over time, proved to me that small consistent efforts pay off big.
- Finally, I grasped that selecting the right screen is a delicate balance: it’s about matching the gain, material, size, and room conditions—not just chasing the latest tech trends.
Tools and Resources That Transformed My Home Theater Journey
- X-Rite i1Display Plus: This calibration device helped me keep my projector’s colors and contrast spot-on, especially important as bulbs age—trust me, accurate colors elevate your viewing.
- CalMAN Software: Paired with my calibrator, it provided step-by-step guides that demystified complex adjustments, saving time and producing professional results.
- Projection Screen Size Guide: The dedicated resource for finding a screen that fits my room and seating arrangement—avoiding the common mistake of choosing a size that’s either too big or too small.
- Understanding Screen Gain Materials: A comprehensive guide that explained the nuances of different coatings and gain levels, making my purchasing decisions more informed and effective—that’s a game-changer for anyone serious about quality.
Your Power to Create a Vivid, Glare-Free Home Theater Begins Now
With all I’ve learned about projection screen gain, materials, and setup tweaks, I believe anyone can transform their home into a stunning visual oasis. Remember, the key is to understand your space, evaluate your ambient light, and choose a screen that complements your projector and viewing habits. Don’t shy away from experimenting and adjusting—you’ll find your perfect configuration eventually. Dive into the resources I’ve highlighted, and don’t hesitate to share your own discoveries or ask questions below. Your home theater adventure is just beginning, and the potential for incredible images awaits—start today and elevate your viewing in 2024!
This post really resonated with me because I’ve struggled with ambient light interference in my own setup. I never realized how much gain and coating type could impact the overall picture quality, especially in a room with lots of natural light. I recently upgraded to a gray ALR screen after installing larger windows, and the difference during daytime viewing was night and day. I found that understanding the specific room conditions before choosing the screen material made a huge difference. I’m curious, for those with similar bright rooms, which materials or coatings have you found most effective in maintaining color accuracy and contrast? I’d love to hear about personal experiences or tips, especially with projectors that have lower lumen outputs. Managing ambient light remains a challenge, but it’s exciting to see how the right screen tech can dramatically improve the viewing experience.
I really appreciate this detailed overview of screen gain and materials, especially since I’ve been trying to optimize my setup in a room with large south-facing windows. I initially thought a high-gain, 2.8 surface would give me the brightness I needed, but I faced the common hotspot issue and limited viewing angles, which affected comfort for guests. After switching to a 1.8 diffusive gray ALR screen, the picture became more even and natural, even during daytime. It’s clear that understanding how ambient light interacts with different materials is key to a good viewing experience in brighter rooms. I wonder, have others experimented with variable gain screens? Do they offer enough benefit to justify the added complexity and cost, especially in multi-use environments where room lighting varies? I’d love to hear perspectives on the practical advantages of adjustable gain materials versus fixed ones.
This article hits close to home since I’ve been experimenting with different ALR screens in my semi-bright living room. I agree that understanding the room’s ambient light is crucial before picking a screen material. I found that matte gray screens help absorb stray light, but I was curious about the long-term durability of diffusive versus reflective coatings—have others experienced notable differences in how well these coatings hold up over time? Also, I’ve wondered whether investing in a variable gain screen would be worthwhile for my setup, especially since I occasionally switch between daytime and movie-night modes. Does anyone have experience with these adjustable screens and can share whether the flexibility outweighs the added complexity? I love the idea of fine-tuning gain for different viewing conditions—seems like a smart way to optimize the picture quality across diverse lighting scenarios.