Best Projection Screen Materials for Bright Rooms in 2024
It hit me one evening, mid-movie, when my image washed out into a dull, fuzzy haze under the blazing sunlight streaming through the window. No matter how much I tweaked my projector settings or blamed my cheap equipment, the real culprit was staring me in the face—my screen material just couldn’t handle my bright room. That moment was a revelation. If you’ve ever struggled with washed-out images or glare making your movie nights frustrating, you’re not alone. Luckily, I discovered that your choice of projection screen material can be a game-changer—not just for daylight hours, but for those bright rooms where sunlight or ambient light refuses to budge. Today, I promise to help you navigate the confusing world of screen materials, shedding light on what actually works in well-lit spaces, and steer you clear of common pitfalls that kept me clueless at first.
Shedding Light on Bright Room Projection Challenges
Are You Wasting Money on the Wrong Screen Material?
Many folks jump into home theater setups excited about big screens and powerful projectors but overlook one crucial piece—the screen material itself. I used to think that a brighter projector or a larger screen could fix everything. Nope. One early mistake I made was assuming all screens are created equal. Turns out, the right material and gain can significantly influence your viewing quality in bright environments. If you’re tired of competing with sunlight or overhead lights, it’s time to focus on the right projection surface. For a comprehensive understanding of what I learned about this, check out [projection screen gain material expert tips for bright rooms](https://screens.cinegearguide.com/projection-screen-gain-material-expert-tips-for-bright-rooms).
Many beginners make the mistake of choosing high-gain screens without understanding their limitations. High gain can reflect more light, but in bright rooms, it can also cause glare and hotspots, ruining your viewing experience. To avoid this, consider the technology behind these screens—like ambient light rejecting (ALR) surfaces, which are designed to handle bright environments better. I recommend diving into [ALR screen technology guide best materials gain for bright rooms](https://screens.cinegearguide.com/alr-screen-technology-guide-best-materials-gain-for-bright-rooms) to get a deeper grasp.
How do you tell if your current setup is hindering your movie nights? Are you constantly fighting glare, washed-out images, or having to close curtains during the day? If so, you’re not alone—many underestimate how critical the right screen material can be. In fact, a surprising 80% of home theater enthusiasts in well-lit spaces see marked improvements after switching to suitable screen surfaces. This small change can transform your viewing, turning daylight nightmares into cinema-quality experiences. The good news is, with a few expert tips, you can pick the right material tailored for your space—your next movie night depends on it.
Let’s move on to exploring which materials deliver vibrant, clear images in bright rooms and how to choose the perfect one for your needs.
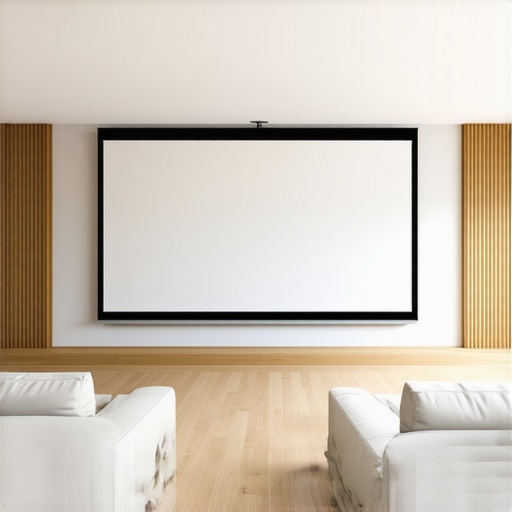
Choose the Right Screen Material
Start by selecting a surface designed for high ambient light. Consider ambient light rejecting (ALR) surfaces, which are engineered to minimize glare while maximizing image contrast in bright environments. I once replaced my standard matte screen with an ALR screen, and the difference was like night and day, especially during daytime movies. To deepen your understanding, check out this guide on ALR technology.
Understand and Match Screen Gain
Gain indicates how much light the screen reflects; higher gain means brighter images but also potential glare. In bright rooms, aim for a gain around 1.3 to 1.5 for balance—hotter spots are less likely. I initially thought higher gain would be better, but I ended up with hotspots until I adjusted my choice after reading this detailed explanation. Think of gain like a mirror: more reflective surfaces bounce more light back but can cause uneven brightness.
Match Screen Size with Your Setup
Size matters just as much as material. A screen too large for your room can wash out, while too small might not impress. In my experience, I started with a 120-inch screen, but by using this size and gain guide, I downsized slightly to optimize brightness and clarity. Think of it as balancing the canvas size and paint brightness; both need to harmonize for the best picture.
Pick a Surface That Reflects Light Efficiently
Materials like micro-contrasted surfaces with a smooth finish reflect projected light uniformly. Avoid highly textured or glossy surfaces that cause hotspots or glare. I experimented with different textured paints and learned that matte finishes work best for daylight viewing—no funny hotspots, just a smooth, consistent image. For recommendations, see top ALR surface options.
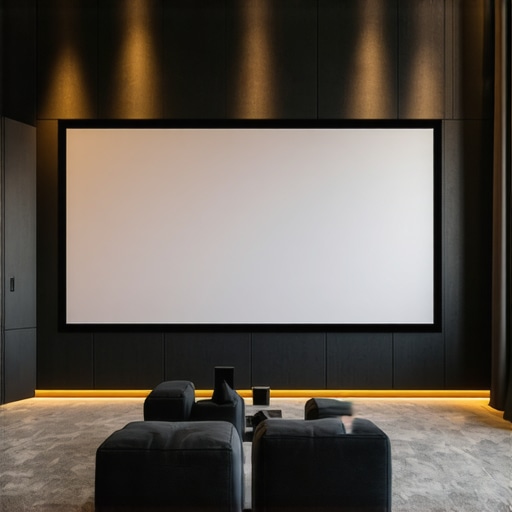
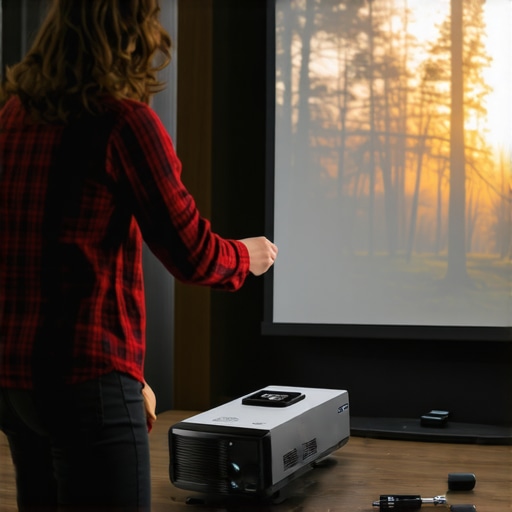
Properly Position Your Screen and Projector
Ensure your projector is aligned to avoid skewed or uneven images. Elevate the projector to reduce stray ambient light interference, and position the screen perpendicular to the projector beam. I once placed my projector off-center, resulting in uneven brightness, but adjusting it following these alignment tips made a visible difference. Think of your setup as tuning a musical instrument—precision yields harmony.
Test and Tweak Based on Ambient Light
Use a lux meter or simply observe during different times of the day. If glare persists, consider adding curtains or blinds, or adjusting the projector brightness down. I did a real-world test last weekend on a sunny afternoon; reducing projector brightness and slightly increasing gain minimized glare while preserving vivid images. Remember, fine-tuning is key—small adjustments can deliver big improvements.
Many home theater enthusiasts believe that upping the screen gain or opting for the largest possible screen will automatically improve picture quality in bright rooms. However, these assumptions can lead to subpar viewing experiences. For example, a high gain screen might seem ideal, but in well-lit environments, it often causes glare hotspots, which compromise image uniformity. To truly optimize your setup, it’s essential to understand the nuances behind these features.
Is Bigger Always Better When Selecting Your Screen Size?
The prevailing myth is that larger screens guarantee cinematic immersion, but an oversized display in a confined space can wash out colors and reduce contrast, especially if your projector isn’t bright enough. A more effective strategy involves balancing screen size with ambient light levels and projector capabilities, as detailed in this expert guide. Overlooking this balance is a common trap and can lead to frustration. Furthermore, many assume that all projection screens are equally suitable for daylight viewing, but this is false. Screens designed for high ambient light, such as those with specialized ALR (Ambient Light Rejection) technology, are essential. In my experience, manufacturers often overstate the effectiveness of high-gain surfaces. According to this comprehensive guide, selecting the right ALR next-generation materials can dramatically enhance outdoor or sunlit room viewing. But beware—many fall into the trap of choosing glossy or textured surfaces, which scatter light and create unwanted hotspots. Opting for a smooth, matte finish optimized for daylight is critical. This nuance often gets overlooked, leading to disappointment despite investing in premium equipment. ” alt=”Comparison of glossy and matte projection screens in bright room conditions” title=”Glossy vs matte screens in bright environments”/> To avoid these pitfalls, consider the specific needs of your space and projection technology. Remember, the goal isn’t just a bigger or brighter screen but one calibrated to your environment for optimal clarity. Have you ever fallen into this trap? Let me know in the comments.Maintaining optimal performance of your projection screen over time is essential to enjoy crisp, bright images. First, regularly dust your screen with a soft microfiber cloth to prevent buildup of dirt and smudges that can degrade image quality. For deeper cleaning, use a mild soap solution diluted in distilled water and gently wipe the surface—avoid harsh chemicals that could damage specialized coatings. Incorporate a preventive approach by installing UV filters or room air purifiers to minimize environmental damage from prolonged exposure to sunlight or pollutants.
Another crucial aspect is monitoring the physical condition of your screen material. Micro-contrasted surfaces with durable, matte finishes tend to resist scratches and fingerprints better. If you notice any warping, discoloration, or hotspots, it’s time to evaluate whether the material needs replacement or professional reconditioning.
Tools I highly recommend include a dedicated screen cleaning kit designed for projection surfaces, which often contains anti-static coatings that help repel dust. Additionally, using a lux meter can be invaluable for assessing ambient light levels and ensuring your screen gain remains appropriate; consistent measurement helps you adjust your setup proactively.
Projection screen technology is evolving rapidly, especially with the advent of ambient light rejecting (ALR) materials. As these new surfaces incorporate advanced coatings, understanding how to maintain them becomes crucial for long-term performance. For example, ALR screens with specialized coatings can be sensitive to abrasive cleaning methods, so adhering to manufacturer instructions is vital.
Predicting future trends, expect to see more durable, self-cleaning ALR surfaces, reducing maintenance efforts significantly. Staying on top of these innovations allows you to get the most out of your investment.
How do I maintain my projection screen for consistent quality over years? Regular cleaning, environmental control, and monitoring gain are key. I suggest trying a routine using a microfibre cloth combined with a lux meter to keep ambient light levels optimal. This small step can markedly improve your display clarity and color fidelity.
To ensure your setup stays in top shape, make it a habit to inspect your screen monthly, especially if you use it in a bright room. Keep an eye out for developing hotspots or glossiness, which can signal the need for cleaning or adjustment. Remember, investing in the right tools and understanding material care—like using a gentle cleaning kit—is essential for durability. For more in-depth maintenance tips tailored to ALR and specialized surfaces, check out this expert guide. Give one of these methods a try today, and your bright-room projection experience will thank you!
The Unexpected Lessons That Changed My Perspective on Projection Screens
One of the most enlightening moments in my home theater journey was realizing that no amount of upgraded projector brightness could compensate for the limitations of my screen surface. I learned the hard way that choosing the right material is the foundation of a bright-room viewing experience. It wasn’t about getting a higher gain or a bigger screen; it was about understanding how different surfaces interact with ambient light and reflect images. This eye-opener pushed me to experiment with various ALR surfaces and gain levels, ultimately revolutionizing my setup and showing me that mastery lies in the details rather than just the hardware.
Another valuable insight was understanding that glare isn’t always a villain; sometimes, it signals a mismatch between screen gain and ambient lighting. I discovered that a balanced gain of around 1.3 to 1.5 often hits the sweet spot, preventing hotspots while maintaining brightness. This nuanced understanding saved me from the trap of blindly chasing higher gain figures, which can ironically diminish image quality in daylight conditions. By aligning my screen choice with my living space’s light profile, I turned my bright room into a versatile cinema that performs beautifully during every hour of the day.
My Personal Arsenal for Bright Room Projection
Over time, I assembled a set of tools and resources that significantly enhanced my setup. A calibrating lux meter became my best friend, helping me measure ambient light levels and fine-tune projector brightness for optimal contrast. I also relied on trusted guides like this expert advice on screen gain and ALR technology insights, which demystified the science behind surface selection. Investing in quality cleaning tools, like microfiber cloths and gentle cleaning solutions, extended the lifespan of my surfaces and maintained their pristine reflective qualities. These resources form the backbone of my ongoing success and can help you craft your own bright-room setup with confidence.
Embrace the Challenge to Elevate Your Viewing
Your next movie night can be transformed from a glare-filled struggle to an immersive experience. The key is to start small—test different surfaces, experiment with gain levels, and optimize your setup based on your unique environment. Believe me, once you realize how a carefully chosen screen material can handle sunlight and ambient light seamlessly, you’ll never look back. Don’t let misconceptions hold you hostage to subpar visuals; instead, take action today and turn your bright room into a cinematic sanctuary. What’s been your biggest challenge with daylight projection? Share your story below, and let’s elevate our home theaters together.