ALR Screen Technology: Best Materials, Gain & Size Insights for 2024
It all started one evening when I was on the verge of unplugging my projector and just settling for a dim, washed-out picture. No matter what I tried, my bright living room seemed to sabotage my home theater dreams. Sound familiar? That frustrating moment of realizing your screen can be a real bottleneck in your viewing experience is more common than you think. It feels like hunting for that elusive perfect setup—like searching for a needle in a haystack of materials, gain ratings, and sizes. But here’s the thing: after years of tinkering and a fair share of mistakes, I finally stumbled upon a game-changing insight that transformed my setup entirely. And I want to share it with you today.
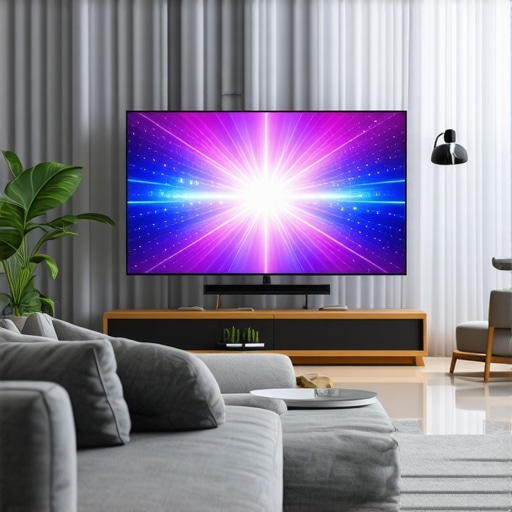
Don’t Let Lighting Ruin Your Movie Nights
If you’ve ever struggled with glare, washed-out colors, or just a lackluster picture, you know how frustrating it can be. The right ALR (Ambient Light Rejection) screen can make your room come alive, even with the lights on—yes, really. But choosing the best one isn’t as straightforward as picking the most expensive or trendiest option. It’s a nuanced process involving an understanding of materials, gain, and size. And trust me, I learned this the hard way by rushing into purchases without proper research. My early mistake was assuming all screens with high gain would equally improve brightness—turns out, it’s not that simple. For a while, I was chasing after the highest gain ratings advertised online, only to end up with a glare-filled nightmare.
The real breakthrough came when I delved into materials and gain research tailored for bright rooms. I discovered that specific screen materials actually perform better in ambient light environment, which made my image pop despite the sun streaming through my windows. If you’re feeling overwhelmed by options or doubting whether a specialized screen is worth it, you’re not alone. I’ll walk you through the key factors, including gain insights and size considerations, so you avoid my beginner pitfalls. Want to understand how to pick a screen that handles glare without sacrificing image quality? Let’s get into it.
Is Picking the Best ALR Screen Actually Worth the Hype?
Early on, I thought I could get by with a standard screen and just turn down the lights. Wrong. That led to disappointments and wasted money. One mistake I made was believing that a higher gain would automatically mean a brighter picture. That’s not always true. The truth is, the right gain depends heavily on your room’s lighting, screen size, and the quality of the material. For instance, some materials offer excellent reflectivity while minimizing glare, enhancing your contrast in bright environments. If you’re curious about specific options, I recommend exploring the comprehensive [ultimate guide to ALR screen options, size, gain, and materials](https://screens.cinegearguide.com/ultimate-guide-to-alr-screen-options-size-gain-and-material-insights). It helped me see beyond the gimmicks and focus on what truly matters.
In the next sections, I’ll share practical tips to help you select the best materials and gain for your unique setup—so you can finally enjoy your movies and games without compromise. Ready to transform your viewing experience?
Prioritize Room Lighting Before Picking a Screen
Assess your room’s ambient light—do you have large windows or constant sunlight? If so, focus on screens designed for bright environments. During a frustrating weekend, I measured the light levels in my living room and realized standard screens couldn’t cut it. I then used a lux meter app to quantify ambient light, which helped me select an ALR screen with higher gain suited for brighter rooms. This step prevents purchasing a screen that gets washed out by your existing lighting conditions.
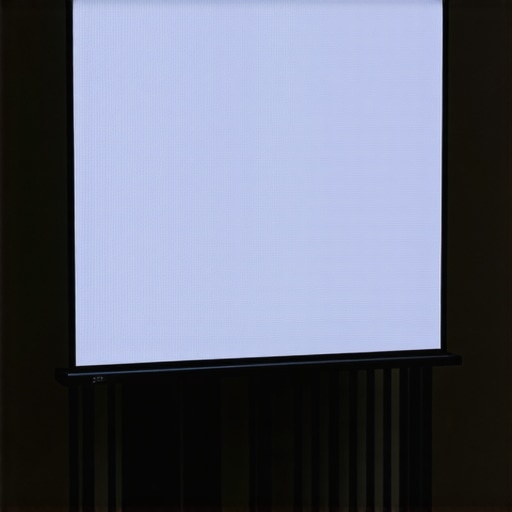
Choose Screen Size That Fits Your Space
Imagine trying to watch a giant movie on a tiny wall; it’s uncomfortable. Conversely, a huge screen in a cramped room kills immersion and creates distortion. I revisited my room dimensions, considering optimal viewing distances—generally 1.5 times the screen’s diagonal for HD setups. For my space, I settled on a 100-inch diagonal, which offered an immersive experience without feeling overwhelming. Use guidelines from this sizing guide to avoid costly mistakes.
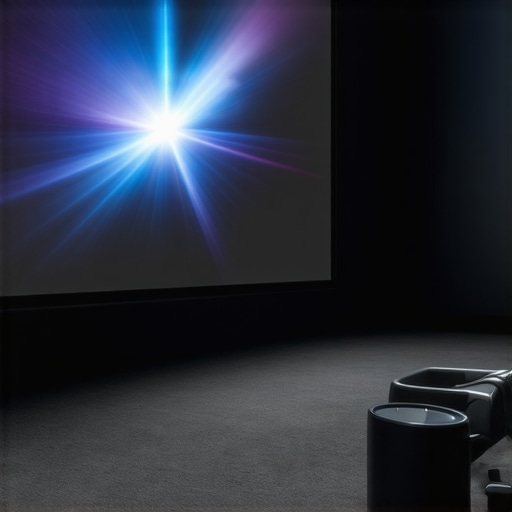
Match Gain with Your Lighting Conditions
Gain refers to how much light the screen reflects—think of it as a mirror’s shininess. Higher gain screens (above 1.5) reflect more light, making images brighter in ambient-lit rooms but risking glare. For my bright living room, I tested a medium-gain screen (around 1.3), which balanced brightness and reduced glare. This process involved temporarily mounting different screens, evaluating brightness and glare at various angles, and choosing the best balance. To explore options for bright rooms, check this size and gain guide.
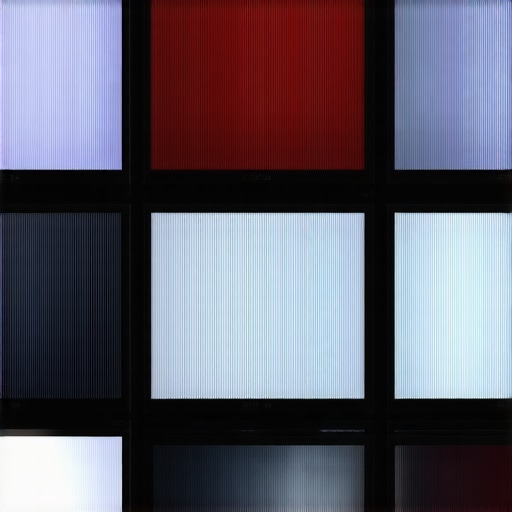
Select Materials That Tackle Glare Effectively
Material choice is critical—some surfaces reflect light diffusely, minimizing hotspots, while others are glossy and tend to glare. I experimented with various materials like Micro-Perf, AcousticTransparent, and Ambient Light Rejecting films. My experience was that matte, fabric-based materials, supported by proper gain, provided better contrast without glare. Reviewing the top materials guide helped me identify the best options suited for my needs.
Understand How Gain and Material Interact
Gain isn’t solely about brightness; it interacts with material texture. For example, a high-gain, glossy surface might produce glare, while a matte high-gain material diffuses light more evenly. During my testing, I learned to prioritize matte surfaces with high gain in bright rooms. This combination provided the clearest images while minimizing glare—saving me from endless adjustments and making my setup reliable. For deeper insights, review this comprehensive guide.
Adjust Screen Placement for Optimal Results
Positioning the screen at the right height and distance influences image quality and glare. I placed my screen slightly below eye level and ensured no windows directly faced it to reduce reflections. Using a tape measure, I set the distance based on my projector’s throw ratio and the recommended viewing angles. This step maximized contrast and brightness, aligning with principles from this setup guide.
While many enthusiasts focus on choosing the highest gain or the most expensive materials for their ALR screens, there are subtle nuances often overlooked that can make or break your home theater experience. One widespread misconception is that higher gain always equates to better brightness—**but in reality, it can lead to increased glare and hotspots**, especially if your room isn’t perfectly controlled for ambient light. For example, some high-gain surfaces reflect light intensely, causing uneven brightness across the screen, which diminishes image quality. Instead, a balanced gain tailored to your room’s lighting conditions is essential. To dig deeper into optimal gain choices, check out the comprehensive ultimate guide on ALR options.
Another mistake is assuming that all screen materials perform equally well across different environments. Many believe that glossy surfaces yield sharper images, but this isn’t true for bright rooms—glossy finishes often increase glare and hotspots, degrading contrast and color accuracy. Matte or diffusive surfaces tend to scatter ambient light more evenly, preserving contrast for brighter environments. For advanced material selection, explore this detailed comparison.
Optimizing screen size is another area where viewers commonly go wrong. Some perceive bigger screens as automatically better, but larger displays can exacerbate issues like room acoustics and viewing angles, especially if the size exceeds recommended dimensions relative to the space. A screen that’s too large for the viewing distance can cause eye strain and image distortion. As a rule of thumb, using the guidelines in this sizing guide helps to strike a perfect balance.
Now, you might be asking, “How do I ensure my choice of projection screen actually enhances my viewing experience without these pitfalls?” The secret lies in understanding the interplay between gain, material, size, and ambient light. Adjusting one without considering the others often results in subpar results. Moreover, many underestimate how ambient lighting can alter the effectiveness of even the best screens. A nuanced approach that combines room assessment with tailored equipment selection is vital for truly cinematic results.
Here’s a powerful tip: selecting the right material and gain isn’t just about specs—**it’s about how these factors interact in your specific environment**. For example, a high-gain, matte surface might outperform a glossy one in a bright room with windows facing the screen. To explore the best combinations tailored for bright or ambient-lit rooms, I recommend reviewing this guide on ALR options and materials.
Have you ever fallen into this trap? Let me know in the comments. Recognizing these nuances can save you from costly mistakes and help elevate your home theater setup to professional quality.Maintaining your projection screen and related equipment over time ensures that you continue to enjoy optimal image quality and durability. One of the most effective ways to do this is by investing in quality calibration tools. I personally rely on a colorimeter like the SpyderX Elite because it provides precise color and luminance readings, allowing me to calibrate my projector and screen setup regularly. Regular calibration helps prevent color shifts and brightness loss, which can subtly degrade your viewing experience over months or years. Additionally, using a consistent cleaning routine with microfiber cloths and gentle, screen-safe cleaning solutions prevents dust and smudges from accumulating, preserving brightness and contrast.
For ongoing maintenance, keep your projector’s filters and air vents clean. Dust buildup can cause the projector to overheat, leading to brightness inconsistencies. I schedule a monthly filter check, which is a straightforward task that significantly extends the lifespan of my projector.
When it comes to tools, a lux meter is invaluable for measuring ambient light levels and adjusting your setup accordingly. I use mine to verify that my room’s lighting remains within optimal parameters for my chosen screen gain and material—especially important if I decide to upgrade or reconfigure my room lighting.
In terms of long-term results, consistent calibration and cleaning processes help maintain the vibrancy and contrast of your image. This is particularly crucial as screens and projectors age, since degradation can lead to noticeable quality drops. As projection technology advances, I anticipate that automated calibration tools, which integrate with smart home systems, will become more accessible, making maintenance even easier.
For those planning to scale up their home theater, consider modular or easily replaceable screens. High-quality alr screens with durable surfaces and adjustable mounts simplify future upgrades and maintenance. Ensuring compatibility with your projector’s throw ratio and maintaining the correct height and angle also help preserve image quality over time.
How do I keep my projection system performing at its best long-term?
Regular calibration using trusted tools like colorimeters and lux meters is essential, along with routine cleaning and proper room lighting management. These steps prevent gradual deterioration and ensure consistent picture quality for years to come. Exploring brands and models compatible with smart calibration solutions can streamline this process, making long-term upkeep more manageable. For a deep dive into maintaining your projection setup, see the comprehensive ultimate guide to projection screen maintenance. Ready to optimize your home theater? Use your colorimeter regularly to fine-tune your projector settings—it’s an investment that pays off in stunning, consistent images.
Over the years, I’ve learned that achieving the ideal projector setup is less about chasing the latest trends and more about understanding the intricate dance between room lighting, screen materials, and gain. One lightbulb moment was realizing that sometimes, less flashy solutions—like matte, high-gain screens—deliver far better results in bright rooms than glossy, expensive options. Remember, your environment often holds the key to unlocking cinematic magic at home. Embracing this knowledge has transformed my approach, turning frustrating glare into crisp, vibrant images. Trust me, the real secret lies in tailored choices rather than one-size-fits-all solutions.
This post resonated with me because I’ve been navigating the same challenges with ambient light and screen materials. I used to believe that bigger was better, but after increasing my screen size beyond the recommended viewing distance, I started noticing eye fatigue and distortion. Your mention of measuring room light with a lux meter really hit home—I’ve found that understanding my actual ambient lighting has helped me select the right gain and material for my room. One trick I’ve learned is to experiment with different screen placements and angles to minimize glare, especially in bright rooms. Has anyone else experienced issues with hotspots or uneven brightness after choosing high-gain screens? I’d love to hear how others have managed to calibrate or fine-tune their setups for consistent picture quality—sharing these practical tips could really help those new to home theater calibration.
Reading this post really struck a chord with me, especially the importance of understanding ambient light before choosing a screen. I used to think that investing in a high-gain ALR screen alone would solve all my brightness issues, but I learned that room lighting plays a crucial role. I measured my living room’s ambient light levels with a lux meter and realized I needed a screen designed for brighter environments. Also, I found that the placement of the screen—like avoiding windows directly facing it—made a big difference in reducing glare. What’s been interesting in my experience is that balancing gain with the material’s reflective properties really improved image clarity, even during daytime. Has anyone else experimented with different room modifications or lighting setups to optimize their projection quality without upgrading your entire system? Sometimes, small tweaks can yield surprisingly good results and save a lot of cost. I think the key takeaway is that a tailored approach, considering both equipment and environment, really makes a difference in home theater performance.
This post really hits the mark on the importance of understanding your room lighting and choosing the right screen materials. I’ve found that in my own setup, experimenting with different gain levels and positioning can make a huge difference in image quality, especially when dealing with ambient light. I once made the mistake of opting for a high-gain screen without considering glare, which turned my room into a hotspot nightmare. What I learned is that the interplay between gain and material texture is critical—matte surfaces with balanced gain often deliver the best results without sacrificing brightness or contrast. I’d add that precise placement, like angling the screen or controlling window light, can further refine the viewing experience. Has anyone tried using dynamic ambient light sensors with their projectors? I’m curious about how automation can help maintain optimal picture quality over time, especially in rooms where lighting conditions fluctuate. Would love to hear other people’s experiences or recommendations on maintaining a steady, glare-free image.
Wow, this post really opened my eyes to how crucial room lighting and material choice are in getting the best picture quality. I’ve always thought that higher gain screens would automatically make my setup brighter, but I now realize that it’s more about finding the right balance for your specific environment. I’ve experienced hotspots with some high-gain surfaces, which was frustrating because the picture looked uneven, especially during daytime viewing. Since then, I’ve started experimenting with matte materials and adjusting the placement, which has helped improve contrast and reduce glare. I like how you emphasized measuring ambient light—using a lux meter was a game changer for me. It helped me select the correct screen type and size that truly works in my space. Has anyone tried integrating smart lighting or ambient light sensors to automatically adjust room lighting or projector settings? I’d love to hear how automation has helped others maintain optimal image quality without constant manual adjustments. It seems like smart tech could be a huge benefit in managing environmental factors over time.