ALR Screen Technology Explained: Best Gain, Material & Size Tips 2024
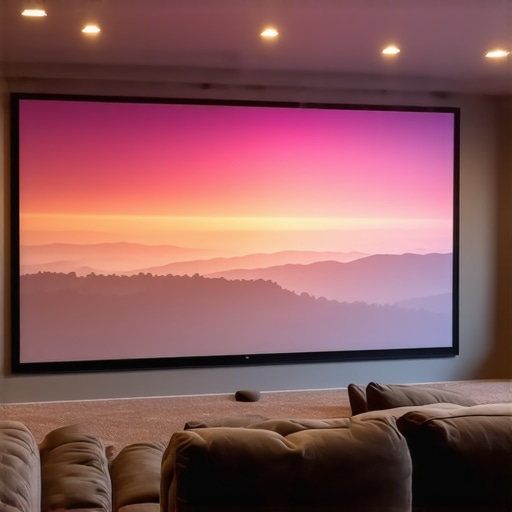
Ever been at a movie night, all set in your cozy home theater, only to realize the screen’s glare or poor image quality ruins the magic? I know that feeling all too well. I once invested in what everyone touted as the best projector and a large screen—only to be disappointed during a bright daytime viewing. The glare was blinding, and the contrast was lackluster. It was a lightbulb moment—literally—that I needed to understand more about ALR (Ambient Light Rejection) screens and the magic of screen gain, material, and size tips for 2024. If you’ve faced similar frustrations, stay tuned. We’re about to dive into how to select the perfect projection screen that transforms your viewing experience from average to spectacular.
Struggling with ambient light ruining your viewing pleasures?
High ambient light levels can sabotage even the most expensive projector setups. That’s when I realized I was missing a key piece of the puzzle: choosing the right ALR screen material and understanding gain are crucial. These factors dramatically influence how well your projector’s image holds up against stray lights, especially in rooms with windows or multiple light sources. The good news? With the right knowledge, you can turn even a bright room into a near-theater atmosphere. To really grasp this, I recommend exploring detailed insights on projection screen gain and material explanation for the best home theater setup. It was a game-changer for me.
Is ALR Screen Technology Truly Worth the Hype?
Early in my journey, I fell for the hype without doing enough research. I bought an expensive ALR screen based solely on the high gain rating without considering what material would work best in my environment. The result? Glare, uneven image quality, and a sense of disappointment. That mistake taught me to look deeper into the science behind these screens. As research suggests, not all ALR screens are created equal—material, gain, and size matter a lot more than the price tag. For a comprehensive understanding, I found it helpful to review ultimate guide to ALR screen options and the importance of gain, material, and size in 2024. Learning from that experience, I started focusing on the specifics—like how gain impacts brightness and contrast, and how different materials combat glare.
So, if you’ve been hesitating because you’re overwhelmed by the technical jargon or unsure which screen features matter most, you’re not alone. Many enthusiasts, including myself, have been through this maze. The key is understanding your room’s lighting conditions, your projector’s specs, and how to match them with the right screen material and gain. Ready to unravel the mystery and find the ideal setup? Let’s walk through how to do just that, starting with the basics of gain, material, and size for 2024.
Assess Your Room’s Lighting Conditions
Begin by evaluating how much ambient light your space receives. Bright rooms with windows or multiple light sources require screens with higher gain and specialized materials. I once tested a standard matte screen in my living room during the daytime, only to find the image washed out. This experience highlighted the importance of understanding your environment before selecting a screen.
Select the Right Screen Material Based on Gain
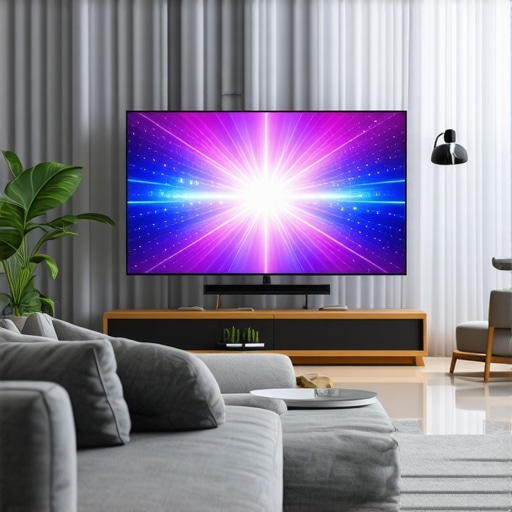
Projection screen gain determines brightness and contrast; think of it as the screen’s ‘reflective strength.’ High-gain screens (above 1.5) are like mirrors—reflecting more light toward the viewer, which is ideal for bright rooms. However, they can introduce hotspots or glare if not chosen carefully. Low-gain screens (around 0.8) diffuse light more evenly, suitable for darker rooms. I experimented by replacing my matte surface with a 2.0 gain ALR screen, which dramatically improved daytime visibility. For deeper insights, my journey into material choices led me to understanding projection screen gain and material explanation.
Match Gain to Room Brightness
In my bright study, I opted for a 1.8 gain ALR screen, reducing glare and enhancing contrast. Conversely, in a dedicated basement theater, a 0.8 gain matte screen provided softer reflections, preventing eye fatigue. Think of gain as the ‘brightness booster’—too high in a dark room, and it causes pooling; too low in bright rooms, and images look dull.
Determine the Correct Screen Size
Screen size isn’t just about the biggest possible display; it should fit your room and seating arrangement. Use the “20-30” rule—viewers should be able to comfortably see the entire image without strain. I once underestimated this and purchased a massive screen for a small room, resulting in discomfort and limited viewing angles. Proper sizing involves measuring your space and considering projector throw distance. Resources like ultimate guide to screen size and gain can assist in making precise decisions.
Experiment with Testing and Fine-Tuning
After selecting potential options, test them in your setup. I temporarily rigged different screens using projectors and adjusted room lights to see how each performed. This hands-on approach revealed that materials like silver-backed screens produced unwanted reflections in my room, so I switched to a matte ALR alternative. Remember, trial and error is part of the process—marking positions and reviewing results help you perfect your choice.
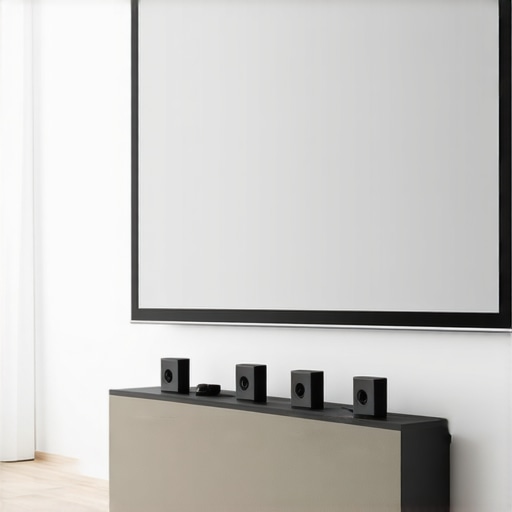
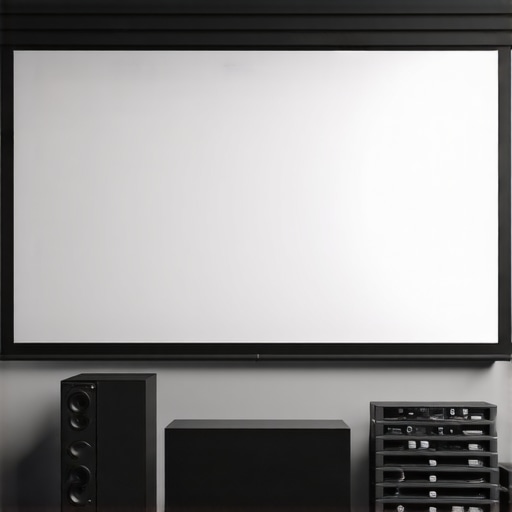
Consider Compatibility with Your Projector
Not all screens work seamlessly with every projector. Brightness, throw ratio, and resolution influence what material and gain you should pick. For example, projectors with high lumen output pair well with high-gain screens, but if your projector’s native contrast isn’t stellar, a matte or low-gain screen might be better. Cross-referencing your projector’s specs with detailed guides like best materials and gain for bright rooms ensures compatibility.
Review and Confirm Your Choices
Once you’ve narrowed down options, review each based on your room’s unique challenges. Check reviews, images, and forums for real-world results. My final pick involved balancing gain, size, and material, considering both daytime visibility and contrast. Document your selections and test again before making a final purchase—mistakes here are common, but refining your choice will pay off with a superior viewing experience.
While many enthusiasts focus on selecting high-gain or ALR screens, they often overlook the complex interplay of material science, room environment, and viewing angles that truly determine picture quality. One common myth is that higher gain always means brighter images; in reality, excessive gain can introduce hotspots and uneven light distribution, especially if the screen material isn’t optimized for the projector’s light profile. This misconception leads to overspending on premium screens that could underperform in certain rooms. Additionally, many interpret screen size as purely about maximum dimensions, neglecting seating distance and visual comfort, which can cause fatigue and diminish viewer engagement. When it comes to ALR screens, some focus solely on their reflective properties, ignoring how their micro-structure affects color accuracy and contrast — a nuance that impacts image fidelity significantly. For the advanced home theater builder, understanding how screen materials scatter or reflect specific wavelengths influences how well the projected colors are reproduced, especially in rooms with mixed lighting conditions. A critical mistake is choosing a screen based solely on gain ratings without considering the projector’s lumen output and the room’s ambient light dynamics, which can lead to washed-out or overly dark images. As expert sources suggest, the science behind screen material composition, such as microlens arrays in high-end ALR screens, dramatically improves light control and contrast, but only if matched correctly with environmental factors and projector capabilities. To optimize your setup, it’s essential to delve into detailed analysis beyond surface-level specifications, integrating insights from reputable guides and studies like those found on comprehensive resources on projection screen gain and materials. Remember, the real secret lies in customizing your choices—balancing gain, material properties, and size—rather than relying solely on generic best-of lists. Do you ever feel overwhelmed by conflicting advice? Share your experiences below and let’s unravel these hidden nuances together. Have you ever fallen into this trap? Let me know in the comments.Maintaining your home theater projection setup is essential to preserve image quality over time. Regular cleaning of your screen material, especially ALR screens, prevents dust and fingerprints from reducing brightness and contrast. Use a soft, lint-free cloth and mild soap solution to gently wipe the surface—avoid harsh chemicals that can damage specialized coatings. Checking the integrity of your screen’s frame and mount ensures it remains perfectly tensioned and free from warping, which can distort images. For those who invest in high-gain screens, be aware that degradation of reflective surfaces over years can impact reflective efficiency, so consult your manufacturer’s guidance on recalibration or replacement intervals. Updating your projector’s firmware periodically can also improve color accuracy and gamma settings, enhancing long-term viewing. As trends in material science advance, newer screen coatings offer improved resistance to UV light and environmental wear, extending their lifespan. Planning routine maintenance, roughly every six months, keeps your system performing optimally and saves you from costly replacement or professional repairs later. To keep your projection system working at its best, consider tools like a microfiber cleaning cloth, a soft brush for dust removal, and a laser thermometer to monitor surface temperature, which can affect material durability. Prediction suggests that in the future, integrated smart sensors may automatically alert users when screen cleaning or calibration is needed, making maintenance more effortless.
How do I maintain my projection screen over time?
Regular inspection and gentle cleaning are your best strategies. Avoid abrasive materials, and always follow manufacturer recommendations. Keeping ambient conditions consistent—like temperature and humidity—also helps preserve material integrity. Investing in a quality, well-rated cleaning kit can save you headaches and ensure clear, bright images for years to come. Remember, a well-maintained screen not only enhances your viewing experience but also prolongs the lifespan of your entire projection system. For more detailed guidance on selecting durable ALR materials resistant to environmental wear, explore comprehensive resources on projection screen materials. Try implementing a regular cleaning schedule and see how your image clarity improves—small steps can lead to long-term gains.
The Hardest Lesson I Learned About Screen Material and Gain
One of my biggest realizations came when I obsessively chased higher gain screens without considering how ambient light and projector specs interact. I discovered that exceeding a certain gain threshold often leads to hotspots and color washout, especially in rooms with uneven lighting. This taught me that understanding how different materials scatter light is more important than simply opting for maximum brightness.
Why Size Isn’t Just About Inches
Initially, I thought bigger meant better, but I learned to balance screen size with room dimensions and seating positions. A screen that’s too large can cause eye strain and reduce image clarity, especially if your projector isn’t calibrated for ultra-wide displays. Proper sizing—guided by actual room measurements—makes a world of difference in immersive quality without sacrificing comfort.
Getting Real About Material Science and Durability
It surprised me how much the chemistry of screen coatings impacts color fidelity and longevity. These days, I prioritize screens with environmentally resistant coatings that withstand dust, UV light, and cleaning agents. Recognizing that not all materials age equally has helped me make smarter investments that deliver consistent performance over time.
3 Lessons That Transformed My Setup
- High gain isn’t always brighter—it’s about efficiently channeling light where you need it most.
- Size should complement your room and projector throw distance—bushing for comfort, not just spectacle.
- Select materials that resist environmental wear to keep your image crisp and vibrant for years.
Tools That Made All the Difference
Deciding on the perfect screen became easier once I started experimenting with test materials like DIY reflective surfaces and professional-grade ALR screens. Resources like this comprehensive guide on gain and materials provided the technical insights I needed. Investing in a light meter and calibration software also helped me optimize brightness and contrast in real-time.
Your Next Step in Brighter, Clearer Projection
I want to encourage you to experiment, learn from trial and error, and prioritize understanding your room’s unique lighting and your projector’s capabilities. High-quality screens are an investment, but the payoff in picture quality is worth it. Dive into the right resources and don’t shy away from customizing your setup—your perfect home theater is within reach. Which aspect of projection screen selection have you found most challenging? Let me know below, and let’s troubleshoot together!
,