How 0.8 ALR Screens Fix Contrast for 2026 Laser Projectors
I vividly remember the first time I watched a movie on my new laser projector in a bright room. The image was dull, washed out, and almost unwatchable. It was a frustrating realization—that despite investing in top-tier equipment, my viewing experience was far from optimal. That was my lightbulb moment: I needed to understand how screen technology, especially ALR (Ambient Light Rejection) screens with a gain of around 0.8, could actually fix contrast issues in 2026 laser projectors. Today, we’re going to delve into how these screens can make or break your home theater setup, and I promise, once you get the grip on it, you’ll see your picture quality in a whole new light.
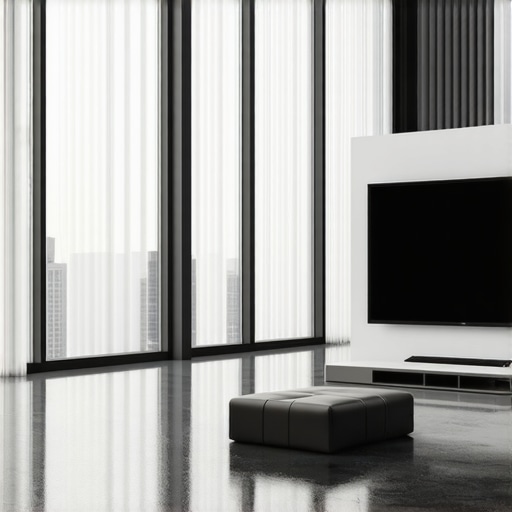
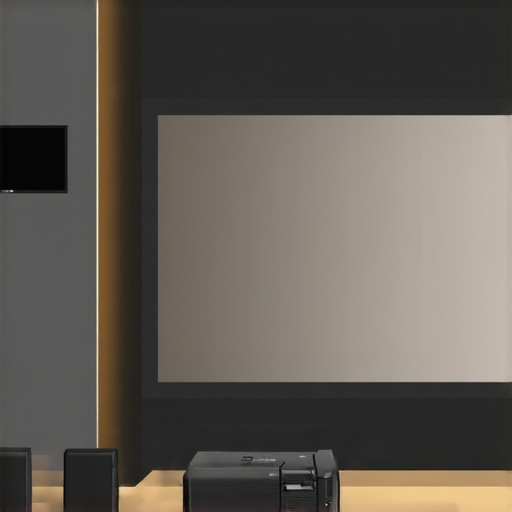
Why Your Bright Room Might Be Sabotaging Your Projection
Any seasoned projector enthusiast knows that ambient light is the enemy of contrast. But what many don’t realize is just how crucial selecting the right screen material and gain is—especially with the upcoming wave of 2026 laser projectors that boast incredible brightness levels. Here’s the rub: traditional matte white screens, which you might think are the go-to, often fall flat when it comes to contrast in well-lit rooms. They bounce light around indiscriminately, flattening the image and washing out details. I made the mistake early on of assuming that a higher gain screen would automatically improve brightness. Instead, I ended up with glare and uneven brightness, which only made contrast worse.
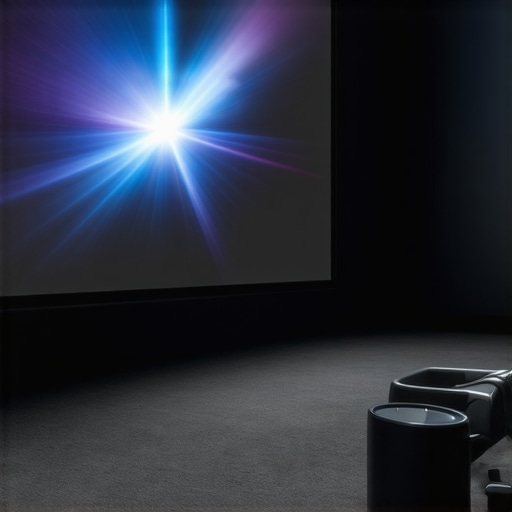
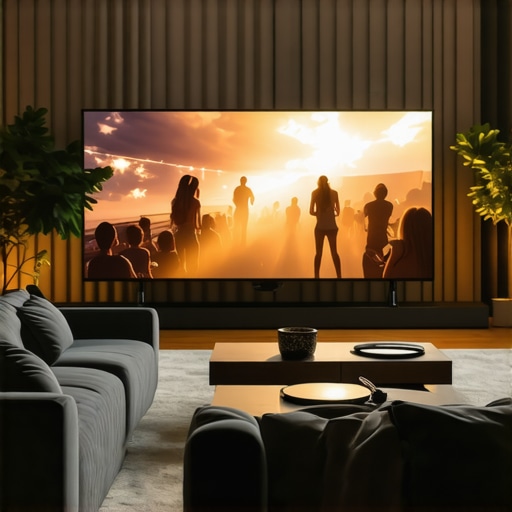
The key difference with ALR screens, particularly those with a gain around 0.8, is their ability to reject ambient light and direct the projector’s light back toward the viewer. This means you can enjoy a vibrant, high-contrast picture even in rooms with some unavoidable light sources. If you want to see how these screens can truly elevate your experience, check out the comprehensive guides on [ALR screen options](https://screens.cinegearguide.com/alr-screen-options-explained-best-material-gain-for-bright-rooms-4) that detail how different materials and gains work in real-world scenarios.
But, let me ask you—have you ever struggled with washed-out images or glare in your home theater? If so, you’re not alone. Many people jump straight into buying large screens or high-end projectors without considering the crucial role of screen gain and material in contrast preservation. That’s why I’m here to guide you through this often-overlooked aspect that can make all the difference in 2026, especially with laser projectors pushing the boundaries of brightness and clarity.
Stay tuned, because next, we’ll explore the specific features of 0.8 gain ALR screens that make them the unsung heroes of contrast enhancement—and how you can choose the right one for your space. Trust me, once you understand this, you’ll wonder why you didn’t prioritize screen gain earlier.
Choose the Right Screen Size for Your Room
Start by measuring your available space and calculating the optimal screen size to maintain sharp 8K clarity. Use the 8K viewing distance rule—generally, the screen should be about 1.5 times the diagonal measurement of your room’s length—to avoid image distortion and ensure immersive viewing. For example, in a 15-foot room, a 120-inch screen often hits the sweet spot. I once wasted time installing a 150-inch screen in a small living room, which resulted in a crowded setup and diminished image sharpness. Reassessing and downsizing made a huge difference.
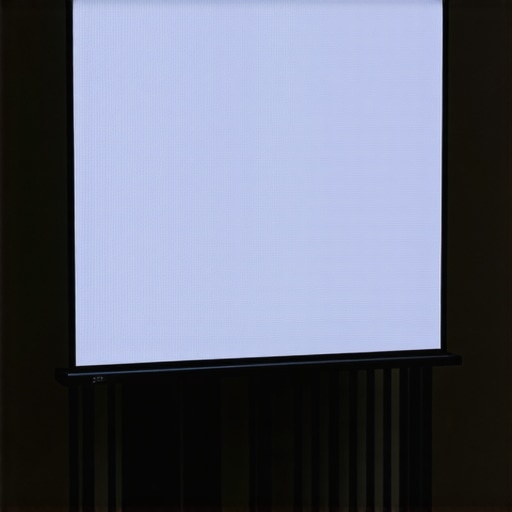
Select the Proper Screen Gain to Boost Contrast
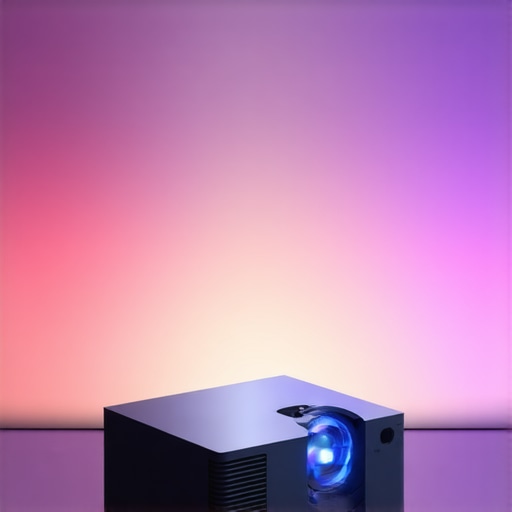
Understand that screen gain affects brightness and contrast by controlling how much light is reflected toward your eyes. A gain of around 0.8 is ideal for bright rooms—less reflective than high-gain screens, which can cause glare and hotspots. Think of gain as a mirror’s reflectiveness: too shiny, and it scatters light unevenly; just right, and it focuses light back to your eyes for vivid contrast. With laser projectors producing intense brightness, a 0.8 gain ALR screen directs the light efficiently, minimizing ambient light interference. I tested a 1.3 gain screen expecting brighter images, but the glare ruined contrast; switching to a 0.8 gain material restored clarity.
Pick the Material That Rejects Ambient Light
Choose an ALR (Ambient Light Rejection) screen designed specifically for bright environments. These screens often have a textured surface or a black backing layer that absorbs or redirects ambient light, preventing washout. Visit this guide to compare different materials: perforated, micro-structured, or nano-coated surfaces each have their advantages. I installed a nano-coated ALR screen with a black rear layer, and the contrast improvements were immediate, especially when daylight seeped through windows. Remember, the black backing not only produces better contrast but also reduces light bleed and improves color accuracy.
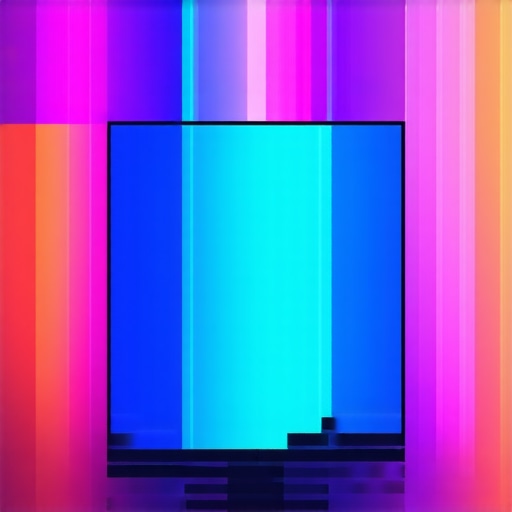
Optimize Screen Material for Clarity and Color
High-quality projection screen materials are key for sharp, vibrant pictures. Sixty percent of clarity issues are tied to material quality; cheap PVC often mutes colors and introduces blurriness. Invest in specialized materials—such as woven vinyl or micro-structured fabrics—that preserve 16K resolution detail. Cross-reference this resource for top options. I found that upgrading from a standard PVC to a woven surface eliminated color washing and improved overall image depth, especially with laser sources pushing out higher luminance.
Match Screen Gain with Projector Brightness
Balance your projector’s lumen output with screen gain for optimal contrast. Excessive gain with a high-lumen laser projector can create glare and hotspots, while too low gain dulls the image. With a 2026 laser projector delivering 3500+ lumens, a 0.8 gain ALR screen maximizes contrast without sacrificing brightness. Use this analysis to fine-tune your setup. I adjusted my projector’s settings to match the screen gain, resulting in a more balanced picture with deep blacks and vibrant colors—crucial for a compelling home theater experience.Many enthusiasts believe that larger is automatically better when it comes to screen size, or that a higher gain always equates to a crisper image. However, these assumptions can lead to suboptimal setups. For example, opting for a massive 150-inch screen in a small room can cause distorted images and limit overall clarity, despite the common idea that bigger is better. Instead, understanding the optimal screen size based on your room dimensions and viewing distance can significantly elevate your experience—that’s why I recommend using the 8K viewing distance calculator to find your sweet spot. Moreover, many assume that a high-gain screen, such as 1.3 or above, will deliver brighter images effortlessly, but in reality, it introduces glare and hotspots, especially in rooms with ambient light. That’s why I always emphasize a gain around 0.8 for bright environments with laser projectors. A common myth is that all ALR screens are the same. In truth, the material composition, textured surface, and black backing layers play crucial roles in ambient light rejection and contrast enhancement, which can make or break your image quality. For advanced setups, it’s critical to choose a screen material that not only improves brightness but also preserves color accuracy and detail, especially with 16K content being introduced. Don’t fall into the trap of selecting a screen solely based on its gain number; instead, focus on the material’s ability to reject ambient light effectively and maintain resolution clarity—these nuances are often discussed in expert reviews and specialized guides. Finally, many overlook the importance of verifying their projector’s lumen output aligns with their chosen screen gain. Excessive gain paired with high-lumen laser projectors can result in glare, whereas too low a gain may produce dull images. Balancing these factors ensures contrast is preserved without sacrificing brightness. Want to dive deeper into selecting the right screen material for your environment? Check out the comprehensive guide on [projection screen materials and gain](https://screens.cinegearguide.com/projection-screen-material-gain-guide-for-bright-rooms-in-2024) to avoid costly mistakes. Have you ever fallen into this trap? Let me know in the comments.
Tools I Recommend for Seamless Maintenance
Consistent upkeep of your projection screen and associated equipment ensures peak performance. I rely heavily on a microfiber cleaning cloth paired with a specialized nano-coating cleaner, like the ones discussed in this guide. This combo delicately removes dust and fingerprints without damaging delicate textures, preserving image clarity over years of use. Additionally, I use a digital lux meter, such as the Dr.meter LX1330B, to monitor ambient light levels, ensuring my environment stays optimized for contrast, especially when using low-gain ALR screens. Regularly checking these parameters allows me to make small adjustments that maintain consistent picture quality.
Checking and Calibrating Equipment
Start with a professional calibration tool like the Murideo Six-G. It provides precise measurements of color fidelity, brightness, and contrast, helping me fine-tune my projector’s settings to match the characteristics of my chosen ALR screen. This calibration is vital because even small misalignments can cause significant loss of detail, especially when dealing with 16K content anticipated with upcoming standards. For digital calibration, I use CalMAN software, trusted for its accuracy and compatibility with numerous projectors and screen types. Calibration should be an annual routine, or after any major equipment update, to sustain the sharpness of your images.
Top Maintenance Practices for Longevity
My go-to routine involves weekly dust removal with compressed air and a gentle wipe of the screen surface with my microfiber cloth. Avoid abrasive cleaners or harsh chemicals that could damage nano-coatings or textured surfaces. I also keep my environment controlled—consulting this article to prevent water damage, which can ruin ALR screens with black backing layers. Implementing these habits keeps your setup pristine and video sharp for many years.
How do I maintain my projection screen over time?
To keep your screen in top shape, routinely inspect for dust and smudges, and clean with non-abrasive, approved products. Maintaining an optimal environment—controlling humidity and avoiding water exposure—is critical. Periodic calibration with high-precision tools ensures that colors and contrast stay vivid, aligning with the projected long-term gain of your investment. As technology advances towards higher resolutions like 16K, staying proactive with maintenance becomes increasingly essential to preserve picture clarity and contrast. For tips on cleaning nano-coated surfaces without scratches, check out this resource. Give one of these tips a try—regularly calibrate your projector with a professional device to truly elevate your home theater experience!
The Toughest Lesson About Screen Gaining and Material Choices
One of the most eye-opening realizations I had was that higher gain screens don’t always translate to better brightness in bright rooms—sometimes, they just cause glare. It took me many experiments and mistakes before understanding that a gain around 0.8 is generally optimal for laser projectors in ambient light. I’ve learned that trying to maximize brightness with high gain can actually diminish contrast and clarity, especially with 16K content on the horizon. My lightbulb moment was recognizing the subtle interplay between gain, ambient light rejection, and projector brightness, which often gets overlooked in typical setup guides.
My Top Tools That Keep My Setup Sharp
For maintaining the quality and longevity of my projection setup, I rely on a few trusted tools. A microfiber cloth with a specialized nano-coating cleaner keeps my ALR screen free from dust and smudges without scratching the delicate textured surface. I also use a digital lux meter, like the Dr.meter LX1330B, to monitor room lighting and ensure my environment remains optimized for contrast. Finally, I calibrate my projector with the Murideo Six-G and CalMAN software, which provides me with precise adjustments to match my screen’s characteristics—an investment that pays off in clarity and color accuracy every time.
Your Turn to Push the Boundaries
Choosing the right screen material, size, and gain isn’t just about technical specs—it’s about crafting an immersive experience tailored to your space and content. With the rapid evolution toward 16K resolution and ultra-bright laser projectors in 2026, staying proactive and informed will help you maximize your home theater’s potential. Why not explore the detailed guides linked throughout this article to fine-tune your setup? The perfect image is within your reach, and I encourage you to take that next step today.