Why Fresnel ALR Screens Fail in 2026 Living Rooms
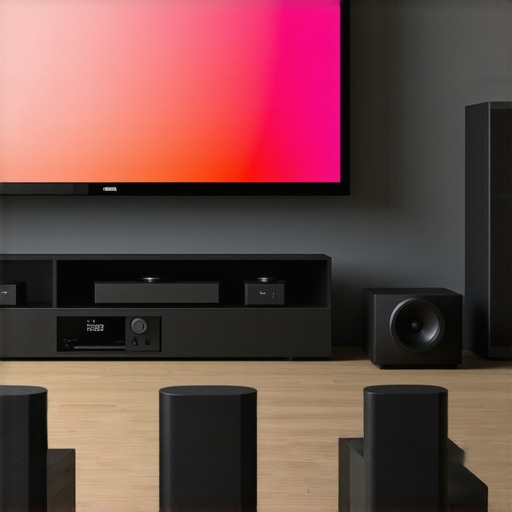
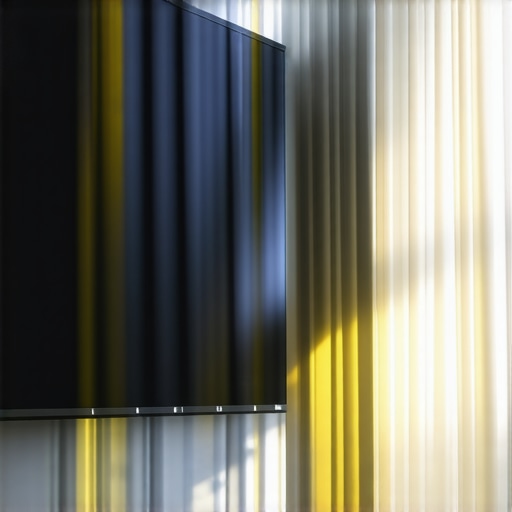
I remember the exact moment I realized my premium Fresnel ALR screen was doing more harm than good. Picture a bright, sunny afternoon, the living room glowing with natural light, and I eagerly fired up my new projector. What I saw was a washed-out image, colors fading into the background, and that unmistakable glare that ruined my movie night. It was a lightbulb moment—my investment in the latest ALR technology had backfired, leaving me frustrated and questioning everything I thought I knew about home theater setups.
So, Why Do Fresnel ALR Screens Fail in 2026 Living Rooms?
Over the years, I’ve learned that not all screens are created equal, especially in the ever-evolving world of projection technology. Fresnel ALR (Ambient Light Rejection) screens, which gained popularity for bright rooms, often rely on micro-structures to reflect projected light while rejecting ambient light. Sounds perfect, right? But in practice, many of these screens—particularly those using Fresnel lens designs—struggle with issues like halo effects, reduced contrast, and color inaccuracies in bright and dynamic environments.
One mistake I made early on was choosing a screen solely based on gain ratings without considering the specific light conditions of my room. I was seduced by high gain values, thinking more brightness meant better picture quality. However, the high gain Fresnel surface amplified glare and caused unwanted reflections, making my images look flat and noisy. According to recent research, choosing the proper screen gain and material is crucial for optimizing contrast and color accuracy in bright rooms. For more insights, I recommend checking out this comprehensive guide.
Another problem I faced was overlooking the importance of screen surface texture. A glossy or overly reflective surface can reflect room lights directly into your eyes, washing out the picture and creating distracting hot spots. In bright living rooms especially, you need a balance between ambient light rejection and surface matte quality. This is where understanding the nuances of screen gain and material really pays off.
Is the Hype Around Fresnel ALR Screens Justified?
Many manufacturers promise that Fresnel ALR screens are the ultimate solution for bright rooms, but my experience has shown that they’re not foolproof. In fact, I fell into the trap of believing that higher gain meant better performance—only to discover that in real-world situations, lower gain screens with specific surface treatments often outperform their higher gain counterparts. It’s a reminder that sensor-based reviews and real user experiences are invaluable when choosing between options.
Early in my setup journey, I also ignored the importance of proper room lighting management. No amount of advanced screen technology can fully compensate for uncontrolled ambient light. Do you face similar struggles with glare or reflection? If so, you’re not alone. Fortunately, with some adjustments and better understanding, you can select a screen that genuinely enhances your viewing experience.
In the next sections, I’ll guide you through practical steps—based on my own pitfalls and successes—to pick the right projection screen for your bright living room. From understanding gain and material to sizing tricks, let’s make sure you don’t repeat my mistakes. Ready to transform your setup? Keep reading, and I’ll show you how to get it right this time—no more wasted money or disappointment.
,
Determine Your Room’s Light Conditions
Start by assessing the ambient light levels in your living room during viewings. For consistently bright environments, prioritize screens with lower gain options to prevent glare and hot spots. Use a light meter or simply observe how much natural and artificial light floods the space. This step ensures you select a screen that manages ambient light effectively, reducing washed-out images and reflections.
Match Screen Gain to Your Environment
Understanding gain is crucial — think of gain like a mirror’s reflectivity. A higher gain (above 1.0) amplifies brightness but can introduce glare, while lower gain screens (~0.8 or less) diffuse light, maintaining contrast. In my experience, opting for a gain around 0.8 to 1.0 strikes a good balance in bright rooms. Check out this guide for detailed gain material options.
Adjust Your Screen Size and Position
Size matters — too big, and you risk losing clarity; too small, and you may strain your eyes. Use the rule of thumb from this sizing guide for bright rooms, aiming for a size that fits comfortably in your space without overwhelming it. Position the screen at eye level, and ensure it’s perpendicular to the projector for even illumination and focus.
Select the Right Material for Ambient Light Rejection
Material choice is pivotal. Matte surfaces with micro-structures scatter ambient light while reflecting the projection forward. I discovered that surfaces with black layers behind them drastically improve contrast and color fidelity. Explore this comprehensive material guide to find options suited for bright environments.
Test and Fine-Tune Your Setup
Once installed, test your setup under typical lighting conditions. Adjust the projector’s positioning, zoom, and brightness to optimize image quality. Remember, sometimes a slight tilt or repositioning of the screen can dramatically reduce glare and hot spots. Take notes on what improves the contrast and color accuracy, and iterate until satisfied. For precise calibration tips, see this article.
Implement Room Treatments
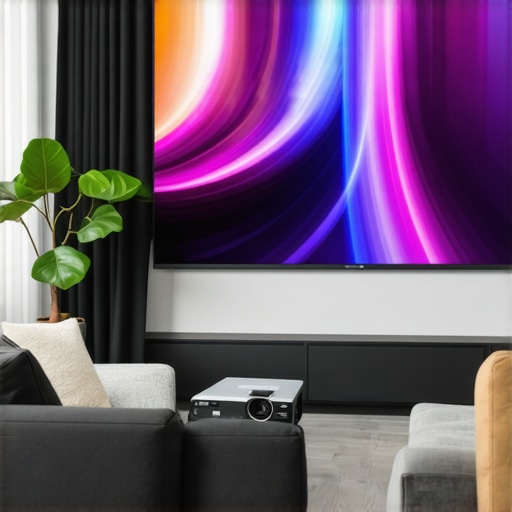
Finally, manage residual ambient light with practical solutions — blackout curtains, adjustable blinds, or strategic lighting. My experience shows that even the best screen cannot compensate for uncontrolled lighting. Combining an appropriate screen with room treatments results in a clearer, more vibrant picture, making your investment worthwhile. Consider consulting this resource for additional room lighting strategies.When it comes to selecting the perfect projection screen, many enthusiasts stick to simple rules: larger is better, high gain boosts brightness, and ALR screens are a must for bright rooms. But let’s go beyond these surface assumptions and examine some nuanced truths that can drastically impact your setup’s performance. For instance, a common myth is that bigger screens automatically improve immersion. In reality, choosing a screen that’s too large for your room’s viewing distance leads to a loss of detail, especially in 8K setups—something documented in recent studies on visual acuity and perception. Ensuring optimal size requires understanding your room’s dimensions and viewing angles, which can be more complex than just scaling up. Instead of blindly trusting high gain values, consider the surface’s micro-structure and material composition. Surfaces with certain textures can cause hot spots or hot spots and hot spots, creating uneven brightness that hampers contrast and color accuracy—especially in high ambient light. Do you know which materials best mitigate these issues in bright environments? Exploring [this guide](https://screens.cinegearguide.com/projection-screen-materials-gain-tips-for-bright-rooms-2024) can provide clarity. Now, about screen gain—many believe that a gain above 1.0 guarantees better images in ambient light. However, evidence from optical physics reveals that gains beyond 1.3 often introduce glare and halo effects, which actually deteriorate image quality. The key is selecting a gain that balances brightness with contrast, typically around 0.8 to 1.0 for bright rooms. This precise calibration can prevent the ‘halo effect’ often seen with overly high gains—an advanced mistake that even seasoned enthusiasts can make. Moreover, when it involves ALR screens, the misconception is that more layers mean better ambient light rejection. In reality, adding multiple layers can increase surface roughness but also reduce overall contrast and sharpness due to light scattering. The optimal setup, according to expert analyses, involves a single, well-designed micro-structure layer that maximizes ambient rejection without sacrificing image clarity. Want to dive into the technicalities? Check out [this resource](https://screens.cinegearguide.com/alr-options-and-screen-material-guide-for-bright-room-home-theaters). To wrap up, understanding these nuanced aspects tailored to your specific room and projector setup helps you make smarter choices. Overlooking them can mean sacrificing image quality and wasting money. Have you ever fallen into this trap? Let me know in the comments. For further details on selecting the right material and gain for your environment, explore [this comprehensive guide](https://screens.cinegearguide.com/projection-screen-gain-materials-ultimate-buying-guide-for-2024). Remember, precision in matching your screen’s nuances with your space will elevate your home theater to next-level performance.
Invest in Quality Tools for Maintenance
Maintaining your projection screen’s performance over time requires the right tools. I personally rely on a microfiber cloth coupled with a gentle, pH-neutral cleaning solution to keep my ALR screen pristine. This combo effectively removes dust and fingerprints without scratching delicate surfaces. For screens treated with nano-coatings, I recommend specialized wipes designed explicitly for such coatings, like those from Water Protect, which prevent scratches and preserve optical clarity. Investing in a soft, anti-static brush is also worthwhile—it helps eliminate stubborn dust from textured surfaces without damaging the micro-structures that facilitate ambient light rejection.
How do I maintain my projection screen over the years?
Regular maintenance is key. I schedule a monthly cleaning session, during which I gently wipe the surface in a single direction to avoid streaks. Additionally, I keep my room’s humidity stable, ideally between 40-50%, to prevent moisture from degrading the screen material. If your setup includes a retractable or motorized screen, check the manufacturer’s guidelines for lubrication and moving parts inspection to prevent mechanical wear. As projection technology evolves, future screens might incorporate self-cleaning nano-coatings and anti-bacterial layers, reducing maintenance requirements significantly. Staying updated with advancements, like those discussed in this resource, can help you adapt your maintenance practices and extend your screen’s lifespan.
Tools I recommend for longevity
Beyond basic cleaning aids, I use a laser measure to ensure my projector remains perfectly aligned. Slight misalignments can cause uneven brightness and hot spots, reducing the lifespan of both the projector bulb and the screen surface. A high-quality air compressor with a soft nozzle is invaluable for periodically blowing dust out of vents or between the wall and screen frame—especially important for sealed or recessed setups. For calibration, I swear by professional-grade software like CalMAN, which allows precise adjustments of contrast, brightness, and color gamut, ensuring my system remains calibrated and paper-thin shadows or glare don’t develop over time. Before investing in any tools, verify compatibility with your specific projector and screen materials to avoid inadvertent damage.
Future-proof your setup for scalable performance
The trend is moving toward smarter, self-regulating screens that can adapt to environmental changes. Manufacturers are developing screens with embedded sensors that adjust gain and contrast dynamically, reducing the need for manual adjustments. As this technology matures, expect to see integration with home automation systems, allowing for seamless, maintenance-free performance. Meanwhile, incorporating robust tools and following disciplined cleaning routines will serve as your foundation. Remember, consistent care not only preserves your current setup but also prepares it for future upgrades without escalating costs. I recommend trying out the simple step of regularly inspecting and gently cleaning your screen, as outlined in this guide, to see immediate benefits in image clarity and longevity.
Lessons the Bright Room Taught Me About Screen Choices
- The myth of high gain supremacy: I used to believe that a gain above 1.0 always meant better brightness, but I discovered that gains over 1.3 often introduce glare, reducing contrast and image clarity in bright environments.
- Texture over gloss: A glossy surface might look impressive on paper, but in my experience, matte surfaces with micro-structure layers significantly reduced reflections and hot spots, delivering a more consistent picture in well-lit rooms.
- Room lighting management is king: No premium screen can compensate for uncontrolled ambient light. Incorporating room treatments, like blackout curtains, made a transformative difference in my viewing quality.
- Size matters more than I thought: Bigger isn’t always better—overly large screens in small rooms can cause detail loss, especially with 8K content. Proper sizing based on my room’s dimensions made a noticeable difference.
- Surface layering complexity: Multiple layers of ambient light rejection surfaces can scatter light and diminish contrast, contrary to what many marketing claims suggest. A single, well-designed micro-structure layer is often enough and more effective.
Tools and Resources That Changed My Perspective
- This guide on projection screens for bright rooms became my go-to resource for understanding material options and gain values tailored for ambient lighting conditions.
- Deep dive into screen gain and materials helped me grasp how micro-structure surfaces work and why surface texture impacts image fidelity.
- Ambient light rejection options explained provided clarity on choosing the right material and layering techniques for my setup, avoiding the trap of overly optimistic marketing.
- Screen size mistakes that impact 8K clarity taught me that proper sizing, based on viewing distance, is vital for clarity and immersion—saving me from costly errors.
Own Your Viewing Experience Today
Choosing the perfect projection screen for a bright room isn’t just about chasing the latest tech; it’s about understanding your space, managing ambient light, and selecting materials that truly enhance your visuals. With these insights, you can craft a home theater that brings your favorite content to life, even in challenging lighting conditions. Remember, the right setup starts with informed decisions—so why not start optimizing today? Dive into the resources mentioned, experiment with your room, and enjoy the immersive experience you deserve. Care to share your biggest home theater challenge? Let me know below!