Best Projection Screen Size and Gain Tips for Bright Room Setups
I vividly remember the moment I realized my home theater was fighting a losing battle against the bright afternoon sunlight streaming through the windows. No matter how high I set the contrast or how advanced my projector was, the image looked washed out, murky, almost unwatchable. That frustration hit me hard—why was it so difficult to get a clear picture in a bright room? After countless experiments and a few costly mistakes, I finally uncovered some secrets that transformed my setup—and I want to share them with you.
Why Bright Room Projection is a Puzzle Worth Solving
Many enthusiasts assume that simply upgrading their projector or darkening the room is enough. But in reality, choosing the right projection screen size and gain for a bright environment can make all the difference. It’s like the difference between looking through a foggy window and a clear glass. I used to think that more brightness from my projector was the answer—until I learned about screen gain and material choices. These factors can dramatically enhance or ruin your viewing experience in well-lit spaces.
If you’ve faced the frustration of dull or washed-out images despite high-quality equipment, you’re not alone. The good news is, with the right setup, you can enjoy vibrant, crisp images even during daytime. In the following sections, I will guide you through practical tips and insider insights—from selecting the perfect screen size to choosing the best gain material—that will help your bright room projection shine.
Is Screen Gain Really That Important in Bright Rooms? Can It Fix Everything?
Early in my journey, I made the mistake of dismissing gain as just a fancy marketing term. I thought, “Higher gain must be better, right?” Wrong. I soon discovered that maximizing gain without considering room lighting and screen size could backfire—blinding reflections and hotspots quickly ruined the picture.
It was a pivotal moment when I realized that understanding the specific properties of screen gain could actually help control reflections and improve brightness. For example, materials with a gain around 1.5 to 2 are often ideal for bright rooms, balancing brightness and viewing angle. For a deep dive into the importance of gain and how to choose the right material, check out this [comprehensive guide](https://screens.cinegearguide.com/ultimate-guide-to-projection-screen-material-gain-for-bright-rooms).
Now that I’ve shared my struggles and breakthroughs, let’s explore how to determine the best screen size and gain for your space—so you don’t keep fighting that sunlight any longer.
Choosing the Right Screen Size to Maximize Brightness
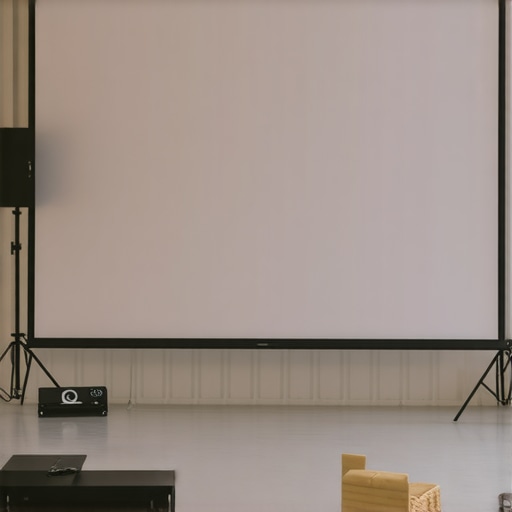
Start by measuring your room’s dimensions and determining the optimal screen size to fill your field of view without overwhelming the space. Think of your screen as a canvas—too big, and it obscures details; too small, and it diminishes immersion. I once measured my basement’s dimensions, and after experimenting with different sizes, found that a 100-inch diagonal screen struck the perfect balance for my bright room. Use the guidelines in this resource to select a size that complements your space and enhances brightness perception.
Select High-Gain Material to Amplify Light
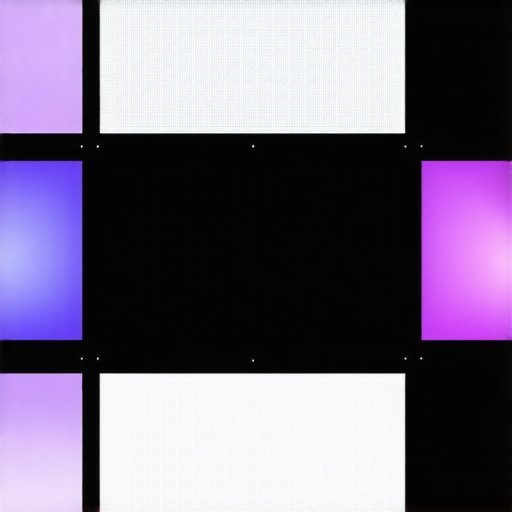
In bright environments, a high-gain screen acts like a mirror, reflecting more light toward your eyes and boosting perceived brightness. But beware—materials with too high a gain can create hotspots and reflections. Aim for a gain around 1.5 to 2 for a balanced brightness boost without glare distortions. I personally installed a gain 1.8 screen, which increased perceived brightness without hotspotting, resulting in vivid images even during the day. For detailed material options and gain considerations, check out this guide.
Prioritize Ambient Light Rejection (ALR) Technology
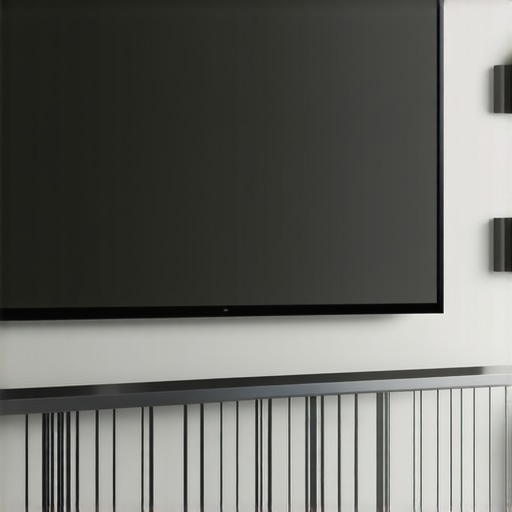
Modern ALR screens are engineered to deflect ambient light away from the viewer’s line of sight. Think of them as a shield blocking sunlight, preserving contrast and color accuracy. When I upgraded to an ALR screen designed for bright rooms, my images became dramatically clearer, almost like shining a spotlight on a stage. Look for screens with specialized coatings or microscopic structures that enhance ALR performance. Explore this detailed explanation to understand which ALR options suit your setup.
Optimize Projector Brightness and Contrast Settings
Don’t forget that your projector’s settings are integral to the final picture. In bright rooms, bump up contrast and reduce ambient light interference where possible. Adjust color profiles to enhance vibrancy without washing out darker areas. I recommend making incremental adjustments—small tweaks can make a substantial difference. Use test patterns to evaluate your adjustments, aiming for peak contrast and clarity. For best practices, review this comprehensive guide.
Control Room Lighting for Better Viewing
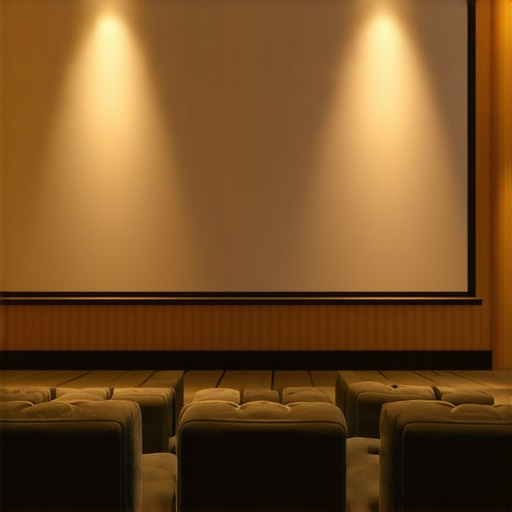
Implementing strategic lighting controls can significantly improve your viewing experience. Use blackout curtains or adjustable blinds to minimize sunlight, and add dimmable fixtures to manage remaining ambient light. I installed blackout curtains that I can draw during daytime, transforming my room into a pseudo-dark environment, allowing my high-gain ALR screen to shine. Even small light fixtures can cause glare, so consider positioning lights thoughtfully. For additional tips, see this resource.
Many enthusiasts believe that selecting the highest gain screen automatically guarantees a brighter, more vivid picture in any environment. However, this oversimplification leads to common pitfalls. High gain screens, typically above 2.0, can produce hotspots and uneven brightness, especially if the projector isn’t properly calibrated or if the room’s lighting isn’t controlled. This misconception often results in disappointment, as users ignore the importance of balancing gain with room conditions and projector capabilities. Rather than chasing maximum gain, understanding the nuanced relationship between gain, screen size, and ambient light can dramatically improve your viewing experience. The myth that bigger always means better also persists; larger screens might seem impressive but can lead to reduced perceived contrast and brightness if not scaled correctly for the space and lighting conditions. When it comes to material choices, many focus solely on superficial appearance, neglecting the microscopic structures that influence ambient light rejection and color accuracy. For instance, screens designed with specific coatings or microscopic filtration can significantly enhance contrast in bright rooms, a detail often overlooked by beginners. Moreover, many assume that ALR screens are always the best solution for bright environments, but the technology varies widely. Some ALR screens excel at rejecting ambient light but may compromise color accuracy or viewing angles. An informed selection involves examining the materials’ microscopic features and the technology’s compatibility with your space.
What advanced considerations might affect your choice of screen gain and material beyond basic specifications?
In my experience, factors like room geometry, projector throw ratio, and even the spectral properties of your light sources influence the effectiveness of high-gain screens. For example, a study published in the Journal of Display Technology emphasizes that spectral reflectance and microscopic surface structures can optimize perceived brightness and color fidelity under varied lighting conditions. Recognizing these nuances helps avoid the trap of relying solely on generic specifications. Remember, achieving excellent daytime performance isn’t about universally applying high gain or ALR screens but about tailoring your setup to your unique room characteristics. For in-depth insights, explore resources like this guide on screen gain and materials or this detailed explanation of ALR technology. Understanding these subtleties ensures your investment not only looks impressive but truly elevates your viewing experience. Have you ever fallen into this trap? Let me know in the comments.Maintaining your projection screen system is crucial to preserving image quality and ensuring long-term performance. One of the most effective approaches is investing in quality tools that allow precise calibration and routine inspections. I recommend using a professional calibration meter, like the **Datacolor SpyderX** or **CalMAN** calibration software, to regularly assess and adjust your projector’s color and contrast settings. These tools provide accurate readings, helping you fine-tune your setup to maintain vibrant images, especially in bright environments.
Additionally, a microfiber cleaning cloth and filtered compressed air are indispensable for keeping your screen free from dust and fingerprints. I always carry these when inspecting or cleaning my setup; clean screens reflect light evenly and prevent unwanted glare or hotspots.
Scheduled maintenance also extends to hardware components. Regularly inspecting your projector lens for dust and cleaning it gently with lens solution prevents image dimming or distortion. For screens with ALR coatings, avoid abrasive cleaners that can damage microscopic structures designed to reject ambient light effectively.
Managing your environment complements these tools. Using blackout curtains and controlling ambient lighting reduces strain on your projection system, preserving colors and contrast over time. Incorporate smart lighting setups with adjustable dimmers to optimize light levels for different viewing scenarios.
Prediction-wise, upcoming advances point toward smart calibration systems that harness AI to auto-adjust settings based on room conditions, simplifying maintenance and maximizing image longevity. Companies are integrating sensors that detect dust accumulation or LED degradation, alerting you proactively.
**How do I keep my projection setup working flawlessly over the years?** Regular calibration, preventative cleaning, and environmental control are your best bets. For high-precision calibration, I personally rely on a combination of calibration software like [CalMAN](https://screens.cinegearguide.com/understanding-projection-screen-gain-material-for-optimal-setup) and a dedicated measurement device. These tools guide me through the process, ensuring my picture remains crisp and vibrant.
If you haven’t already, try integrating a calibration meter into your routine. Even small adjustments can significantly enhance your viewing experience and protect your investment long-term. Remember, consistency is key. Keep those tools handy, schedule routine checks, and your projection system will reward you with stunning visuals for years to come.
The Hardest Lesson I Learned About projection screens, screen gain, and ALR Technology
One of the toughest truths I faced was realizing that pushing for ultra-high gain screens without considering my room’s ambient light was a mistake. I believed that brighter screens would solve all issues, but the hotspots and glare taught me otherwise. It made me see that understanding the nuanced balance between gain and room lighting was essential for a flawless bright room experience.
My Go-To Tools for a Stellar Projection Setup
In my journey, investing in tools like the calibration meters and professional software transformed my ability to fine-tune image quality. These resources give precise control, helping me ensure each viewing session is as vivid and accurate as possible. A microfiber cloth and dust filter are my everyday essentials to keep the screen free of dust, maintaining optimal reflections and colors.
Embrace the Bright Side: Your Projection Future Awaits
There’s a thrill in knowing that with a well-chosen screen size, proper gain, and ambient light control, you can enjoy stunning visuals in bright environments. Don’t let sunlight steal your cinematic joy. Take the leap, experiment with the tips shared, and watch your home theater transform. Your bright room setup isn’t just possible—it can be spectacular.
Reading through this post really resonated with my own experience trying to optimize a bright room home theater. One thing I found particularly helpful was the emphasis on balancing gain and ambient light control rather than just chasing higher gain screens. I used to think that a higher gain would automatically solve brightness issues, but I quickly ran into hotspotting and glare problems. Since then, I’ve experimented with screens around 1.8 gain and invested in blackout curtains, which made a noticeable difference.
What I’m curious about is how others manage projector placement and throw ratio to complement their screen choice. In my case, I had to reposition my projector to avoid hotspots on a high-gain screen—has anyone else faced similar challenges? I feel like the synergy between projector specs, screen gain, and room lighting is the key to achieving that perfect daytime picture. Would love to hear some real-world tips on fine-tuning these variables for the best daytime HDR viewing!
Your post brings up some excellent points about the delicate balancing act required for bright room projection setups. I’ve found that selecting the right screen gain is only part of the equation — projector placement and throw ratio are equally crucial in avoiding hotspots, especially on higher gain screens. For instance, repositioning the projector and adjusting its lens zoom can significantly influence how evenly the light is distributed across the screen. I used to struggle with hotspots until I experimented with different throw distances, which helped mitigate those issues.
Additionally, I’ve noticed that some projectors with lens shift capabilities provide more flexibility for fine-tuning the image, allowing me to optimize placement without compromising image quality. My question is: how do others approach projector positioning in small or tricky spaces? Do you find that certain brands or models make this process easier when trying to match a specific gain and screen size? It seems the key to a flawless bright-room setup involves mastering the interplay between projector placement, screen gain, and room lighting controls like blackout curtains. Would love to hear your thoughts or tips on managing these variables effectively across different room sizes and configurations.