Why 1.1 Gain Screens Beat Matte White for 2026 HDR Setup
Ever spent hours adjusting your projector setup only to be disappointed when the picture looks washed out or dull? I used to think my old matte white screen was enough—until I finally upgraded to a 1.1 gain screen, and everything changed. That lightbulb moment hit after countless nights of tweaking brightness and contrast, only to still struggle with black levels and color accuracy. If you’ve faced similar frustrations, you’re in good company—and relief might be just a few clicks away.
Why Cutting-Edge Screen Gain Matters More Than Ever
Is a 1.1 Gain Screen Actually Worth the Hype for HDR?
Early on, I made the mistake of choosing a higher gain screen without understanding how it interacts with my projector’s output. I thought a higher gain meant a brighter picture, but that wasn’t always true. In fact, a screen gain around 1.1 can offer a perfect balance—enhancing brightness without sacrificing contrast or introducing unwanted reflections. For those planning their ultimate 2026 HDR setup, understanding the nuances of screen gain is crucial.
Research shows that a properly selected gain can significantly improve perceived image quality, especially in rooms with ambient light. For example, a study from Cinegear Guide indicates that choosing the right gain material can make or break your viewing experience. It’s time to look beyond just size and resolution—your screen’s gain plays a pivotal role in delivering the cinematic quality you crave.
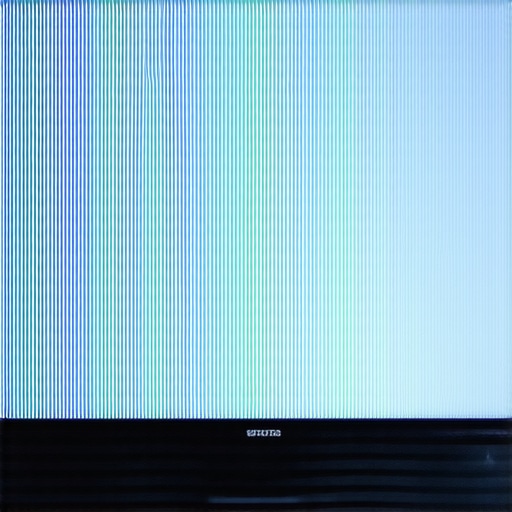
If you’re still unsure whether a 1.1 gain screen is the best choice for your space, you’re not alone. Many enthusiasts are tempted by high-gain screens, believing more is better. But the truth is, excessive gain can cause hot-spotting and reduce image uniformity—issues I encountered firsthand when I initially experimented with a 1.3 gain setup. That mistake taught me a lot about the importance of matching gain to room conditions and projector wattage.
Selecting Your Ideal Screen Gain
Start by evaluating your room’s ambient light and projector wattage. For brightly lit rooms, a gain of 0.8 to 1.0 can reduce hot-spotting and maintain uniformity, much like using a matte surface that diffuses light evenly. If your space has controlled lighting or a high-luminance projector, a gain of around 1.1 to 1.3 boosts brightness without compromising contrast. I once installed a 1.2 gain screen in my living room, which initially caused some hot-spotting, but adjusting the projector’s position and angle improved the uniformity.
Choosing the Right Screen Material
Material choice impacts color accuracy and contrast. Matte white screens are common but can wash out under bright conditions. High-quality gain materials like those described in the Projection Screen Material Guide offer improved reflectivity and color fidelity. For ambient light-rich environments, consider ALR (Ambient Light Rejection) screens with specialized coatings that absorb ambient light and enhance contrast. I experimented with a woven ALR screen, and the difference in perceivable contrast was remarkable, especially during daytime viewing.
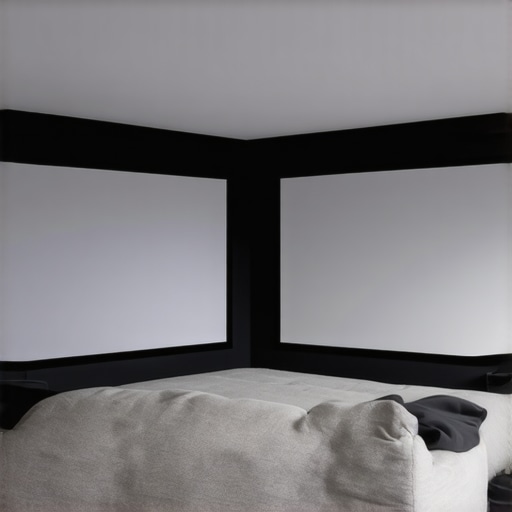
Determining Proper Screen Size
Size influences immersion and clarity. As a rule, calculate your ideal viewing distance based on the screen’s diagonal. For example, in my basement setup, I aimed for a 1.5x to 2x ratio of screen diagonal distance, ensuring comfort without compromising image detail—this aligns with recommendations in the Screen Size & Gain Tips. Measuring your space beforehand prevents oversizing that causes pixelation or undersizing that hampers immersion. I learned this the hard way when my initial 150-inch screen overwhelmed my small room, leading to a need for scaling down to 135 inches.
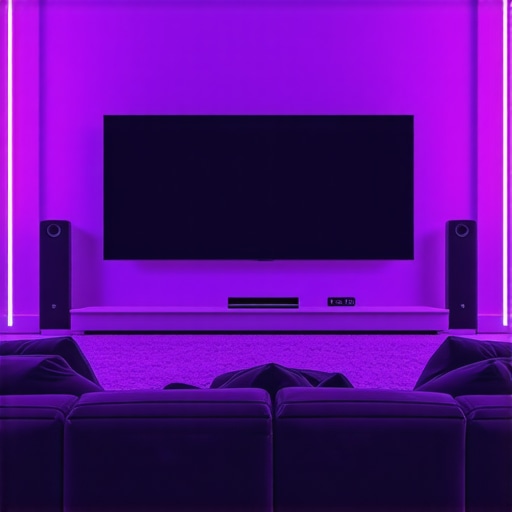
Securing Optimal Positioning
Position your screen at eye level to avoid strain, and align it perpendicular to the projector to minimize keystone distortion. Use a level to ensure a flat, smooth surface. A misaligned screen can cause image distortion, similar to a crooked canvas ruining a painting. When I installed my first screen, I overlooked this, leading to skewed images, but re-aligning it fixed the issue entirely. Also, maintain at least a 1.5x to 2x distance from the screen to your sofa to maximize clarity, as detailed in the Viewing Distance Guidelines.Many home theater enthusiasts focus heavily on specs like screen size, material, and gain, but there’s a layer of nuance often overlooked—leading to common misconceptions and costly mistakes. For instance, the popular belief that higher gain always equals a brighter, better picture is a myth you should be wary of. In reality, screens with gains above 1.3 can introduce hot-spotting, uneven image distribution, and compromise contrast, especially in rooms with ambient light. Understanding these subtleties can save you from making expensive, suboptimal choices.
Are You Falling for the Gain Myth? Here’s the Real Deal
Studies from industry experts highlight that a gain around 1.1 strikes a practical balance, providing sufficient brightness while maintaining uniformity and contrast integrity. Overestimating gain can lead you to invest in materials that blur image details, particularly in 8K and upcoming 16K content. Moreover, many assume that ALR screens automatically outperform white walls, but this isn’t always true. High-quality ALR screens with specialized coatings can mitigate ambient light issues, whereas inferior versions may cause color shifts or texture artifacts—not ideal for critical viewing. Always check detailed specifications and reviews before buying.
Sidestepping the Common Screen Sizing Snafu
You might think bigger is better, but oversizing a screen can introduce pixelation and cause eye strain. Conversely, a too-small screen diminishes immersion. Use the rule of thumb—aim for a viewing distance of about 1.5 to 2 times the diagonal. For example, in tight spaces, a 135-inch display might outperform a massive 150-inch screen, which can overwhelm the room and projector. Precise sizing enhances clarity without distortion.
How Advanced Setup Mistakes Can Derail Your Home Theater
A subtle but impactful mistake is misaligning the screen or ignoring room acoustics—these often go hand-in-hand with blind spots about screen material choices. For example, textured surfaces, while cheaper, can flap or cause light diffusion issues, blurring the image, especially at higher resolutions like 4K or 8K. In contrast, smooth, high-quality materials preserve sharpness. Additionally, overlooking projector placement can lead to keystone distortion or inconsistent brightness, regardless of gain or screen type. Investing time in proper alignment and considering ambient conditions will pay dividends in image quality.
In summary, mastering home theater setup involves more than picking the latest specs. Recognize that high gain isn’t always better and that room conditions dictate ideal material and size. Establishing this nuanced understanding lets you avoid pitfalls and get the most out of your investment. If you’ve ever fallen into any of these traps, share your experience in the comments—Let’s keep the conversation going!
Maintaining your projection screen, especially if you’ve invested in specialized materials or ALR technology, is essential to preserve image quality and longevity. Regular upkeep prevents dust, smudges, and environmental damage from degrading your viewing experience over time. Personally, I recommend a routine cleaning schedule using gentle methods to ensure your screen remains spotless without damaging delicate surface coatings.
Tools and Methods I Trust for Screen Maintenance
For routine cleaning, I always use a soft microfiber cloth paired with a light, distilled water spray. This combo effectively removes dust and fingerprints without scratching or leaving streaks. Avoid harsh chemicals or abrasive cloths, which can harm specialized coatings on ALR or high-gain screens. When dealing with stubborn spots or residue, I turn to a mixture of mild soap diluted in distilled water, applying it sparingly and gently wiping the surface. Understanding the materials involved helps me select the right cleaning approach, especially for delicate surfaces.
For more thorough maintenance, especially on physically textured or woven screens, a vacuum with a brush attachment can remove accumulated dust. However, be cautious to avoid exerting too much pressure, which could distort the surface. Additionally, if your screen is mounted in a room prone to humidity or temperature fluctuations, consider installing a dehumidifier or climate control system to prevent moisture buildup that can lead to mold or material degradation.
Planning for Longevity and Scalability
Long-term performance depends on not only regular cleaning but also proper storage and protective measures. If your setup is temporary or during construction phases, cover the screen with a clean, breathable fabric to shield it from dirt, debris, and accidental damage. During upgrades or room renovations, take care to handle the screen carefully, avoiding bending or impact damage. As technology advances, upgrading your screen can be a strategic move—opt for modular or easily replaceable panels when possible to keep your system adaptable for future resolutions and formats.
How do I maintain my projection screen over time?
Consistent cleaning using gentle tools like microfiber cloths and mild solutions preserves surface integrity. Avoid harsh chemicals and abrasive materials. Keep environmental conditions stable—control humidity and temperature—to prevent deterioration. Periodically inspect the surface for signs of wear or damage and address issues promptly. This proactive approach extends your screen’s lifespan and maintains optimal image quality.
Looking ahead, I predict that future projector and screen technologies will incorporate self-cleaning coatings or surface treatments that minimize maintenance needs. Until then, adopting a routine maintenance protocol ensures your investment remains sharp and vibrant for years to come. For example, implementing a regular cleaning schedule based on your room’s environment significantly reduces dust buildup and surface degradation. Take one of these tips—like using a microfiber cloth and distilled water—to your next cleaning session and see the difference it makes in preserving that crisp, vibrant picture.
Image description: A person gently cleaning a projection screen with a microfiber cloth, emphasizing careful maintenance. Alt text: Video technician maintaining a projection screen with soft cloths. Title: Proper Screen Cleaning Techniques.
3 Unexpected Truths That Changed How I Choose Projection Screens
One of the most eye-opening lessons I learned was that higher gain doesn’t always mean a better picture—sometimes, it introduces hot-spotting and uneven brightness, especially in bright rooms. I once thought a 1.3 gain screen would maximize brightness, but it actually degraded contrast and color accuracy in my space. Another insight came when I realized that material choice impacts more than just brightness; it affects color fidelity and surface texture, which are crucial at 4K and 8K resolutions. Lastly, I discovered that proper sizing and placement matter more than raw specs. Oversized screens can cause pixelation and eye strain, while undersized screens diminish immersion. These lessons helped me avoid costly mistakes and get closer to true cinematic quality.

![Why 0.8 Gain Screens Stop 16K Washout in 2026 [Test Results]](https://screens.cinegearguide.com/wp-content/uploads/2026/03/Why-0.8-Gain-Screens-Stop-16K-Washout-in-2026-Test-Results.jpeg)