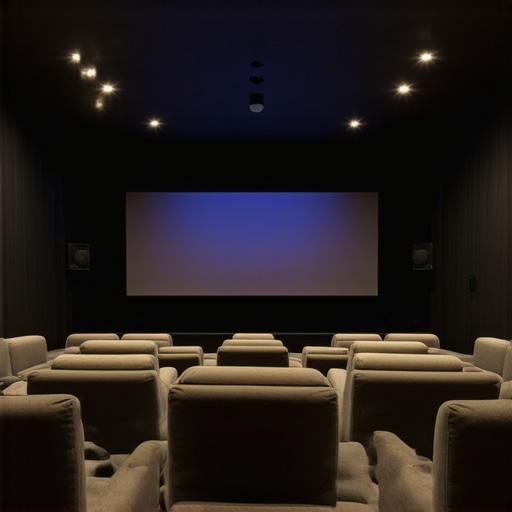
Understanding Screen Gain & Material for the Ultimate Projection Setup
It was a frustrating Saturday afternoon when I finally decided to upgrade my home theater. Everything seemed perfect—new projector, sound system, even ambient lighting. But when I powered everything on, the picture was dull, washed out, and unimpressive. I had followed every guide, double-checked the connections, yet the image just didn’t pop like I imagined. That lightbulb moment made me realize: I was missing a crucial piece of the puzzle—understanding how screen gain and material influence my projection quality.
Why Screen Material and Gain Can Make or Break Your Home Theater Experience
Ever felt like your projector’s brightest setting isn’t enough? Or perhaps your screen just refuses to deliver that vivid, lifelike image you crave? You’re not alone. I learned that selecting the right screen material and understanding gain is essential, especially if you’re dealing with brighter rooms or ambient light. Without grasping these concepts, you’re essentially flying blind, wasting money or settling for poor visuals.
The good news? Once I cracked the code on screen gain, my projection quality soared. In fact, the right material can significantly enhance contrast, brightness, and clarity, transforming your setup from mediocre to magnificent.
If you’re tired of battling washed-out images or struggling to make your projector shine in a bright room, you’re in the right place. Today, I’ll guide you through the fundamentals of screen gain and material, sharing tips from my own experience and trusted sources. By the end, you’ll know how to choose the best screen for your space and project needs.
For a deeper dive into the technical aspects, check out this comprehensive resource on projection screen gain and materials. It’s packed with insights that helped me avoid costly mistakes early on.
But before we get to the nuts and bolts, I want to share a common pitfall I stumbled into—mistaking screen size for gain. I thought bigger was always better, but I overlooked the importance of gain and material in bright rooms. This simple mistake cost me months of dissatisfaction. Learning from this, I focused on gaining a solid understanding of these factors, which ultimately made all the difference.
Now, if you’re ready, let’s explore how to select a screen that will make your projector truly shine, regardless of your room’s lighting conditions or space constraints. The journey to perfect projection starts here!
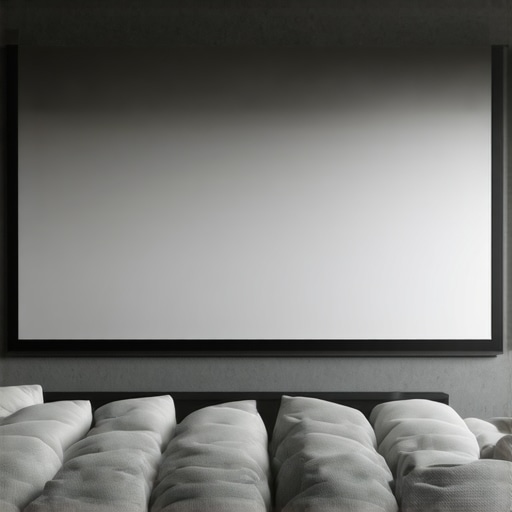
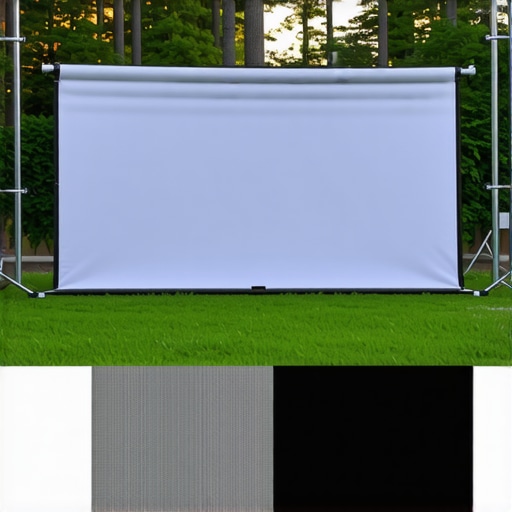
Choose the Right Screen Size to Enhance Visibility
Begin by measuring your room to determine the optimal projection size. I once made the mistake of choosing a massive screen for a cramped basement, which overwhelmed the space and made the image blurry. To avoid this, sit at your typical viewing distance and multiply that in inches by 1.5 to 2 to find a comfortable screen width. For example, if you sit about 8 feet away (~96 inches), aim for a screen width between 144 and 192 inches. Use this calculation as a starting point and adjust based on your room dimensions and personal preference.
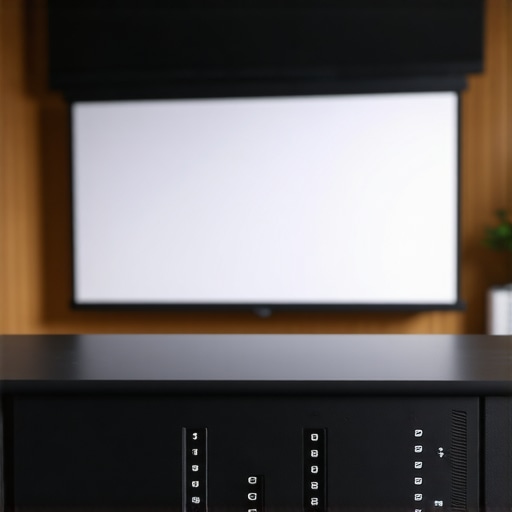
Select a Material that Reflects Light Correctly
Next, focus on the material that will ensure vivid, sharp images. I experimented with various surfaces—painted walls, DIY fabric screens, and finally, a professional matte white screen. The difference was stark; the dedicated screen delivered much better contrast and color accuracy. For bright rooms, opt for materials with higher gain or specialized ALR (ambient light rejecting) screens. These screens reflect ambient light away from the viewer, improving contrast. For detailed insights, check out this guide to ALR screen materials. When selecting material, consider the room’s lighting and the projector’s brightness to match the gain factor appropriately.
Understand Screen Gain and Its Impact on Brightness
Gain determines how much light a screen reflects back toward the viewer. A gain of 1.0 indicates a neutral reflector; higher gain screens (2.0 or above) are more reflective, making the image brighter but narrowing the viewing angles. I learned this after testing a 3.0 gain screen in my setup; the image was spectacular when sitting center but caused drastic brightness drops when viewed from the side. For bright rooms, gun for a gain between 1.2 and 1.5 to balance brightness with wide viewing angles. For more nuanced details, see this comprehensive guide to gain.
Match Material and Gain with Room Conditions
For rooms with high ambient light, prioritize high-gain, ambient light rejecting screens. I replaced my standard matte white with a high-gain ALR screen, which lit up even with the blinds open. Conversely, in darker rooms, a low-gain matte surface provides excellent color accuracy and wider viewing angles. The key is balancing gain with room lighting and screen size. An overly high gain in a dark room can cause glare, while too low gain in a bright room results in washed-out images.
Test and Refine for Consistent Results
Once you’ve selected the material and gain, test your setup under typical viewing conditions. I initially hung a screen too high, causing neck strain; adjusting the height improved my viewing comfort and image quality. Use your projector’s settings—brightness, contrast, color balance—to tweak the image further. Record your adjustments to replicate the setup, ensuring consistent performance. Remember, even the best screen can underperform if not properly aligned or calibrated.
#Many home theater enthusiasts believe that bigger screens automatically deliver a better viewing experience. However, this common myth overlooks several critical nuances, especially concerning screen material and gain. For instance, **assuming a larger screen always enhances image quality** can lead to disappointing results, particularly if your room isn’t equipped to handle high-gain screens or specific materials. The reality is, **selecting the optimal screen size** should consider room dimensions, projector brightness, and ambient light conditions instead of sheer size alone.
Another frequently misunderstood aspect is the choice of **projection screen material**. While matte white surfaces are popular, they don’t always provide the best contrast or color accuracy, especially in rooms with ambient light. High-gain screens or specialized ALR (ambient light rejecting) materials can significantly improve perceived contrast and brightness, but only if matched correctly to your projector’s lumen output and room lighting conditions. For a detailed understanding, check out this guide to ALR screen options and materials.
A common pitfall is the **overlooking of gain effects**. Many assume higher gain screens naturally equate to brighter images—yet, **higher gain often narrows viewing angles** and can cause glare or hotspots if not chosen thoughtfully. For instance, a 3.0 gain screen might look stunning when sitting directly in front but can cause issues off-angle. Proper understanding of gain, backed by expert insights like those found here,
can help users balance brightness with viewing angles.
Furthermore, aggressive focus on size and gain can overshadow the importance of **matching your screen material and gain** with your specific room conditions. A room with high ambient light demands a different setup than a darkened basement. For high ambient scenarios, a high-gain ALR screen can make all the difference, while in darker environments, a matte surface with lower gain provides better color accuracy.
The real twist? Many enthusiasts overlook the **hidden trap of choosing a screen solely based on specifications** without thoroughly understanding how gain, material, and size interact in their unique environment. This oversight often results in a setup that doesn’t meet expectations, despite seemingly having all the right specs.
Let me ask you—have you ever fallen into this trap? Understanding these nuances is crucial for optimizing your home theater. By paying close attention to how screen size, material, and gain work together, you can avoid costly mistakes and truly elevate your viewing experience. Think of your setup as a finely tuned instrument—every component must harmonize. Want to dive deeper? Check out this comprehensive guide on projection screen gains and materials to fine-tune your setup for perfection.Maintaining your home theater setup is crucial to preserving the stunning image quality you’ve worked to achieve. As my experience taught me, even the finest screen or projector can underperform if not properly cared for. Fortunately, there are specific tools and methods that make this process straightforward and effective. One tool I rely on is a high-quality microfiber cleaning cloth paired with a specialized LCD/LED screen cleaner—this combination ensures I keep my projection surface dust-free and free of smudges, which can significantly degrade image clarity over time. Regular cleaning, at least monthly, with gentle materials prevents dust and fingerprints from building up, optimizing image brightness and contrast.
Additionally, a digital lens cleaner or compressed air can be invaluable for projector maintenance. I use compressed air to blow out dust from the projector’s vents and lenses—dust accumulation here can cause overheating and reduce lamp life. It’s best to perform this step quarterly to keep your device running at peak performance. Investing in a **thermal gun** is another smart choice; it helps me monitor the projector’s operating temperature, preventing overheating that could damage internal components and affect image consistency.
In terms of software, calibration tools like the **CalMAN Home** software paired with a colorimeter allow me to fine-tune my projector’s color output and gamma settings. This is essential because environmental factors, bulb aging, and even slight shifts in projector alignment can cause image degradation over time. Regular calibration (every six months) ensures your projection remains vibrant and true to the source.
Looking ahead, I believe the trend is moving toward automated calibration and self-maintaining systems. Manufacturers are integrating sensors that can detect dust, bulb aging, and even screen degradation, prompting timely maintenance alerts. This progression will make upkeep even more accessible, allowing home enthusiasts to preserve their setup without extensive technical knowledge.
How do I keep my projection system functioning flawlessly over time?
The key is establishing a routine: schedule monthly cleanings, periodically calibrate your projector with proper tools, and replace components like bulbs proactively—don’t wait for a drastic drop in performance. Remember, a well-maintained setup not only guarantees stunning visuals but also extends the lifespan of your equipment.
For advanced maintenance techniques, consider exploring the insights shared by industry experts. For example, this comprehensive guide on screen upkeep delves into preservation tips that can help you maintain material integrity and optimal gain settings over years.
If you’re aiming for long-term excellence, I highly recommend investing in a reliable projector calibration kit. It will empower you to regularly fine-tune your system, keeping the image sharp, vibrant, and consistent. Try integrating a calibration routine into your maintenance schedule—you’ll be amazed at how much it elevates your viewing experience.
What I Wish I Knew About Screen Choices Before Starting
Choosing the right projection screen isn’t just about size or brand—it’s about understanding how gain and material work together to impact your viewing experience. I once believed that a larger screen always meant better immersion, but I overlooked how ambient light and projector brightness interact with screen gain. That mistake taught me to prioritize room conditions and technology compatibility over size alone.
My biggest eye-opener was realizing that high-gain screens can cause glare and hot spots if not matched correctly with your projector’s lumen output. It’s tempting to go for the brightest or biggest option, but the real secret is balancing gain, material, and room lighting. Trust me, investing time in research here saves endless frustration later.
Another lesson: I underestimated the importance of proper calibration and maintenance. A pristine screen surface and calibrated projector can make even modest setups look stunning, while neglecting upkeep diminishes results rapidly. This journey has shown me that knowledge is power—especially when it comes to creating a cinematic experience in your own home.
My Favorite Tools and Resources for Perfect Projection
- CalMAN Home software: This calibration tool has been invaluable in fine-tuning my projector’s color accuracy and gamma settings, ensuring vibrant and true-to-source images.
- High-quality microfiber cleaning cloths and specialized lens cleaners: Regular cleaning keeps my screen dust-free and prevents image degradation, which is essential for maintaining brightness and contrast over time.
- Expert websites like CineGearGuide: Their comprehensive guides on screen gain, materials, and ambient light rejection have clarified complex concepts, helping me make informed decisions. Check out their deep dives into gain and material to expand your knowledge.
- Projection tools: Using a thermal gun to monitor projector temperature and compressed air for regular cleaning has significantly extended my equipment’s lifespan and performance.
Embrace the Journey to Visual Excellence
Creating a home theater that truly excites and immerses starts with understanding your projection screen’s nuances. Every choice—from size to gain to material—affects your final experience, and learning these intricacies has transformed my setup into a source of joy and pride.
Now, it’s your turn. Dive into the technical details, test different options, and don’t be afraid to experiment. The world of projection screens offers endless possibilities, and your perfect match is out there waiting. Remember, the key is balancing all these elements to craft a space that inspires and entertains. Ready to elevate your home theater? Share your thoughts or questions below—I’d love to hear your story!