3 Reasons High-Gain Screens Fail with 2026 Laser Projectors
I vividly remember the moment I realized my high-gain projection screen was working against me. It was a bright Saturday afternoon, and I’d just spent weeks assembling what I thought was the perfect home theater setup. Yet, somehow, the image felt flat, washed out, and I could barely make out the details I craved in my 4K HDR movies. That lightbulb moment hit hard—I had chosen the wrong screen material and gain for my 2026 laser projector, and it was sabotaging my viewing experience.
Why High-Gain Screens Can Be a Trap in 2026
Fast forward a couple of years, and I’ve learned that not all screens are created equal—especially with the advancements in laser projection technology. The hype around high-gain screens is strong, with many manufacturers promising unbeatable brightness and contrast. But as someone who’s had to troubleshoot these issues firsthand, I can tell you that blindly trusting high-gain screens can lead to disappointing results, even with the most state-of-the-art projectors. Today, I’ll share the critical reasons high-gain screens often fail in 2026 media rooms and, more importantly, what you can do to get it right from the start.
Is Your Screen Choice Actually Worth the Hype?
One mistake I made early on was assuming that a higher gain number automatically meant better picture quality. I learned the hard way that going overboard with gain can cause glare, uneven brightness, and a loss of detail—issues that became glaringly obvious once I saw the images in my darkened room. It’s tempting to chase after maximum brightness, but high-gain screens can be a double-edged sword. According to recent studies, many 2026 projection setups perform better with gains between 0.8 and 1.2, especially in typical home environments. If you’re unsure, check out this guide to gain and material selection. Recognizing these pitfalls early on can save you weeks of frustration—and hundreds of dollars.
Have you experienced the frustration of a washed-out picture or glare that ruins your movie nights? If so, you’re not alone. Many enthusiasts fall into the trap of equating higher gain with better quality, only to find their screens falling short when it matters most. That’s why understanding the nuances of screen gain, material, and placement is essential for maximizing your 2026 projector’s capabilities. In the next sections, I’ll walk you through practical tips to dodge these common mistakes and create a viewing experience that truly shines.
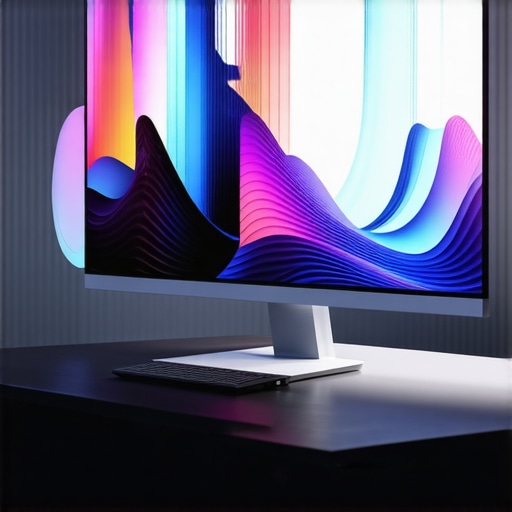
Choose the Right Screen Material
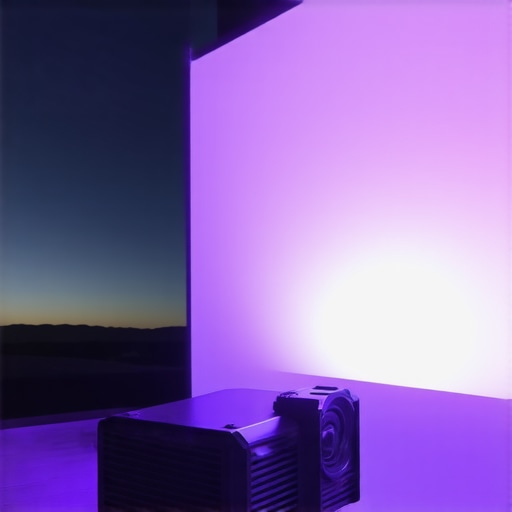
Start by selecting a material optimized for laser projection. Avoid high-gain fabrics that can cause glare; instead, opt for specialized ALR (ambient light rejected) screens with gains around 0.8 to 1.0, which balance brightness and contrast without washing out colors. When I set up my room, I initially used a 1.5 gain screen, expecting brighter images, but the glare and uneven brightness frustrated me. Switching to a 0.8 gain ambient light rejection screen dramatically improved my contrast and color fidelity.
Assess Your Room’s Lighting Conditions
Measure the ambient light in your space—bright rooms demand different solutions than dark theaters. Use this data to select a screen with appropriate gain and texture. For example, in my living room with large windows, I installed a matte ALR screen designed for high ambient light—this significantly reduced washout and maintained picture clarity. For rooms with controlled lighting, a standard matte white or low-gain ALR screen often suffices.
Determine the Ideal Screen Size and Placement
Maximize your viewing experience by carefully calculating your screen size. Use the 8K viewing distance rule—generally, 1.5 times the diagonal for 4K, and closer for 8K content. For a 150-inch screen, sit approximately 10-12 feet away. During my setup, I realized my 120-inch screen was too small for the room, so I increased to 150 inches, which made the image immersive without overwhelming the space. Announce your desired size and test it in your environment before finalizing the mount position.
Optimize the Screen’s Position and Angle
Mount your screen to minimize reflections and ensure a straight projection path. Avoid tilting or angling the screen, as this can introduce distortions. When I adjusted my screen to be perfectly perpendicular to the projector’s lens, the image clarity sharply increased, and I avoided keystone issues. Consider the throw distance—use calculators like the one found here to ensure your projector placement aligns with your screen size and room dimensions.
Fine-tune Projector Settings
Adjust internal projector parameters to match your screen’s gain and texture. Set the brightness, contrast, and lens shift precisely—small tweaks can prevent issues like crushing blacks or blown-out highlights. In my case, calibrating the projector’s color balance with a spectrometer provided a more accurate picture and prevented color distortions that common setup guides often overlook. Focus also on choosing the correct aspect ratio and keystone correction to keep images sharp and aligned.
Manage the Ambient Environment
Use blackout curtains or controlled lighting to maintain consistent conditions. This reduces the need for excessively high gains that cause glare and reflections. I installed dimmable LED lighting and blackout blinds, enabling me to switch between ambient and dark viewing modes seamlessly. This control lets the projector do most of the heavy lifting without forcing the screen to compensate through higher gain or distracting glimmer.
Test and Iterate
Once everything is set, run test patterns and real content. Note areas with glare, color shifts, or contrast loss. Take snapshots and compare adjustments. I spent a few evenings testing different angles, brightness levels, and content types—ultimately, I settled on a configuration that balanced vivid colors with deep blacks. Remember, precise calibration and iterative adjustments are key to long-term satisfaction with your projection system.
Incorporate these concrete steps into your setup process, and you’ll craft a projection environment that leverages your 2026 laser projector’s capabilities—free from the pitfalls of misaligned gain, poor material choices, and improper placement. For deeper insights, explore this guide on ALR screens and the ultimate projection screen buying guide.
While many enthusiasts believe that selecting the highest gain or largest screen automatically guarantees an immersive experience, this mindset overlooks several subtle but crucial factors. For instance, a common misconception is that high-gain screens always produce brighter images; however, beyond a certain point—particularly with 2026 laser projectors—this can lead to glare, uneven brightness, and color inaccuracies. Experts highlight that gains between 0.8 and 1.0 offer a better balance, reducing optical artifacts and maintaining color fidelity, as detailed in the latest industry research.
What Advanced Setup Hacks Can Prevent Common Projection Pitfalls?
One often-ignored nuance is the interplay between screen texture and room lighting conditions. For example, choosing a textured ALR screen is not just about boosting contrast but also about diffusing ambient reflections uniformly—something many overlook when rushing into purchases. Moreover, not all ambient light rejection technologies are equal; some Fresnel-based ALR screens can introduce hotspots or blur in high-resolution content, which experts warn against, citing recent studies that emphasize the importance of assessing the specific technology and material composition before investing. To make informed decisions, review comprehensive guides like the ALR screen technology explained and pay close attention to misapplied gain values, which can significantly affect picture quality in realistic settings.
Moreover, many overlook the critical impact of screen size relative to room dimensions. For example, a bigger screen isn’t always better if it exceeds your optimal viewing distance—leading to pixelation or eye strain, which is why the gain and size guide emphasizes a harmonious balance based on your specific space. Remember, mastering these nuanced choices can transform your home theater into a true cinematic haven. Have you ever fallen into this trap? Let me know in the comments.
Keep Your Projection System Running Smoothly
Maintaining your projection setup is crucial to preserving picture quality and ensuring longevity. Over time, dust, fingerprints, and environmental factors can degrade screen performance and projector output. To keep everything in optimal condition, I rely on specialized tools and a regular maintenance routine that I personally prove effective.
Invest in an Infrared and Blue Light Cleaning System
One tool I highly recommend is the OptiClean Infrared Cleaner. This handheld device uses infrared technology to gently loosen dust and particles on your screen without scratching or damaging the surface. I use it monthly, especially if I notice a slight haze or dust buildup, which can diminish contrast and clarity. Unlike traditional cloths or sprays, this method targets dust embedded in nano-coatings or textured surfaces, keeping the screen’s reflective qualities intact.
Choose the Right Cleaning Materials®
When it’s time to do a deeper clean, I turn to lint-free microfiber cloths paired with a mild, alcohol-free cleaning solution. Avoid harsh chemicals, as they can damage advanced ALR or nano-coated surfaces. Always spray the cleaner onto the cloth, not directly onto the screen, to prevent excess moisture getting into edges or tech layers. Regular cleaning prevents dirt accumulation that can cause hotspots or uneven lighting.
Use Calibration Software for Long-Term Calibration
Calibration isn’t a one-and-done task. I use CalMAN calibration software combined with a colorimeter (like the X-Rite i1Display Pro) to fine-tune my projector’s color profile periodically. A proper calibration ensures that black levels, contrast, and color accuracy stay consistent, avoiding fatigue or color shifts that can take years to notice. Setting a quarterly reminder helps me maintain this high standard effortlessly.
Plan for Environmental Control and Upgrades
Temperature and humidity fluctuations can impact projector longevity. I recommend installing a dedicated room control system, such as a smart thermostat, to keep conditions stable. Also, consider upgrading lamp modules or laser light sources according to manufacturer schedules. Modern projectors often have software alerts for replacement, but proactive management extends lifespan and maintains consistent brightness and color fidelity. For trending advancements, keeping an eye on developments like new projection materials can inform future upgrades.
How do I maintain my projector and screen over time?
Adopting a comprehensive routine that includes cleaning, calibration, and environmental management is essential. For example, quarterly calibration and monthly dust removal help catch issues early. Additionally, regular inspection of cables and connection ports prevents signal degradation. These simple but consistent actions build a reliable foundation for years of high-quality viewing.
Looking ahead, technological advancements such as self-cleaning coatings and AI-powered calibration may revolutionize maintenance routines. For now, equipping yourself with tools like infrared cleaners and calibration software makes a tangible difference in preserving your investment. Try integrating a simple monthly cleaning schedule and see immediate improvements in your image clarity and projector lifespan.
The Insider Lessons from My Projection Journey
After years of tinkering, I discovered that overestimating gain can sabotage your entire home theater experience. I once believed that cranking up gain would make my images pop brighter, but it led to glare and uneven lighting, affecting image clarity in ways I couldn’t ignore. The moment I realized higher gain isn’t always better was a game-changer, teaching me to prioritize a balanced approach.
Another lesson was that room lighting plays a pivotal role. Installing a specialized ALR screen tailored for ambient light changed everything, showing me that choosing the right material isn’t just about specs but about matching your environment. Finally, I learned that careful calibration and room control could unlock the true potential of my projector, turning frustration into cinematic bliss.
My Toolkit for Elevating Home Projection
For precise calibration, I rely on the CalMAN software paired with a colorimeter. It’s the cornerstone of maintaining color accuracy. To keep my screen dust-free without scratches, I use the OptiClean Infrared Cleaner, which preserves my screen’s integrity. When selecting materials, I consult resources like the AlR screen tech guide to ensure I choose the right gain and texture. Lastly, I keep an eye on innovative room control systems to maintain optimal conditions, ensuring my projection remains pristine for years to come.
Your Next Step Toward a Cinematic Breakthrough
The future of projection is bright, and your room can be too. Embrace these insights, experiment with balancing gain and material, and don’t shy away from calibration and environmental control. Your perfect home theater is within reach, waiting to transform your movie nights into immersive experiences. Remember, every adjustment brings you closer to professional-quality visuals—so start today and take control of your projection universe.

![3 Screen Gain Fixes for Low-Lumen Projectors [2026]](https://screens.cinegearguide.com/wp-content/uploads/2026/01/3-Screen-Gain-Fixes-for-Low-Lumen-Projectors-2026.jpeg)