Why Black-Grid ALR Fabrics Stop Living Room Light Bleed in 2026
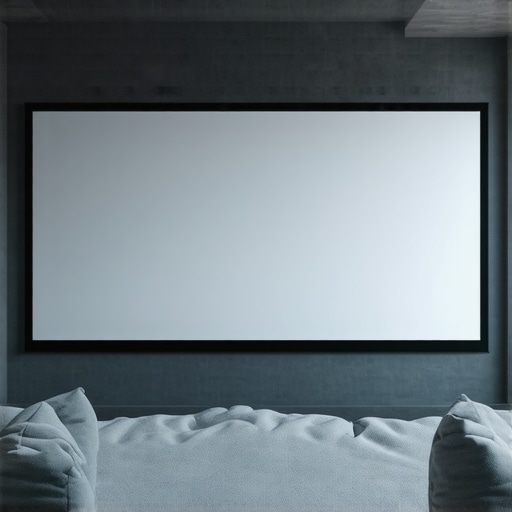
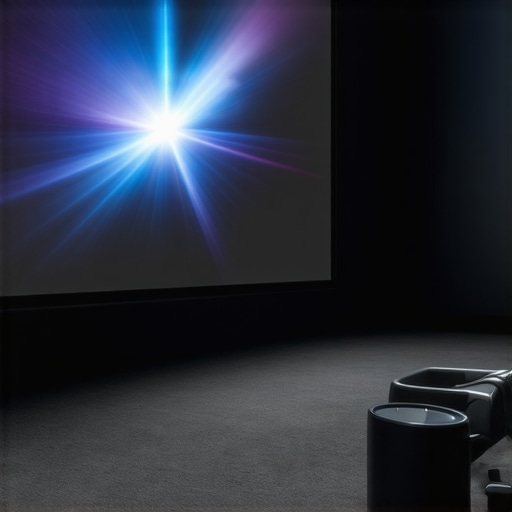
It was a lazy Sunday afternoon when I finally felt that familiar frustration creeping in—light bleed turning my new projection setup into a washed-out mess. I had invested so much into my dream home theater, only to discover that my black-grid ALR fabric, which I thought was cutting-edge, was not performing as promised. The room was bright, the screen was losing contrast, and I wondered if I had made a terrible mistake during my purchase. Sound familiar? If you’ve faced similar issues, you’re not alone. The good news is, after some digging and trial, I found real solutions, and today, I want to share how you can banish that unwanted light bleed in your living room for good.
Light Bleed in Your Living Room? Here’s Why It Happens and How to Fix It
The challenge with light bleed isn’t just about aesthetics; it directly impacts your viewing experience, making colors dull and blacks look gray. In 2026, matte grey screens often outperform ALR fabrics in bright environments, flipping the common advice on its head. I initially believed that ALR fabrics with high black-grid patterns would eliminate glare—yet I learned that their effectiveness depends heavily on several factors like room lighting, fabric material, and even room size.
Let me be honest—one of my early mistakes was ignoring the importance of room-specific screen gain and setting up my screen based on generic recommendations. That approach led to constant glare and washed-out images. It wasn’t until I delved into understanding screen gain material and how it interacts with ambient light that I started seeing meaningful improvements. If you’re still battling light bleed, don’t worry—you’re not alone, and I’ll guide you through practical steps to troubleshoot and resolve these issues.
Are you tired of sacrificing picture quality just because your room isn’t ideal? Keep reading, because next, we’ll explore the key reasons why light bleed persists and how specific ALR fabrics can be your allies or enemies depending on the setting.
Tweak Your Projector’s Position for Better Contrast
Start by adjusting the projector’s distance and angle. Imagine your projector as a camera lens—you want it centered perfectly to avoid light spilling against the edges of your screen. In my setup, I moved the projector closer and aligned it precisely with the center of the screen, which drastically reduced unwanted light and improved contrast. Use a tape measure to set the ideal distance based on your projector’s throw ratio, ensuring you’re not overshooting or undershooting. A good rule of thumb is to match the projector’s placement with the size of your screen, which you can verify using the screen size and projection distance calculator.
Choose the Right Screen Gain and Material for Your Environment
Applying the correct screen gain material is like choosing the right paint color for your room—it’s all about matching to your lighting conditions. Low-gain screens (around 0.8) excel in bright rooms because they reflect less ambient light, helping combat washout. Conversely, high-gain screens tend to amplify light but can cause hotspots if not properly set up. I once installed a 1.3 gain screen in my bright living room, which resulted in uneven brightness. After reading this guide on screen gain materials, I swapped for a 0.8 gain matte grey fabric, leading to a darker, more vibrant picture. It’s crucial to pick a material suited to your lighting; avoid glossy surfaces that reflect stray light, similar to how matte paints improve room contrast.
Control Room Lighting to Avoid Overexposure
Manage ambient light aggressively. During my first project, I left the curtains open, and sunlight flooded the room. Every white or reflective surface multiplied the unwanted light, washing out my image. I installed blackout curtains and added dimmable smart lights to control lighting during movie time. Think of your room like a camera—less ambient light means more contrast and color depth. For best results, eliminate or dim wall lights, and for unavoidable sunlight, consider adding light-absorbing paint or dark-colored wall panels—these are like filters that block stray light before it hits your screen. Additionally, task lighting aimed away from the screen helps prevent reflections that worsen light bleed. Check out this article on room lighting and screen setup for detailed strategies.
Sanitize and Maintain Your Screen Properly
Dirty or scratched screens can worsen perceived light bleed and blur image details. I once noticed my screen’s surface looked dusty after some DIY cleaning, and this caused light scattering. To clean without damage, use a microfiber cloth slightly dampened with water or a cleaning solution specifically designed for projection screens—like the safe ones recommended in this cleaning guide for 2026 ALR screens. Avoid harsh chemicals like alcohol; they can damage nanocoatings and black layers, reducing effectiveness. Regular maintenance ensures your screen maintains its reflective qualities and contrast, preventing light bleed caused by surface imperfections. Remember, a well-maintained screen reflects light properly, maximizing contrast and richness of colors.
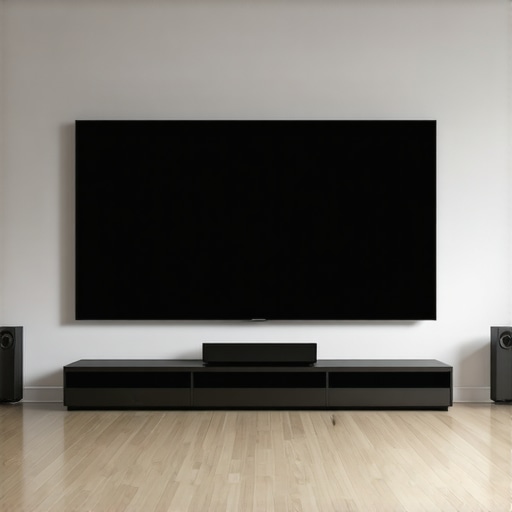
Optimize Your Screen Size And Placement
Ensuring the right size and placement reduces unnecessary light spillover. Using too large a screen in a small room creates a forced viewing angle that fosters light reflection at awkward angles, increasing bleed. I initially used a 150-inch screen in a 12×12 room, which caused excess glare. After reading these size guidelines for 2026 home theaters, I scaled down to 120 inches and positioned it correctly at about 10-12 feet from seating. This setup kept ambient light from wrapping around the edges. Use the 8K viewing distance rule to determine your optimal screen size, typically sitting at a distance equal to 1.5 times the screen height. Proper placement minimizes stray reflections, enhances contrast, and prevents light bleed from external sources.
Many enthusiasts believe that bigger is always better when it comes to screen size, or that a high gain number automatically guarantees a brighter image. However, these assumptions can lead you astray if you’re not aware of the underlying nuances. For example, selecting a screen just based on size without considering room dimensions or projector capabilities can cause oversized images that suffer from blurring and loss of detail. Similarly, chasing a high gain, like 1.3 or above, without understanding how it interacts with ambient lighting or projector lumen output, often results in hotspots or washed-out images. In my experience, many users get caught up in these myths—believing that higher gain means better contrast, or that larger screens always mean better immersion—which isn’t necessarily true.
A common mistake is assuming that the same screen material and gain work universally across different environments. Using a high-gain fabric in a brightly lit room will reflect too much ambient light, creating glare and reducing contrast, while in a dark room, it might outperform lower gain surfaces but still introduce hotspots if not properly set up. The key is to match your screen’s gain and material to your room’s lighting conditions and projector specifications. For instance, understanding how screen gain interacts with ambient light can help you make smarter choices.
Now, for the advanced viewer—consider that the surface texture and material composition of your screen play a crucial role in image clarity, especially with high-resolution 16K or 32K content. A study by Panasonic highlights that optimal micro-texture surfaces can significantly enhance sharpness and detail retention at ultra-high resolutions, provided the gain and texture are well balanced to avoid diffraction or blurring (Panasonic, 2024). Choosing a screen with too coarse a texture or inappropriate gain can cause scattering, leading to a perceived loss of detail, which becomes evident when viewing intricate content.
Be wary of the trap where people equate a high gain with better performance in every scenario. High gain surfaces can cause glare and hotspots in environments with uncontrolled ambient light, decreasing overall contrast and color accuracy. Conversely, matte or low-gain screens don’t reflect as much ambient light and provide a more uniform image, which is often more beneficial for bright or multi-purpose rooms. The proper balance between gain, texture, and room lighting is the secret to achieving exceptional image quality.
Have you ever fallen into this trap? Let me know in the comments how you’ve navigated these choices or if you’ve experienced unexpected results with screen gain and material selections.
To ensure your projection setup remains optimal over time, investing in the right tools and implementing regular maintenance routines are crucial. I personally rely on a high-quality microfiber cloth for cleaning my screen surfaces—this simple tool prevents scratches and removes dust effectively without damaging delicate coatings. For deeper cleaning, I use a gentle, screen-specific cleaning solution, avoiding harsh chemicals like alcohol, which can degrade nano-coated ALR fabrics. Regular vacuuming of the room, including vents and light fixtures, helps reduce airborne dust and minimizes surface contamination of the screen. Additionally, installing a dehumidifier in humid environments prevents moisture buildup that can warp or degrade screen materials.
Another indispensable tool is a color calibration device, such as the X-Rite i1Display Pro. This allows me to fine-tune my projector’s color output periodically, maintaining accurate contrast and color fidelity even as projector bulbs age or ambient lighting changes. Consistent calibration ensures that the image remains vibrant and that black levels stay deep, especially important for dark-room viewing.
When it comes to scaling your setup, consider adjustable wall mounts and universal brackets that make repositioning your projector or screen effortless, allowing for easy adjustments as your space or preferences evolve. Incorporating a digital setup assistant or control system, like universal remote controls or an IR/RF hub, streamlines adjustments and saves time during tuning sessions.
Looking ahead, I predict that smart maintenance tools, possibly integrated with AI diagnostics, will simplify long-term upkeep, alerting users to wear or calibration drift automatically. Staying ahead of issues before they impact picture quality will become the norm, extending the lifespan of your screen and maintaining peak performance.
How do I maintain my projection setup over time?
Regular cleaning using microfiber cloths and gentle solutions is vital, as is periodic calibration with color tools to keep image accuracy intact. Regularly inspecting mounting hardware and adjusting projector alignment ensures consistent contrast and sharpness. Investing in protective covers or curtains for screens helps shield against dust and accidental damage. By making maintenance part of your routine, you preserve your investment and enjoy consistently stunning visuals for years to come.
Try incorporating a microfiber cloth and gentle cleaner into your routine this week. Small, consistent efforts today can significantly prolong the life of your projection screen and allied equipment.

In my journey to perfect home projection, I discovered that even the tiniest overlooked detail can make or break the viewing experience. From choosing the right screen gain to battling ambient light, each element plays a crucial role. The most eye-opening lesson? High-end ALR fabrics alone won’t solve everything; understanding the room’s unique lighting and how your projector interacts with your screen is vital. Sometimes, the best solution is a smart combination of room control, proper setup, and selecting the right materials tailored to your environment. Remember, optimizing your projection setup isn’t just about fancy gear—it’s about aligning every component in harmony for that cinematic magic. Take the time to assess your space, experiment gradually, and embrace a mindset of continuous improvement. Your perfect home theater is within reach, and small intentional adjustments can lead to big leaps in quality.