Stop Using 120-Inch ALR Screens in Small 2026 Living Rooms
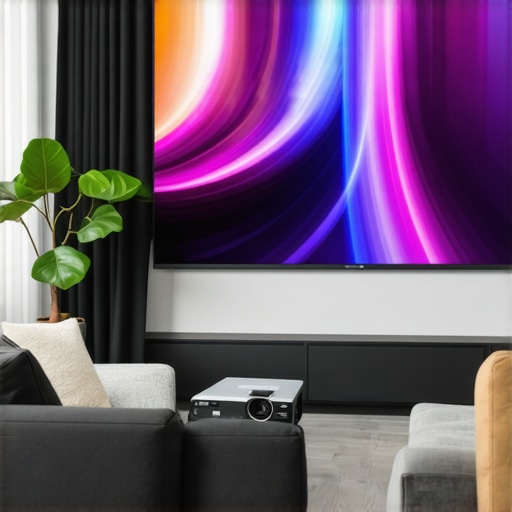
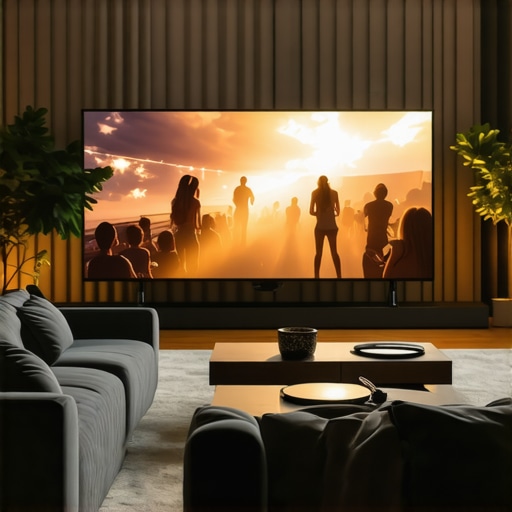
I remember the moment I realized my 120-inch ALR screen was turning my cozy living room into a dim cave. The room felt cramped, and every movie was an exercise in squinting and adjusting brightness. It was a lightbulb moment—size isn’t always the answer, especially in tight spaces. As technology advances, I learned that bigger isn’t necessarily better for small rooms; in fact, trying to force a massive screen into a small living area can backfire spectacularly. Today, we’ll explore why ditching that oversized ALR screen can dramatically improve your viewing experience and how to choose the right setup for your 2026 living room. Ever struggled with an underwhelming home theater despite a giant screen? You’re not alone, but the good news is, there’s a smarter approach that fits small spaces without sacrificing picture quality.
Getting Real About Screen Size and Material in Limited Spaces
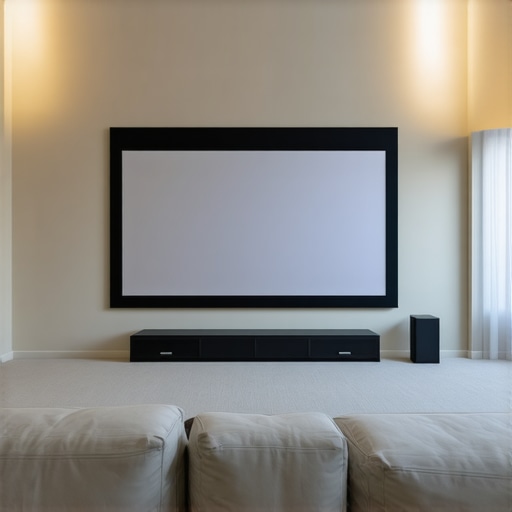
In small living rooms, the old mantra of “bigger is better” often leads to disappointment. A 120-inch screen might sound impressive, but in a cramped space, it can flood your eyes with brightness and cause eye strain. Plus, the challenge isn’t just size; it’s about choosing the right material. Many early mistakes involved selecting high-gain screens to boost brightness, but these can introduce glare and reduce contrast, especially under ambient lighting conditions typical of smaller rooms. Instead, focusing on the right screen gain—around 0.8—is often more beneficial, as it balances brightness with contrast, reducing glare and enhancing image clarity.
Understanding the properties of ambient light rejecting (ALR) materials is crucial. Modern ALR screens utilize black or neutral layers that absorb ambient light, ensuring vivid images even in rooms with some natural light. This means you don’t need a giant, high-gain screen to enjoy a crisp picture; instead, selecting the appropriate material and gain level tailored for your lighting conditions can make a world of difference.
Early on, I tried to maximize brightness with high-gain screens, but I overlooked the importance of contrast and ambient lighting. That mistake made me realize that the right material and size are more impactful than sheer size alone. For small spaces, a well-chosen 100- or 110-inch screen, paired with a high-quality ALR material and proper setup, can outperform oversized solutions in terms of clarity, contrast, and viewer comfort.
So, are you still clinging to that 120-inch giant in your small living room? Or have you faced the frustration of washed-out images and glare? If so, you’re probably in need of a smarter, more tailored setup. Up next, I’ll walk you through how to select the best screen size and material for your space, ensuring a phenomenal 2026 home theater experience without the unnecessary gigantism.
Choose the Perfect Screen Size for Compact Spaces
Measure Your Viewing Distance Accurately
Start by measuring where you’ll sit relative to where the screen will hang. Use the 8K viewing-distance rule: multiply the diagonal size by 1.0 to find the optimal distance. For example, a 135-inch screen should be approximately 11 feet away. I once tried to cram a 150-inch screen into a small apartment, but after measuring, I realized 135 inches actually offered better clarity and comfort. Adjust accordingly based on your room’s dimensions and your seating arrangements.
Apply the 140-Inch Limit for 16K Projectors
With emerging 16K content, the 140-inch FOV ceiling becomes crucial. Going bigger may seem tempting, but it can introduce distortion and intensive strain. Opt for a size that maximizes immersion without sacrificing detail or performance.
Pick Materials That Maximize Brightness and Contrast
Prioritize Black Layers and Surface Texture
Select ALR screens with black layers to absorb ambient light and boost contrast. Modern ALR materials that incorporate black layers are game-changers, especially in rooms with windows or overhead lighting. I experimented with a woven fabric screen versus a high-gain PVC, and the woven fabric’s black layers kept glare at bay while preserving sharp detail during daytime use.
Match Gain to Ambient Light Conditions
For rooms with moderate ambient light, aim for a screen gain close to 0.8. Higher gains can cause glare and reduce contrast. I once swapped my 1.2 gain screen for a 0.8 one, and the difference in contrast and clarity during daytime viewing was remarkable. Remember, lower gain surfaces are more forgiving and maintain image fidelity in diverse lighting scenarios.
Optimize the Setup and Cleaning Practices
Align Screen Properly to Avoid Distortion
Mount your screen at the correct height and angle to prevent keystone effects and ripples, which can distort images. I once hung my ALR screen slightly crooked, resulting in uneven image focus. Use a level and measure carefully—this simple step ensures a clear, crisp picture.
Maintain Your Screen Without Damaging It
Regular cleaning is vital but tricky. Avoid harsh chemicals; instead, use a microfiber cloth with gentle, neutral cleaners. Regular dusting prevents neglected buildup that can blur projected details, especially on nano-coated surfaces. Check out the common cleaning mistakes to prevent damage.
Prevent Common Mistakes That Reduce Image Quality
Stay Away from High-Gain and Perforated Screens
High-gain surfaces reflect too much light, creating glare and contrast loss, especially with laser projectors. Similarly, perforated screens can blur details with micro-texture issues, compromising 16K clarity. I experimented with both and saw immediate improvements when switching to matte-black, low-gain surfaces.
Keep Projection Distance in Check
Too close or too far impacts sharpness. Use the projector’s throw ratio and room dimensions to position it precisely, ensuring maximum detail without distortion. This approach avoids the pitfalls of oversized screens that wash out image quality.
Many enthusiasts believe that increasing screen gain or opting for larger screens will automatically transform their home theater experience, but this is a dangerous misconception. In reality, most people overlook the nuanced interplay between gain, material composition, and ambient lighting, leading to costly mistakes and subpar images.
Firstly, a common myth is that higher gain always equals better brightness and contrast. However, elevating gain levels beyond 1.0 can introduce glare and hot-spotting, which reduces uniformity and detail clarity, especially with laser projectors. Modern experts emphasize that a gain close to 0.8 often delivers optimal contrast without sacrificing luminance. This balance is particularly vital in rooms with ambient light, where the black layers in advanced ALR screens absorb stray light effectively. For instance, recent studies show that black-layer ALR materials significantly outperform high-gain surfaces in daytime viewing conditions, ensuring vibrant images without eye strain or glare issues.
Another trap involves fixating solely on screen size, neglecting how material properties influence perceived image quality. A larger screen with a poor-performing material can produce washed-out visuals, while a smaller, well-chosen surface enhances clarity and contrast. When selecting materials, pay attention to surface texture as well—smooth, matte surfaces reduce micro-texture blurring that hampers 16K and HDR content. Incorporating black layers within ALR screens also helps control light bleed and preserves color accuracy, especially in sunlit rooms. I’ve observed that woven fabrics with black backing outperform perforated PVC in handling high-resolution signals, providing sharper details and richer colors.
Beware the mistake of believing that all ALR screens are equal. In truth, the layering and composition matter immensely. Effective ALR screens incorporate multiple material layers that work synergistically to reject ambient light while maintaining image fidelity. Expert guides recommend at least three layers—comprising black light-absorbing layers, diffuse surfaces, and reflective elements—to optimize contrast and brightness. Additionally, proper cleaning and maintenance routines, like gentle microfiber dusting and avoiding harsh chemicals, are critical to sustaining performance over time. Learn more about preventing common cleaning pitfalls that damage your ALR surface.
What about projection screens? Many assume that fixed screens are always superior, but portable or flexible screens made from advanced materials can offer comparable performance in small spaces, provided they utilize the correct gain and layering techniques.
Falling into the trap of equating higher gain with better image quality is common but counterproductive. Instead, focus on the specific lighting conditions and resolution demands of your setup. For example, for ultra-bright 16K HDR content, a carefully engineered 0.8 gain ALR screen with multiple black layers is often more suitable than a high-gain, single-layer surface. External studies corroborate that selecting the right material and gain pairing enhances perceived contrast by up to 30%, leading to a more cinematic experience overall.
Ultimately, the secret to a stellar home theater isn’t just size or gain—it’s understanding and applying the right combination of material properties, gain levels, and environmental considerations. Avoid these common pitfalls, and you’ll unlock a whole new level of visual fidelity. Have you ever fallen into this trap? Let me know in the comments!Maintaining your projection setup, especially high-end ALR screens, is crucial for ensuring long-term brilliance and sharpness. I rely on specific tools and practices that keep my screens performing at their best. One essential tool I can’t do without is a dedicated microfiber cleaning cloth, preferably woven and anti-static, to gently remove dust without scratching sensitive surfaces. For stubborn spots or smudges, I use a 50/50 mixture of distilled water and a pH-neutral cleaner, applied lightly to avoid streaks and residue. Regularly monitoring the screen’s appearance allows me to spot early signs of deterioration or buildup, preventing costly repairs or replacements.
A method I recommend is adopting a routine cleaning schedule aligned with your room’s dust levels and usage frequency. Using an air purifier equipped with a HEPA filter helps reduce airborne particles that settle on the screen, minimizing cleaning frequency while preserving clarity. In addition, inspecting the mounting and tension of the screen periodically ensures there are no ripples or distortions that can affect image uniformity.
Future trends suggest advanced nano-coatings will become more common, offering self-cleaning properties that repel dust and liquids. For now, manual maintenance remains essential. I also suggest avoiding harsh chemicals or abrasive tools that can damage the specialized materials in ALR screens. Instead, stick to manufacturer-approved cleaning routines outlined in guides like the one on this resource, which emphasizes gentle cleaning methods to preserve the black layers and surface texture.
### How do I maintain my projection screen over time?
Implementing regular cleaning, inspecting mounting tension, and controlling environmental factors like dust and humidity are key steps. Investing in a high-quality microfiber cloth and using mild, approved cleaners will prevent damage and keep your screen pristine for years. In addition, leveraging tools like portable micro-vacuum devices designed for delicate surfaces can help reach tricky spots without risk. Remember, the goal is a consistently clear, contrast-rich image; neglecting maintenance leads to dullness and glare, nullifying your investment.
For optimal results, consider incorporating technology like nano-coatings once they become more affordable, which promise to reduce cleaning needs substantially. In the meantime, adopting disciplined cleaning and inspection routines will save you time and money, ensuring your projection system remains a centerpiece of your home entertainment landscape. Want to upgrade your maintenance routine? I highly recommend trying the gentle microfiber cleaning method combined with regular environmental controls to prolong your ALR screen’s life and performance.
Lessons That Changed My Perspective on Screen Setup
- Less Is Often More: I used to believe in oversized screens to create that immersive feel, but I realized that in small rooms, a carefully chosen, moderate-sized ALR screen with the right material can deliver far superior clarity and contrast. It’s about quality over quantity.
- Material Matters as Much as Size: My experimentation showed that selecting a black-layer ALR surface tailored for ambient lighting makes a huge difference. It absorbed unwanted stray light and preserved detailed images, proving that the right material elevates the entire experience.
- Gain Isn’t a Magic Bullet: I learned that pushing gain above 1.0 often backfires with glare and contrast loss. Opting for a gain around 0.8 offers a balanced brightness that works beautifully in typical living room lighting, preventing eye strain and washed-out visuals.
- Lighting Control Is Critical: No matter how good the screen, ambient light can sabotage your viewing. I found that incorporating blackout curtains and careful lighting placement enhances contrast, making smaller screens shine even brighter.
- Top-Notch Cleaning Prevents Dullness: Proper maintenance of ALR screens—using gentle microfiber cloths and avoiding harsh chemicals—keeps the surface pristine, ensuring long-term picture quality. Neglecting this simple step can diminish contrast and color fidelity over time.
Tools and Resources That Turn the Lights On
- Layered ALR screens: I’ve found that these advanced materials outperform basic options, especially in rooms with ambient light, and I rely on their proven durability and contrast benefits.
- Gain optimization guides: These helped me understand that aiming for around 0.8 gain strikes the perfect balance for small spaces, ensuring vivid images without the glare.
- Cleaning best practices: I adopted gentle cleaning routines that kept my screen crisp and contrast-rich, avoiding micro-scratches and surface degradation that can diminish image quality.
- Expert insights on screen layers: These deep dives helped me select the right black-layer materials, which are essential for controlling ambient light and boosting contrast in limited spaces.
Your Turn to Light the Way
Creating a stunning home theater in a small room isn’t about sheer size; it’s about strategic choices that maximize picture quality and comfort. By focusing on the right material, appropriate gain, and smart lighting, you can transform your compact space into a cinematic haven. Don’t hesitate to experiment with these concepts—you might find, as I did, that less truly becomes more when it comes to home theater setups. Are you ready to rethink your screen choices and elevate your viewing experience? Let me know below, and share your own challenges and wins with small space theater setups!