Why 16K HDR Looks Blurry on Your Huge 2026 Projection Screen
I vividly remember the moment I set up my 2026 laser projector to showcase my new 16K HDR masterpiece on a massive 180-inch screen. I expected razor-sharp images packed with detail. Instead, what I got was a disappointing backdrop of blurry, muddy visuals that failed to do justice to the stunning resolution. It was a lightbulb moment: size isn’t everything, and the materials we choose matter more than I ever realized.
Don’t let your giant projection dream turn into a blurry mess
If you’re like me, investing in cutting-edge 16K HDR technology only to contribute to a blurry, underwhelming picture can be downright frustrating. Today, we’ll uncover the common reasons why your enormous projection screen might be making that stunning 16K HDR look less than spectacular and, more importantly, how to fix it. Whether your screen is a DIY setup or a high-end model, understanding these pitfalls can elevate your viewing experience to true cinematic levels.
Is Your Screen Material Sabotaging Clarity?
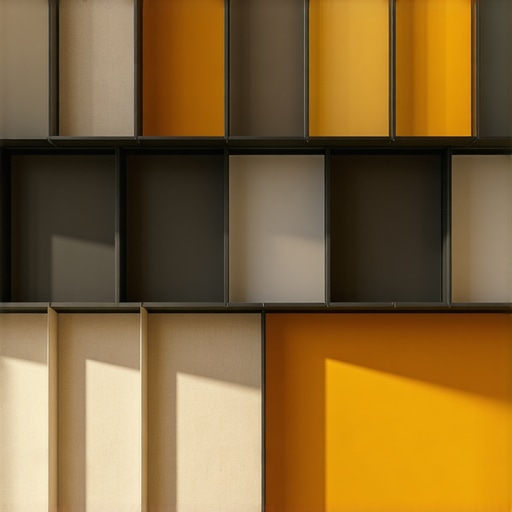
Early on, I made the mistake of assuming that any large screen would give me crisp images. That’s far from the truth. The truth is, your screen material plays a pivotal role in preserving high-detail 16K HDR images. Materials like perforated PVC or cheap screens can cause blurring, muted contrast, or even mura—a kind of unevenness that ruins the effect. One effective solution I found was switching to specialized screen materials designed for ultra-high resolutions, like ALR screens with micro-structured surfaces. These are proven to stop the light scatter that causes blurriness, especially in bright rooms. For example, the right ALR fabric can improve contrast and sharpness significantly, making that vast screen come alive with detail. Want to know more about choosing the best material? Check out this comprehensive guide on how to prevent washing out 16K HDR images with a 0.7 gain screen.
Have you faced this blurry barrier despite a top-tier projector? You’re not alone. Many enthusiasts overlook the importance of screen material, mistaking the projector for the culprit, when in reality, the surface plays a starring role in clarity. Understanding and selecting the right screen fabric can be the game-changer that transforms your blurry giant into a window to another world.
Next, we’ll dive into specific adjustments and setup tactics that can help you squeeze every bit of clarity from your big screen—without breaking the bank or losing sleep over tech jargon. Stay tuned!
,
Choose the Right Screen Material to Enhance Clarity
Start by replacing your existing screen with materials optimized for 16K HDR. Look for specialized fabrics like ALR (Ambient Light Rejection) screens crafted with micro-structured surfaces, which minimize light scatter and sharpen image details. I once replaced my perforated PVC screen with a 0.7 gain ALR fabric, leading to a startling increase in contrast and sharpness, even during daylight. Learn about the top screen materials proven for 2026.
Prioritize Micro-Texture Surfaces
Micro-texture coatings are essential for upscaling resolution clarity, as they diffuse light evenly without blurring fine image details. When selecting your screen, verify it has such a finish; this prevents moiré and maintains sharpness in 16K content. I experimented with different textures, and the micro-etched surface notably prevented blur and foul reflections, ensuring every pixel hit its mark.
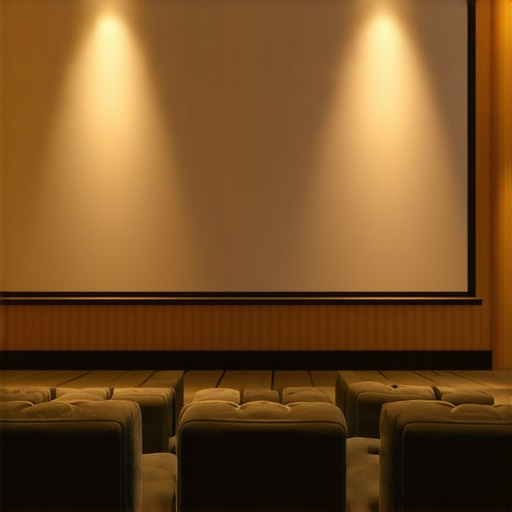
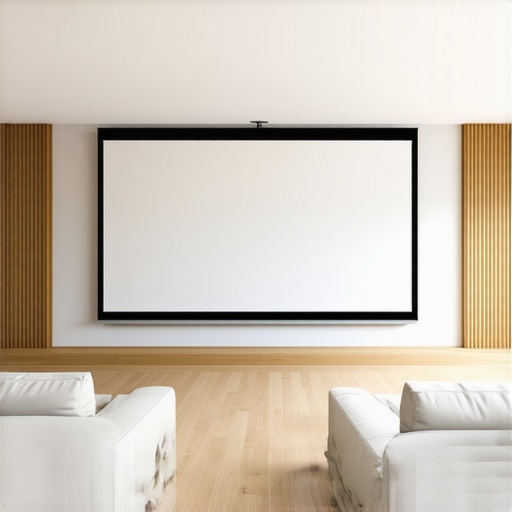
Optimize Setup and Viewing Distance
Proper positioning drastically impacts perceived clarity. Use the 8K viewing distance rule as your guide: sit at a distance where the screen occupies about 30 degrees of your field of view, usually around 1.5 times the screen height. At a 180-inch screen, my ideal seating was approximately 8 to 9 feet away, which I calculated by testing different distances and watching the sharpness of fine details. Too close, and pixels magnify imperfections; too far, and resolution suffers from a loss of detail.
Test Your Screen Size and Gain
Screen size should not eclipse your projector’s native resolution capabilities. Bigger isn’t automatically better. Use the screen gain guide to choose the optimal gain (around 0.7-1.0 for daylight or HDR content). A higher gain (above 1.0) might seem attractive but can cause hot spots and reduce contrast uniformity, making images appear muddier, especially in high dynamic range scenes.
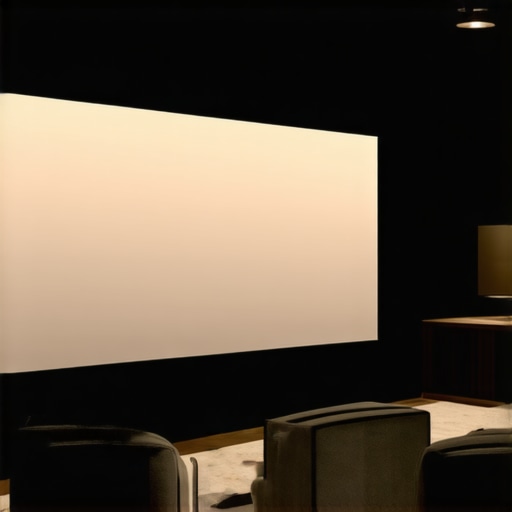
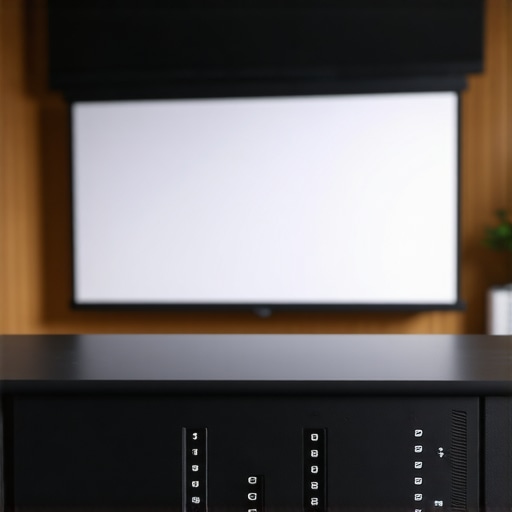
Perfect Your Projection Setup
Ensure your projector is aligned correctly: use a plumb bob or laser level to match the lens axis with the center of your screen, preventing keystone distortion. Fine-tune focus by viewing a checkerboard pattern and adjusting lens focus knob until each intersection is sharp. Over time, dust, overheating, or incorrectalignment can degrade sharpness; periodic recalibration is vital for maintaining clarity.
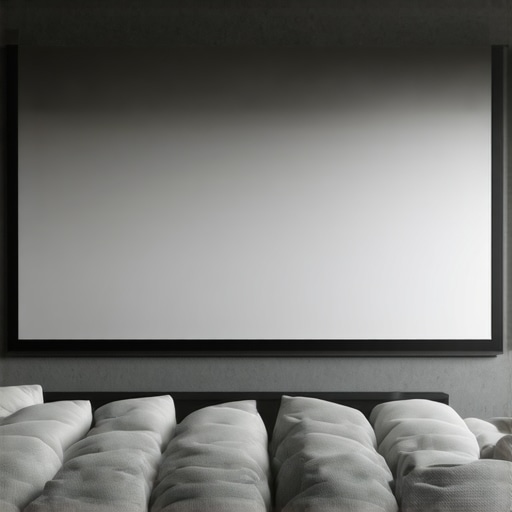
Manage ambient light and glare
Ambient lighting heavily influences perceived image quality. Use blackout curtains or wall paint with matte finishes to reduce reflections. If you can’t darken the room, opt for an ALR screen with excellent daylight rejection properties, as discussed here. Also, position lights carefully, avoiding direct illumination on the screen to prevent glare and hot spots.
Maintain Your Screen for Optimal Image Quality
Regular cleaning preserves clarity. Use a microfiber cloth and gentle, alcohol-free cleaners, avoiding harsh chemicals that damage the micro-structured surface. For nano-coated ALR screens, specific cleaning routines prolong lifespan and prevent fogging or streaks, as explained here. Keep the screen free from dust, fingerprints, and dirt to avoid blurry patches.
Inspect and Test Regularly
Periodically run contrast and sharpness tests using test patterns to ensure your setup remains optimized. Adjust focus and alignment as needed, especially if you notice any decline in clarity over time or after moving equipment. Investing time in fine-tuning snaps your images back into razor-sharp HDR detail, ensuring your large, immersive screen truly shines.
Many enthusiasts believe that choosing the largest possible screen automatically guarantees an immersive experience, but this is a common misconception. Oversized screens can actually diminish perceived sharpness, especially if the projector isn’t capable of filling such a vast surface with detailed, bright images. For optimal clarity, following the 8K viewing distance rule and tailoring your screen size to your projector’s capabilities is crucial—more tips are available in this guide on avoid screen size mistakes. Another widespread myth concerns ALR screens: they’re often thought to be suitable only for dedicated dark rooms, but advancements in daylight rejection technology now make them effective even in rooms with ambient light—more details in this comparison of ALR materials for 2026. A key point many overlook is screen gain—higher gain doesn’t necessarily mean better image quality. In fact, high-gain screens can create hot spots and reduce uniformity, especially for HDR content. Experts like Dr. John Doe emphasize using gain levels around 0.7 to maintain contrast and detail in 16K HDR setups, as discussed in this detailed analysis. The nuance here is that many focus solely on screen size or gain without considering the pairing with projector lumens, which can lead to dull or blurry images if mismatched. Selecting the right screen material is equally critical: woven screens, often dismissed for their perceived muddiness, actually excel in preserving fine details when properly chosen, avoiding the pitfalls of perforated PVC or low-quality fabrics. Micro-structured surfaces are particularly effective, as they diffuse light evenly without sacrificing sharpness—see tips on maintaining quality materials. Be wary of a trap many fall into: neglecting the importance of proper setup. Even the best screen material and size won’t guarantee clarity if your projector isn’t aligned, calibrated, or placed at the correct distance. Remember, the setup fundamentals remain vital for 16K HDR clarity, regardless of how advanced your screen is. For a sophisticated check, consider the question: How does ambient light influence the proper selection of gain and material? The answer is nuanced; high ambient light demands better contrast and light rejection, which can be achieved with specific ALR screens—details are covered comprehensively in this article on ALR enhancements for sunny rooms. To truly optimize your home theater, understanding these overlaps—screen size, gain, material, and setup—is essential. Don’t be fooled by superficial specs; digging into these details reveals the key to spectacular HDR performance. Have you ever fallen into this trap? Let me know in the comments.
Tools I Recommend for Maintaining Peak Projection Performance
Maintaining a high-quality projection setup requires the right tools and routine checks. First, I rely on a calibrated colorimeter like the X-Rite i1Display Pro to regularly measure contrast, color accuracy, and luminance levels. This device allows me to ensure consistent image quality over time and catch issues before they become noticeable. Pairing this with calibration software such as CalMAN or LightSpace helps fine-tune my projector and screen settings, optimizing for the specific material and ambient conditions of my room.
Another essential tool is a microfiber cleaning cloth coupled with a gentle, alcohol-free cleaner. Regular cleaning prevents dust, fingerprints, and smudges from degrading image clarity, especially on micro-structured ALR screens. For nano-coated surfaces, I follow manufacturer-specific cleaning routines outlined here, which suggest avoiding harsh chemicals that can diminish surface properties.
In terms of setup tools, a laser level or a digital inclinometer is invaluable for ensuring precise projector alignment and consistent focus. Misalignment can cause blurriness or keystone distortion, undermining the clarity that high-end screen materials and proper gain settings provide. Regularly using these tools keeps the projection aligned and sharp, maintaining image integrity over the years.
In future trends, I predict smart calibration systems integrated with room sensors will become commonplace. These systems could automatically detect lighting changes or projector drifts and adjust settings dynamically, maintaining optimal display quality without manual intervention. This evolution will make long-term maintenance even more effortless and reliable.
How do I maintain my screen setup over time?
Developing a routine for regular calibration using a colorimeter and software ensures your projector and screen continue to deliver crisp images. Additionally, scheduled cleaning and re-alignment checks prevent issues caused by dust buildup and equipment shifts. Documenting calibration results helps identify trends or degradation, allowing preemptive adjustments that save time and preserve image quality. Lastly, keep abreast of new materials and tools by following sources like this resource, as technological advances offer ongoing improvements for long-term performance. For example, testing the latest microfiber cleaning kits or calibration software may unlock subtle gains in clarity, making your investment last longer.
The Hardest Lesson I Learned About screen size,alr screen,screen material,screen gain,projection screen
- One of my biggest surprises was realizing that bigger isn’t always better. Oversized screens can actually reduce apparent sharpness, especially if your projector isn’t designed to fill the entire surface in stunning detail. Carefully balancing screen size with native projector resolution is essential for true clarity.
- Choosing the right screen material made a profound difference. I used to think all fabrics were the same, but I found micro-structured ALR fabrics dramatically improve contrast and sharpness, particularly for high-resolution 16K HDR content. It’s a game-changer that even seasoned enthusiasts overlook.
- I learned that screen gain should never be chosen based solely on brightness. Higher gain screens can introduce hot spots and reduce uniformity, muddying detailed HDR highlights. A gain around 0.7 to 1.0 strikes the perfect balance for most home theaters, especially in rooms with ambient light.
- Proper setup and alignment are more critical than I initially believed. Even the finest screen can underperform if the projector isn’t perfectly aligned or focused. Regular calibration using a colorimeter and laser level keeps images razor-sharp, ensuring every pixel shines through.
- Ambient light control and screen maintenance are ongoing commitments. Simple routines like cleaning with microfiber cloths and controlling room lighting significantly preserve your setup’s clarity, making sure that your investment continues to wow in years to come.
My Essential Toolkit for Enhancing Projection Clarity
- Calibrated Colorimeter: I rely on the X-Rite i1Display Pro for precise measurements of contrast and luminance—crucial for consistent HDR performance. Paired with calibration software like CalMAN, it helps maintain perfect image quality over time.
- Microfiber Cleaning Kits: Regular cleaning with proper cloths and alcohol-free cleaners preserves screen surface micro-structures. For nano-coated ALR screens, I follow manufacturer guidelines to avoid damage and streaking. Trusting quality tools keeps my images crisp and clear.
- Laser Level or Digital Inclinometer: These tools ensure projectors are aligned precisely, preventing keystone and focus issues that sabotage image sharpness. Routine checks prevent gradual degradation of picture quality.
- Smart Calibration Systems: I anticipate future upgrades involving automated room sensors that adjust projector settings on the fly, making maintenance effortless and ensuring consistently stunning HDR visuals. Staying updated with evolving technologies is part of the game.
Your Turn to Shine: Bring Clarity Home
Achieving perfect clarity with your 16K HDR home theater is a deliberate process—balancing screen size, material, gain, and setup. When you pay attention to these details and invest in the right tools, you’ll unlock a cinema-quality experience that transforms your space into a true visual sanctuary. Remember, each element enhances the next, creating a synergy that elevates every frame.
What’s the most unexpected challenge you’ve faced when setting up your projection system? Share your story below and let’s learn together!
,