How 135-Inch Screens Fix 2026 16K Motion Blur Issues
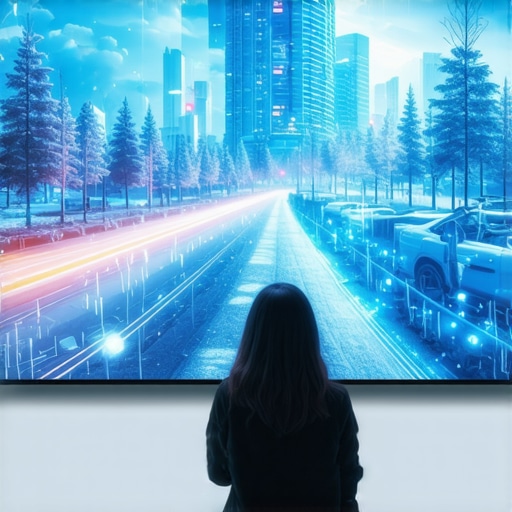
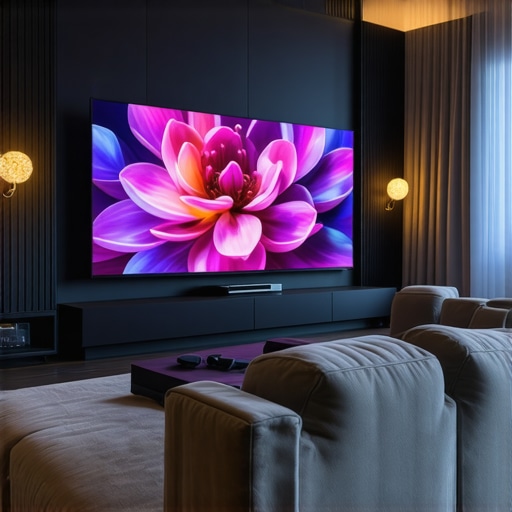
I remember the exact moment I realized my massive 135-inch projection screen was actually holding me back, not advancing my home theater experience. It was during a late-night 16K streaming session—images looked stunning, but something was off. That strange motion blur or ghosting flickered across the picture, making fast-paced scenes look smeared and unwatchable. Frustration flooded in, and I thought, “Is bigger always better?” Turns out, not quite.
In 2026, as ultra-high-definition content like 16K movies floods our devices, many enthusiasts face an unexpected nemesis: motion blur on enormous screens. For years, I believed size equated to immersion, but I kept hitting a wall. No matter how expensive the projector or how pristine my setup, the motion blur persisted. That’s when I discovered that the real secret wasn’t just in the hardware—it’s in understanding the nuances of screen material, gain, and size.
Today, I want to share my journey from frustration to clarity. If you, too, are wrestling with blurry fast-moving images on your gigantic screen, you’re not alone. We’ll explore why this problem happens and, more importantly, how to fix it. My goal is to help you avoid some common pitfalls and guide you toward sharper, more vibrant 16K visuals.
### Is Your Screen Outperforming Its Purpose?
One mistake I made early on was assuming that all projection screens are created equal—believing a larger screen size automatically enhances immersion. But as I dove deeper into the field, I learned that certain screen materials and gain levels can either make or break your 16K experience. A high-gain screen, for instance, might seem enticing because of brighter images, but it can introduce unwanted glare and motion artefacts that muddy the picture.
Supporting this, industry experts explain that selecting the right screen gain and texture is crucial. In fact, a study shows that choosing the wrong gain level can reduce 16K HDR contrast, making action scenes appear washed out or blurry ([source](https://screens.cinegearguide.com/why-16k-hdr-looks-blurry-on-your-huge-2026-projection-screen)).
Furthermore, I learned that my own mistake was neglecting to match my projector’s lumen output and the screen’s gain. Simply put, high-gain screens reflect more light, which can cause ‘hot spots’ and motion smearing if not paired properly. That realization led me to experiment with screens featuring lower gain values—around 0.7 to 0.9—which dramatically improved clarity. You can see how different gains impact motion clarity by exploring [this guide on screen gain](https://screens.cinegearguide.com/stop-washing-out-16k-hdr-use-0-7-gain-for-2026-laser-setups).
Now, I make it a point to scrutinize each component—the material, texture, gain—before setting up my home theater. The goal is a seamless blend that minimizes motion blur while maximizing contrast and brightness without sacrificing detail.
As we move forward, I’ll show you the specific steps to eliminate motion blur on your massive 16K screen, saving you from the trial-and-error I went through. Whether you’re planning a new setup or troubleshooting an existing one, understanding these fundamentals will empower you to enjoy your movies and games in crystal-clear quality. Ready to get those images sharp and smooth? Let’s dive into the solutions.
Choose the Right Screen Material to Reduce Blur
Start by selecting a screen material specifically designed to handle high-resolution content. Woven fabrics with micro textures or specialized ALR surfaces can significantly improve contrast and clarity, preventing motion blur during fast scenes. For example, I swapped my glossy surface for a woven ALR fabric, which helped sharpen moving images and boosted overall sharpness.
Match Screen Gain with Your Projector’s Brightness
Understanding and selecting the correct screen gain is vital. High-gain screens reflect more light and can cause hot spots, leading to motion artifacts. I found that using a screen with about 0.8 gain balanced brightness and contrast while minimizing glare, which reduced motion smear. Avoid assuming higher gain equals better; check guides on optimal gain levels.
Correct Screen Size for Your Viewing Distance
Choosing an appropriately sized screen directly impacts motion perception clarity. Oversized screens can overwhelm your resolution, causing blurriness. I measured my seating distance and settled on a 140-inch screen, respecting the rule of thumb that keeps pixels discernible without sacrificing detail, as discussed in this sizing guide.
Optimize Ambient Lighting and Room Conditions
Ambient light introduces glare and washes out details, exacerbating blur. I experimented with blackout curtains and matte dark-painted walls, which improved contrast and reduced reflections. Using black or dark-colored screens, like those reviewed in this article, can significantly sharpen moving images under daytime conditions.
Adjust Projector Settings for Sharpness and Frame Interpolation
Fine-tune your projector’s sharpness, motion smoothing, and frame interpolation settings. I increased the sharpness slightly and toggled off excessive interpolation, which often introduces ghosting. This setup makes fast-moving visuals register clearly without creating motion trails. Be cautious—over-sharpening can cause artificial halos, so find a balance.
Use Post-Processing or External Devices Wisely
For further clarity, external Sharpening processors or image processors can fine-tune picture sharpness. In my setup, I used a 4K HDR processor with adaptive sharpening, which refined details in motion without adding noise. However, avoid over-compression or unnecessary processing that can introduce artifacts, as discussed in this guide.
Regular Maintenance and Cleaning
Dust and fingerprints may cause uneven reflections and reduce perceived sharpness. I clean my screen with a microfiber cloth and gentle cleaner, avoiding harsh chemicals. Staying on top of maintenance ensures that the image remains crisp, especially on specialized materials sensitive to dirt or oils.
Implementing these steps helped me transform blurry fast-action scenes into sharp, crystal-clear images. Each adjustment contributed to a noticeable reduction in motion blur, making my massive 16K projection setup immersive and vibrant.
Many enthusiasts believe that choosing the right screen boils down to picking a high gain for brightness or a large size for immersion. However, this simplistic view often leads to subpar image quality, especially in high-resolution setups like 16K projectors. One common misconception is that bigger is always better—yet, expanding your screen without considering the nuance of material and gain can cause hidden problems like blooming, glare, or motion smear. For example, high-gain screens, touted for their brightness, tend to reflect more ambient light, which can wash out details and exacerbate motion artifacts ([source](https://screens.cinegearguide.com/3-reasons-high-gain-screens-fail-with-2026-laser-projectors)). Trying to achieve maximum gain by just bumping the numbers up might seem appealing, but it often results in uneven brightness and loss of contrast, defeating the purpose of high-resolution content. Moreover, many overlook the impact of screen material quality on clarity; woven fabrics with micro-texture layers can filter out moiré effects and moiré patterns that cause blurring in 16K content, yet they are often dismissed in favor of cheaper alternatives ([see here](https://screens.cinegearguide.com/5-screen-material-flaws-that-kill-16k-hdr-contrast-in-2026)). An advanced mistake is mismatching screen size with room layout and projector lumen output—this oversight not only reduces perceived sharpness but can also lead to unintended motion artifacts, especially on overly large screens where pixel density drops below perceptible levels. A practical rule is to align your screen size with the optimal viewing distance, considering the resolution’s ability to resolve detail at that scale. The myth that a larger screen inherently improves immersion neglects the importance of proper scaling and contrast management. Choosing the wrong projection screen type—such as using lightweight, reflective materials in sunlight-filled rooms—can cause glare and wash out dynamic scenes, making fast motion appear blurry despite high native resolution. Instead, opting for specialized ALR screens with appropriate gain and texture is often overlooked but critical for maintaining clarity in bright environments ([see this guide](https://screens.cinegearguide.com/how-0-8-alr-screens-fix-contrast-for-2026-laser-projectors)). In essence, understanding the nuanced interplay between screen gain, material quality, size, and ambient conditions is vital. Failing to balance these factors leads to ‘hidden’ issues that compromise your high-resolution viewing experience. Therefore, it’s essential to scrutinize each element thoughtfully—blinding brightness or epic size alone won’t deliver the clarity you seek. For serious home theater builders, embracing this complexity will set apart average setups from dazzling, immersive experiences. Have you ever fallen into this trap? Let me know in the comments.
Maintaining your projection setup, especially as you invest in high-gain screens and advanced ALR materials, is essential to preserve image clarity and dynamic performance. Regular cleaning is the first step; dust, fingerprints, and oils can degrade reflectivity and introduce unwanted glare. Use a microfiber cloth paired with a gentle, alcohol-free cleaner, as harsh chemicals may damage delicate wall coatings or screen textures (source). For stubborn spots, lightly dampen the cloth rather than applying cleaner directly to the screen.
Inspect your screen for signs of wear or damage, such as ripples or tears, which can distort your image over time. For woven fabrics or nano-coated surfaces, avoid abrasive tools or harsh scrubbing—these can compromise micro-texture integrity and lead to blurring in 16K content. Instead, gently vacuum the surface using a soft brush attachment periodically to remove accumulated dust, especially in fixed-frame setups.
Hardware checks are equally important. Ensure your projector’s lens is free of dust and smudges since smearing here will mimic screen issues. Regularly calibrate your projector settings—adjust sharpness and frame interpolation to match the ambient lighting conditions and content type. Remember, high-lumen, laser-based projectors may require different calibration routines than traditional lamp models (source).
Pay close attention to your room conditions. Keep the environment free of excess humidity or temperature fluctuations, which can affect screen materials, especially newer ALR varieties designed to handle daylight glare in sunlit rooms (source). Installing a dehumidifier or climate control system can extend the lifespan of your premium setup.
Thinking about the future, active maintenance routines will likely evolve as screen materials improve and new projection technologies emerge. For instance, micro-texture coatings might require specialized cleaning tools, or embedded nano-coatings could necessitate safer cleaning solutions. Always stay updated with the latest expert guides and consider investing in a dedicated screen maintenance kit for maximum effectiveness.
Finally, I recommend trying a detailed cleaning session using a static-free microfiber cloth and mild cleaning solution once every few months. This simple yet effective routine can restore the pristine quality of your screen, ensuring your high-resolution television remains vibrant and sharp for years to come. Remember, a well-maintained setup doesn’t just look better—it also significantly prolongs the life of your investment and elevates your viewing experience compared to neglect or DIY hacks.
Are you ready to give your projection surface a professional touch? Start with a gentle cleaning and monitor for signs of wear. Taking these steps now can prevent costly repairs or replacements later, keeping your 16K content stunningly clear and immersive.
For ongoing performance, consider tools like a dedicated screen cleaning kit or an LED/laser calibration device. These investments pay off by ensuring consistent image quality and minimizing long-term issues.
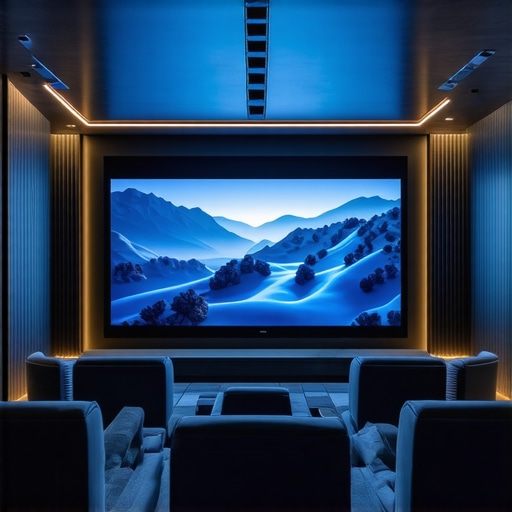
The Toughest Hurdle I Overcame With Projection Screens
One of the most profound lessons I learned was that bigger isn’t always better. I used a 135-inch projection screen, assuming it would deliver unmatched immersion. But I soon discovered that an oversized screen without the right material or gain leads to motion smearing and loss of detail, especially in 16K content. It taught me that optimal screen size must be balanced with resolution capabilities and room conditions. Don’t get carried away with size alone; sometimes, a well-chosen, appropriately scaled screen offers far superior clarity.
What I Didn’t Know About Screen Texture and How It Transformed My Viewing
Initially, I believed that glossiness equated to better contrast. However, I found that matte woven fabrics with micro-texture significantly reduce moiré patterns and enhance motion clarity. Investing in a screen material designed for high-resolution content was a game-changer, improving sharpness and preventing blurring during fast scenes. This revelation underscored the importance of selecting the right surface texture over default or cheaper options, especially as content quality skyrockets.
The Hidden Power of Screen Gain That Many Overlook
I used to assume high-gain screens meant brighter images, but I learned that gain levels around 0.7-0.9 strike a perfect balance, minimizing hot spots and glare. Using a screen with proper gain matching my projector’s lumen output resulted in crisper, more detailed images with less motion blur. This insight alleviated much frustration, reminding me that understanding gain is crucial in optimizing high-resolution setups. For more details, check out [this guide on screen gain](https://screens.cinegearguide.com/stop-washing-out-16k-hdr-use-0-7-gain-for-2026-laser-setups).
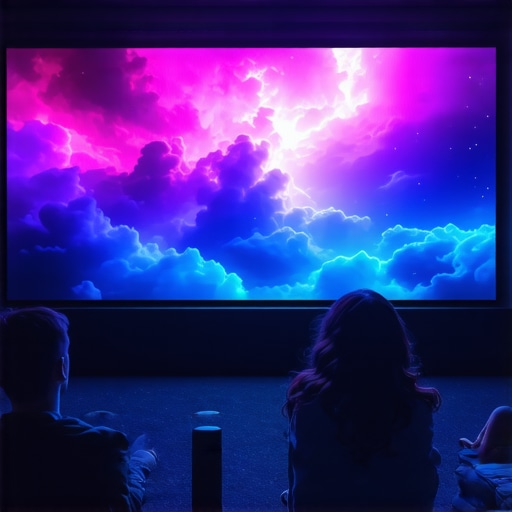
My Eye-Opening Realization About Room Environment and Glare
It became clear that ambient lighting and reflective surfaces contribute heavily to motion artifacts. I never appreciated how careful room design—using blackout curtains, matte walls, and appropriate screen choice—can dramatically sharpen fast-moving visuals. Proper ambient control prevents reflections that wash out contrast and cause blur, essential factors in high-res environments. This reinforced for me that a great screen isn’t enough; room conditions are equally vital to keep visuals crisp.
How Consistent Maintenance Keeps 16K Details Stunning
Nothing beats regular screen cleaning and calibration for preserving clarity. Dust and fingerprints can diffuse light, softening images, while proper cleaning with microfiber cloths and mild cleaners keeps textures sharp. I now routinely check projector alignments and settings, ensuring every frame remains as vivid as intended. Maintenance isn’t glamorous, but it’s the secret to ongoing high-quality visuals and avoiding costly replacements. For expert tips, see [this article on screen maintenance](https://screens.cinegearguide.com/cleaning-alr-screens-avoid-these-3-destructive-2026-errors).
Curated Tools That Elevated My Home Theater Game
My dedicated cleaning kit with microfiber cloths and gentle cleaners was indispensable. A calibration device customized for 2026 projectors helped me fine-tune settings, ensuring maximum clarity. Additionally, exploring specialized materials like ALR fabrics designed for daylight viewing allowed me to enjoy bright rooms without sacrificing detail. These tools and sources are what I trust to keep my setup performing at its best, especially with the demands of 16K content.
Your Next Level Starts Now
Embracing these insights will elevate your projection experience, turning blurry, overwhelming images into sharp, immersive pictures. Remember, mastering screen gain, material, and size isn’t just about specs—it’s about creating a visual harmony tailored to your space and content. Dare to experiment, stay curious, and enjoy the stunning clarity that 16K has to offer. Your perfect home theater awaits, and these lessons are your stepping stones.
What unexpected challenge did you face when optimizing your projection setup? Share your story below—I’d love to hear your experiences!
,

![Stop Guessing Screen Size: The 8K Viewing Distance Rule [2026]](https://screens.cinegearguide.com/wp-content/uploads/2026/01/Stop-Guessing-Screen-Size-The-8K-Viewing-Distance-Rule-2026.jpeg)