ALR Screen Technology: Best Material & Gain for Bright Rooms 2024
Have you ever sat in your living room, projector ready, only to realize the screen you bought just doesn’t cut it during daytime or in well-lit spaces? I’ve been there. It’s frustrating—your movie night is ruined because the image is washed out, colors are dull, and all that effort feels wasted. I used to think that spending more on a projector was the answer, but I quickly learned that the real game-changer is the screen itself, especially when it comes to bright rooms. That lightbulb moment changed everything for me, and I bet it will for you too. Today, I want to guide you through selecting the best ALR (Ambient Light Rejection) screen material and gain for your space in 2024, so you can finally enjoy a crisp, vibrant image no matter how bright your room is.
Why Bright Rooms Need Special Screen Materials
Most standard projection screens struggle in rooms with ambient light. Even the best projectors can’t compensate for a washed-out picture if your screen material isn’t designed to handle high light levels. That’s where ALR screens come into play. They’re engineered specifically to reject ambient light, making your image pop even in daylight or brightly lit spaces. But not all ALR screens are created equal. The secret lies in the material and gain — which is a measure of how much light the screen reflects back to the viewer.
Early in my journey, I made the mistake of choosing a cheap, high-gain screen without understanding how it would perform in my bright living room. The result? Glare, hot spots, and a disappointing viewing experience. It wasn’t until I learned about different materials and their properties that I finally saw the difference. This knowledge transformed my setup and can do the same for you. If you want to maximize brightness and contrast without sacrificing image quality, understanding the nuances of ALR screen materials and gain is essential. Want to learn more? Check out this guide for a deep dive into how gain affects your picture quality.
Is All ALR Screens Worth the Hype?
Early on, I believed that any ALR screen would improve my picture in a bright room. That was a mistake. Some materials work better than others, and choosing the wrong one can lead to more glare and less contrast. I also learned that higher gain isn’t always better — it depends on your room size, projector throw, and seating arrangement. It took some trial and error, along with a few costly missteps, before I found the right match. Trust me, doing your homework pays off. If you’re serious about bright room projection, I recommend reading this article to avoid common pitfalls and make informed decisions.
Now that you know why selecting the right material and gain matters, let’s explore how to pick the perfect ALR screen for your bright room in 2024. Ready to see your projector in a new light? Keep reading!
,
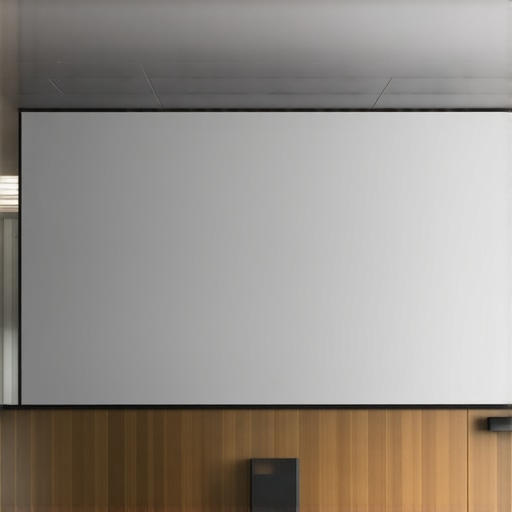
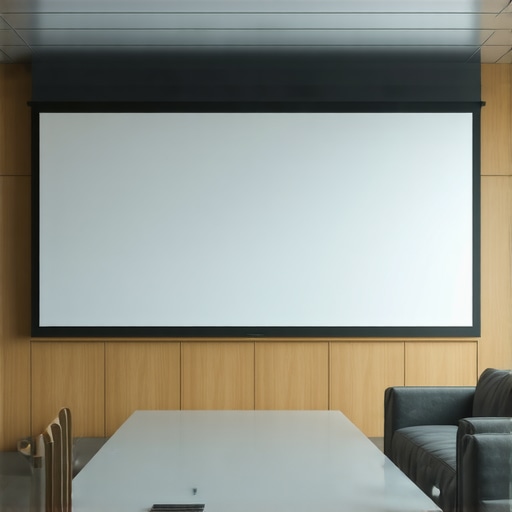
Select the Right Screen Material for Bright Environments
Start by identifying your room’s ambient light levels. For bright rooms, opt for high-quality ALR (Ambient Light Rejection) screens that are engineered to reflect less ambient light and enhance contrast. Look into materials like optical or nano-textured surfaces, which are designed specifically to reject ambient light while maximizing brightness. When I upgraded my setup, I chose a material with a matte finish and a gain around 1.8 to 2.2, which significantly improved my image clarity during daytime viewing. For detailed insights on different materials, visit this guide.
Understand Screen Gain and Its Impact
Gain measures how much light a screen reflects back to the viewer. Higher gain (above 2.0) makes the picture brighter but can introduce hot spots — areas of uneven brightness — especially in larger screens. Conversely, lower gain (around 1.0 to 1.5) offers more uniformity but less brightness. Think of gain like a mirror: a high-gain mirror reflects more light, making everything appear brighter, but it can also produce glare if you’re not positioned correctly. I learned this firsthand when I initially picked a 2.5 gain screen, which caused glare issues in my sitting area. After switching to a 1.8 gain, the picture was still vibrant without hot spots. To pick the best gain for your space, consider your projector’s lumen output and room size. For a comprehensive breakdown, check this article.
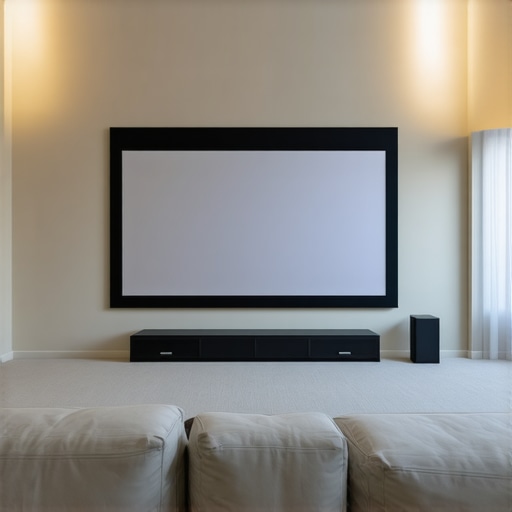
Align Screen Size and Gain with Your Room Layout
Choosing the right size and gain combination depends heavily on your room dimensions and seating arrangement. A larger screen with high gain can be overwhelming if your room is small, causing excessive brightness or glare. Conversely, a smaller screen with low gain might not deliver enough punch in a bright environment. I made a mistake early on by selecting a massive 120-inch screen with a gain of 2.2 for my modest living room, which was too overpowering. Instead, I opted for a 100-inch screen with a gain of 1.8, which balanced brightness and comfort. Use tools like this size guide to match your room’s layout precisely.
Test and Fine-Tune Your Setup
Once you’ve installed your screen, test it with your projector during different times of the day. Adjust seating, projector angle, and even consider adding blackout curtains to control residual light. I recommend setting up a test run before permanently mounting your screen, as it allows you to tweak gain and size for optimal results. I spent a weekend experimenting with different angles and positions, which helped me find the sweet spot where glare was minimized and contrast maximized. Remember, small adjustments can make a big difference. For detailed tips on fine-tuning, visit this resource.
Many enthusiasts and even seasoned home theater owners fall into traps when selecting or using projection screens for bright rooms. One of the most pervasive misconceptions is that higher gain screens automatically deliver better brightness without trade-offs. While it’s true that a high gain (above 2.0) can boost perceived luminance, it often introduces hot spots and glare that ruin the viewing experience. In my experience, choosing a screen with a moderate gain—around 1.8—strikes a better balance, providing sufficient brightness while maintaining uniformity. For a deep understanding of how gain impacts your setup, I recommend exploring this comprehensive guide.
Another common myth is that all ALR screens are equally effective in rejecting ambient light. This couldn’t be further from the truth. The effectiveness of ambient light rejection depends heavily on the specific material and surface texture used. For example, nano-textured surfaces are designed to scatter ambient light while reflecting projector light directly to your eyes, which enhances contrast in bright environments. However, not all nano-textured or optical surfaces are created equal. Doing your homework and understanding the nuances can save you from costly mistakes. For a detailed comparison, check out this article.
Many people overlook the importance of screen size relative to room dimensions. It’s tempting to go for a massive screen to maximize immersion, but in bright rooms, this can backfire if paired with a high-gain surface. Larger screens with high gain can cause overwhelming brightness and glare, especially if your seating isn’t optimally positioned. I once made this mistake myself—choosing a 120-inch screen with a gain of 2.2 for my modest living room—and ended up with hot spots and discomfort. Instead, I found that a slightly smaller, 100-inch screen with a gain around 1.8 provided a much more comfortable viewing experience. For guidance on sizing, visit this size guide.
Are Brightness and Contrast Really Independent in Bright Rooms?
Many assume that increasing gain or using a brighter projector guarantees better contrast. But this is a misconception. Brightness and contrast are interlinked—boosting one often diminishes the other if not managed carefully. High gain surfaces can reflect excessive ambient light, reducing perceived contrast, especially in well-lit rooms. To truly optimize your picture, it’s crucial to balance gain with ambient light management, like blackout curtains or strategic lighting. This nuanced approach ensures you don’t sacrifice contrast for mere brightness. For advanced tips, refer to this resource.
Have you ever fallen into this trap? Let me know in the comments. Mastering these nuances can elevate your projection experience from mediocre to spectacular, especially in challenging bright environments.
Keeping your projection setup in top shape requires more than just initial installation; it involves ongoing maintenance and the right tools to ensure consistent performance over time. From cleaning your screen to calibrating your projector, every step counts in preserving image quality, especially in bright environments where ambient light can cause issues if your equipment isn’t well-maintained.
Invest in a Quality Lens Cleaner and Screen Care Kit
Regular cleaning of your projector lens and ALR screen is crucial. I personally recommend a microfiber cloth paired with a gentle, alcohol-free lens cleaner. This combo prevents dust, fingerprints, and smudges from degrading your image. For the screen, a soft cloth and a specialized screen cleaning solution help maintain surface reflectivity and prevent scratches. I use a dedicated screen cleaning spray that’s designed to remove dust and oils without damaging the material. Consistent cleaning ensures your image remains sharp and vibrant, especially in high-gain or nano-textured surfaces where dirt can cause hotspots.
Use an Accurate Calibration Tool
Calibration is often overlooked but is essential for long-term performance. I rely on a colorimeter like the X-Rite i1Display Pro to fine-tune my projector’s color and brightness settings. Proper calibration ensures that your colors stay true and contrast levels are optimized, which is particularly important when dealing with high-gain screens that can exaggerate color shifts. Calibration should be revisited every 6 to 12 months, especially if your projector’s bulb or LED source ages, affecting luminance and color consistency. For step-by-step guidance, check this detailed calibration guide.
Maintain Proper Ventilation and Power Supply
Over time, dust build-up inside your projector can cause overheating, leading to flickering or reduced brightness. I recommend using compressed air to clean vents and filters every few months. Also, investing in a surge protector prevents voltage fluctuations from damaging your equipment, extending its lifespan. Consistent airflow and stable power are vital for maintaining image quality, especially when your room’s ambient light conditions demand maximum projector performance.
Prepare for Future Upgrades with Modular Components
The projection technology landscape is evolving rapidly, and in the coming years, expect more modular, upgradeable components. Modular projectors with replaceable light sources or lens modules will make maintenance easier and more cost-effective. Keeping your setup adaptable means you can incorporate new advancements, like higher lumen output or improved color accuracy, without replacing everything. This approach aligns with the trend toward sustainable, long-term home theater investments.
How do I maintain my projection system over time?
Regular cleaning, calibration, and proper ventilation are your best friends in maintaining peak performance. Use a microfiber cloth and gentle screen cleaner to keep surfaces dust-free, and revisit calibration at least once a year to ensure colors and brightness stay consistent. Keep dust out of your projector with compressed air, and always protect your gear with surge protectors. As technology advances, consider modular components that can be upgraded or replaced easily. Staying proactive with these maintenance routines ensures your bright-room projection remains crisp and vibrant for years to come.
In the future, I predict that smart calibration tools integrated with AI will become more common, allowing even amateurs to fine-tune their setups effortlessly. Keep an eye on innovations that simplify maintenance, and don’t hesitate to try advanced calibration techniques for the best long-term results. Remember, a well-maintained system is the foundation of a stunning projection experience in bright environments.
Lessons I Learned the Hard Way About Bright Room Projection- One of my biggest mistakes was thinking that a high-gain screen would automatically solve my brightness issues. Turns out, it can cause glare and hot spots if not chosen carefully. The lesson? Balance gain with room size and projector power.
- I underestimated how much ambient light rejection technology could improve my viewing experience. Nano-textured surfaces, for example, are game-changers in bright environments, but not all are equally effective. Do your research before buying.
- Calibrating my projector after installing a new ALR screen made a huge difference. Even the best screen needs proper setup to shine. Investing in a quality calibration tool is worth every penny.
- Size matters more than I thought. Going too big with a high gain in a small room made my setup unwatchable. Use tools like this size guide to find your ideal match.
- Maintenance is key. Regularly cleaning my screen and projector lens kept my picture vibrant and consistent over time. Small routine tasks prevent big problems later on.
My Top Picks for Bright Room Projection in 2024
- Nano-textured ALR screens — for superior ambient light rejection and contrast.
- Calibrated projectors — pairing your screen with proper calibration ensures optimal image quality.
- Microfiber cleaning kits — essential for keeping your setup spotless and performing at its best.
- Smart calibration tools — look out for upcoming AI-powered solutions to simplify setup and maintenance.
Your Turn to Make Bright Room Projection Shine
Achieving stunning projection in bright environments is an art and a science, but with the right knowledge and tools, it’s absolutely doable. Don’t settle for washed-out images—optimize your setup and enjoy vibrant, crisp visuals anytime, anywhere. Ready to upgrade your projection game? Share your experiences or questions below—let’s learn together and bring your home theater to life!
Reading through this post really resonated with my own journey into optimizing bright-room projection. I used to believe that just investing in a more expensive projector was enough, but quickly learned the importance of choosing the right screen material. Nano-textured ALR screens have been a game-changer for me, especially in my sunroom where ambient light is unavoidable. One thing I’ve found crucial is the calibration process; even a high-quality screen can underperform if the projector isn’t set correctly for that specific surface. I also learned to keep everything clean—dust and fingerprints on high-gain surfaces can cause hotspots and glare, which ruin the experience.
What strategies have others found effective for balancing screen gain with ambient light? I’m curious if incorporating strategic lighting or blackout solutions has made a noticeable difference in your setup. Ensuring the right balance between gain, ambient light management, and calibration really seems to unlock the full potential of bright-room projection.
This post resonated with my experience in optimizing my home theater for bright rooms. I’ve found that selecting an ALR screen with a nano-textured surface made a huge difference, especially since I don’t have the luxury of blackout curtains in my living space. What really helped me was calibrating the projector meticulously after upgrading the screen—getting the contrast and color settings just right was key to preventing hotspots and glare. Additionally, I’ve started using low-profile ambient lighting with dimmable options to minimize interference with the projected image while avoiding eye strain.
I’m curious, have others combined specific lighting strategies with high-gain or nano-textured screens effectively? Sometimes, I wonder if the right combination of screen material, calibration, and ambient lighting can truly maximize picture quality in challenging lighting conditions. Would love to hear different approaches or tips from fellow enthusiasts!
This was a very timely post for me. I’ve been struggling lately with glare and washed-out images during daytime viewing, and I hadn’t really considered how much the choice of screen material and gain impacts this. Up until now, I thought that simply increasing projector brightness would do the trick, but I realize now that the screen’s properties are just as crucial. I recently upgraded to a nano-textured ALR screen with a gain of around 1.8, and the difference in contrast and clarity is noticeable, especially in my sunroom where ambient light is unavoidable. What’s interesting is balancing gain with room size—higher gain screens can cause hotspots if the seating isn’t perfectly positioned, so I’ve been experimenting with different setups. Has anyone found specific types of ambient lighting or room treatments that work particularly well alongside high-gain screens to further improve daytime picture quality? I’d love to hear what has worked for others.
This post really sheds light on how crucial screen material and gain are, especially in bright rooms where ambient light can make or break your viewing experience. I upgraded to a nano-textured ALR screen with a gain around 1.8 last year, and I can attest to the dramatic improvement in contrast and clarity during daytime use. It’s remarkable how properly calibrated settings on my projector, combined with the right screen surface, can make a noticeable difference. I’ve also found that integrating dimmable ambient lighting, strategically placed, helps reduce reflections without creating glare issues. I’ve been curious about whether others have experimented with different types of colored or diffused lighting to further improve daytime viewing, or if blackout curtains still hold the crown for that?
Balancing these elements — screen gain, ambient lighting, and calibration — really feels like an art. Has anyone here had success with specific room treatments or lighting setups that complement high-gain, nano-textured screens? Would love to hear your insights or recommendations.
This post really hit home for me, especially about how critical the right screen material and gain are in bright rooms. I recently upgraded to a nano-textured ALR screen with a gain around 1.8, and it’s made a huge difference during daylight hours. Before, I struggled with glare and washed-out images, even though my projector is quite powerful. The calibration process was a game-changer—I used a colorimeter to fine-tune the settings and was amazed at how much contrast and clarity improved. One thing I’ve been exploring is combining this setup with low-profile, dimmable ambient lighting to reduce reflections and keep the room comfortable at the same time. It seems like a balanced approach: good equipment, proper calibration, and smart lighting. For others in a similar situation, have you tried any specific room treatments or lighting adjustments that enhanced your high-gain or nano surfaces? Would love to hear your insights!