Best ALR Screen Technology: Materials, Gain & Size Guide 2024
I vividly remember the first time I sat down in my home theater, eager to watch a sprawling sci-fi epic, only to be met with a washed-out image and glaring reflections. It was a lightbulb moment—my screen just wasn’t up to par. Like many enthusiasts, I learned the hard way that choosing the right ALR (Ambient Light Rejection) screen isn’t just about aesthetics; it’s about transforming your entire viewing experience. If you’ve ever faced the frustration of battling ambient light or wondering why your picture quality isn’t quite there, you’re not alone. Today, I want to share what I’ve discovered about the critical factors—materials, gain, and size—that truly make a difference in 2024.
Why the Right ALR Screen Can Make or Break Your Home Theater
Choosing the perfect ALR screen can seem overwhelming. The market is flooded with options claiming to be the best, but without understanding the core principles—especially regarding the materials and gain—it’s easy to make costly mistakes. From personal experience, I initially picked a popular but unsuitable material, which resulted in dull images and repeated adjustments. It wasn’t until I delved into the specifics of gain and how different materials respond to ambient light that I experienced a complete transformation. According to industry experts, selecting the right screen can increase perceived contrast significantly, enhancing clarity and depth, even in bright rooms (source).
If you’re tired of constantly tweaking your setup or settling for less than stellar image quality, understanding these fundamentals is the first step. And trust me, once you get it right, watching movies and sports becomes a completely different experience. So, let’s explore the most effective materials, how to determine the ideal gain, and what screen size works best for your space—so you can finally enjoy that cinematic immersion at home.
Is There Really a Magic Material or Gain Level That Works for Every Room?
Early in my journey, I made a common mistake—assuming that a high-gain screen would automatically solve my lighting issues. Spoiler: it didn’t. The truth is, the perfect combination depends on your specific environment, including room size, light conditions, and projector capabilities. For instance, some materials offer excellent ambient rejection but may dampen color accuracy if not selected carefully. This balancing act is why I now recommend doing thorough research, like the comprehensive guides found here. Avoiding this mistake is crucial because a mismatch can lead to disappointing results, no matter how advanced your projector is.
In the upcoming sections, I’ll walk you through how to evaluate your room’s characteristics and choose the right materials and gain levels—making complex choices clear and manageable. Ready to stop guessing and start investing in a setup that truly delivers? Let’s dive into the details that will make your home theater shine.
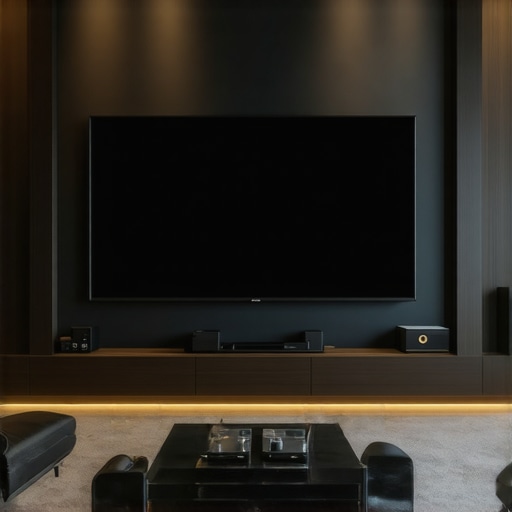
Start with an Accurate Room Assessment
Before choosing a screen, measure your room’s size, especially its width and height. Use a tape measure to find the available space where the screen will hang. This helps determine the maximum screen size so you avoid choosing an overly large or too small model. Tip: Use a chalk or painter’s tape to visualize different sizes on your wall, making it easier to see what fits best.
Choose the Right Screen Material Based on Your Lighting
Materials vary in reflectivity and ambient light rejection. For rooms with lots of windows or strong ambient light, opt for high-gain ALR screens made from reflective materials that bounce light directly toward the viewer, improving contrast. For darker rooms, matte or low-gain screens offer better color accuracy and deeper blacks. I once struggled with dull images until I switched to a high-gain material, which immediately boosted perceived brightness.
Calculate the Ideal Gain Level for Your Setup
Gain determines how bright the image appears. Higher gain increases brightness but can cause hot spotting if unevenly distributed. To find the right gain, consider your projector’s lumen output and the ambient light level. For bright rooms, aim for gain values between 1.8 and 2.5. For darker settings, 1.0 to 1.3 may suffice. I learned this by testing a 2.2 gain screen in my living room, which made a significant difference in clarity during daytime viewing.
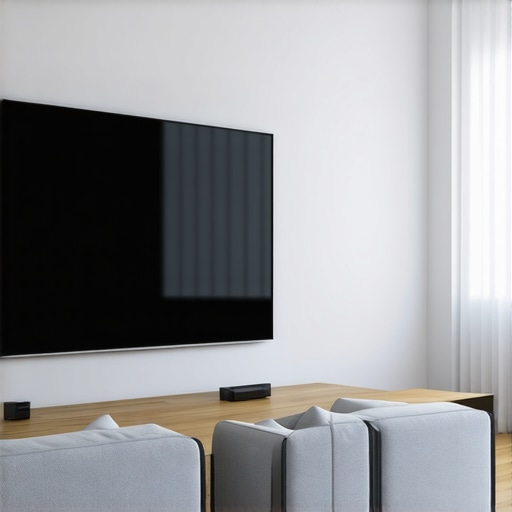
Decide on Screen Size for Optimal Immersion
The size should fill your field of view without overwhelming the space. Use the visual size calculator found here to balance image size and seating distance. As a rule of thumb, the bottom of the screen should be at eye level, and viewers should be seated about 1.5 to 2.5 times the screen’s diagonal away. I initially chose a screen too small, but after adjusting to a 120-inch diagonal based on my room, the cinematic feel was unmatched.
Align Material and Gain with Your Room’s Conditions
For bright environments, select a high-gain ALR screen with reflective properties to combat ambient light. Use guides like this resource for top material options. In darker rooms, matte or low-gain surfaces provide richer colors and deeper blacks. Remember, an optimal pairing reduces the need for constant adjustments and delivers a consistent experience. Once I matched my screen material to my lighting conditions, I noticed a remarkable enhancement in picture quality even during the brightest parts of movies.
Test and Fine-Tune Your Setup
After installation, play a calibration disc or adjust settings manually. Check for hot spotting—areas that look unnaturally bright or dark—and move seats if necessary. Adjust projector settings, focusing on contrast and brightness, to maximize the screen’s capabilities. Don’t be discouraged if the first setup isn’t perfect; fine-tuning can take time but results in a cinema-quality image. I spent a weekend experimenting with different projector angles and settings, which finally delivered that vibrant, immersive picture I was after.
Many home theater enthusiasts cling to common beliefs about screen gain, size, and materials, but let’s cut through the myths. A frequent mistake is assuming higher gain always equals better brightness, yet in practice, overly high gain can cause hot spots and uneven images, especially in larger screens. This is why understanding the distribution and reflection qualities of different materials is crucial, as highlighted in the comprehensive guide to projection screen materials and gain (here).
Contrary to popular belief, bigger isn’t always better. Many settle for massive screens, thinking size alone enhances immersion, but without considering seating distance, room dimensions, and optimal viewing angles, this can backfire. A common pitfall is choosing a screen that overwhelms the space, leading to eye strain and diminished picture quality. For guidance, see the ultimate guide on projection screen size and gain for perfect setup.
Beyond the basics, advanced viewers should consider the impact of screen materials on picture fidelity, especially in rooms with challenging lighting. A well-chosen ALR screen with the right gain and surface finish can significantly reduce ambient light issues, allowing for better color saturation and contrast. I learned this the hard way when my initial matte screen dulled colors, but switching to a high-gain ALR surface transformed my viewing experience. You can explore top options and detailed material insights in the best ALR screen options resource.
An often-overlooked nuance is the interplay between gain and angle of view. Many assume that increasing gain improves overall brightness uniformly, but high gain surfaces reflect light predominantly in narrower angles, risking loss of contrast and color accuracy when viewers are off-center. This advanced aspect is why understanding the material’s reflection profile is essential for optimal placement. For a deep dive, check out the guide on understanding projection screen gain for the best home-theater setup.
Overemphasizing size or gain without a balanced approach leads to common pitfalls. The key is tailoring your choice to your room’s lighting, size, and projector capabilities. Failing to do so can result in wasted investment and subpar viewing experiences. Remember, a balanced setup—considering gain, material, size, and placement—yields the best results. As I’ve experienced firsthand, testing different configurations and consulting expert insights helps avoid these costly errors.
Are you falling into any of these misconceptions? Share your experiences or questions in the comments! For a detailed exploration of selecting the right screen material and gain for your specific environment, review the comprehensive guides linked above.
Maintaining your home theater setup over time is essential to preserving image quality and ensuring your investment continues to pay off. One of the most reliable approaches involves using precision calibration tools combined with routine maintenance routines. Personally, I swear by the X-Rite i1Display Pro calibrator; its high accuracy allows me to regularly re-calibrate my projector and screen, ensuring consistent brightness and color fidelity, crucial when working with high-gain ALR screens where even slight deviations can cause noticeable shifts in picture quality. Additionally, software like CalMAN Home and LightSpace Illuminate provides insightful analysis and adjustment capabilities, enabling fine-tuning that’s hard to achieve manually. These tools have become indispensable in my process, especially considering the nuances of different screen materials and gains, which can degrade or shift over time if not carefully monitored (source).
How do I maintain my projection screen and ALR materials over time?
Regular cleaning is the foundation. Use a soft, lint-free microfiber cloth and gentle, screen-safe cleaning solutions—avoid harsh chemicals that can damage reflective surfaces. For high-gain ALR screens, I prefer lightly dusting before wiping with a slightly damp cloth to remove any accumulated dust or smudges that can cause hot spots or uneven reflection. Protective covers or enclosures can prevent dust buildup, especially if you live in a dusty environment. Furthermore, periodic inspections of mounting fixtures and adjustable components ensure your screen remains perfectly aligned, a factor that directly affects gain distribution and overall image uniformity. As technology advances, I predict that automated calibration systems integrated directly into projectors or screens might become more prevalent, reducing human error and simplifying long-term maintenance. For now, investing in quality calibration gear and adopting routine cleaning and inspection routines are your best bets for sustained performance.
Don’t overlook the importance of controlling ambient light
While I’ve focused on the tech side, remember that ambient light plays a critical role in maintaining your screen’s effectiveness over time. Use blackout curtains and glare-reducing films to uphold a controlled environment. This prevents dirt or dust from settling on overly reflective surfaces that are prone to showing imperfections more prominently. Regularly checking and controlling your lighting ensures your screen’s gain and material properties continue to function optimally, avoiding the need for frequent recalibrations or expensive replacements.
By combining high-quality measurement devices like the X-Rite with routine cleaning and environmental control, you lay the groundwork for a long-lasting, pristine home theater experience. Remember, small maintenance steps today prevent costly upgrades and repairs tomorrow. And if you haven’t yet, try this advanced calibration tip: use your calibration software’s sensor profiling feature to create a custom profile tailored to your specific screen and room conditions—it’s like giving your setup a health checkup. Keeping everything in top shape will ensure your investment delivers amazing results for years to come.
Reflecting on my journey, I realize that the most profound lessons about optimizing home theater screens didn’t come from tutorials but from personal experiments and surprising realizations. One harsh truth I uncovered is how easily overlooked details—like the angle of reflection or the subtle differences in material finishes—can make or break your viewing experience. For example, I once assumed high-gain surfaces universally enhanced brightness, only to discover that off-center viewing angles dramatically diminish contrast, revealing that no one-size-fits-all solution exists. These lightbulb moments underscored the importance of tailoring your setup to your unique room conditions, reminding me that mastery in this field demands attention to nuanced details most enthusiasts tend to ignore. As you refine your own system, remember that real expertise stems from these personalized insights and continuous tweaking, so embrace the process and keep experimenting until your home theater truly meets your expectations.