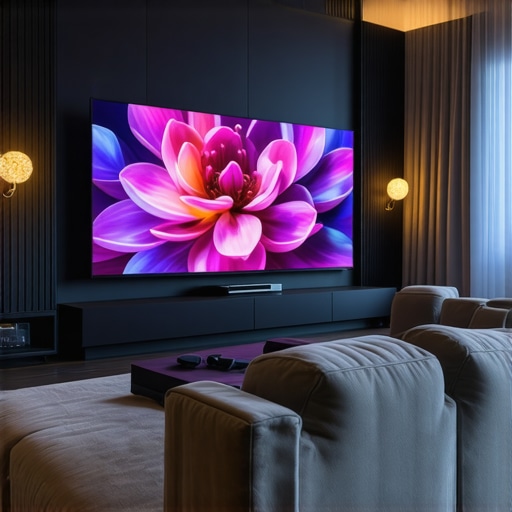
Ditch the 100-Inch TV: Why 135-Inch Screens Win in 2026
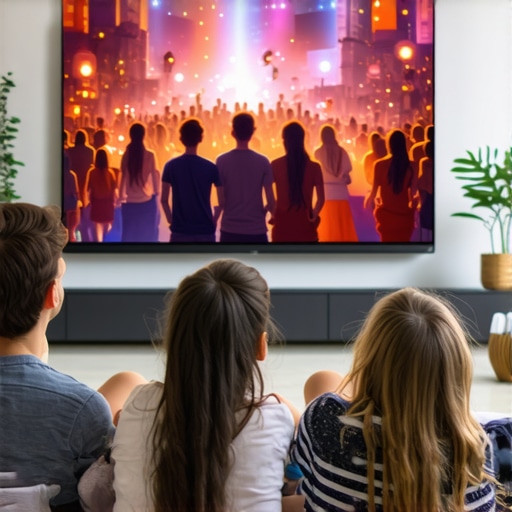
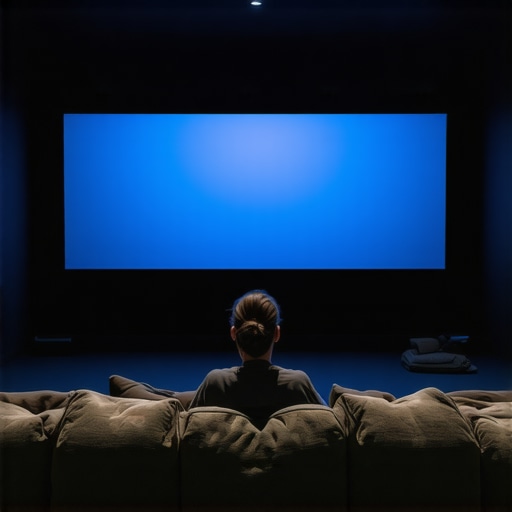
There was a moment, early on, when I realized my massive, 100-inch TV was starting to feel more like a barrier than a window into my favorite movies. Bright scenes washed out, colors dimmed, and I secretly wished I could just dive into the screen itself. It hit me—bigger isn’t always better if your gear can’t keep up. Do you ever feel like your home theater setup isn’t quite delivering that immersive experience you crave? Well, I promise we’re about to change that.
Why Bigger Isn’t Always the Answer: The Screen Size Dilemma
Choose the Right Projection Screen Material
Start by selecting a screen material with appropriate gain to suit your room’s brightness. A higher gain reflects more light, making your image brighter in well-lit spaces, but can cause hot spotting if too high. For rooms with ambient light, consider materials with gain levels around 1.2 to 1.3, which strike a balance between brightness and image uniformity. You can explore detailed options and their pros and cons at this gain guide.
Match Screen Size with Viewing Distance
Getting your screen size right is crucial. As a rule of thumb, sit roughly 1 to 1.5 times the diagonal size of your screen away from the display for the best immersive experience. For example, a 120-inch screen should be viewed from about 10-15 feet. Check out this calculator to perfect your setup and avoid the common mistake of choosing a screen that’s either too small or overwhelmingly large for your room.
Optimize Screen Gain for Room Brightness
If your room has a lot of ambient light, a screen with higher gain can help combat washout. However, overdoing it can create hot spots and reduce overall picture quality. To avoid this, consider screens with selective gain regions or specialized coatings that maintain uniformity. Explore why 120-inch screens remain optimal in various lighting conditions and how gain adjustments influence performance.
Evaluate and Adjust Your Screen Setup
Once you’ve selected your screen material and size, test your setup. Use a calibration disc and adjust projector settings for optimal contrast and color. Watch for issues like hotspotting, where brightness concentrates unevenly, and tweak your screen angle or gain if necessary. For more precise fine-tuning, consult guides like this detailed calibration guide.
Consider ALR Technologies for Bright Rooms
Ambient Light Rejection (ALR) screens can further enhance your viewing experience in bright rooms. They feature special coatings and layers that block ambient light, preserving contrast and color vibrancy. Focus on higher gain options (around 1.5) with advanced ALR layers, which offer better reflectivity and contrast. Read about the latest in ALR technology advancements to make an informed choice.
Don’t Overlook the Impact of Screen Texture
The texture of your screen surface influences image sharpness and brightness. Matte surfaces can diffuse light evenly but may reduce sharpness, while semi-gloss or glass bead textures enhance brightness at the cost of potential hot spotting. Think about your room’s lighting and choose accordingly. For insights on textures, visit this texture comparison guide.
When diving into home theater upgrades, many enthusiasts focus heavily on picking a high gain screen or the latest ALR technology, believing these will guarantee perfect picture quality. However, this approach often oversimplifies a nuanced topic. A common misconception is that higher gain screens automatically deliver brighter images; in reality, gains above 1.5 can create hot spots and uneven brightness, especially in rooms with uneven light distribution. This trap can lead to diminished contrast and color accuracy, undoing the benefits of a brighter image. Experts emphasize that understanding the specific room conditions and the projector’s lumen output is crucial. For instance, a 1.3 gain screen in a moderately lit space can outperform a 1.8 gain in a bright room if the projection conditions aren’t optimal. Additionally, many assume that ALR screens are foolproof for glare management, but incorrect installation or choosing a screen with a gain mismatch for your room can cause reflections and hot spots, reducing contrast rather than enhancing it. An advanced mistake is selecting a screen material based solely on its gain without considering its texture; matte surfaces diffuse light evenly but may lower perceived sharpness in 4K or 8K content, while glossy surfaces can introduce unwanted reflections. Achieving excellence requires a balanced understanding of gain, material texture, room brightness, and projector specifications. Recent studies, such as those referenced in the expert guide at this gain fixes article, highlight that a tailored approach yields the best results. So, next time you consider upgrading your screen, avoid the common myths and focus on nuance, compatibility, and precise calibration. Have you ever fallen into this trap? Let me know in the comments.
How do I keep my projection screen and ALR technology performing at their best over time?
To ensure your home theater investment continues delivering stunning visuals, regular maintenance and the right tools are vital. I personally rely on specialized microfiber cloths and gentle cleaning solutions recommended by manufacturers to clean my screen surfaces without damaging delicate coatings. Avoid abrasive cleaners or rough cloths, which can scratch or degrade the screen material over time. For ALR screens, I use a nano-coating-safe cleaner, making sure to follow the manufacturer’s instructions to preserve the unique light-rejecting layers.
Calibration software such as CalMAN or Portrait Displays’ UCX helps me fine-tune brightness, contrast, and color accuracy periodically. These tools connect directly to your projector or AV receiver, providing detailed adjustment interfaces that are far more precise than relying on visual estimation. Regular calibration ensures your image remains vivid and true to source, even as the components age. Additionally, keeping your projector’s firmware up-to-date optimizes performance and compatibility with your screen setup.
Implementing a schedule for routine cleaning and calibration—say, every 6 to 12 months—can prevent buildup of dust or dirt, which can diminish brightness or cause hotspots. Keep an eye on environmental factors; controlling room humidity and dust levels prevents premature wear of the screen surface or coating. When selecting cleaning supplies, choose those tested and recommended by the screen manufacturer to avoid voiding warranties or causing damage.
Looking ahead, the industry is moving towards self-calibrating projection systems and smarter cleaning solutions using UV and ionized air. Investing in these technologies now can reduce long-term maintenance efforts. For example, some projectors now include built-in color sensors that automatically adjust settings based on ambient light and screen condition, maintaining optimal picture quality with minimal effort.
Don’t forget: the longevity of your home theater setup depends on proactive care. I recommend trying a professional calibration once a year to establish a baseline and catch potential issues early. Remember, well-maintained equipment not only saves money in the long run but also guarantees the immersive experience you crave. For detailed maintenance routines tailored to popular screen materials, check out this comprehensive guide.
The Hidden Lessons Behind Choosing the Right Screen Setup
One of the most eye-opening lessons I learned was that obsessing over the highest gain or the largest screen can actually backfire. Using a screen with too high gain in a room with uneven lighting can cause glare and hot spots, diminishing overall picture quality. It made me realize that tailoring screen gain to my specific room conditions was the true key to brilliance.
Another personal insight was that many enthusiasts underestimate the importance of precise calibration and maintenance, which keeps the picture sharp and vibrant over time. Investing in proper tools and regularly fine-tuning my setup proved more valuable than chasing the latest tech trends.
Lastly, I discovered that room size and viewing distance aren’t just rules of thumb but critical factors that, when understood deeply, can elevate your viewing experience from good to cinematic-quality. Balance, patience, and customization are your best allies in this journey.
![Stop Guessing Screen Size: The 8K Viewing Distance Rule [2026]](https://screens.cinegearguide.com/wp-content/uploads/2026/01/Stop-Guessing-Screen-Size-The-8K-Viewing-Distance-Rule-2026.jpeg)
This article really highlights how a focused, well-calibrated setup can enhance home theater experiences more than just having huge screens. I remember upgrading from a 100-inch TV to a 135-inch projection screen, and initially, I thought bigger was better. However, I soon realized that the room brightness and screen material made a big difference. Using higher gain screens in a room with lots of ambient light led to glare issues, which diminished contrast and color vibrancy. It’s a reminder that balancing gain with room conditions is critical. I’m curious, how many of you have experimented with different screen textures or gain levels to optimize your viewing? Sometimes, smaller, carefully calibrated screens outperform larger ones that aren’t suited to the environment. I’d love to hear others’ experiences on how they fine-tune their setups for the best immersion without sacrificing picture quality.