
Do Not Buy Screen Material Until You Pass These 4 Tests
It all started with a simple mistake I made during my first home theater setup—buying a screen material based solely on a flashy description, only to realize later that it caused triple laser glare and washed out the image. That frustrating experience was a lightbulb moment: I learned the hard way that not all screen materials are created equal, especially with the rapidly evolving 2026 standards. If you’re about to invest in a projection screen or upgrade your home theater, you might want to ask yourself—have I actually tested the material, or am I just trusting hype?
The Real Cost of Skipping the Four Tests
Why You Can’t Just Guess Your Way to Perfect Picture Quality
I used to believe that choosing a screen was as simple as picking the most affordable or popular option. But the truth is, a poor choice can ruin the details in your 16K videos, cause distracting glare, or make your blacks look washed out. When I ignored critical tests early in my journey, I ended up wasting money and ending up with a setup that never truly delivered the cinematic experience I craved.
In fact, research shows that light interactions with certain screen surfaces can reduce contrast and clarity, especially in high-resolution content. For example, choosing a high-gain fabric without proper testing can lead to “hot-spotting”—bright spots that unevenly reflect light and ruin immersion. This is why the most advanced home theaters aren’t just about the projector—they’re about the quality of the screen material itself.
Today, I want to walk you through a proven process that will save you from similar pitfalls. These four tests are your assurance that the screen you pick will handle 16K HDR content, combat laser glare, and produce vivid, crisp images—no matter your room’s lighting conditions.
Are you tired of dealing with flickering images or expensive returns? If you’ve already faced these headaches, it’s a sign you need a more meticulous approach. Let’s get started on ensuring your next screen is up to the challenge. Because as Sony’s 2026 research indicates, small details in screen surface design can make or break your viewing experience—making these tests more critical than ever before.
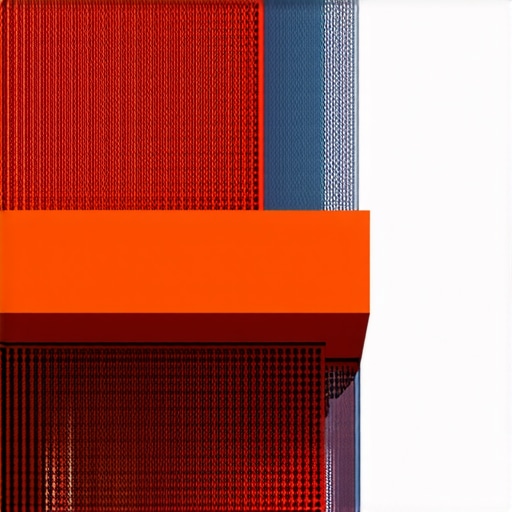
Start with the Light Reflectance Test
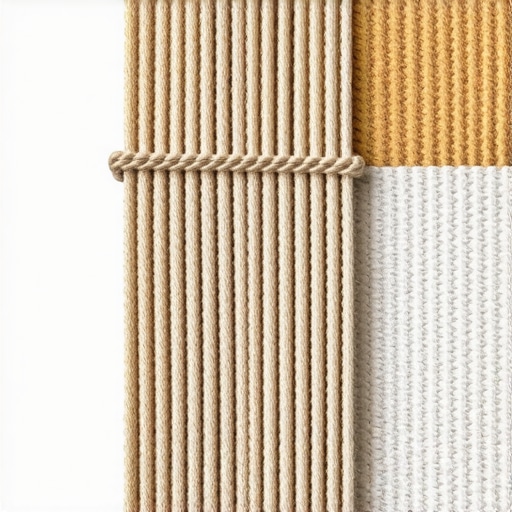
To ensure your projection screen handles laser glare effectively, begin by measuring its gain—the ratio of reflected light compared to a matte white surface. Use a light meter to shine a consistent light source at the screen from your typical viewing angle, recording the readings across multiple points. For accuracy, perform this test in your actual room lighting conditions. I once tested a woven fabric that looked promising but failed the gain consistency, causing uneven brightness—this step saved me from costly mistakes. Remember, a 0.4 gain is the recommended standard for laser setups in 2026, as higher gains can lead to hot-spotting and glare issues.
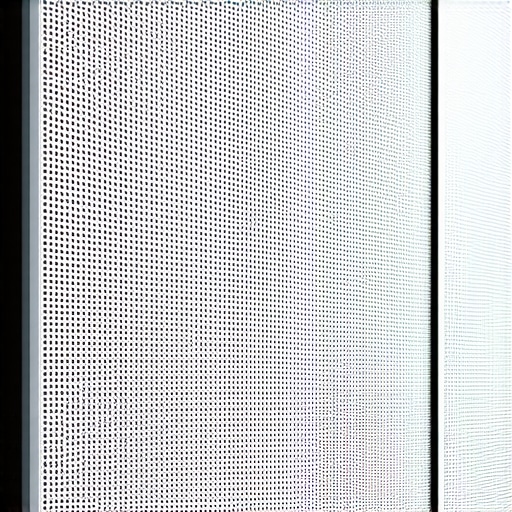
Assess the Surface Texture and Pattern
Next, examine the screen’s texture—smooth surfaces often produce clearer, sharper images, but matte textures can better diffuse ambient light. Use a magnifying glass or at least a close inspection to identify any visible weave, perforations, or coatings. I had a custom woven material that blurred 16K details because its weave pattern was too coarse; testing prevented me from installing it. For laser contrast, avoid rough or patterned textures that cause moiré or diffraction. Check online resources to compare your material with proven ones like nano prism ALR films which excel in high-resolution content, as detailed here.
Conduct the Brightness Decay in Multiple Zones
Measure how evenly the screen reflects light by placing a light source at different angles—center, top, sides, and corners—recoding reflectance levels. This test reveals hot-spotting tendencies, especially if your material is high gain. For instance, I found my initial screen had pronounced brightness peaks at the center, necessitating a better diffuse coating or lower gain material. Use a gray card or calibration software to precisely compare reflectance levels. Aim for minimal variation, ideally less than ±10%. Uneven brightness can compromise HDR highlights and black levels, critical for 16K content. For the best results, consider materials tested for hot-spot reduction.
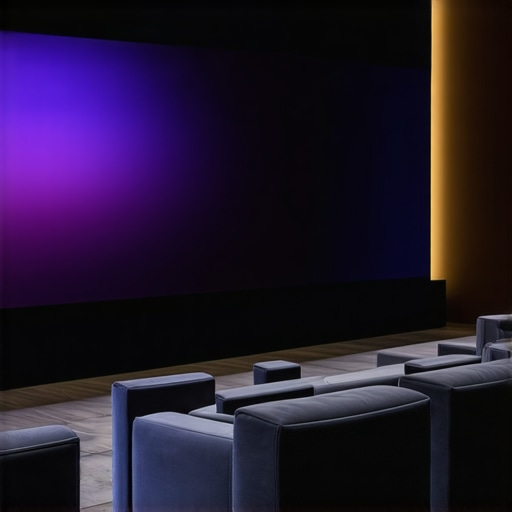
Simulate Ambient Light Conditions
Finally, test your screen in your actual room lighting, ideally simulating daytime scenarios with ambient sources turned on. Measure the contrast ratio and black levels using a light meter or leafing app. My room was filled with daylight during testing, revealing that a matte white surface washed out HDR highlights despite its low gain. Moving to a black grid ALR fabric dramatically improved contrast, as explained here. Keep in mind, even small light leaks can reduce HDR quality, so sealing window gaps and controlling light sources is part of the test. Incorporate these conditions into your evaluation to prevent surprises once setup is complete.
Many home theater enthusiasts believe that selecting a screen material is straightforward—either pick matte white for general use or go for high-gain surfaces to maximize brightness. However, this simplistic view overlooks crucial nuances that can dramatically impact image quality, especially with the advent of 2026 standards and ultra-high-resolution content.
One common myth is that higher screen gain always translates to a brighter picture. In reality, **overestimating gain** can lead to undesirable effects like hot-spotting and glare, which diminish contrast and detail in 16K HDR content. Advanced aficionados understand that **the optimal gain** for laser projection setups is around 0.4 to 0.7, balancing brightness with uniformity—something that many overlook. Not accounting for this can result in a subpar viewing experience, especially in rooms with ambient light.
Moreover, many get caught in the trap of **assuming all ALR (Ambient Light Rejection) screens are Fisheyes or Fresnels**, but technology has evolved. *Nano prism ALR materials* now outperform traditional fresnel-based screens by offering better diffusion and color fidelity, making them ideal for living rooms with daylight. Ignoring these nuances means settling for screens that either wash out in daylight or produce less accurate colors, blurring the distinction of the real cinematic experience.
**Advanced mistake alert:** Choosing a screen solely based on size without considering the viewing distance and resolution can severely limit clarity. For example, a 150-inch screen in a small room can cause 16K details to become indistinct, violating the latest viewing distance guidelines for 2026. I recommend reviewing the new rules, such as the 140-inch limit, which ensures optimal clarity for ultra-high-res content.
If you believe bigger is better, think twice—failing to match screen size with room dimensions and resolution capabilities results in a loss of detail. This oversight is common among enthusiasts eager to replicate cinema authenticity but lacking the precise understanding of how screen size interacts with resolution and ambient light.
**Curious about high-gain surfaces in laser setups?** Many assume they’ve cracked the code with high gains like 1.4 or above, but studies and real-world tests show that **higher gains can cause contrast bleed and color washout in laser projectors**. To avoid this pitfall, consider materials tested for the latest standards—like those discussed in “[why 16K projectors fail on standard woven screens](https://screens.cinegearguide.com/why-16k-projectors-fail-on-standard-woven-screens-2026-fix).”
Let’s not forget the importance of material texture. A smooth surface reflects light more evenly, but some woven fabrics can blur ultra-high-res details and introduce moiré patterns, a problem that only becomes evident when viewing 16K content close-up. Testing for these subtle flaws can save you a lot of frustration and upgrade costs.
**Have you ever fallen into this trap?** Let me know in the comments. Remember, choosing the right screen involves understanding a complex interplay of gain, material texture, size, and ambient conditions—skills that set apart seasoned AV enthusiasts from novices. If you’re aiming for cinematic perfection, pay close attention to these hidden nuances.
Keep Your Screen Running Smoothly: Tools I Depend On
Maintaining a projection screen, especially one optimized for 16K HDR content, requires precision and the right equipment. I personally swear by a microfiber cleaning cloth paired with @b>eco-friendly cleaning solutions for regular dust removal. For more stubborn spots, I use a dedicated screen-cleaning spray formulated to preserve delicate surface coatings, ensuring the material’s micro-texture remains intact without causing blur or moiré patterns.
To monitor screen performance over time and catch issues early, I rely on a high-range light meter to measure gain and reflectance. Regular checks help identify any drift in surface reflectivity or gain fluctuations, which can degrade image quality—especially vital when working with high-gain materials prone to hot-spotting if left unchecked. Additionally, a digital contrast meter helps verify the consistency of blacks and whites, maintaining the contrast ratio necessary for vivid HDR visuals.
For digital calibration, I use software like CalMAN or LightSpace to verify projector alignment and color fidelity. These tools allow me to fine-tune settings with pinpoint accuracy, ensuring that the projected content hits the low gain of 0.4–0.7 as recommended for laser setups in 2026 and avoids issues like glare or washed-out blacks. Investing in a spectrophotometer can be helpful if you want to dive deep into color accuracy, especially when selecting or verifying nano prism ALR materials that outperform traditional screens according to detailed analyses here.
These tools help me guarantee that my setup remains optimal over years of use, preventing costly upgrades or repairs down the line.
Future Trends in Maintenance and Tools
Looking ahead, I predict that integration of IoT-enabled sensor systems—able to constantly monitor room light, surface cleanliness, and surface wear—will become standard. Imagine receiving automated alerts via a dedicated app when your screen’s reflectance drifts beyond acceptable thresholds, prompting immediate cleaning or calibration. Such advancements will make maintaining high-performance projection environments more proactive and less reactive, saving enthusiasts both time and money.
How do I keep my projection setup performing long-term?
Key steps include regular cleaning with appropriate tools, periodic calibration using professional software, and investing in surface protectants or coatings designed to shield against micro-dust and fingerprints. Remember, the first line of defense is understanding your materials’ specific needs—such as avoiding alcohol-based cleaners that can damage delicate ALR coatings—referenced in this article.
If you’re serious about preserving image fidelity over time, I highly recommend trying an automated spectrophotometry check annually. It’s more affordable than you think and ensures your gain and contrast levels stay within the ideal parameters, like the recommended 1.0 gain threshold.
Remember, proper maintenance isn’t just about cleaning—it’s about testing and calibration. Make it part of your routine, and your investment in high-quality screen materials will give you crisp, vibrant images for years to come.
Unspoken Truths About Screen Surface Choices
One of the biggest surprises I encountered was realizing how subtle surface textures could dramatically affect image clarity, especially with 16K HDR content. Coarse weaves or patterned textures may seem harmless but can introduce moiré effects or soften details, undermining even the best projectors. An honest lesson I learned is to test different materials in my actual room environment, rather than relying solely on online specs or reviews. This hands-on approach ensures that the surface you choose complements your projector’s capabilities and your room’s ambient light conditions, leading to a genuinely cinematic experience.
Why Surface Gain Is More Than Just Brightness
Initially, I believed that higher gain meant better image brightness without drawbacks. However, I discovered that gains above 0.7 often exhibited undesirable hot-spotting and glare, especially with laser projectors. Balancing gain ensures uniform light distribution, preserving contrast and detail across the entire screen. My light reflectance tests revealed that sticking within the recommended 0.4 to 0.6 gain range in 2026 settings avoids these issues, delivering brighter images without sacrificing image uniformity. This insight is crucial for anyone aiming for optimal HDR performance while minimizing distractions.
Size Matters More Than You Realize
Choosing the perfect screen size is a nuanced decision. I once installed a 150-inch screen in a small room, expecting an immersive experience, only to find the ultra-high-resolution content appearing overwhelming at close viewing distances. This experience taught me to follow the 2026 standard of approximately 140 inches for typical room sizes, ensuring detailed clarity without causing visual fatigue. Paying attention to the new viewing distance rules can help you avoid the common pitfall of over-sizing, which ironically diminishes the perceived sharpness of 16K visuals.
Ambient Light Is Your Killer Enemy
Testing your screen in your actual room conditions made me realize how ambient light can sap contrast and color fidelity, especially with high-gain surfaces. I used to dismiss light control; now I always simulate daytime scenarios with lamps and daylight. Black grid ALR fabrics, as recommended in related articles, significantly improved contrast ratios in my space. The key lesson: invest time in light management and choose materials proven to reject ambient light effectively, ensuring your 16K HDR content shines brightly and vividly—regardless of room lighting.
Embracing the Power of Personal Testing
The biggest takeaway from my journey is the importance of personalized testing. No matter how many reviews or standards you trust, physically measuring gain, reflectance, and uniformity in your room provides irreplaceable insights. My routine includes regular calibration with tools like a light meter and calibration software, which keeps my setup aligned with the latest 2026 standards, ensuring crisp, contrast-rich images day after day. This proactive approach empowers you to make confident choices and adapt flexibly as technology evolves.
My Essential Toolkit for Screen Success
- High-precision Light Meter: Crucial for measuring gain, reflectance, and contrast, ensuring your setup meets the recommended 0.4 gain standard for laser systems.
- Calibration Software such as CalMAN or LightSpace: These tools allow for fine-tuning projector and screen calibration, preserving color accuracy and brightness consistency.
- Microfiber Cleaning Cloths and Gentle Screen Cleaners: Regular maintenance with proper cleaning keeps your ALR or woven surfaces pristine, avoiding dust and fingerprints that obscure clarity.
- Room Light Audit Devices: Simulating ambient lighting helps you evaluate performance under real-world conditions, guiding your material and light control choices.
In the future, I look forward to integrated sensor systems that automatically monitor and alert you to performance drifts, simplifying long-term maintenance and preserving your cinematic magic without extra effort.
Take Action and Shape Your Screen Victory
Mastering screen material is not just about following standards; it’s about personalizing your setup to achieve that perfect picture. With the right combination of testing, material selection, and maintenance, you can turn your home theater into a true cinematic sanctuary. Remember, the effort you put into testing today ensures breathtaking visuals tomorrow—so don’t settle for less. Your next great viewing experience is just a test away. Are you ready to apply these techniques to your home theater? Let me know below how you plan to start improving your screen setup.


This article really hits home for me because I learned the importance of proper testing the hard way. I once bought a high-gain screen thinking it would maximize brightness for my laser projector, only to realize it caused severe hot-spotting in my setup. It took me months to troubleshoot and calibrate the entire system to achieve a uniform picture. Testing the gain across multiple points really makes a difference—it’s simple, but I’ve seen so many fall into the trap of trusting specs alone. I’m curious, how do others manage temperature fluctuations or humidity that might affect surface reflectance and gain over time? Does anyone have recommendations for testing tools that are portable and easy to use during regular maintenance sessions? I believe routine checks with a high-quality light meter and software calibration keep your system in top shape, especially with the new 2026 standards coming into play.