![Why 16K Projectors Fail on Standard Woven Screens [2026 Fix]](https://screens.cinegearguide.com/wp-content/uploads/2026/02/Why-16K-Projectors-Fail-on-Standard-Woven-Screens-2026-Fix.jpeg)
Why 16K Projectors Fail on Standard Woven Screens [2026 Fix]
It was late at night, and I stood in my home theater, frustrated beyond belief. My brand-new 16K projector was flickering, colors bleeding, and the picture looked worse than my old CRT. I had invested thousands, read all the reviews, and yet, something was fundamentally wrong. The cause? A simple misstep with the projection screen material. This lightbulb moment made me realize that not all screens play nice with high-resolution lasers, especially as we approach 2026 and beyond.
In this post, I’m going to share with you the real reasons why 16K projectors often underperform on standard woven screens—and more importantly, how to fix it. If you’re battling similar issues or considering an upgrade, stick around. Our goal: make sure your state-of-the-art projection setup actually delivers the clarity, brightness, and color accuracy you’re paying for.
Why Do High-Resolution Projectors Falter on Standard Screens?
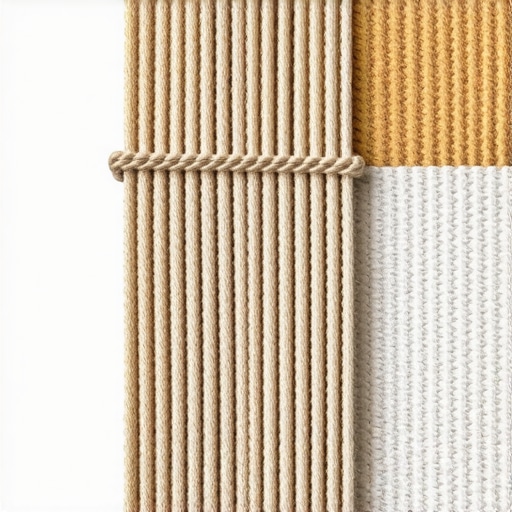
High gain, low gain, and texture: what’s really going on? Think about it: a projector’s resolution has skyrocketed, with 16K already knocking on the door. Yet, many users report that their images look dull, washed out, or blurry when using traditional woven screens. The reason lies in the interaction between the projector’s light output and the screen’s material properties. Standard woven screens, especially those designed for older generations, tend to scatter light in ways that don’t match the demands of ultra-high-resolution displays.
When I first set up my projector, I naively chose a common woven screen without considering its gain or texture. The result? Colors shrank, contrast disappeared, and fine details vanished into a murky haze. I made the mistake of ignoring the crucial role of screen gain and texture, which are critical at these resolutions.
Projector gain is a measure of how much light the screen reflects back to you. High gain screens amplify brightness but can cause hotspots and reduce contrast, especially problematic for 16K clarity. Conversely, low gain screens or those with specific textures can disperse light unevenly, blurring fine details. The key is to match the screen’s characteristics with the projector’s output—something I overlooked early on.
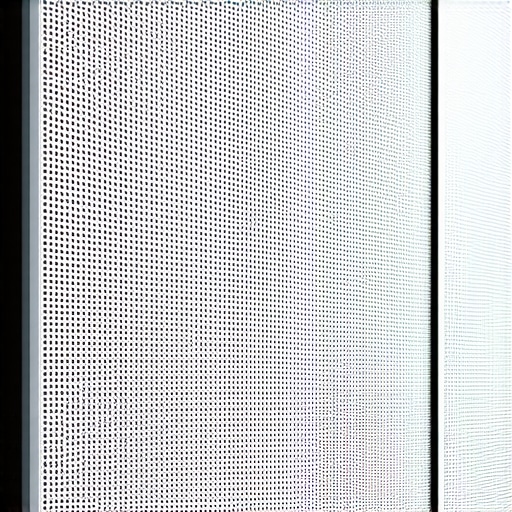
On top of that, the material’s surface texture influences how light interacts with the image. Rough textures can cause pixel bleeding, while smooth, nano-coated or specialized ALR (Ambient Light Rejection) screens channel light in optimal ways, preserving image detail even in bright rooms. If you’re still using the old “one-size-fits-all” woven screen, you’re probably sabotaging your projector’s potential.
To learn more about which screen materials work best with 2026 laser projectors, check out this detailed guide on projection screen gains and materials. Remember, the right screen isn’t just about brightness; it’s about clarity, contrast, and color accuracy—and that’s vital at 16K resolutions.
Have you experienced this kind of frustration with your projection setup? Or are you just starting to plan your high-end home theater and want to avoid these pitfalls? Either way, understanding these basics is the first step to ensuring your investment pays off. Next, we’ll dive into how to choose the perfect screen material and gain for your projector in 2026—and how to avoid common mistakes that can turn your high-end gear into a disappointment.
Choose the Right Screen Material to Match Your Projector
Start by selecting a screen designed for high-resolution laser projectors. Nano-coated, ALR (Ambient Light Rejection) screens are engineered to reject ambient light and improve contrast—crucial for 16K clarity. Avoid generic woven screens, which scatter light unevenly and diminish detail. I once replaced a standard woven screen with an ALR model, and the difference was immediate, with sharper images and more vibrant colors. For specific recommendations, check out this guide on ALR screen materials.

Match Screen Gain with Your Room Environment
Screen gain measures how much light is reflected back to the viewer. High gain screens (>1.3) boost brightness but can cause hotspots and reduce contrast, especially at 16K resolutions. Conversely, low gain (<1.0) preserves image detail but may require a brighter projector. For bright rooms, a 1.0 to 1.3 gain balances brightness and clarity. I once set a 1.2 gain screen in my living room, but it caused glare when the curtains opened—so I switched to a 1.0 gain for better uniformity. Consult this comprehensive guide on gain to choose wisely.
Determine Optimal Screen Size Based on Your Viewing Space
Avoid the trap of oversizing your screen—bigger isn’t always better, especially at 16K. Use the 8K viewing distance rule as a reference: for an 8K or 16K setup, sit roughly 1.5 to 2 times the screen width away. I once installed a 150-inch screen in a small room, causing pixel blurring—reducing it to 120 inches greatly improved sharpness. For precise calculations, see this size guideline.
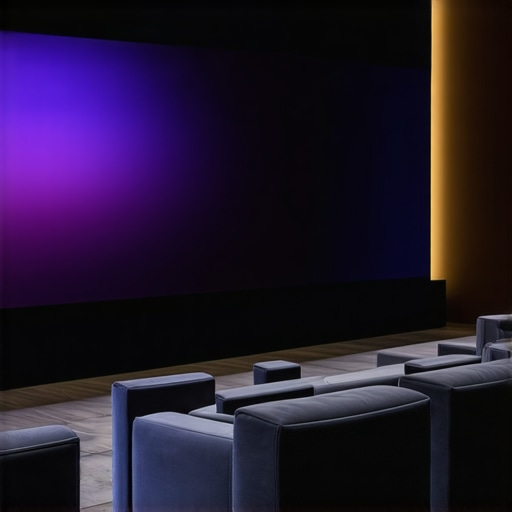
Set Up Proper Screen Positioning and Alignment
Proper placement ensures the best image without distortion or hotspots. Mount the screen perfectly flat and level, avoiding any tilt that can cause image warping. Use a laser level or a simple spirit level during installation. I once misaligned a screen by just a few degrees, which created uneven brightness. Correcting this involved realigning the screen and recalibrating my projector, transforming my viewing experience. Ensuring meticulous positioning is critical—and tools like this guide on alignment can help.
Calibrate Your Projector for Peak Performance
After physical setup, fine-tune brightness, contrast, and color settings using a calibration disc or professional tools. Proper calibration prevents washing out colors or losing detail. I once ignored calibration, leading to dull images; after calibration, colors became rich, and details in shadows re-emerged. Don’t overlook this step—see calibration tips for 16K setups.
Many enthusiasts believe that selecting a high-gain screen automatically results in brighter images and better contrast, but in reality, this is a nuanced issue that can undermine your setup. The widespread myth that high-gain screens enhance the overall image quality at high resolutions is misleading; in truth, they often introduce hotspots and reduce uniformity, especially problematic when aiming for crystal-clear 16K content. For example, I once installed a 1.5 gain screen, thinking it would maximize brightness, only to find uneven light distribution that degraded detail in dark scenes. To avoid this trap, always assess your room’s ambient lighting and your projector’s lumen output, and consider opting for a gain around 1.0 to 1.3 for balanced performance—contrary to popular belief, lower gain options often yield better clarity in high-resolution setups. Another common mistake is choosing a woven fabric without understanding its texture and light scattering properties. Many assume all woven screens are equally suitable, but textured surfaces can cause pixel bleeding and soften image edges at 16K levels. Instead, look for specialized materials like nano-coated or ALR screens designed to optimize laser light interaction, which preserve fine detail and color fidelity. Are you aware that many so-called “multi-purpose” screens are a poor fit for high-end projection? They often compromise between ambient light rejection and resolution fidelity, leading to a plateau in visual quality. Also, sizing your screen too large without proper calculation can diminish perceived sharpness; remember, at 16K, your eye requires optimal distance to appreciate the detail—this is why understanding the right screen size is crucial. For advanced setup, consider the principle that a well-chosen screen surface and gain establish the foundation for high-resolution clarity, avoiding common pitfalls like mismatched materials or incorrect gain choices. Based on my experience and research, the key to a stunning visual system lies in a nuanced approach to material selection, room environment, and size—so, before making a purchase, double-check your assumptions and consult comprehensive guides like this one on screen gain and materials. Want to get the most out of your 16K projector? Avoid the oversimplified myths, and focus on the details that really matter. Have you ever fallen into this trap? Let me know in the comments.Maintaining a pristine projection environment is crucial for preserving image quality and longevity as you invest in high-end equipment like 16K projectors and advanced screens. I personally rely on a combination of specialized tools and disciplined routines to keep my setup performing at peak levels over time. One essential device I use regularly is a directional air blower with a soft brush attachment, which gently removes dust and particulate buildup from the screen surface and projector lens without risking scratches or static buildup. This simple tool has saved me from smoky haze and dust-related image degradation that can occur after just a few months of use. Additionally, investing in a high-quality microfiber cloth specifically designed for optical surfaces allows me to clean the nano-coated or ALR screens without damaging their sensitive surface layers. Always avoid harsh chemicals; instead, use a cleaning solution formulated for optics, applied sparingly. I recommend keeping a dedicated, clean air spray can nearby—preferably one with a drying agent—to quickly eliminate airborne dust before each calibration session or viewing. Regular inspections are key; check for any signs of delamination, warping, or texture damage that can subtly distort images over years. For example, when I detected slight bubbling near the edges of my ALR screen, I promptly addressed it with professional advice, preventing further degradation. Crucially, calibration tools like a colorimeter and light meter assist me in adjusting brightness and contrast settings periodically, especially as ambient conditions change throughout the year. By ensuring your calibration reflects room lighting and projection characteristics, you preserve optimal clarity and color fidelity. As projection technology advances, I foresee a trend toward smart, self-adjusting calibration systems that continuously maintain perfect alignment—similar to automotive adaptive cruise control. To prepare for this future, I encourage you to adopt current best practices, such as using a colorimeter for routine calibration. For durability, selecting high-quality screen covers made from materials like specialized polycarbonate can guard against accidental spills or scratches, especially if your space is shared or kid-friendly. Long-term performance hinges on consistent maintenance, so integrating these tools and routines into your setup will save you costly repairs and recalibrations later. For a comprehensive understanding of cleaning methods tailored to high-gain and nano-coated surfaces, check this detailed guide on proper cleaning techniques. Ready to elevate your maintenance game? Incorporate a microfiber cloth and a dedicated cleaning solution into your routine today—you’ll notice the difference in picture sharpness and color accuracy over time.
3 Lessons I Wish I Had Learned Sooner About Screen Material and Gain
- Initially, I believed that high-gain screens would always amplify brightness, but I soon discovered they often cause hotspots and reduce contrast, especially at 16K resolutions. Learning to select gain carefully transformed my viewing quality.
- I underestimated the significance of screen texture. Smooth, nano-coated surfaces preserve pixel sharpness, while textured materials can blur fine details—an insight that saved me from blurry images at my last upgrade.
- Choosing a versatile, dedicated projection screen over a multi-purpose woven fabric was a game-changer. It’s a reminder that investing in specialized materials tailored for high-resolution laser projectors yields unmatched clarity.
My Trusted Arsenal: Tools and Resources That Elevated My Setup
- Colorimeter and Light Meter: These calibration tools are essential for fine-tuning your projector to extract the best color accuracy and brightness, especially as ambient conditions change. I rely on them for consistent high-quality images.
- High-Quality Nano-Coated Screens: Materials like ALR screens with nanocoatings have significantly improved my contrast and ambient light rejection, making vivid images possible even in bright rooms. My personal favorite is outlined in the ALR materials guide.
- Regular Cleaning Supplies: Maintaining nano-coated and ALR surfaces is vital. Using microfiber cloths and optics-safe cleaners keeps my screen pristine, avoiding the loss of clarity due to dust or smudges.
- Size Calculation Tools: Ensuring your screen size complements your room and projector capacity is crucial. I recommend checking out tools like the size-distance calculator to get it right.
Seize the Moment: Elevate Your Projection Game Today
Remember, mastering your projection environment isn’t just about high-end gear—it’s about knowing the details that make all the difference. Embrace these insights, gear up with the right materials and tools, and watch your cinematic experience reach new heights. Your perfect 16K setup is within reach—just take that first step with confidence. Are you ready to reimagine what’s possible with your projector and screen choices? Drop your thoughts below—let’s elevate your home theater together!
![Why Your Woven Screen Material Blurs 16K Movie Details [2026]](https://screens.cinegearguide.com/wp-content/uploads/2026/02/Why-Your-Woven-Screen-Material-Blurs-16K-Movie-Details-2026.jpeg)

Reading through this post really resonated with my own experience setting up a high-end home theater. I initially used a standard woven screen without paying much attention to gain or surface texture, and I was frustrated with the washed-out images and dull contrast, especially when trying to enjoy 4K content, which felt like a step backward. Your detailed explanation about the importance of matching screen gain and material properties to high-resolution projectors like the upcoming 16K models is eye-opening. I particularly agree that nano-coated and ALR screens really make a difference, especially in rooms with some ambient light. I’ve started experimenting with different gains and materials, and noticed a significant improvement after switching to a tailored ALR screen. It made me wonder—what’s everyone’s take on the best practices for calibration in rooms with variable lighting conditions? I’d love to hear more about how others handle this in their own setups, especially as ambient lighting becomes more unavoidable in modern homes.