Projection Screen Gain & Material: Experts’ Tips for Optimal Bright Room Setup
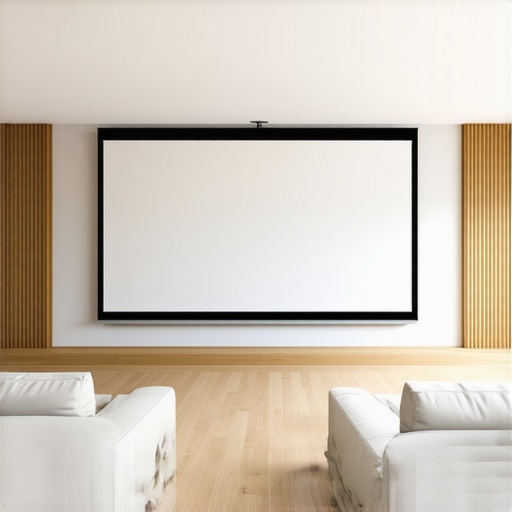
Have you ever set up a home theater only to be disappointed by a washed-out picture during daytime viewing? I remember my frustration when I first installed a projector in my bright living room. Despite spending a fortune on a high-quality projector, the image looked dull and lacked vibrancy. It was a lightbulb moment for me—my screen choice and setup were the culprits. If this sounds familiar, you’re not alone. Many enthusiasts struggle with bright rooms because they overlook one crucial element: screen gain and material quality. Today, I promise to share the insider tips that transformed my setup and can do the same for you.
Why Bright Rooms Demand Smarter Screen Choices
The truth is, standard screens just don’t cut it in well-lit environments. Bright rooms introduce ambient light that competes with your projected image, often washing out the picture. That’s where understanding screen gain and selecting the right material becomes a game-changer. A high-gain screen reflects more light toward your eyes, boosting brightness and contrast. But beware—choosing the wrong gain can backfire, creating glare or uneven image distribution. Early on, I made the mistake of buying a high-gain screen without considering my room’s lighting conditions, which resulted in hotspots and distracting reflections. Trust me, a little knowledge about gain and material can save you from similar pitfalls.
Is Bigger Always Better or Can It Hurt Your Picture?
One of my biggest skeptics was the size of the screen. I thought, “More is better,” and bought the largest screen I could find. Turns out, bigger isn’t always better—especially if your room isn’t optimized for it. Larger screens require more careful calibration of gain and viewing angles. I learned this the hard way, and it’s a mistake I see many make—buying a giant screen only to find the image too dim or distorted. To avoid this, it’s crucial to understand how screen size and gain interact, which is exactly what we’ll explore next. For a deep dive into sizing and gain ratios, check out this comprehensive guide on screen size and gain.
So, if you’ve faced the frustration of dull images in your bright room, stay tuned. I’ll walk you through the specific choices of material and gain that can turn your projector into a bright-room powerhouse. Whether you’re upgrading your current setup or starting fresh, understanding these key factors will make all the difference. Ready to transform your viewing experience? Let’s dive into the practical tips that will give your projector the boost it needs in even the sunniest rooms.
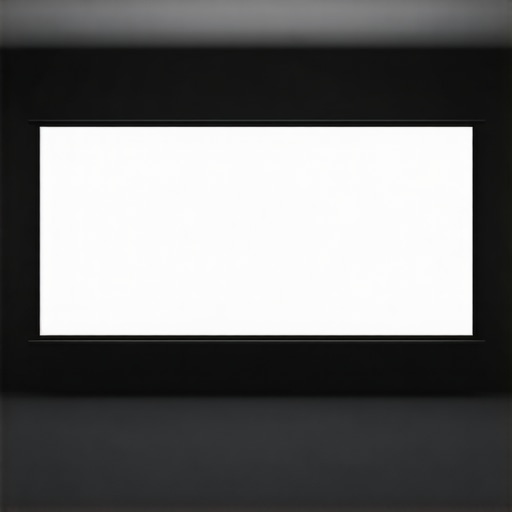
Choose the Right Screen Material for High Brightness
Start by selecting a screen material designed for high ambient light environments. Look for materials with a gain of 1.2 to 2.0, which reflect more light without causing glare. I once upgraded from a standard matte white surface to an ALR (Ambient Light Rejecting) screen with a gain of 1.8. The result was a vibrant, clear picture even during daylight. To find the best material, visit this comprehensive guide on projection screen materials.
Match Gain to Room Lighting and Room Size
Calculate your ideal gain by considering your room’s ambient light levels. In bright rooms, opt for a higher gain—around 2.0—but remember, too high a gain can create hotspots. For rooms with moderate ambient light, a gain of 1.4 to 1.5 balances brightness with uniformity. I experimented with different gains in my living room, initially choosing a 2.2 gain screen, which caused glare in certain seats. Lowering it to 1.5 improved viewing comfort without sacrificing brightness. Check out this latest ALR screen options for bright rooms.
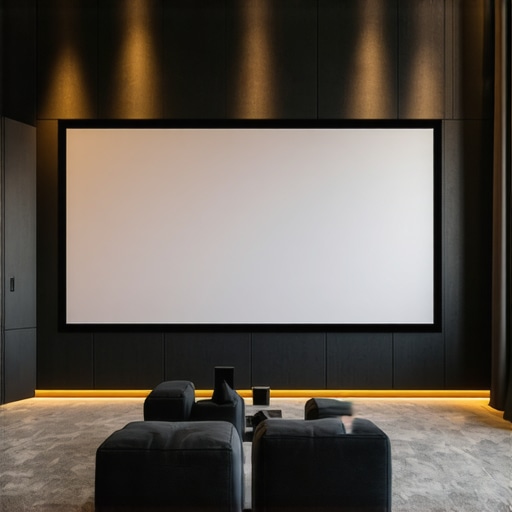
Optimize Screen Size for Bright Environments
Picking the right size is crucial. A screen that’s too large can overwhelm your room or cause the image to appear washed out. Use this simple formula: measure your room’s projection distance and multiply by a ratio that considers gain and room lighting. For example, in my 12-foot (3.7m) room, I aimed for a 100-inch (2.54m) diagonal, which balanced immersion and brightness. For detailed sizing advice, explore this guide to screen size and gain ratios.
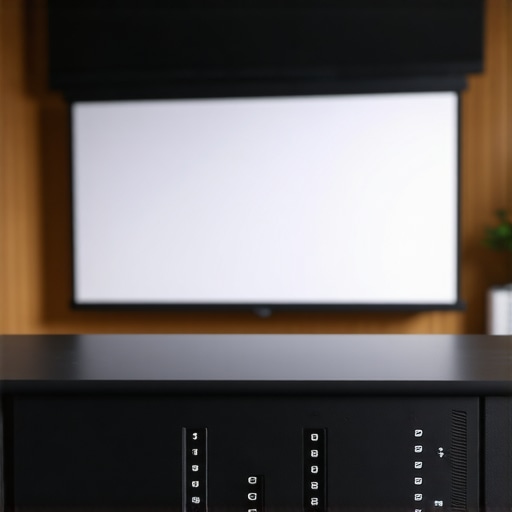
Ensure Proper Screen Placement and Angle
Position your screen perpendicular to your projector and avoid angles that cause glare or hotspots. Mount the screen at eye level when seated, especially in bright rooms where reflections can distract. I made the mistake of mounting my screen too high, which caused headaches during long viewing sessions. Use a level and measure carefully. For advanced tips on placement, see this expert guide to ALR screen options.
Test and Calibrate for Bright Conditions
Once installed, test your setup with daytime lighting. Adjust projector brightness and contrast to avoid washed-out images. Use a calibration disc or app to fine-tune your settings. I spent an afternoon adjusting my projector’s brightness after switching to a high-gain ALR screen; the result was a crisp, vibrant image that held up even with curtains open. Remember, small adjustments can make a big difference. For more calibration techniques, visit this ultimate calibration guide.
Many home theater enthusiasts believe that selecting a high-gain ALR screen and a large size guarantees a stunning picture in bright rooms. However, the reality is often more nuanced. A frequent mistake is assuming that higher gain always translates to better brightness without considering the trade-offs. For instance, screens with gains above 2.0 can create hotspots and uneven illumination, especially if the room isn’t perfectly controlled for ambient light. Instead, focus on understanding the specific gain characteristics of your material and room conditions. For example, the latest ALR screens are designed to reject ambient light while maintaining image uniformity, which is critical in bright environments.
Are High Gain Screens Always Better for Bright Rooms?
The common myth is that the higher the gain, the better the brightness. But experts warn that gains over 2.0 can cause glare and hot spotting, diminishing overall image quality. The key is to match the gain to your room’s specific lighting and size. For rooms with moderate ambient light, a gain of around 1.4 to 1.5 often strikes the best balance between brightness and uniformity. To refine your setup, it’s wise to test different gain levels, considering the room’s unique characteristics. Check this comprehensive guide on screen size and gain for more insights.
Another common misconception is that bigger always means better. While a larger screen can increase immersion, it can also amplify ambient light reflections, especially if the material isn’t optimized. The optimal screen size should be calculated based on your room’s projection distance and lighting conditions, not just personal preference. Use this guide on size and gain ratios to find your perfect fit.
Many overlook the importance of proper placement and calibration. Even with the right material and size, incorrect alignment or improper calibration can cause glare, hotspots, or washed-out images. Careful positioning and testing are essential to ensure your setup performs optimally. For advanced tips, visit this expert guide to ALR options.
In summary, avoid the trap of oversimplifying screen selection. Focus on matching gain and material to your room’s specific needs, and don’t assume that bigger or higher gain always equals better. A nuanced approach, backed by testing and expert advice, will deliver the best results. Have you ever fallen into this trap? Let me know in the comments.
Keeping your projection screen in top shape is essential to maintain that stunning picture quality over time, especially if you’ve invested in a high-gain or ALR (Ambient Light Rejecting) screen. Regular maintenance not only prolongs the lifespan of your screen but also ensures consistent brightness, color accuracy, and overall performance. One key step is cleaning the surface gently with a soft, lint-free cloth and a mild, non-abrasive cleaner designed for screen materials. Avoid harsh chemicals or abrasive cloths that can damage the delicate surface. This regular upkeep prevents dust, fingerprints, and smudges from dulling the image and reducing reflectivity. For screens with a special coating or ALR layer, always refer to the manufacturer’s cleaning guidelines to avoid voiding warranties. Additionally, inspecting the frame and mounting hardware periodically ensures your screen remains perfectly aligned and free from sagging or warping, which can distort your image. Implementing a routine cleaning schedule—say, every six months—can keep your setup looking pristine and performing optimally.
How do I maintain my projection screen over time?
One effective method I personally recommend is using an air blower or compressed air canister to remove dust from the surface without physical contact. This is especially useful for screens with textured or matte finishes that can trap particles. Also, keep your theater room’s environment stable—avoid excessive humidity or temperature fluctuations that might affect the material or cause warping. For high-gain or ALR screens, consider protective covers during periods when the projector isn’t in use to prevent dust accumulation. Furthermore, periodically calibrate your projector’s settings—brightness, contrast, and color balance—since these can drift over time, impacting the overall picture. Regular calibration paired with clean, well-maintained screens ensures you get the brightest, clearest images every time.
As technology advances, newer materials are emerging that are more resistant to scratches and environmental damage, hinting at a future where screens will require even less maintenance. For now, sticking to gentle cleaning routines and careful handling is your best bet. If you want to take your maintenance game to the next level, experiment with anti-static cleaning wipes designed for delicate surfaces—they help reduce static buildup that attracts dust. Remember, a well-maintained screen is the foundation of a spectacular home theater experience. So, try incorporating these tips into your routine and enjoy vibrant, consistent visuals for years to come. For more detailed advice, check out this ultimate guide to projection screen maintenance.
The Hardest Lesson I Learned About projection screen,alr screen,screen material,screen gain,screen size
Early on, I believed that simply increasing the screen size or picking a high-gain material would instantly improve my bright room viewing experience. I was wrong. The real breakthrough came when I understood that matching the gain to my room’s ambient light levels and carefully calibrating the setup was essential. This lesson taught me to avoid blindly following trends and instead focus on tailored solutions that suit my specific environment.
3 Myths About projection screen,alr screen,screen material,screen gain,screen size That Held Me Back
One myth was that higher gain always meant brighter and better images. I learned that gains over 2.0 can cause hotspots and glare, ruining the picture. Another misconception was that bigger screens are better, but I realized that in a bright room, a carefully chosen size with the right gain makes a bigger difference. Lastly, I used to think all ALR screens were the same, but exploring different materials revealed that some are better at rejecting ambient light while maintaining image uniformity. My advice? Test and tailor your setup, don’t just follow the crowd.
What Experts Won’t Tell You About projection screen,alr screen,screen material,screen gain,screen size
Many top home theater specialists emphasize the importance of matching your screen’s gain and material to your specific room conditions. They often avoid oversimplified advice, emphasizing calibration and testing. I discovered that investing in an ALR screen with a gain of around 1.5 to 1.8, combined with precise positioning and calibration, can dramatically improve daytime viewing in bright environments. Always seek expert guidance and do your own testing to find your perfect balance, rather than relying solely on generic recommendations.
My Essential Toolkit for Bright Room Projection
I’ve found that the most valuable tools are a high-quality ALR screen with adjustable gain, a calibration disc or app for fine-tuning projector settings, and a laser level for perfect screen placement. Trusted brands like Stewart Filmscreen and Elite Screens offer reliable options. For detailed insights, I refer to sources like this guide on ALR screens for bright rooms. These tools help me optimize my setup and enjoy vibrant images even in daylight.
Your Turn to Try Bright Room Projection Mastery
Now that you understand the importance of selecting the right gain and material, it’s time to experiment with your own setup. Remember, every room is unique, and a tailored approach will give you the best results. Don’t be afraid to test different gains, sizes, and calibration settings until you find that perfect balance. Your bright room home theater can rival any dedicated dark environment with just a few smart choices and a bit of patience. Ready to upgrade your projector experience? Share your questions or successes below—I’d love to hear your journey toward brighter, clearer images in your home theater.