Projection Screen Guide: Best Sizes, Gain & Material Tips 2024
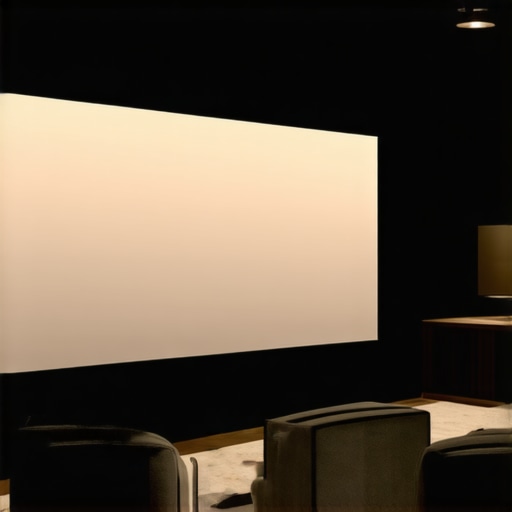
Ever sat down to enjoy a movie night, only to be disappointed because your screen washed out in the sunlight or lacked the sharpness you expected? I’ve been there. I remember cluttering my living room with makeshift screens, only to realize halfway through that the picture was dim, blurry, or just didn’t look right. That lightbulb moment hit me hard—my screen size, material, and gain were all wrong for my space.
Determine Your Room’s Lighting Conditions
The first step is to assess your room’s ambient light. Bright rooms demand screens with higher gain ratings to reflect more light, ensuring a clear picture even in daylight. For example, I once tried a low-gain screen in a sunlit living room, and the image was dull and washed out. After switching to a high-gain screen, the picture became vibrant and sharp, proving the importance of matching gain to lighting conditions.
Select the Appropriate Screen Size
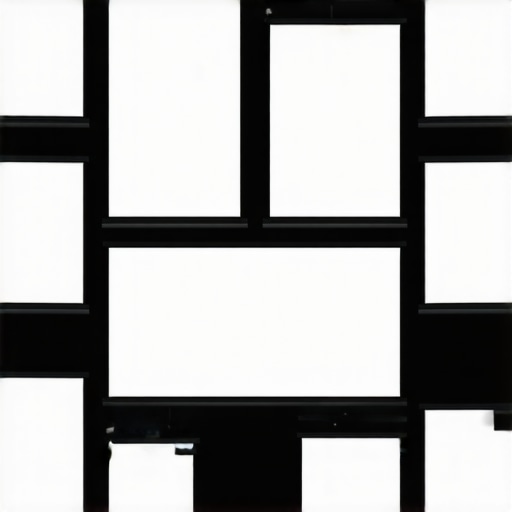
Choosing the right size depends on your viewing distance and room layout. A good rule of thumb is that your screen width should be about half to two-thirds of the distance from your seating to the screen. I once installed a massive 120-inch screen in a small room, which caused eye strain. Reducing the size to 100 inches improved comfort and picture perception.
Measure Your Space Accurately
Use a tape measure to verify your available wall space and calculate potential screen dimensions. Remember, a larger screen isn’t always better if the space can’t accommodate it comfortably.
Understand Screen Material and Gain
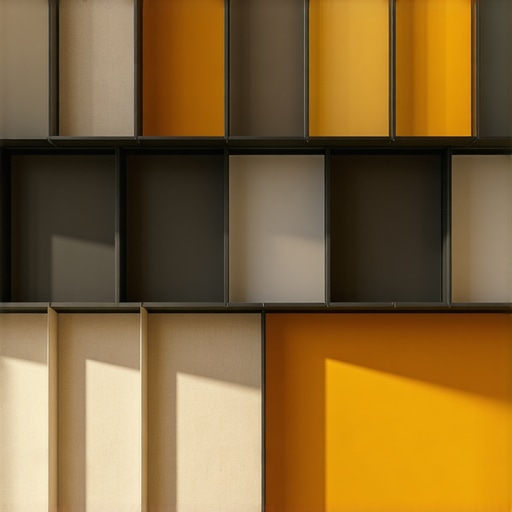
Screen material impacts brightness, color accuracy, and contrast. Materials range from matte fabrics to high-gloss surfaces, with each offering different benefits. Gain ratings, indicating how much light the screen reflects, are crucial in bright environments. High-gain screens (>1.5) reflect more light, boosting brightness but sometimes causing hot-spotting — a brighter center area. I experimented with different materials, reading reviews and guides, such as this detailed guide, which helped me find the perfect balance.
Match Screen Material to Technology
Consider your projector type and desired picture quality. For ultra-short throw projectors or ambient-light-rejecting (ALR) screens, specific materials are designed to optimize contrast and color. I switched to an ALR screen after realizing my projector was casting light poorly on traditional screens, which you can read about here. The results were noticeably improved brightness and contrast, even during daytime viewing.
Seek Expert Opinions and Product Comparisons
Researching reviews and expert advice is invaluable. Platforms like this resource compare top screens suited for different spaces. I used these insights to shortlist options, then tested samples in my room before making a final decision.
Experiment and Fine-Tune Your Setup
Once installed, don’t be afraid to experiment with positioning and orientation. Small adjustments can significantly influence brightness and picture uniformity. I initially placed my screen too high, causing neck strain and uneven light distribution. After repositioning, I achieved the optimal viewing angle and picture consistency.
While many enthusiasts focus on choosing the right size or material for their projection screens, there’s a common misconception about what truly influences picture quality.
Myth Busting: Bigger Isn’t Always Better
A frequent trap is assuming that increasing the screen size will automatically improve the viewing experience. In reality, an oversized screen can cause pixelation and diminish clarity, especially if your projector’s resolution isn’t high enough. Proper measurement and understanding your seating distance are crucial to avoid this mistake.
Why Gaining Clarity Requires More Than High Gain
Many believe that higher gain screens produce brighter, better images, but this isn’t always true. High-gain surfaces (>1.5) tend to cause hot-spotting—where the center appears much brighter than the edges—leading to uneven brightness. Additionally, excessive gain can compromise contrast and color accuracy. It’s vital to balance gain with room lighting conditions and projector capabilities. For a nuanced approach, consider researching screen gain and material nuances.
Debunking the ALR Myth
Ambient Light Rejecting (ALR) screens are marketed as perfect solutions for bright rooms, but many overlook their limitations. They can sometimes suppress subtle color shades and reduce image sharpness if not chosen carefully. The key is understanding the specific properties of ALR materials—like their gain and viewing angles—to match your environment accurately. For deeper insights, review the guide on ALR options and materials.
Advanced Question: How Do Material Texture and Coatings Affect Picture Fidelity?
Beyond gain and color, the micro-structure of screen surfaces significantly impacts image quality. Matte, textured surfaces scatter light to prevent glare but can also diminish sharpness, while smooth, glossy coatings reflect images more vividly but are prone to ambient light interference. As per a study in Home Theater Science, selecting the right surface texture enhances contrast and color fidelity, particularly in multi-light environments. Choosing an optimal material demands understanding these nuanced effects—don’t settle for vague promises. Explore options at projection screen materials and gain.
Have you ever fallen into this trap? Let me know in the comments.Once you’ve invested in the perfect projection screen and optimized its placement, maintaining its performance over time is essential to enjoy consistent picture quality. Regular cleaning of the screen surface is vital; use a microfiber cloth to gently wipe away dust and fingerprints without damaging delicate materials. Avoid harsh chemicals, opting instead for a damp cloth with a mild, non-abrasive cleaner specifically designed for screen materials. Monitoring environmental factors, such as humidity and temperature, helps prevent warping or mold growth, especially if you have an ambient-light-rejecting (ALR) screen, which can be sensitive to moisture. For measuring gain consistency, periodically test your setup’s brightness using a light meter—this helps ensure your screen continues to reflect light accurately and maintains color fidelity. Additionally, inspect the projector alignment and adjust keystone and focus settings if you notice any degradation in image sharpness or skewed geometry. Upgrading related accessories, like mounting brackets or cables, can also improve stability and image clarity over the years. Predicting future trends, integrating smart calibration tools with automation software might soon allow for real-time adjustments, ensuring your system remains at peak performance without manual intervention.
How do I maintain my projection screen’s quality over time?
Developing a routine that combines gentle cleaning, environmental control, and periodic performance checks is key. Regularly cleaning your screen surface with appropriate materials prevents dust buildup that can diminish brightness and contrast. Maintaining stable room conditions—consistent humidity and temperature—helps preserve material integrity and prevents warping. Using a light meter to measure reflected light helps identify any decline in gain performance, signaling when it might be time for recalibration or replacement. Lastly, keeping projector alignment and settings optimal ensures your image remains sharp and color-accurate. For expert insights on preserving screen quality, you can review the comprehensive guide on projection screen maintenance.
To make a tangible upgrade today, consider investing in a calibration tool like the X-Rite i1Display Pro, which can help you accurately measure and adjust your projector’s output, ensuring your screen’s gain and color fidelity stay consistent. This small step can significantly enhance your long-term viewing experience and save you from costly recalibrations later.
The Hardest Lesson I Learned About projection screen,screen size,alr screen,screen gain,screen material
One of my biggest turning points was realizing that bigger isn’t always better—especially when it comes to projection screens. I once tried to max out my screen size in a small room, only to realize it caused pixelation and eye strain. Finding the right balance between size and room capacity truly transformed my viewing experience.
3 Myths About projection screen,screen size,alr screen,screen gain,screen material That Held Me Back
I believed that high gain meant brighter images and that ALR screens were flawless for daylight viewing. Both misconceptions led me astray. Learning the nuances—like gain hot-spotting and material limitations—helped me choose solutions that truly fit my environment.
What Experts Won’t Tell You About projection screen,screen size,alr screen,screen gain,screen material
Many overlook the importance of micro-surface texture and ambient light management. A smooth, textured surface can significantly enhance contrast, while understanding the viewing angle is crucial to avoid color washout. These details make all the difference.
My Essential Toolkit for optimizing projection screens
Reliable tools like a laser distance meter for measurement accuracy, a light meter for brightness consistency, and expert guides on gain and material selection have been invaluable. They help me make informed decisions without second-guessing, ensuring my setup remains sharp and vibrant.
Books That Changed How I View projection setups
While technical manuals sometimes overwhelm, I found the book Home Theater Setup Simplified to be eye-opening. It broke down complex concepts into actionable steps, empowering me to experiment confidently and refine my projection environment knowingly.
Where to Go from Here
If you’re serious about elevating your projection quality, start by assessing your room’s lighting and measurement carefully. Experiment with different screen materials and gain ratings, referring to trusted resources like this comprehensive guide to inform your choices. Remember, the journey toward perfect picture quality is ongoing—stay curious and keep refining your setup.
Your Turn to Try
Have you ever struggled with choosing the right projection screen or mismatch between screen size and space? Share your experiences or questions below and let’s learn together. Embracing these insider lessons can turn your home theater into a truly immersive haven.