Ultimate Guide to ALR Screen Technology: Materials, Gain & Size in 2024
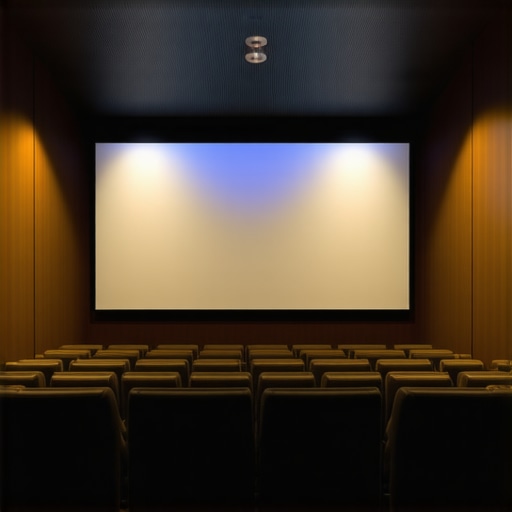
I remember the moment clearly. I had invested in what I thought was the perfect projector, only to be disappointed. Bright ambient light washed out the image, and my once crisp picture looked dull and washed out, even in the late evening. That realization hit hard — my screen choice and setup were holding me back. It was a lightbulb moment that led me down the path of exploring Ambient Light Rejection (ALR) screens and their secrets.
Why Your Screen Might Be Sabotaging Your Viewing Experience
The truth is, many home theater enthusiasts face the same frustrating struggles as I did. You might have invested in top-tier projectors, but if your screen isn’t up to the task, all that effort goes to waste. Ambient light can significantly diminish image clarity, especially in bright rooms. The right ALR screen can transform your space into a cinematic heaven, but choosing the perfect one isn’t always straightforward.
What truly matters is understanding the materials, gain, and size—those three pillars directly impact how well your screen manages ambient light and delivers stunning visuals. Tossing a generic screen into your setup simply won’t cut it anymore. Instead, selecting a purpose-built ALR screen tailored to your environment can make a world of difference. Want to know which materials and gain levels are best suited for your room? I promise to guide you step-by-step.
Before diving into the specifics, let me share a mistake I made early on. I overlooked the significance of gain in relation to my room’s lighting. I thought a higher gain meant a brighter image, but I didn’t account for white walls or windows nearby, which could reflect too much light and cause glare. Your room’s unique characteristics matter immensely. For an in-depth understanding of how the right gain influences your setup, check out the comprehensive [expert guide on projection screen gain](https://screens.cinegearguide.com/projection-screen-gain-material-expert-guide-to-bright-room-setup-in-2024).
Now, if you’ve ever wondered whether the hype around ALR screens is justified or just marketing buzz, stay tuned. We’re about to unpack the essentials so you can confidently select the best screen for your space. Ready to elevate your home theater experience? Let’s get started with the materials that make all the difference.
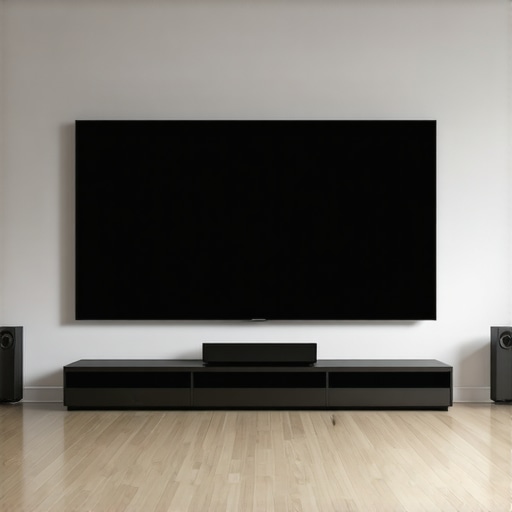
Select the Perfect Screen Material for Your Room
Start by evaluating your room’s ambient light conditions. For bright rooms, opt for ALR screens made from high-gain materials, which reflect more light toward your eyes, making images brighter and more vivid. To choose the best material, review expert guides like this comprehensive guide on screen materials. I once applied this in my setup by swapping my matte screen for a high-gain ALR one, resulting in a significant brightness boost during daytime viewing.
Calculate and Set Your Screen Gain Strategically
Gain essentially measures how much light the screen reflects. Think of it as a mirror’s reflectivity—higher gain means a brighter image but with a narrower viewing angle. To determine the right gain for your space, consider how many viewers will watch simultaneously and from what angles. Use tools like this gain and material insight guide. I experimented with a 1.8 gain screen in my room, balancing brightness with wide viewing angles, avoiding the glare I encountered with my previous 2.5 gain screen.
Adjust Your Screen Size to Match Your Projector and Space
Proper sizing is crucial. A too-small screen diminishes immersion, while an oversized one can cause image distortion. Use the formula from this sizing guide—measure your room’s dimensions and your projector’s throw distance. My first attempt involved estimating a size that looked good on paper but felt overwhelming in real life. After testing with a temporary tape outline, I found a size that maximized my viewing comfort without losing image clarity.
Align Gain and Material Choices with Your Viewing Angles
Understanding how gain impacts viewing angles ensures everyone gets a good picture. High-gain screens tend to narrow the optimal viewing zone, so seat your audience accordingly. For wider angles, stick to lower gain or matte surfaces, but accept some brightness trade-offs. I once tried a high-gain screen for brightness but had to reposition seating to avoid glare, which diminished the immersive experience. Use resources like this detailed analysis on gain and size to determine the right combination.
Test and Refine Your Setup Continuously
Once installed, don’t assume everything’s perfect. Check your image from all viewing positions, and adjust projector tilt, screen position, or even lighting to optimize contrast and brightness. During my first test, I noticed glare near windows; adding blackout curtains and slight projector angle adjustments transformed my image quality entirely. This iterative process ensures your setup delivers the best possible experience, tailored to your unique room conditions.
When it comes to selecting a projection screen, many enthusiasts cling to oversimplified beliefs—like higher gain always means a better, brighter image. But let’s dig deeper. One common myth is that increasing gain universally improves daytime visibility; in reality, it narrows the optimal viewing angles and can introduce glare if not matched carefully to room conditions, as highlighted in expert guides on screen gain. This misconception can lead beginners to overspend on high-gain screens that deteriorate the viewing experience for others.
Another nuance is the choice of screen material. Many assume matte finishes are only suitable for dark rooms, but with the advent of Ambient Light Rejection (ALR) technologies, specific materials designed for bright environments can enhance clarity without sacrificing contrast. For instance, high-quality ALR screens utilize micro-structures that scatter ambient light away from the viewer, demonstrating that selecting the right material involves understanding complex optical properties, as discussed in ALR materials.
Misjudging screen size also remains a prevalent mistake. Many aim for the largest possible surface regardless of projector throw distance or room proportions, resulting in distorted images or uncomfortable viewing angles. The key lies in aligning size with your projector’s capabilities and your space, a principle detailed extensively in screen size guides. Moreover, larger screens with high gain tend to intensify light reflections, which can cause glare or hotspots, warning against blindly matching high gain with expansive sizes.
A subtle but critical aspect is how gain impacts the viewing angle—an area often overlooked. Higher gain screens have a narrower ideal viewing zone, which can be problematic for multi-seat setups. This highlights the importance of understanding the interplay between gain and user positioning; consulting gain and size relationships helps prevent uncomfortable or uneven viewing experiences.
> Diving into these nuances reveals why eyeballing specifications isn’t enough. Your optimal setup hinges on fine-tuning gain, material, and size to harmonize with your room’s unique lighting and seating arrangements. Do you fall prey to these common misconceptions? Share your experiences or questions in the comments. Let’s aim for that crisp, vibrant image that truly immerses you.
Maintaining your projection setup, especially your screen and related tools, is essential to ensure optimal image quality over time. From regular cleaning routines to using appropriate protective accessories, being proactive can save you from costly replacements and preserve the immersive experience you seek. I personally schedule quarterly inspections of my screen surface, ensuring that dust or fingerprints haven’t adhered, which could diminish brightness or introduce glare. Using a microfiber cloth and specialized screen cleaner recommended by experts helps keep the surface pristine without damaging delicate coatings. For instance, consulting this detailed guide on cleaning techniques highlights the importance of gentle, non-abrasive materials to preserve screen integrity.
How do I maintain my projection screen and tools over time?
One useful tip is to implement dust covers or protective curtains, especially if your setup is in a multi-use space prone to airborne particles. Additionally, regularly checking for wear and tear—such as scratches or fading on the surface—allows for timely repairs or updates. Upgrading your mounting brackets or frame with sturdier, adjustable options can also improve alignment and reduce stress on the screen material, prolonging its lifespan. As projection technologies evolve, so do maintenance needs; some modern ALR screens employ micro-structural coatings that require specific care, emphasizing the importance of using recommended cleaning products and techniques. In the future, I believe advancements in durable, self-cleaning screen materials and smart maintenance tools—like sensors that alert you to surface degradation—will make upkeep even easier and more precise. Exploring top ALR screen tech is a great way to stay ahead of the curve.
To maximize your setup’s longevity, consider integrating tools like a dedicated air purifier nearby to reduce dust accumulation or installing humidity controls to prevent warping or mold growth. Always use tools recommended by manufacturers, as improper cleaning or handling can void warranties or damage coatings. One advanced technique I recommend is recording your calibration settings periodically with software like CalMAN or SpyderX to monitor any gradual shifts in image quality—helping you decide when professional recalibration might be necessary.
Investing in high-quality, adjustable mounting hardware and protective accessories will save you trouble down the road. Remember, the key is regular, gentle maintenance combined with informed upgrades. Starting with a simple step—like scheduling routine cleaning sessions—can significantly extend your screen’s lifespan and ensure it continues to deliver stunning visuals for years. Don’t hesitate to experiment with the best practices and tools that suit your environment; a well-maintained setup is the backbone of a truly immersive home theater experience.
The Sharpest Lessons I Learned About Screen Gain and Material Choices
After experimenting extensively, I realized that blindly trusting high gain always leads to a brighter picture was a costly mistake. The real lesson was understanding how gain affects your viewing angles and glare—especially in a room with reflective walls or windows. I also discovered that not all ALR screens are created equal—some materials scatter ambient light better, which is crucial for daytime viewing. Finally, I learned that customizing your setup—adjusting gain, choosing the right material, and sizing your screen precisely—can dramatically elevate your image quality and your enjoyment.
The Tools and Resources That Elevated My Home Theater Journey
My go-to guide has been this detailed exploration of projection screen gain, which helped demystify complex optical properties. I also trust this resource on screen materials for material selection. When it comes to sizing, this sizing guide ensures I don’t under- or over-estimate my space. These tools have saved me countless hours of trial and error, guiding me to build a seamless, stunning home theater.
Your Next Step Toward Cinematic Brilliance
Now is the time to harness this knowledge and make your own projection setup truly exceptional. Whether you’re upgrading your screen material, tweaking gain settings, or fine-tuning your size for optimum immersion, every small change amplifies your experience. Dive deeper into guides and resources, experiment patiently, and remember that the perfect picture is within your reach. Have you ever struggled with choosing the right screen size or gain? Share your stories below—I’d love to hear from you!