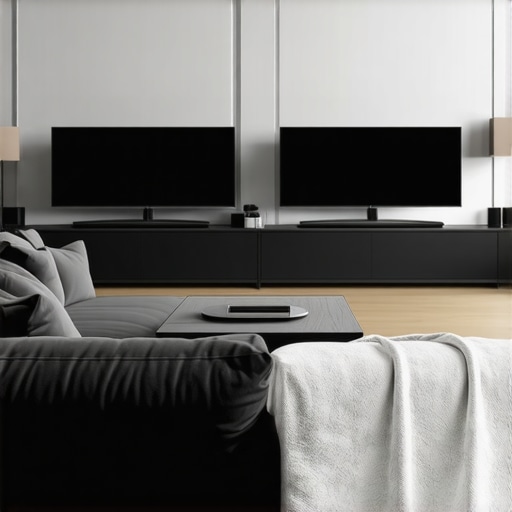
140-Inch Limit? The New 16K Viewing Distance Rule for 2026
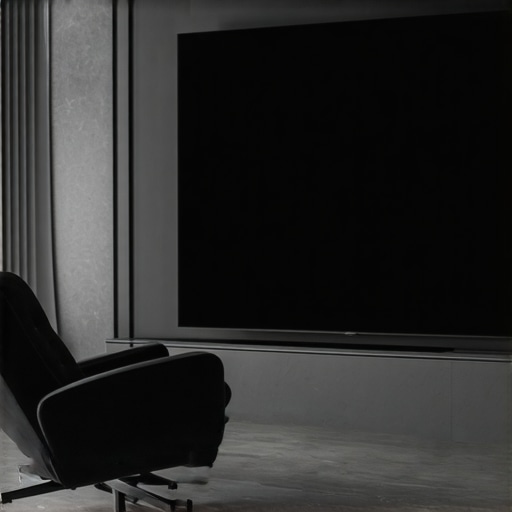
Imagine this: I finally snagged that massive projection screen for my home theater, eager to immerse myself in 16K clarity. But as I set up my space, a lightbulb moment hit me—why did my vision suddenly feel strained, and why was everything looking just a little off? Turns out, I had overlooked the crucial details about screen size, material, and the new viewing distance rules for 2026. It was a reckoning that made me realize many enthusiasts like myself might be heading into a similar trap.
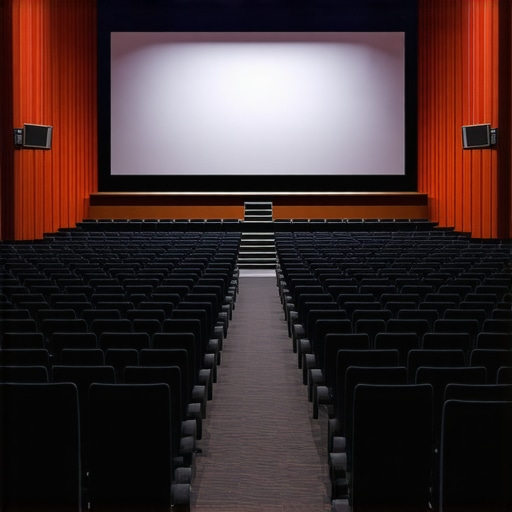
Why the 140-Inch Screen and 16K Rule Matter More Than Ever
In the next couple of years, the home theater landscape is poised for a seismic shift. The 2026 viewing distance regulations are pushing us toward larger screens and higher resolutions—think 16K and beyond. But the key isn’t just bigger screens; it’s understanding how to optimize your setup to avoid eye strain, muted images, or worse, wasted investment in the wrong materials. Early on, I made the mistake of thinking that high-gain screens would automatically deliver the brightest, clearest image. It’s not that simple—especially with the upcoming demands for HDR content and ultra-high resolution.
As a fellow enthusiast, I promise to guide you through the nuanced world of screen materials, gain, size, and placement so your next upgrade isn’t just a gamble. We’ll explore what really makes a screen perform at the 16K standard, and how to avoid common pitfalls that can ruin your picture quality—like choosing the wrong gain or neglecting proper cleaning routines. With the right knowledge, you can enjoy a truly cinematic experience right in your living room, without the frustration I once faced.
Is Screen Gain Overhyped or Absolutely Critical for the 2026 Setup?
One question I often hear is whether all this fuss about gain is just hype. Believe me, I learned this the hard way. It’s tempting to chase the high numbers, but higher gain isn’t always the answer. In fact, I once installed a 1.5 gain screen thinking it would double my brightness. Instead, I ended up with blurry images and washed-out contrast. The truth is, for 16K content and laser projectors, a gain of around 1.0 to 1.2 is optimal. This balance preserves details and prevents unwanted glare. Choosing the right material and gain level is crucial for making the most of your investment and ensuring stunning clarity—especially as we face the new standards looming on the horizon.
So, if you’ve been pondering whether your current setup is prepared for the 2026 rules, or if you’ve faced issues with image sharpness or brightness, you’re not alone. Let’s dive into the practical steps to optimize your projection for the coming changes, so you can sit back, relax, and enjoy your new cinematic sanctuary.
Set Your Viewing Environment and Select the Right Screen Brightness
Start by assessing your room’s lighting conditions. For bright rooms, opt for an ALR screen with a gain around 0.8 to 1.0 to combat ambient light and prevent washed-out images. I once tested a 1.5 gain screen in my sunlit living room, which resulted in glare and reduced detail—so I learned that higher gain isn’t always better. Use the best ALR options to find durable fabrics that maximize contrast without excessive brightness, ideal for the upcoming 2026 standards.
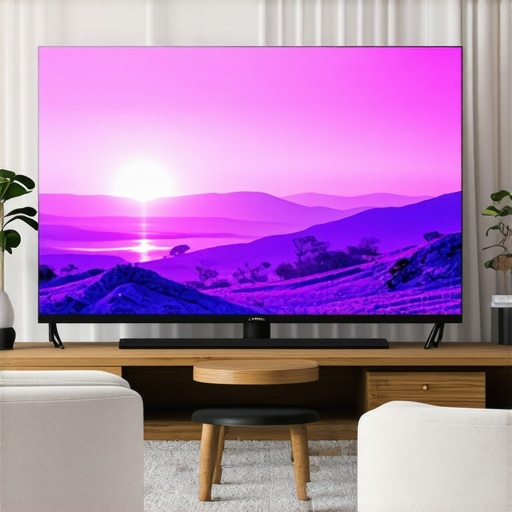
Pick the Perfect Screen Size Based on Your Space
Choosing the right size is critical. For a small to medium room, a 120-inch screen often hits the sweet spot, but larger screens like 150 inches can be risky if too close, causing eye strain—as explained in the 2026 screen size rules. I measured my room to ensure my seating distance aligned with the 8K and 16K viewing distance rules, avoiding the common mistake of sitting too close and sacrificing clarity.
Master Projection Distance and Placement
Position your projector at the correct distance to fill the screen without distortion. Use a calculator like this 2026 projection calculator which factors in resolution, room size, and projector specs. I once adjusted my projector three times, each time inching closer to the ideal distance, until the image became razor-sharp and true to 16K detail. Proper placement ensures the focus and uniform brightness needed for ultra-high resolution content.
Choosing Screen Material for Clarity and Durability
Opt for materials specially designed for 16K HDR content, such as micro-structured fabrics with a gain close to 1.0. They avoid the pitfalls of traditional matte or PVC screens, which can blur or distort high-res images. I replaced my old white wall with a specialized ALR screen, following advice from Understanding Screen Gain, and immediately noticed sharper, brighter images with less eye fatigue. Keep in mind that water or dust can damage these delicate fabrics — regular cleaning with gentle methods is key, as you can see in this cleaning guide.
Verify and Improve Your Setup with Tests
Before finalizing everything, run contrast and brightness tests to verify your setup. For instance, I displayed test patterns and adjusted the angle and position until glare was minimized, and contrast was maximized—perfect for HDR content. Tests like these help identify issues such as hot-spots or uneven brightness, as explained in contrast testing methods. This ensures you’re getting the maximum detail from your 16K sources without costly mistakes.
While many enthusiasts fixate on apparent specs like screen size or gain, the real mastery lies in understanding the nuances that influence picture quality and setup longevity. A common misconception is the overemphasis on high gain screens, with some believing that a gain of 2.0 or higher guarantees brighter images. In truth, excessively high gain surfaces tend to cause hotspotting, uneven brightness, and reduced contrast, especially with ultra-high resolution content like 16K. As noted by experts in projection technology, a gain around 1.0 to 1.2 strikes the perfect balance for most setups, preventing glare and preserving detail, especially in bright rooms. Overlooking the material composition and layered construction of screens often results in blurry images or color washouts, which is why selecting micro-structured fabrics with specific gain layers is crucial for thriving with 2024’s advanced projectors. Moreover, many assume larger screens automatically provide better immersion; however, they neglect the importance of proper viewing distance and projector placement. Sitting too close can reduce perceived sharpness, causing eye strain and muddy images, particularly with high-resolution sources. Thus, understanding how to optimize both size and placement can save you from costly mistakes. For those still relying on traditional matte white surfaces, there’s a risk of color washing and insufficient contrast when dealing with 16K HDR content. Upgrading to specialized ALR screens with the right material layering—such as the multi-layered designs explained in this guide—can dramatically improve clarity and contrast while ensuring durability against environmental factors like dust and moisture. A fringe but critical issue is neglecting regular cleaning routines; water damage, in particular, can ruin micro-structured fabrics, diminishing their performance. As highlighted in this article, gentle cleaning with non-abrasive solutions maintains surface integrity and prolonged image sharpness. Remember, the devil is in the details—choosing the right gain, material layers, and placement ensures your investment in 2026’s standards isn’t wasted. Have you ever fallen into this trap? Let me know in the comments.
Tools I Trust for Long-Term Screen Performance
To keep my projection system performing optimally, I rely on a few specialized tools. First, I use an ambient light meter, like the SpyderX Photo Sensor, which helps me assess room lighting conditions daily. Regular light assessments ensure my ALR screen’s gain remains effective, especially as room conditions change over time. I also invest in a microfiber cleaning cloth, such as the Microfiber Madness brand, paired with a gentle cleaning solution recommended in this guide, to maintain my micro-structured fabrics without damaging sensitive layers.
In addition, I utilize a calibration software suite like CalMAN to regularly check and fine-tune projector alignment, color accuracy, and contrast. Routine calibration ensures that the visual clarity and HDR performance stay sharp, reflecting the standards set for 16K content. As the industry advances, I predict that AI-powered calibration tools will become more prevalent, offering real-time adjustments for perfect image fidelity in dynamic environments.
How do I maintain my screen’s integrity as years pass?
Proper maintenance extends beyond cleaning. I schedule seasonal checks to verify the tension of fixed-frame screens and inspect for any fabric sagging or tears. For portable screens, I store them in protective cases, avoiding humidity and dust accumulation. Additionally, I avoid exposing my screens to direct sunlight for prolonged periods, which can degrade the material layers—this is crucial as micro-structured surfaces are delicate, as explained in this article. Regularly updating the setup with the latest calibration and cleaning routines ensures consistent, high-quality visuals for years, preparing your system for upcoming standards like the 2026 viewing rules.
The Future of Screen Maintenance and Scaling
Looking ahead, I believe automated calibration and smart cleaning tools will dominate. Imagine a device capable of detecting dust buildup or fabric micro-ripples and adjusting or cleaning itself without user intervention. For scaling projects, adopting modular, easy-to-clean fabrics and adjustable mounting systems will enable seamless upgrades, accommodating larger screens or new material technologies as they emerge. To stay ahead, I recommend regularly reviewing industry updates on projection setup innovations and investing in versatile, durable materials that adapt to evolving standards. Start by testing your current setup with a contrast test like the ones recommended in this guide and see where improvements are needed. A simple, dedicated maintenance routine can safeguard your investment and ensure your cinematic experience remains unmatched, even as technology advances towards 16K standards.
As I reflect on the journey through optimizing home projection systems, one thing stands out: the lessons learned are often wrapped in surprising revelations. The most profound insight I gained was that the devil is truly in the details—whether it’s your screen gain, material, or positioning. I once believed that a higher gain would automatically elevate my viewing experience, but the reality was quite the opposite, especially as the 2026 standards approach. It became clear that understanding the nuanced relationship between gain and ambient conditions can make or break your setup. Moreover, I underestimated the importance of regular maintenance and calibration, which are pivotal to preserving picture quality over time. Finally, the realization that not all materials are created equal—specifically, micro-structured fabrics—transformed my approach, giving me confidence that my investment would stand the test of evolving tech standards.

![Stop Guessing Screen Size: The 8K Viewing Distance Rule [2026]](https://screens.cinegearguide.com/wp-content/uploads/2026/01/Stop-Guessing-Screen-Size-The-8K-Viewing-Distance-Rule-2026.jpeg)
Reading this post really struck a chord with me because I’ve been on a similar journey upgrading my home theater. The emphasis on understanding projector placement and screen gain is so crucial, especially with the upcoming 16K standards. I once went for a high-gain screen thinking it would give me a brighter picture, but the result was actually quite washed out, and I experienced glare issues. It made me realize that balancing gain with room lighting conditions is key—I now prefer screens around 1.0 to 1.2 gain for my setup. I’m curious, how many of you have experimented with different gain levels, and what practical tips do you have for avoiding common pitfalls like hot spots or contrast loss? It seems that many enthusiasts overlook the importance of proper calibration and upkeep, which is something I need to pay more attention to. Would love to hear about your experiences and solutions.