Comprehensive Guide to Projection Screen Material & Size Selection
I’ll never forget the frustration of setting up my first home theater. I spent hours choosing the perfect projector, but when it came to the screen, I was lost. The material, size, and gain—these details felt overwhelming and confusing. I remember thinking, “Why is this so complicated?” and feeling like I might just give up. But after some trial and error—and a few costly mistakes—I finally cracked the code. Now, I want to share that journey with you, so you don’t have to stumble through the same pitfalls.
Why Choosing the Right Projection Screen Matters More Than You Think
Your projection screen isn’t just a passive surface. It’s a crucial component that can make or break your viewing experience. The wrong material or size can wash out your picture, distort colors, or even create glare that ruins movie nights. Trust me, I learned this the hard way. And according to experts, selecting the correct screen setup can significantly enhance brightness, color accuracy, and overall clarity—especially in rooms with ambient light. For a deep dive into how different materials impact your setup, check out this detailed guide on projection screen gain and materials.
Is Projection Screen Material and Size Really That Important?
Early on, I made the mistake of assuming all screens are created equal. I bought a generic screen without considering gain, material, or size, thinking it was just a background for my projector. Spoiler: it wasn’t. The picture looked dull, washed out, and uninviting. It was only after I learned about the different options—like ambient light rejecting (ALR) screens and high-gain materials—that I realized how much difference the right choices can make. If you’re like I was, questioning whether this stuff really matters, let me assure you—getting it right transforms your viewing experience. Curious about how to choose the perfect screen? I’ll guide you through that next.
Now, before we jump into the specifics, let me ask: Have you ever set up a projector only to be disappointed by the picture quality? If so, you’re not alone. Many enthusiasts overlook the importance of the screen and end up with subpar results. But don’t worry—I’ll help you avoid those mistakes and make informed decisions that suit your space and budget.
What You’ll Discover Today
In this post, I’ll walk you through the essential factors to consider—material, gain, size, and how to match these to your environment. We’ll explore common pitfalls and show you how to pick a screen that elevates your viewing experience without breaking the bank. Whether you’re upgrading your current setup or starting from scratch, by the end, you’ll know exactly what to look for to create your ideal home theater.
So, let’s get started and turn that confusing selection process into a straightforward, enjoyable journey. Your perfect projection experience is closer than you think.
Pick the Right Material to Boost Your Image Quality
Start by assessing your room’s lighting conditions. If you have a bright room with lots of ambient light, opt for an ambient light rejecting (ALR) screen. These screens are designed to reflect light directly back to your eyes while minimizing ambient light interference, resulting in a clearer, more vibrant picture. For darker rooms, standard matte white screens often suffice, providing a balanced and cost-effective solution. To understand the nuances of different materials and how gain impacts brightness and contrast, check out this guide on projection screen gain and materials.
Match the Material with Your Room’s Brightness
Imagine choosing a mirror that’s too reflective for a foggy day; it would reflect too much light and cause glare. Similarly, selecting a high-gain screen (above 1.5) in a bright room can cause glare and reduce contrast. Conversely, in a dark room, high-gain screens can make images look brighter and more vivid. I once experimented with a 2.0 gain screen I bought on impulse, thinking it would be perfect. It looked great in my dark basement, but in my living room with large windows, it caused harsh reflections and washed out the image. That experience taught me the importance of matching gain to room conditions. For detailed recommendations, visit this comprehensive guide on gain and material choices.
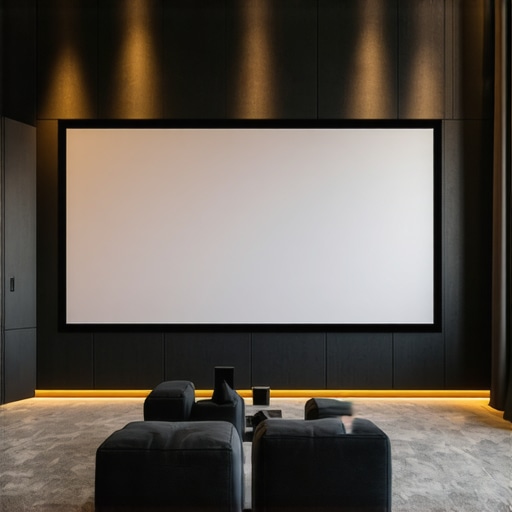
Size Matters: Find the Perfect Fit
Choosing the right screen size is like fitting a suit—you want it to be proportional and comfortable. Measure your room’s viewing distance and consider the projector’s throw ratio. A common mistake is selecting a screen that’s too large, causing a loss of detail, or too small, making your setup feel underwhelming. Use a calculator or consult this size selection guide to match your room dimensions and viewing preferences. I once installed a 120-inch screen in a small living room, which felt overwhelming. After downsizing to 100 inches, my images appeared sharper, and the viewing experience improved dramatically. Remember, the goal is to fill your field of vision without overwhelming it.
Consider Your Projector’s Capabilities
Not all projectors are created equal. Check your projector’s lumens and contrast ratio, then select a screen that complements these specs. For instance, a high-lumen projector paired with a high-gain screen can produce a bright, punchy image. Conversely, a low-lumen projector benefits from a matte, low-gain screen to prevent washed-out images. To ensure compatibility, review this guide on matching screens with projectors.
Test Before You Commit
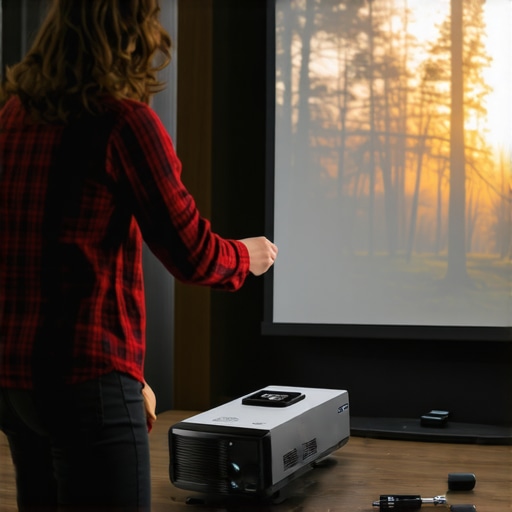
If possible, test different materials and sizes before making a final decision. Visit local stores or use screen samples from online retailers. I once borrowed a few samples from a local store, set up my projector, and watched the same scene on different screens. The differences in brightness, color, and glare were eye-opening. This hands-on approach helped me pick the perfect screen for my room and budget. Remember, small adjustments can make a big difference in your viewing pleasure.
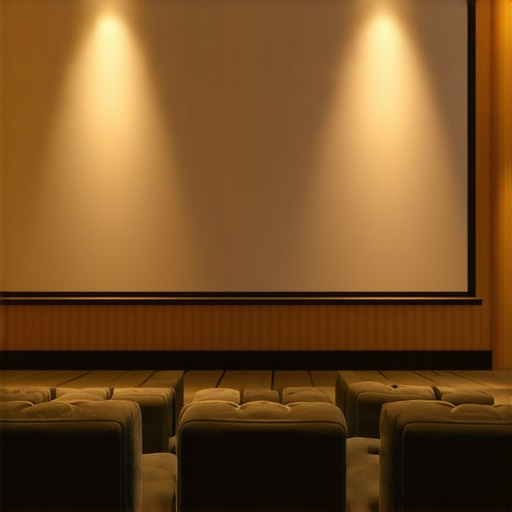
Use Room Light Control to Maximize Results
Even the best screen can struggle in a bright environment. Installing blackout curtains or dimmable lighting can enhance contrast and color accuracy. Think of it like tuning an instrument—you need the right environment to get the best sound. Proper light control will help you enjoy your investment fully. For more tips, see this article on optimizing your viewing environment.
Many home theater enthusiasts believe they have a clear understanding of what makes a good projection screen, but often, misconceptions creep in that can undermine your entire setup. Let’s dig deeper into some of the most common myths and highlight the nuances that even seasoned hobbyists might overlook.
Myth: Bigger Always Means Better
It’s tempting to think that a larger screen will deliver a more immersive experience, but this isn’t always true. Oversizing your screen beyond the optimal size for your room and projector can lead to a loss of image detail and reduced sharpness. It’s crucial to consider your room’s dimensions and your projector’s capabilities before selecting a size. Use a reliable size calculator or consult this size guidance to find the perfect fit. Remember, a well-proportioned screen enhances clarity and comfort, avoiding the “Zoomed-in” effect that can strain your eyes.
Myth: All Screens Are Created Equal
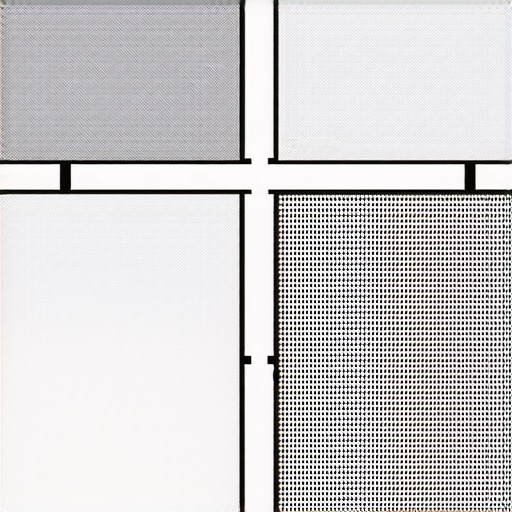
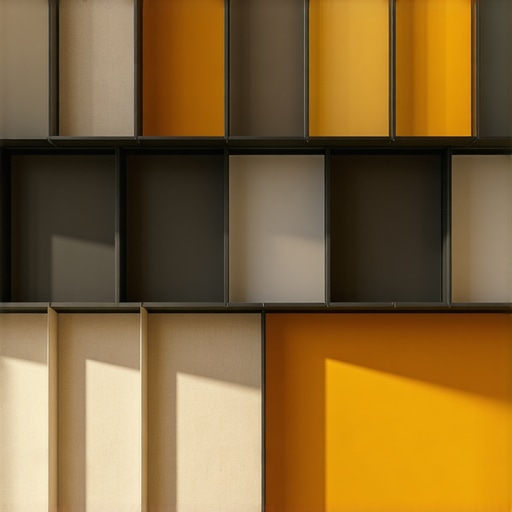
Many assume that any matte white screen will produce comparable results, but this is false. The material composition, gain, and surface texture can dramatically influence picture quality. For instance, high-gain or ambient light rejecting (ALR) screens can boost brightness in well-lit rooms, but may introduce glare or hot-spotting if not chosen carefully. Conversely, low-gain matte surfaces excel in dark rooms but underperform in ambient light. To navigate these nuances, I recommend reviewing this detailed guide on gain and materials. The right choice depends on your room’s lighting and your viewing preferences.
Advanced Question: How Do Gain and Surface Texture Interact to Affect Image Uniformity?
Gain and surface texture work hand-in-hand, influencing not just brightness but also image uniformity. High-gain surfaces (above 1.5) tend to reflect light unevenly, causing hot spots and reduced contrast in certain viewing angles. Surface texture, whether matte or semi-gloss, can mitigate or exacerbate these issues. Experts suggest that carefully balancing gain with surface texture can achieve optimal uniformity, especially in larger screens where light distribution becomes more challenging. For a comprehensive overview, check out this guide on ALR materials. Understanding this interplay helps prevent the common mistake of selecting a surface that looks great in a showroom but underperforms in your specific environment.
Have you ever fallen into this trap? Let me know in the comments. The key to a successful projection setup is knowing these hidden nuances, not just following generic advice. Tailor your choices based on your unique room conditions, projector specs, and viewing habits to truly elevate your home theater experience.
Keeping your projection screen in top condition requires more than just initial setup; it involves regular maintenance and the right tools to ensure long-lasting performance. Based on my personal experience and industry best practices, I recommend investing in specific equipment and following systematic methods to preserve image quality and prevent deterioration over time.
Why Regular Maintenance Matters for Your Projection Screen
Projection screens, especially those in high-use home theaters, can accumulate dust, fingerprints, and even minor scratches that compromise picture clarity. Moreover, environmental factors like humidity and temperature fluctuations can also impact the surface over the years. Regular upkeep not only extends the lifespan of your screen but also maintains optimal viewing conditions, ensuring you get the best picture every time.
My Go-To Tools for Screen Maintenance
I personally rely on a few proven tools to keep my screen pristine. First, a soft microfiber cloth is indispensable for gentle cleaning. I prefer microfiber over regular cloths because it minimizes the risk of scratching the surface. For stubborn spots or fingerprints, I lightly dampen the cloth with distilled water — never use harsh chemicals or alcohol-based cleaners, as they can damage the surface. To remove dust from the edges or hard-to-reach areas, I use a soft brush, such as a paintbrush or a specialized electronics cleaning brush, which effectively dislodges particles without causing damage.
For deeper cleaning, especially for screens with textured or ALR surfaces, I turn to specialized cleaning sprays designed for delicate optical surfaces. These products are formulated to clean without leaving streaks or residues. I always test a small, inconspicuous area first to ensure compatibility.
Methods to Prolong Your Screen’s Life
In addition to cleaning, protecting your screen from environmental hazards is vital. I recommend installing dust covers or keeping the room free of excessive debris. Using air purifiers can also reduce airborne particles that settle onto the surface. Keeping humidity levels stable—ideally between 40-60%—prevents mold growth and surface warping. If your room has windows, installing blackout curtains not only improves picture contrast but also shields your screen from direct sunlight, which can cause color shifts over time.
Regularly inspecting your screen for signs of wear or damage allows you to address issues early. For example, if you notice a persistent glare or spots that won’t clean off, it might be time to consider professional restoration or replacement. In the future, advances in protective coatings and self-cleaning surfaces could make maintenance even easier, but for now, diligent care with the right tools is key.
How do I maintain my projection screen over time?
Establishing a routine cleaning schedule—once every few months or after heavy usage—helps prevent dirt buildup. Using the proper tools and techniques, as I outlined, is essential to avoid damage. Keeping the environment controlled, with stable humidity and minimal dust, further extends your screen’s lifespan. Remember, a well-maintained projection surface ensures that your investment continues to deliver stunning visuals for years to come.
Try incorporating these maintenance tips and tools into your routine today, and you’ll notice the difference in image clarity and overall longevity. A little effort goes a long way in preserving your cinematic experience!
Lessons I Learned from My Projection Screen Journey
- Size isn’t just a number: I once chose a giant screen that overwhelmed my space and spoiled the clarity. Now I know better—matching size to room dimensions is crucial for sharp images and comfortable viewing.
- Material matters more than I thought: Switching from a basic matte white to an ambient light rejecting (ALR) screen transformed my experience, especially in a room with ambient light. The right material can make dull images pop with vivid colors and contrast.
- Gain isn’t one-size-fits-all: I experimented with high-gain screens in bright rooms, only to be greeted with glare and hot spots. Learning to match gain to lighting conditions was a game-changer—less glare, better contrast, more immersive viewing.
- Test before you buy: Borrowing samples and testing different screens in my space saved me from costly mistakes. Seeing the difference firsthand helped me pick the perfect fit for my projector and environment.
- Proper maintenance preserves quality: Regular cleaning and environmental control keep my screen looking like new and ensure consistent picture quality. A little effort pays off over time.
Tools and Resources That Elevated My Setup
- Projection screen gain and material guide: For understanding how different surfaces impact brightness and contrast, I rely on the detailed insights from this comprehensive guide. It helped me decode technical specs into practical choices.
- Size selection calculator: Finding the right screen size was easier with tools like this sizing guide. It saved me from oversizing and losing image detail.
- Local store samples: Testing screens in person made a huge difference. I recommend visiting stores or ordering samples to see how different surfaces look with your projector.
- Environment control tips: Installing blackout curtains and controlling room lighting maximized contrast and color accuracy, especially in rooms with ambient light. Check out this article for more ideas.
Your Turn to Shine with the Right Projection Screen
Choosing the perfect projection screen isn’t just about specs—it’s about creating a space that brings movies, sports, and gaming to life. When you pay attention to size, material, gain, and maintenance, your home theater can become a true sanctuary of entertainment. Remember, the right setup starts with informed decisions and a bit of experimentation. Now it’s your turn—what’s the biggest challenge you’ve faced in selecting or setting up a projection screen? Share your story below and let’s learn together!