
ALR Screen Technology: Best Material & Gain Tips for Bright Rooms
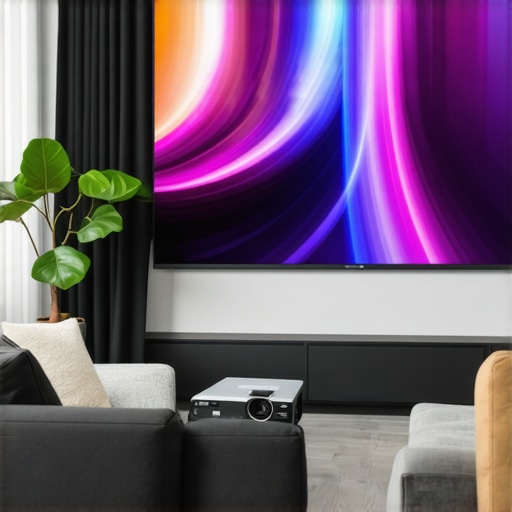
Have you ever set up your home theater only to be disappointed by washed-out images when the sun is shining through your windows? That frustrating moment of realizing your shiny, new projector screen just isn’t cutting it in your bright room. I’ve been there, fumbling with different screens, thinking I could just turn down the lights or buy a more powerful projector. But let me tell you, the secret isn’t just in the equipment—it’s in choosing the right ALR (Ambient Light Rejection) screen material and understanding gain to match your space.
Why Bright Rooms Demand Special Attention to Screen Material and Gain
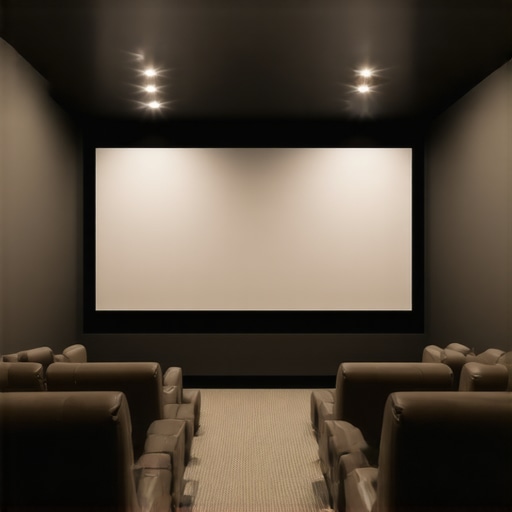
Bright rooms are a challenge for any projector setup. The ambient light washes out the picture, making movies less immersive and presentations less impactful. But here’s the thing: not all screens are created equal. The right ALR screen material can reject ambient light and enhance contrast, giving you a clear, vibrant picture even during daytime. And understanding gain—a measure of how much light the screen reflects—can make all the difference in achieving a bright, sharp image without sacrificing detail.
Have you faced the struggle of choosing the wrong screen material?
When I first started, I made the mistake of thinking all screens were the same. I bought a standard matte white screen, only to find it useless in my bright living room. It was only after doing some research and testing different options that I discovered the importance of selecting the best materials for bright environments. You can find a wealth of advice at this guide on ALR screen options and materials, which helped me understand what to look for.
Choose the Right Material for Your Bright Space
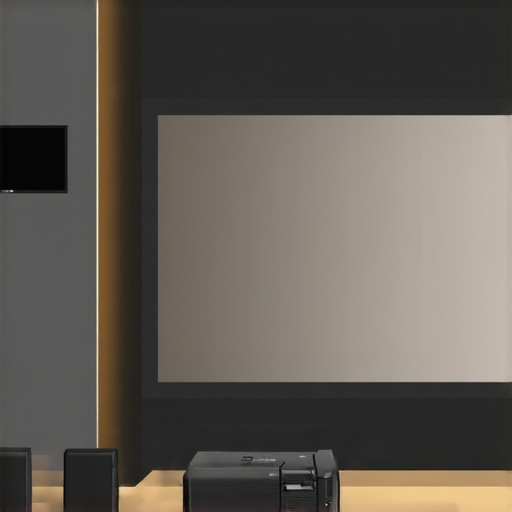
Start by assessing your room’s ambient light levels and then select an ALR (Ambient Light Rejection) screen material designed for bright environments. Look for high-contrast fabrics with micropatterned surfaces that scatter ambient light while reflecting projector light efficiently. I once experimented with several materials, including standard matte white and specialized ALR fabrics, in my living room. The difference was striking—my images became clearer and more vibrant even during daylight hours. For an in-depth review of top materials, check out this guide on ALR screen options.
Opt for High Gain for Brightness
Gain measures how much light the screen reflects back to your eyes. In bright rooms, a gain of 1.5 or higher often proves optimal to amplify the projected image without introducing glare or hot spots. Think of gain as a mirror versus a matte surface—the mirror (higher gain) reflects more light, making the image pop, but can cause uneven brightness if not used carefully. I tested different gains, starting with 1.2 and moving to 2.0, and found that higher gain screens delivered a brighter picture but required precise mounting to avoid hot spots. For a detailed analysis, explore this resource on gain and setup.
Match Gain with Room Size and Projector Power
Large rooms or powerful projectors demand different gain strategies. For bigger spaces, higher gain screens can help maintain brightness without increasing projector lumens. Conversely, smaller rooms might benefit from medium gain screens to prevent glare. I learned this firsthand when I upgraded my projector and switched to a 1.8 gain screen—my images became more consistent across the entire surface. To find the ideal balance, consider consulting this size and material guide.
Consider Screen Size and Viewing Distance
The size of your screen and how far you sit impact gain effectiveness. Larger screens with high gain can cause hot spots if viewed from close distances, so position seats accordingly. Use the size and placement calculator to optimize your setup. I personally measured my viewing distance and adjusted the screen size and gain, achieving a more immersive experience without distracting glare.
Test and Fine-Tune Your Setup
Once you’ve selected your materials and gain, set up your screen and project in your typical lighting conditions. Observe for hot spots, glare, or washed-out areas. Adjust the projector’s brightness, contrast, and keystone settings to dial in the perfect picture. Don’t hesitate to experiment with different angles and mounting heights—sometimes a small tweak yields a significant improvement. Remember, the key is balancing gain, material, and room characteristics for optimal performance. For comprehensive insights, review this detailed explanation on gain and material choices.
< >
>
Many enthusiasts believe that simply picking a high-gain ALR screen will solve all brightness issues in a room. However, this is a misconception that can lead to subpar image quality and wasted investment. In my experience, one of the most overlooked nuances is the impact of screen placement and angle on gain effectiveness. High-gain screens tend to produce hot spots if not carefully aligned, especially in larger or irregularly shaped rooms. To truly optimize your setup, it’s vital to consider how the screen’s gain interacts with your room’s dimensions and your seating arrangement. For an in-depth understanding, check out this guide on ALR screen options.
Another common myth is that a brighter projector can compensate for a poor screen choice. While increasing projector brightness might seem like an easy fix, it often introduces glare and reduces contrast, especially with high-gain surfaces. Instead, focusing on selecting the right material and gain tailored to your ambient light conditions yields better results. Remember, a high-gain screen amplifies light reflections but also makes the image more sensitive to viewing angles. If you sit off-center, you might notice uneven brightness or hot spots. Carefully matching gain to your room size and seating plan is crucial. For advanced tips on this, review this resource on gain and size.
What advanced mistakes do people often overlook when optimizing their ALR screens?
One sophisticated mistake is neglecting the effect of room reflectivity and wall color on perceived contrast. Even the best ALR screen can underperform if the room surfaces are highly reflective or colored in a way that amplifies ambient light. Darker, matte walls can significantly improve contrast, but many users overlook this simple adjustment. Additionally, the mounting height and angle of the screen can influence gain effectiveness—if the screen is not perfectly level or aligned with the projector, you risk uneven brightness and image distortion. For a comprehensive look at these factors, explore this ultimate guide to gain, material, and size. Have you ever fallen into this trap? Let me know in the comments.
Maintaining your ALR (Ambient Light Rejection) projection screen is essential to preserve its performance and longevity. Over time, dust, fingerprints, and environmental factors can degrade image quality, but with the right tools and routine, you can keep your setup looking and functioning like new. In this article, I’ll share my personal tips and the equipment I use to ensure my projection screen remains in peak condition, along with insights into future trends in screen maintenance.
How do I maintain my projection screen over time?
First and foremost, regular cleaning is key. I recommend using a microfiber cloth to gently wipe the surface. Avoid harsh chemicals or abrasive materials that could damage the delicate micropatterned surface of high-gain ALR fabrics. For stubborn spots or smudges, I use a mixture of distilled water and a few drops of isopropyl alcohol, applied sparingly. I personally swear by the Zeiss Microfiber Cleaning Cloth because of its softness and effectiveness at trapping dust without scratching. It’s important to clean in a gentle, circular motion and avoid applying excessive pressure.
To prevent dust buildup, I keep my room humidity controlled and avoid opening windows directly facing the screen. Additionally, I use a small, electric air blower—like the Dust-Off Compressed Gas Duster—to blow away loose debris without touching the surface. These simple steps help maintain clarity and contrast, especially for high-gain surfaces that are more sensitive to surface impurities.
Tools I recommend for screen upkeep
Beyond microfiber cloths and compressed air, a few specialized tools make a noticeable difference. I use a lint-free cleaning wipe with a mild, alcohol-based cleaner for periodic deep cleans. For any fabric or textured surfaces, I prefer a soft, natural-bristle brush—like a paintbrush—to gently dislodge dust particles from micropatterned textures. For routine cleaning, a static-dissipating cloth reduces dust attraction, keeping my screen cleaner longer.
And don’t forget about environmental control. A dehumidifier helps prevent mold and moisture buildup, especially in humid climates, which can affect the fabric’s integrity over time. I’ve found that maintaining a consistent room climate significantly extends the life of my projection setup.
Future of screen maintenance
Looking ahead, I predict that smart, self-cleaning projection screens will become more common. Built-in anti-static and anti-dust coatings, combined with nanotech surface treatments, could dramatically reduce the need for manual cleaning. Additionally, advancements in anti-fog and anti-microbial coatings could help keep screens free from mold and bacteria, especially in humid environments. Staying updated with these innovations will be crucial for enthusiasts and professionals alike.
To keep your ALR screen performing at its best, incorporate routine cleaning using gentle tools, control your environment, and stay informed about emerging technologies. Try adding a microfiber cloth and compressed air to your maintenance kit today—these simple steps will ensure your investment continues to deliver stunning images for years to come. For more detailed maintenance strategies, check out this comprehensive guide on ALR screen care.
The Hardest Lesson I Learned About Bright Room Projection
One of my biggest realizations was that simply upgrading my projector or increasing brightness didn’t solve the issue in a bright room. It was the combination of choosing the right ALR (Ambient Light Rejection) screen material and understanding gain that truly made the difference. I learned that high-gain screens can amplify the image but also introduce hotspots if not carefully aligned, teaching me to pay attention to both material quality and installation.
What I Wish I Knew About Gain Before Starting
I initially thought that higher gain always meant better brightness, but I discovered that gain must be matched to room size and seating distance. For large spaces, a gain of 1.8 to 2.0 can boost brightness without causing glare, whereas smaller rooms do better with medium gain. This insight saved me from wasted money and poor image quality, emphasizing the importance of tailored setup.
My Top Resources for Perfecting Bright Room Projection
- This guide on ALR screen options — I trust it because it covers all the latest materials and their benefits for bright environments.
- Understanding projection screen gain — A must-read for grasping how gain influences image brightness and hot spots.
- Size and placement calculator — It helped me optimize my screen size and seating arrangement for maximum impact.
- Upcoming innovations in screen maintenance — Staying informed about future tech like self-cleaning surfaces keeps my setup current and hassle-free.
Take Action and Brighten Your Home Theater Experience
Don’t let ambient light ruin your viewing pleasure—by understanding and applying the right combination of ALR materials and gain, you can transform your space into a daytime-ready cinema. Experiment with different materials, adjust your projector settings, and optimize your room layout. Your perfect bright room projection setup is within reach—start today and enjoy stunning visuals even in daylight!
Have you ever struggled with selecting the right gain or screen material for your bright room? Share your experiences below—I’d love to hear what worked for you!
This article really hits home for me, especially the part about proper screen placement and angle affecting gain effectiveness. I experienced hotspots on my first high-gain screen because I didn’t align it carefully, which ended up ruining the picture from certain angles. It’s a reminder that even the best materials require precise setup to perform optimally. I found that using a laser level during installation made a huge difference in ensuring even brightness and avoiding hot spots.
What’s everyone’s take on balancing screen size with gain in smaller rooms? I’ve read that higher gain can cause glare and uneven brightness when the room isn’t big enough, but I’d love to hear practical tips from others who have navigated this challenge. Do you lean towards medium gain screens for smaller spaces, or is it worth investing in a high-gain model with careful calibration? The key seems to be understanding the trade-offs and experimenting to find what truly works best in your individual setup.
This post really sheds light on how crucial proper screen material and gain are in bright room setups. I’ve personally struggled with glare and washout in my living room even after upgrading my projector, so understanding that a high-gain ALR screen tailored for ambient light rejection made a huge difference was eye-opening. I remember trying to optimize gain placement and noticing hotspots that detracted from picture uniformity, which aligns with what Kevin Harris mentioned about the importance of precise installation.
One thing I’ve found useful is experimenting with different screen angles and mounting heights to mitigate hot spots, especially with high-gain surfaces. Balancing brightness and uniformity can be tricky — do others have tips for organizing seating or adjusting angles that help maintain even illumination? I’m curious whether medium gain screens could serve better in smaller or irregular-shaped rooms without such issues. Would love to hear how others have tackled this challenge to get the best possible image quality in bright environments!