Best ALR Screen Options for Bright Rooms: Material, Gain & Size Guide
Ever set up a home theater in a bright room, only to find your picture washed out or lacking the vibrant punch you crave? I’ve been there. I remember thinking, “Why does this look so dull despite my high-end projector?” It was frustrating, and honestly, I almost gave up on achieving that cinematic magic I’d envisioned. But then I stumbled onto the secret: the right ALR screen tailored for bright environments. That realization was a game-changer. Today, I want to share that journey and help you avoid the common pitfalls I faced.
Why Bright Rooms Need Special Screen Solutions
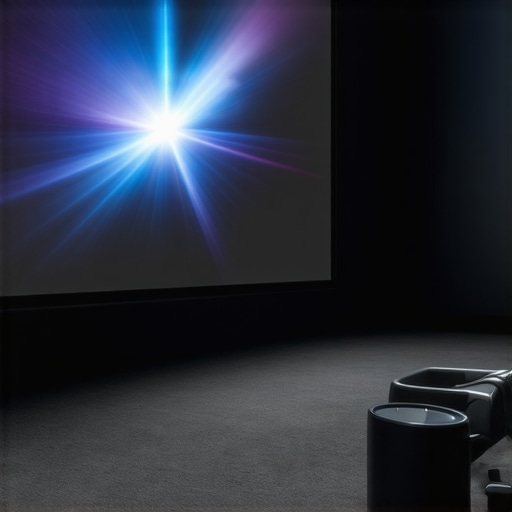
Most standard projection screens struggle with ambient light. Bright rooms, whether with large windows or lots of artificial lighting, can make even the best projectors appear lackluster. This isn’t just a minor inconvenience—it fundamentally affects your viewing experience. The key is choosing a screen that can handle this challenge, and that’s where Ambient Light Rejection (ALR) screens shine. They’re designed to reflect light from your projector while minimizing the impact of ambient light, giving you a clear, vibrant picture even in daylight or well-lit rooms.
Have You Faced This Problem Before?
If your current setup leaves you squinting at dull images or constantly adjusting blinds, you’re not alone. I’ve made the mistake early on of selecting a regular screen for a bright room, only to be disappointed. The good news is, understanding the right material, gain, and size can transform your space. And that’s exactly what we’ll explore today.
For a deeper dive into how different materials and gains work, check out this detailed guide on projection screen materials and gain. It’s a fantastic resource to help you grasp the basics before making a purchase.
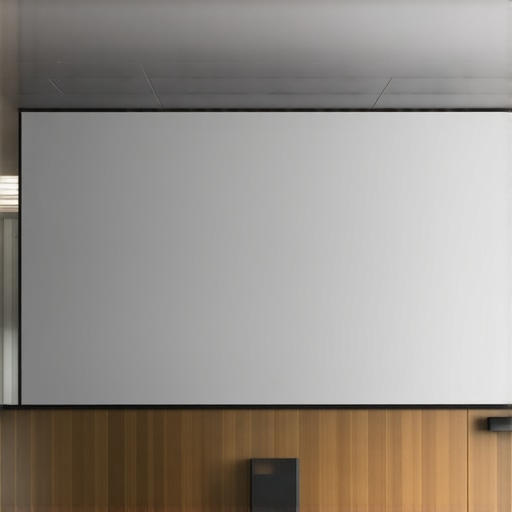
Pick the Right Material for Clear, Vibrant Images
Start by selecting a high-quality ALR screen material designed specifically for bright rooms. These screens use specialized coatings and textures to reflect projector light directly back to you while diffusing ambient light. I recommend checking out this guide on ALR screen options to understand the top materials like optical coatings, micro-structured surfaces, or newer nanotech fabrics. When I first installed my screen, I chose a micro-structured ALR fabric, which significantly improved contrast and color vibrancy in my sunlit living room.
Match Material to Your Projector’s Brightness
Remember, the effectiveness of your chosen material depends on your projector’s lumen output. For a bright room, a gain of 1.4 to 2.0 is typical—higher gain reflects more light toward viewers but can introduce hot-spotting if not carefully installed. It’s a balancing act; I initially went for a 1.8 gain fabric, which offered a bright image without hot-spot issues. For detailed info, see this resource on screen gain and materials.
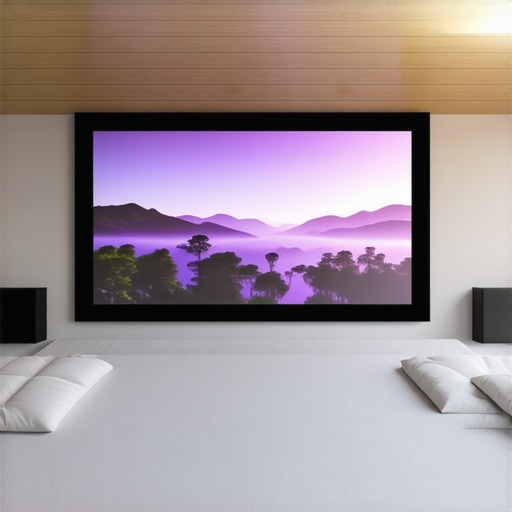
Choose the Correct Gain to Maximize Brightness
Gain determines how much light is reflected back to your viewing position. Think of gain as a mirror’s reflectivity—higher gain means more light is directed toward you. In my setup, I used a 1.5 gain screen for a good balance; it made the picture pop without creating glaring hotspots. If you want a more immersive, brighter image, consider a gain of 2.0, but be cautious of hot-spotting. For more options, check this guide on gain choices.
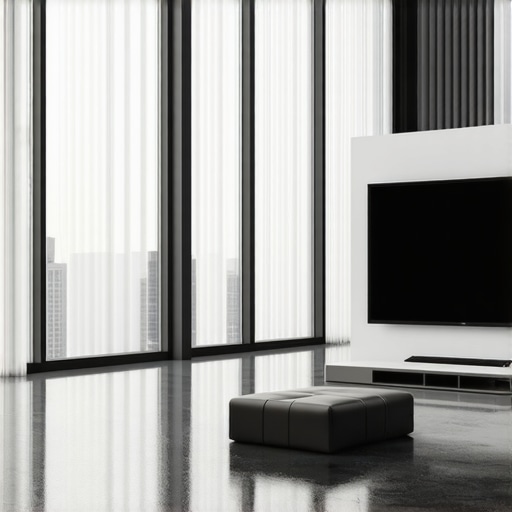
Get the Size Just Right for Your Space
Choosing the right screen size is crucial. Too small, and you miss out on cinematic impact; too large, and you risk losing contrast and clarity. Use the formula: measure your room and seating distance, then consult this size and gain guide to find a size that fits perfectly. I measured my viewing distance, then selected a 120-inch screen, which filled my wall without overwhelming the space. I also paid attention to aspect ratio—most bright room setups favor 16:9 for versatility.
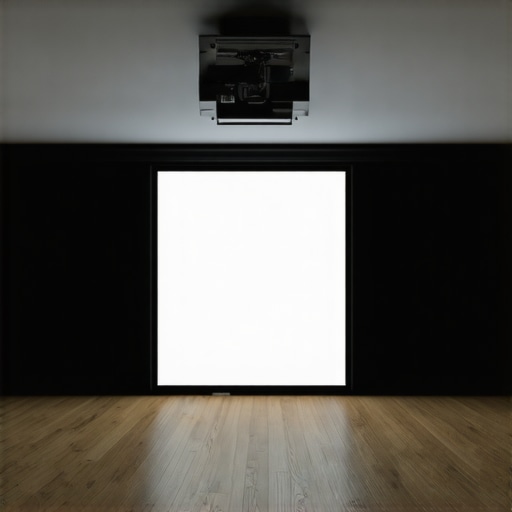
Ensure Proper Installation for Optimal Results
Proper mounting ensures even gain and avoids hot spots. Use a level and tensioning system, and keep the screen flat against the wall. When I installed my screen, I used a tensioning frame to avoid sagging, which maintained uniform reflection. This small step made a huge difference in picture quality and uniformity.
Test and Adjust Your Setup
Once installed, test with various content—bright scenes, dark scenes, and daylight conditions. Adjust projector settings like brightness, contrast, and color to match your new screen. If hotspots appear, try repositioning the screen or adjusting room lighting. I found that dimming ambient lights and tweaking projector settings yielded the best results.
By carefully selecting your material, gain, and size, and installing with precision, you’ll unlock the full potential of your bright room projection. For more detailed tips, explore this comprehensive guide.
Many enthusiasts assume that selecting a high-gain ALR screen is a straightforward task, but the reality is more nuanced. One of the most prevalent misconceptions is that bigger screens always mean better immersion. However, if you opt for a size that exceeds your room’s optimal viewing distance, you risk losing contrast and image clarity, especially in bright environments. It’s crucial to use tools like the size and gain guide to find that perfect balance. I once installed a 150-inch screen in a small living room, which overwhelmed the space and caused my projector’s image to look washed out. Remember, bigger isn’t always better unless your room and equipment can support it.
Another mistake many make involves ignoring the importance of room reflection and room surface treatments. Even with an excellent ALR screen, reflective surfaces like shiny floors or glossy walls can introduce unwanted glare, reducing contrast and vibrancy. The smart move is to consider room modifications or matte finishes on walls to complement your screen. I learned this the hard way when I kept adjusting my projector settings, only to realize that my glossy coffee table was bouncing ambient light onto the screen, creating hotspots and glare. Proper room management can make a significant difference.
Let’s talk about a common myth: that higher gain screens always produce brighter images. This isn’t true in practice. While higher gain reflects more light, it also narrows the viewing angle and can introduce hot-spotting—bright spots that ruin the uniformity of the picture. For example, a gain of 2.0 might seem appealing, but without precise installation and room calibration, it often results in uneven brightness. Opting for a moderate gain, like 1.4 or 1.5, strikes a better balance between brightness and image uniformity. For detailed insights, check this guide on gain and material choices.
Is Hot-Spotting Just a Fluke or a Sign of Poor Setup?
Hot-spotting occurs when intense reflection occurs at a specific area of the screen, usually due to improper installation or high gain material. Many assume this is an unavoidable flaw, but in reality, it’s often caused by misaligned projectors or uneven mounting. Ensuring your screen is perfectly flat, tightly tensioned, and positioned at the correct height can significantly reduce this issue. Additionally, selecting a screen with a micro-structured surface or advanced nanotech coatings can help diffuse hot spots. According to experts, precise calibration and installation are the keys to avoiding this common pitfall. I recommend regularly testing different content to identify and correct hot-spot areas before watching your main content. If you want to explore more about the best setups, visit this comprehensive guide.
Remember, the devil is in the details. Avoiding these mistakes will enhance your bright room projection experience and bring that cinematic magic into your home. Have you ever fallen into this trap? Let me know in the comments.
Once you’ve invested in a high-quality ALR screen and optimized your projector settings, the next crucial step is ensuring everything continues to function flawlessly over time. Proper maintenance not only preserves image quality but also extends the lifespan of your equipment. I personally recommend establishing a routine checkup schedule, including cleaning the screen gently with a microfiber cloth to prevent dust buildup that can affect reflectivity. Avoid harsh chemicals; instead, use a mild, non-abrasive cleaner specifically designed for projection screens, which you can find at specialized AV stores or online. Regularly inspecting the mounting brackets and tensioning system is vital to prevent sagging or uneven reflection, especially if your setup is in a high-humidity environment or subject to temperature fluctuations.
For your projector, keeping the lens clean is essential. Use a blower brush or a lens cleaning kit to remove dust or fingerprints. Don’t forget to check the air filters and ventilation paths to prevent overheating, which can degrade image quality over time. Implementing a protective cover for the projector when not in use can also shield it from dust and accidental damage. To maintain consistent brightness and color accuracy, calibrate your projector periodically using calibration tools such as the professional calibration software or hardware solutions. This practice ensures your setup remains optimized for the brightest, clearest images, especially in a bright room environment.
Looking ahead, the trend in projection technology is moving toward more intelligent, self-calibrating systems that can adapt to room conditions automatically. As these innovations become more affordable, I predict that maintaining superior performance will become more streamlined, reducing the need for manual calibration. In the meantime, a combination of regular cleaning, calibration, and physical inspections is your best bet to keep your setup working at its best.
How do I keep my projection system running smoothly over time?
To keep your bright room projection setup performing at its peak, invest in quality cleaning tools like microfiber cloths and lens cleaners. Schedule routine calibrations with professional software, and inspect mounting and tensioning systems periodically. Avoid exposure to extreme temperatures and humidity, which can warp or damage components. Setting a regular maintenance routine—monthly or quarterly—can save you from costly repairs and ensure your cinematic experience remains vibrant and clear for years to come. Remember, a well-maintained system is the key to long-term satisfaction and stunning picture quality in any bright environment. For more detailed maintenance tips, check out this comprehensive guide and start implementing these simple yet effective practices today!
The Hardest Lesson I Learned About Bright Room Projection
One of the toughest realizations was that choosing the highest gain screen isn’t always the best move. I initially believed a 2.0 gain would give me the brightest images, but I soon discovered it caused hot-spotting and uneven brightness that ruined the viewing experience. The secret? A moderate gain, around 1.4 to 1.5, offers a perfect balance between brightness and image uniformity. This was a lightbulb moment that transformed my setup and can do the same for you.
3 Myths About ALR Screens That Held Me Back
For a long time, I bought into the idea that bigger is always better. I installed a 150-inch screen in my small living room, thinking it would provide a cinematic feel. Instead, I faced washed-out images and poor contrast. The truth is, screen size must match your room size and seating distance. Use tools like this size and gain guide to find your perfect fit. Bigger isn’t better if it overwhelms your space.
What Experts Won’t Tell You About Room Reflection and Surface Treatment
Despite investing in a top-tier ALR screen, I overlooked room reflections and shiny surfaces. My glossy coffee table bounced ambient light onto the screen, creating glare and hotspots. The lesson? Room modifications, like matte walls and avoiding reflective furniture, can dramatically improve contrast and vibrancy. Proper room management is just as crucial as choosing the right screen.
My Essential Toolkit for Bright Room Projection
Over the years, I’ve found that a few trusted tools make all the difference. A microfiber cloth for gentle cleaning, a calibration software like professional calibration tools, and quality mounting hardware ensure your system stays optimal. Regular maintenance and calibration extend your equipment’s lifespan and keep your visuals stunning. I personally swear by these tools, and I recommend them for anyone serious about bright room projection.
Your Turn to Try
Achieving cinematic quality in a bright room is more achievable than you might think. It’s about making smart choices, understanding your space, and paying attention to details. With the right ALR screen, proper installation, and room management, you can enjoy vibrant, sharp images even in daylight. So, are you ready to optimize your setup and experience the magic of bright room projection? Share your thoughts or questions below—I’d love to hear your journey!