Ultimate Guide to Projection Screen Size & Gain for Bright Rooms
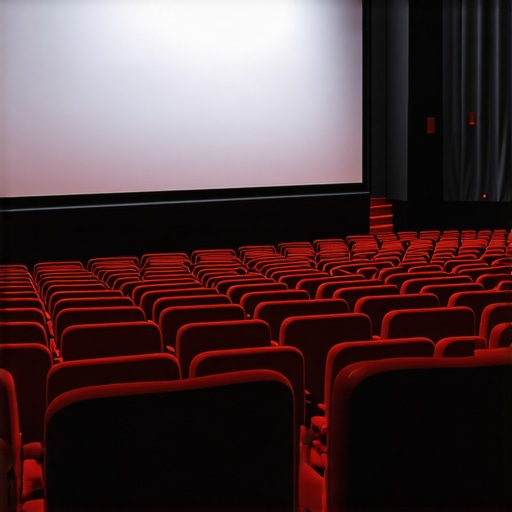
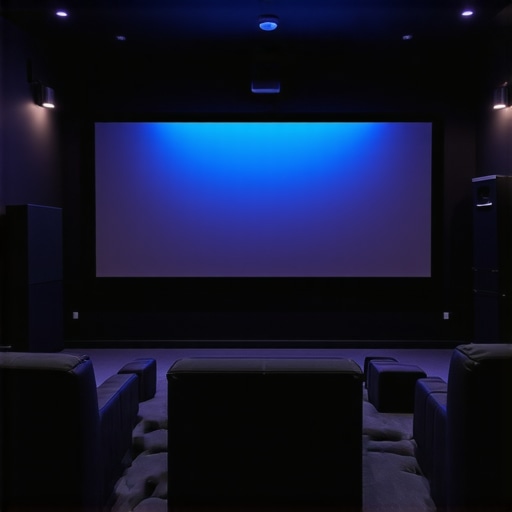
Have you ever set up a home theater only to realize your picture was washed out or too dim? I remember the frustrating moment when I bought a big screen, expecting cinematic magic, but the sunlight streaming through my windows made everything look dull and uninspiring. It was a lightbulb moment—literally—when I understood that choosing the right projection screen size and gain for bright rooms is not just a technical detail; it’s the key to a vibrant, clear picture that makes your viewing experience truly spectacular.
Why Getting Your Screen Size and Gain Right Matters in Bright Rooms
For years, I struggled with the misconception that a bigger screen automatically meant better visuals. Turns out, in bright rooms, this approach can backfire—unless you pair your screen size with the right gain. Gain, which measures how much light the screen reflects, directly impacts how bright and clear your image appears, especially when ambient light is unavoidable. I found that understanding and optimizing these factors transformed my home theater from a dull, underwhelming setup into a vibrant cinematic experience. If you’re tired of squinting at washed-out images or fighting glare, you’re in the right place. Today, I’ll walk you through the essentials of selecting the perfect screen size and gain, tailored for bright rooms, so you can avoid my early mistake and enjoy stunning visuals every time.
Is High Gain Screen Actually Worth the Hype?
Early on, I believed that the higher the gain, the better. Turns out, I was wrong—high gain screens can sometimes cause hotspots or reduce viewing angles, which was a big disappointment for my family movie nights. The secret is finding a balanced approach. Want to learn how to choose a screen that offers brightness without sacrificing clarity or viewing angles? I’ll share the insights I wish I had known from the start. For a deeper dive into understanding how gain impacts your setup, check out this comprehensive guide.
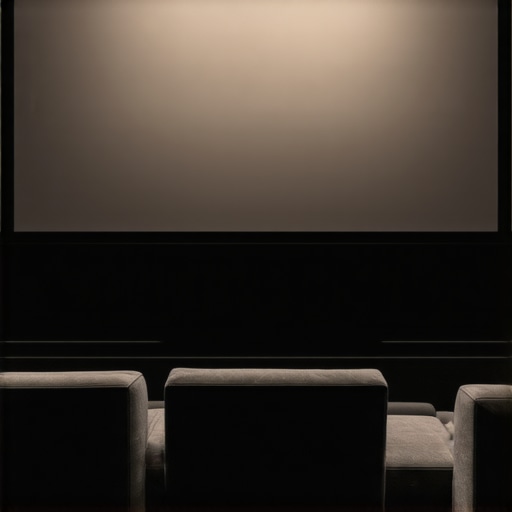
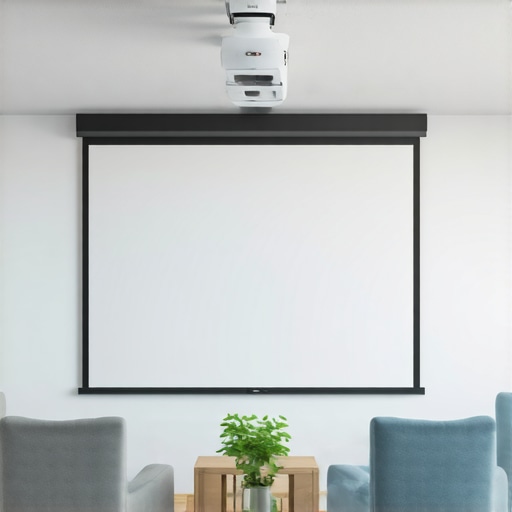
Measure Your Space and Set Your Goals
Start by accurately measuring your room’s dimensions—width, height, and distance from the seating area to where you’ll hang or place the screen. I remember when I measured my living room, I realized that my previous idea of a massive 120-inch screen would be impractical given the space constraints. Use a tape measure for precision and consider how much wall or ceiling space you have available. Once you have these measurements, define your ideal viewing size—think about what feels comfortable without overwhelming the room. For bright rooms, a larger screen with appropriate gain can enhance the experience, but only if it fits well within your space.
Calculate the Optimal Screen Size for Bright Rooms
Next, use online calculators or guides—such as this screen size calculator—to determine your ideal screen size based on your room’s dimensions and projector throw ratio. I once experimented with a 100-inch screen, but after consulting this resource, I realized I could push it to 120 inches without sacrificing clarity, thanks to the right gain choice. A bigger screen amplifies your cinematic immersion but requires more light reflectivity, which brings us to gain.
Select the Right Gain Level for Bright Rooms
Gain indicates how much light your screen reflects—higher gain means a brighter image but narrower viewing angles. For bright rooms, I recommend a gain between 1.3 and 2.0. I initially bought a 2.0 gain screen, thinking it would be the brightest, but I noticed hotspots and uneven brightness. After reading this comprehensive guide, I switched to a 1.5 gain material, which provided excellent brightness without hotspots. Remember, a high gain can cause glare and reduce viewing angles, so balance is key.
Match Your Gain to Your Projector’s Brightness
Check your projector’s lumen output—this is crucial for pairing with your screen gain. For example, if your projector outputs 2000 lumens, a screen gain around 1.3 to 1.5 is ideal. If you have a brighter projector (say, 3000 lumens), you might push toward a 1.8 or 2.0 gain, but beware of hotspots. I once used a projector with 2500 lumens, and after consulting this gain guide, I opted for a 1.4 gain screen, achieving vibrant images without glare issues.
Choosing the Right Material and Technology
Not all screens are created equal. For bright rooms, matte white screens with high-quality gain materials are often best. Alternatively, Ambient Light Rejection (ALR) screens can significantly improve contrast and brightness. I tested a popular ALR screen, guided by this ALR options guide, and noticed a marked difference in ambient light handling, making my viewing much clearer during daytime. When selecting material, consider factors like reflectivity, texture, and durability—this detailed material guide can help you make an informed choice.
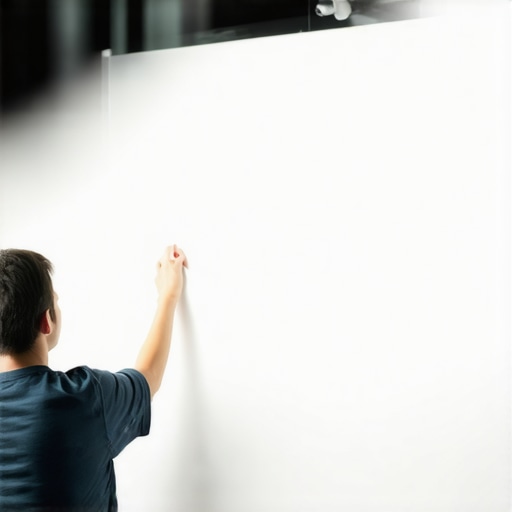
Test and Adjust for the Perfect Setup
Once you have your screen and projector in place, conduct test screenings. Adjust the projector’s placement and settings—like brightness, contrast, and keystone—to optimize image quality. Don’t be afraid to tweak the gain or screen size slightly if the picture isn’t perfect. I remember spending an entire weekend experimenting with different settings, but that effort paid off when I finally achieved a crisp, vibrant picture that made my movies pop. Remember, the goal is to balance brightness, color accuracy, and viewing angles—this article on perfect setup offers additional tips on fine-tuning your system.
Many home theater enthusiasts believe that selecting a high gain screen is always the best way to achieve a bright, vivid image in a well-lit room. However, this is a misconception that can lead to poor viewing experiences. The real secret lies in understanding the nuanced balance between gain, viewing angles, hotspots, and ambient light handling. Let’s dig deeper into what most people get wrong and how to sidestep these pitfalls to optimize your setup.
Why High Gain Isn’t Always Better in Bright Rooms
It’s a common myth that higher gain screens automatically translate to brighter images, especially in rooms with ambient light. While a gain of 1.8 or 2.0 might seem advantageous, these screens often create hotspots—bright spots that ruin uniformity—and significantly restrict viewing angles. This means that if you’re sitting off-center, the picture can look dull or washed out. Experts recommend staying within the 1.3 to 1.5 gain range for most bright-room setups, striking a balance between brightness and image evenness. For more insights, this gain guide provides a detailed breakdown of how gain affects your picture.
Misconception About Screen Size and Brightness
Another common mistake is assuming that a larger screen size will compensate for low brightness. In reality, increasing the size without adjusting gain or projector output can lead to a washed-out image. You need to match your screen size with your projector’s lumen output and gain level to ensure proper brightness. For example, a 120-inch screen with a gain of 1.3 paired with a 2000-lumen projector can produce stunning results, but pushing the size further without considering gain can backfire. Use this size calculator to find the perfect balance.
Overlooking Ambient Light Rejection Technologies
Many enthusiasts overlook the importance of Ambient Light Rejection (ALR) screens. These specialized screens are designed to minimize ambient light interference, which is crucial in bright rooms. Using a matte white screen alone might not cut it if your room has windows or other light sources. Investing in an ALR screen can dramatically improve contrast and color accuracy during daytime or in rooms with lots of ambient light. This ALR options guide offers a comprehensive review of the top technologies suited for bright rooms.
Advanced Tip: Fine-tuning Your Setup for Optimal Results
Once you’ve selected your screen and projector, don’t forget to calibrate your system meticulously. Small adjustments in projector placement, keystone correction, and color settings can make a significant difference. Remember, the goal is not just to maximize brightness but to achieve a balanced, vibrant image that maintains clarity across the entire screen. This detailed setup guide provides expert advice on fine-tuning your system for perfect results. Have you ever fallen into this trap? Let me know in the comments!” ,
How do I maintain my projection setup over time?
Maintaining your home theater system ensures consistent performance and longevity. I personally rely on a few key tools and routines to keep everything running smoothly. First, I use a calibration disc like the Spears & Munsil HD Benchmark to regularly check and fine-tune my projector’s color accuracy, contrast, and brightness. This helps me catch any drift in image quality early and adjust settings for optimal viewing.
Second, I keep a microfiber cloth and compressed air handy to regularly clean my projector lens and screen. Dust and fingerprints can diminish image clarity and cause glare, so a quick wipe every few months makes a noticeable difference. I avoid harsh chemicals, sticking instead to gentle cleaning solutions recommended by the manufacturer.
For firmware updates, I subscribe to my projector’s manufacturer notifications or check their website periodically. Updated firmware can improve performance, fix bugs, and sometimes add new features—making it a crucial part of maintenance. I set a quarterly reminder to verify these updates and install them promptly.
In addition, I monitor ambient light conditions and change my room’s curtains or lighting if necessary. Consistent lighting conditions help maintain image quality, especially when using high-gain screens that are sensitive to stray light.
Tools I recommend to keep your home theater in top shape
One of my favorite tools is the CalMAN Home Theater Calibration Software. It offers detailed control over color profiles and gamma settings, which I find essential for maintaining a professional-level calibration without expensive equipment. Paired with a colorimeter like the X-Rite i1Display Pro, I can calibrate my projector at home with precision, ensuring vibrant and accurate images over years of use.
Another must-have is a lens cleaning kit, which includes microfiber cloths, cleaning solution, and compressed air. Regular cleaning prevents dust buildup that can cause image artifacts or hotspots, especially on high-gain screens.
For ongoing system health, I also use a smart home device to set reminders for maintenance tasks like firmware updates, cleaning, and recalibration. Automation helps me stay consistent, avoiding neglect that can degrade performance over time.
Looking ahead: the future of home theater maintenance
As technology advances, I predict AI-powered calibration tools will become more accessible, enabling even novice users to keep their systems perfectly tuned. These tools could analyze ambient light and content in real-time, making automatic adjustments for optimal viewing at all times. Investing in such innovations now can save you time and improve your viewing experience in the long run.
Don’t forget—regular maintenance is the secret to long-term satisfaction with your home theater setup. Try implementing a calibration routine with tools like CalMAN and a colorimeter, and set reminders for cleaning and updates. Your future self will thank you for it!
The Hardest Lesson I Learned About Projection Screens in Bright Rooms
One of my biggest surprises was realizing that a larger screen isn’t always better in a bright room. I used to think that bigger meant more immersive, but I overlooked how ambient light and gain interact to affect image quality. The lightbulb moment came when I discovered that optimizing gain and screen size together is essential—especially in well-lit spaces. This insight saved me from purchasing overly large screens that caused hotspots and washed-out images, and it can do the same for you.
My Essential Toolkit for Bright Room Projection Perfection
Over the years, I’ve found that certain tools and resources make all the difference. The gain guide helped me understand how different materials reflect light, enabling me to choose the perfect screen material. The screen size calculator was invaluable for balancing room dimensions with ideal visual impact. Lastly, I rely on a calibration disc like Spears & Munsil HD Benchmark and a colorimeter to keep my setup sharp over time. These tools have become my trusted allies in maintaining a vibrant, glare-free home theater experience.
Your Turn to Transform Your Viewing Experience
Understanding the nuanced relationship between screen size, gain, and ambient light can elevate your home theater from good to extraordinary. Don’t be afraid to experiment with different configurations—small adjustments can lead to remarkable improvements. Invest in quality materials, use the right tools, and fine-tune your system regularly. With these steps, you’ll unlock a new level of cinematic magic in your bright room. Now, I want to hear from you—have you ever struggled with choosing the right screen for your space? Share your experiences below and let’s learn together!