Understanding Projection Screen Gain & Material for the Ultimate Home Theater Setup
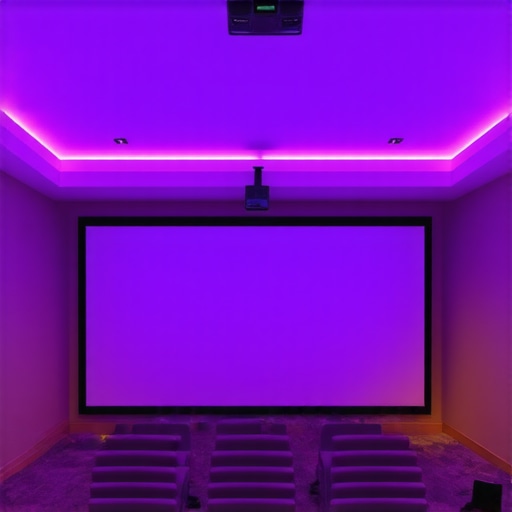
Ever set up what you thought was an epic home theater only to find the picture washed out or dull when the lights came on? I’ve been there. That light, that glare, that poor contrast — it’s enough to make you want to give up and settle for a smaller screen or a less ambitious setup. But I learned something crucial after countless experiments: understanding the right projection screen gain and material can transform your viewing experience completely.
Why Your Screen Choice Can Make or Break Your Home Theater
If you’ve ever wondered why your new projector doesn’t look quite right, or why bright rooms seem impossible to conquer, the problem often starts with the screen itself. Not all screens are created equal, and their materials and gain ratings are the secret sauce behind a vibrant, crisp picture — especially in rooms with ambient light. When I first started, I made the mistake of choosing a standard matte white screen without considering how much light my room had. The result? A washed-out image that made me regret my purchase. That mistake taught me a valuable lesson: understanding projection screen gain and material was essential to get the most out of my setup.
Is Screen Gain Overhyped or Truly Game-Changing?
At first, I thought all gains were just marketing hype. I wondered if a higher gain meant a brighter picture or if it was just a way for manufacturers to charge more. Turns out, the gain rating actually measures how much light the screen reflects back toward your eyes. A higher gain (say 3.0) can make a bright room look stunning, but it can also cause hot spots and reduce viewing angles. Conversely, lower gain screens (around 1.0) provide more uniform images but might struggle in well-lit rooms. I learned this the hard way — I bought a high-gain screen without understanding its trade-offs, and it resulted in uneven brightness and glare. That’s why I now recommend doing your homework and understanding your room’s lighting conditions before choosing your material.
Today, I’ll guide you through the ins and outs of selecting the perfect screen gain and material for your space. Whether you’re battling sunlight or trying to maximize contrast, I’ll share practical tips based on real experience and expert advice. Ready to avoid my pitfalls and create that cinematic magic at home? Let’s dive in.
Pick the Right Gain for Your Room’s Lighting
Start by assessing your room’s ambient light. Bright rooms require screens with higher gain to reflect enough light and produce vivid images. For example, a gain of 2.0 or higher can combat sunlight and indoor lighting, ensuring your picture remains crisp and lively. When I set up my first bright room, I initially chose a standard white matte screen, thinking it was the safest choice. But after testing, I found the image washed out during the day. That’s when I switched to a high-gain screen, which made a significant difference. For more insights, check this guide on ALR screen technology and gain.
Balance Brightness and Viewing Angles
While a high-gain screen boosts brightness, it can also create hot spots and narrow viewing angles. To avoid these issues, select a gain that balances visibility with uniformity. I once experimented with a 3.0 gain screen, but the hotspots made the image uneven, especially off-center. After some adjustments, I settled on a 1.8 gain, which maintained good brightness without sacrificing image quality. Use this material and size guide for bright rooms to match gain with your room dimensions.
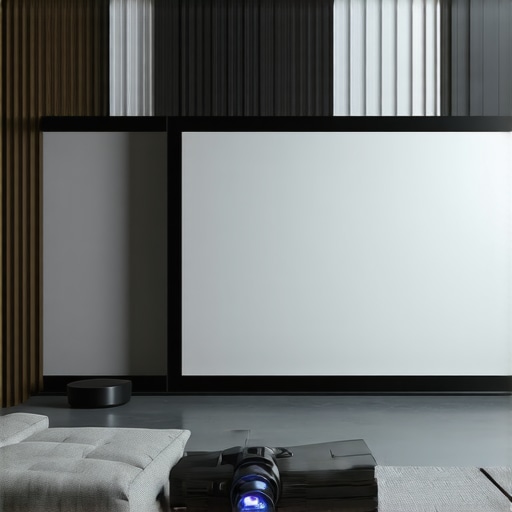
Choose Materials That Maximize Contrast
Material choice is just as critical as gain. Matte white surfaces are common but can wash out in bright environments. Instead, consider specialized materials like ambient light rejecting (ALR) screens, which reflect light directly back to your eyes while absorbing ambient light. I tested a few different materials and noticed that ALR screens drastically improved contrast and color richness in my sunlit room. For recommendations on the best materials, visit this ALR material comparison.
Understand the Trade-Offs
High-gain screens tend to have narrower viewing angles, meaning everyone needs to sit directly in front for the best picture. I learned this firsthand during a movie night, where my friends sitting to the sides saw a dimmer, distorted image. To mitigate this, I chose a moderate gain and a high-quality ALR material, which offered a wide sweet spot. Remember, the goal is to enhance brightness while maintaining uniformity and color accuracy. You can explore more about this in this comprehensive guide to gain and material.
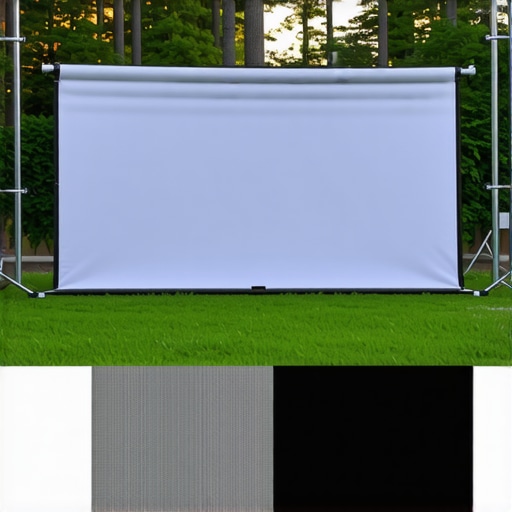
Test and Adjust Before Finalizing
Before settling on your screen, test different gain levels and materials in your actual room conditions. I temporarily set up a few portable screens with varying gain and material options. Watching the same content under different setups revealed how much gain and material impact image quality. This hands-on approach saved me from costly mistakes and helped me choose the optimal combination. Use this size and gain calculator to fine-tune your setup.
Many home theater enthusiasts fall into the trap of oversimplifying the complexities of choosing the right projection screen gain and material. A widespread misconception is that higher gain screens always deliver better brightness and contrast. On the contrary, this myth neglects the nuanced trade-offs involved, such as reduced viewing angles and increased hot spots. For instance, a gain of 3.0 might seem ideal for bright rooms, but it can cause uneven illumination and glare issues, especially off-center seats. To truly optimize your setup, it’s crucial to understand that higher gain isn’t universally better; it’s about matching gain levels to your specific room conditions and viewing preferences. For an in-depth understanding, check out this comprehensive guide on screen gain and material nuances.
Another common mistake involves overlooking the importance of ambient light rejection (ALR) materials. Many users stick with matte white surfaces, believing they are the safest choice. However, in rooms with significant ambient light, these surfaces can wash out the picture, reducing contrast and vibrancy. Specialized ALR screens can reflect projected light directly back to your eyes while absorbing ambient light, greatly enhancing contrast and clarity. I learned this lesson the hard way when my first setup suffered in bright conditions, but switching to an ALR material transformed my viewing experience. For advanced insights, explore this guide on ALR technologies.
A subtle but critical error many overlook is neglecting to consider the impact of gain variation across the screen surface. Many assume that a screen with a specific gain rating will reflect light uniformly, but in reality, high-gain screens tend to produce hot spots, diminishing image uniformity. This can be especially problematic during prolonged viewing or when the seating arrangement isn’t perfectly centered. For a more sophisticated setup, aim for a moderate gain that balances brightness with uniformity, and always test your options before making a final decision. For detailed recommendations, visit this material and gain selection guide.
Have you ever fallen into this trap? Let me know in the comments. The key to a stellar home theater isn’t just picking the highest gain or the shiniest material—it’s understanding the trade-offs and how they align with your room’s unique characteristics. Mastering this subtle nuance will elevate your viewing experience to Hollywood levels.
Keeping Your Home Theater Equipment in Top Shape
Ensuring your home theater system remains reliable and performs at its best over time requires a combination of the right tools and regular maintenance. From calibrating your projector to protecting your equipment from dust, every detail counts. I personally rely on a few key tools that make maintenance straightforward and effective, helping me avoid costly repairs and ensuring a consistently stunning picture.
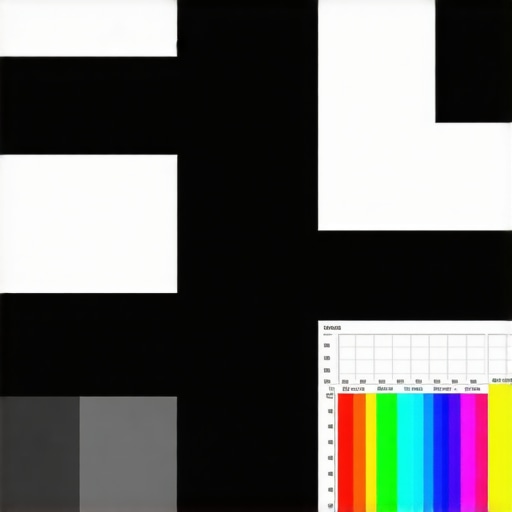
Invest in a Calibration Disk and Colorimeter
Accurate color and brightness calibration are vital for a true cinematic experience. I use a calibration disk like the Spears & Munsil UHD HDR Benchmark, which guides me through adjusting my projector settings precisely. Pairing this with a colorimeter—such as the X-Rite i1Display Pro—allows me to measure colors and luminance with scientific accuracy. This combination ensures my display remains consistent, especially after changes in bulbs or bulb aging, and keeps the image vibrant and true to life.
Use a Reliable Cleaning Kit
Dust and fingerprints can degrade image quality and potentially damage sensitive components. I recommend a microfiber cloth, compressed air, and gentle electronics cleaner for regular cleaning. For projectors, gently cleaning the lens with a lens cleaning solution prevents fogging and haze, maintaining sharpness. Regular cleaning sessions, scheduled every few months, keep your setup looking pristine and functioning optimally.
Maintain Proper Ventilation and Power Supply
Overheating can shorten the lifespan of your equipment. I use a temperature gun to monitor heat levels around my AV rack, ensuring adequate airflow. Additionally, investing in a surge protector or an uninterruptible power supply (UPS) shields your gear from voltage spikes and power outages, which can cause serious damage. These preventive measures are simple but save a lot of headaches and money in the long run.
Track Settings and Firmware Updates
Keeping a detailed log of your calibration settings helps restore your optimal picture after updates or hardware changes. I document my projector and AV receiver settings meticulously. Moreover, firmware updates often include bug fixes and performance improvements. I regularly check the manufacturer’s website and install updates promptly to benefit from the latest enhancements, ensuring my system stays current and secure.
Predicting Future Trends for Maintenance
As technology advances, I predict that smart calibration tools integrated into devices will become more common, automating many of these maintenance tasks. AI-driven diagnostics might soon alert us to issues before they affect performance, simplifying upkeep even further. Staying ahead with these tools will be key to maintaining a high-quality home theater for years to come.
How do I keep my setup working smoothly over time?
Developing a routine maintenance schedule—calibrating with professional tools, cleaning your equipment, monitoring environmental conditions, and updating firmware—ensures your home theater remains reliable and visually stunning. Don’t wait for issues to arise; proactive care keeps your cinematic experience seamless and enjoyable.
Now, I challenge you to try calibrating your projector with a colorimeter and calibration disk. It’s a game-changer for image quality and a step toward professional-level setup at home. With these tools, you’ll enjoy consistently vibrant and accurate visuals, making every movie night feel like a theatrical premiere.
The Hardest Lesson I Learned About Home Theater Screens
One of my biggest realizations was that blindly chasing higher gain screens without understanding their effects can sabotage your setup. I once bought a 3.0 gain screen, thinking it would shine in my bright room, only to discover hot spots and limited viewing angles that ruined the experience. It taught me that gain is a double-edged sword—reflecting more light but reducing uniformity. Now, I always test different gains in my actual space before making a final decision.
3 Myths About Screen Gain That Held Me Back
For a long time, I believed that higher gain always meant better brightness and contrast. Turns out, this is a misconception. High gain can cause glare and hot spots, especially when viewers are not perfectly centered. I also thought matte white was the only reliable material, but specialized ALR surfaces proved to dramatically improve contrast in ambient light conditions. Lastly, I assumed that larger screens always provide a better cinematic experience—size matters, but the right gain and material are equally crucial.
What Experts Won’t Tell You About Home Theater Screens
Many professionals know that selecting the right screen involves more than just size and gain. They understand the importance of matching gain with room lighting and seating arrangements to optimize image uniformity. Experts also emphasize the significance of using high-quality materials like ALR surfaces in bright rooms, which can transform your viewing experience. My own journey confirmed that a well-chosen screen, combined with proper calibration and testing, elevates your home theater from good to spectacular.
My Essential Toolkit for Home Theater Optimization
To truly master my setup, I rely on a few key tools. A calibration disk like the Spears & Munsil UHD HDR Benchmark guides me through fine-tuning my projector settings, ensuring accurate colors and brightness. Pairing this with a colorimeter such as the X-Rite i1Display Pro allows me to measure and maintain perfect calibration over time. I also keep a reliable cleaning kit handy—microfiber cloths, compressed air, and lens cleaner—to keep my equipment pristine and performing at its best. Regular firmware updates and environmental monitoring complete my toolkit, ensuring a consistently stunning home theater.
Believe in Your Power to Create Cinematic Magic
Your home theater journey is uniquely yours, and understanding the nuances of projection screen gain and material is a game-changer. Don’t be overwhelmed by technical jargon—start small, test different setups, and learn as you go. With patience and the right knowledge, you can craft a space that rivals the cinema, filled with vibrant colors, crisp contrast, and immersive sound. Remember, every great setup begins with a single step—so go ahead, experiment, and make your dream home theater a reality.