Ultimate Guide to ALR Screen Options: Size, Gain, and Material Insights
Ever spent hours setting up a home theater, only to realize the picture is washed out or too dim? I remember the lightbulb moment when I finally understood that my projector screen choices—size, gain, and material—weren’t just details, but game-changers. It was frustrating to realize I’d been missing out on picture quality because I didn’t grasp these essentials early on. Now, I want to save you that headache.
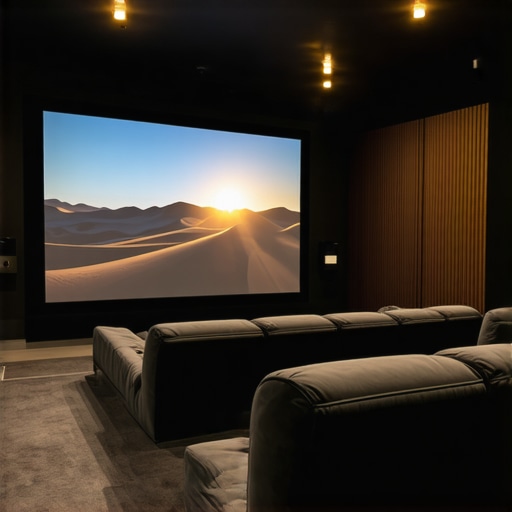
Why Your Screen Choice Can Make or Break Your Viewing Experience
Choosing the right ALR (Ambient Light Rejection) screen isn’t just about aesthetics or fitting the room. It’s about getting the most vibrant, clear picture possible, especially in bright rooms where ambient light can ruin your viewing. I’ve learned that a good screen can mean the difference between a dull, washed-out image and a stunning, cinema-quality display. And here’s the kicker—getting this right can be surprisingly straightforward once you understand the basics.
Is All the Hype About ALR Screens Actually Worth It?
When I first researched ALR screens, I was skeptical. I’d read glowing reviews about how they could transform bright rooms into dark-room-like experiences. But I also made the mistake of thinking all ALR screens are created equal. Turns out, I chose a model based solely on price, without considering gain or material. That was a mistake. I learned that not all ALR screens handle ambient light equally, and selecting the wrong one can leave you disappointed. For a comprehensive look at the best materials and gain options, check out this guide.
So, if you’ve ever wondered whether a higher gain is better or how screen size impacts your viewing, you’re not alone. I’ll walk you through the key factors—size, gain, and material—that will help you make an informed choice. Because the right setup isn’t just about fitting the room—it’s about elevating your entire entertainment experience. Ready to dive into the details? Let’s get started on finding your perfect ALR screen setup.
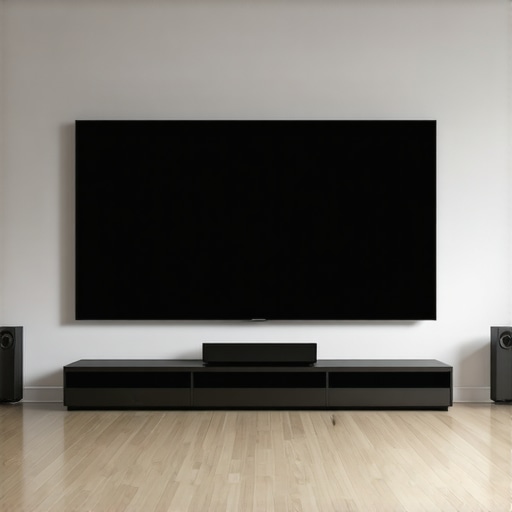
Choose the Right Screen Size for Your Room
Start by measuring your space accurately. Think of your screen like a picture frame—too small, and it feels lost; too large, and it overwhelms the room. I once bought a massive screen for a small room, and it made the space feel cramped and awkward. Use a projection size calculator like this tool to find the ideal size based on your room dimensions and viewing distance.
Calculate Your Ideal Viewing Distance
Once you know your ideal screen size, determine how far back you’ll sit. A good rule is to sit at a distance that is about 1.5 to 2.5 times the width of your screen. This ensures a comfortable viewing experience without strain or loss of detail. I adjusted my seating after setting up my screen, and the difference in clarity and immersion was night and day.
Select the Correct Gain for Bright Rooms
Gain measures how much light your screen reflects. For rooms with high ambient light, a higher gain (1.5-3) can help boost brightness. Remember, high gain screens are like mirrors—they reflect more light, making images brighter but potentially introducing glare or hotspot issues. I experimented with different gains and found that a 2.0 gain screen struck the perfect balance for my bright living room. For detailed info, check this guide.
Avoid Over- or Under-Estimating Gain
If your room is extremely bright, a gain closer to 3 might be necessary. Conversely, in darker rooms, a gain of 1.1-1.3 suffices. I once installed a 2.5 gain screen in a slightly dimmer room, which was too reflective and caused hotspots. After replacing it with a 1.8 gain screen, the picture improved significantly, with uniform brightness across the image.
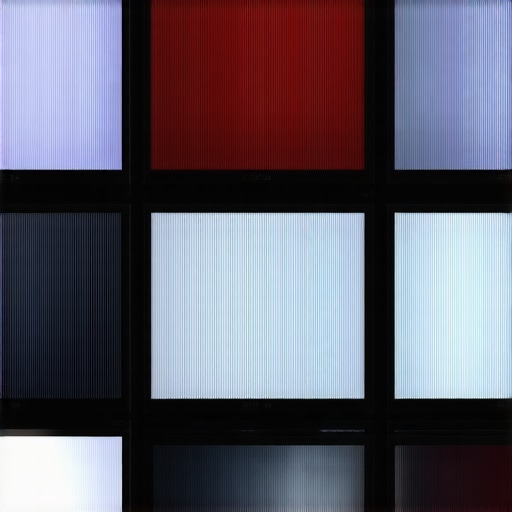
Pick the Perfect Material for Your Environment
Screen material impacts contrast, color, and viewing angles. Matte fabric options are forgiving and work well in most rooms. For brighter environments, specialized ALR materials with micro-structured surfaces reject ambient light effectively. I tested several materials and found that a high-quality ALR material made a huge difference in my room with windows and ambient lighting. For the best options, see this comparison.
Match Material to Your Usage
If you want vivid colors and deep blacks, opt for a high-contrast ALR material. For general viewing, matte or semi-matte fabrics are sufficient. Remember, the material should complement your gain choice and room lighting for optimal results. I settled on a semi-matte ALR screen, which balanced brightness and color fidelity without glare.
Test and Fine-Tune Your Setup
Once everything is in place—size, gain, and material—test your setup with a movie or a favorite show. Adjust seating position, projector angle, and even the screen’s tension if applicable. A little experimentation can yield the best picture quality. I spent an afternoon tweaking my projector’s calibration and minor adjustments to the screen, which finally gave me a crisp, vibrant image that rivals commercial theaters.
Remember, choosing the right ALR screen involves balancing size, gain, and material based on your specific room conditions. Take your time to measure, select, and test—your perfect home theater awaits.
Many home theater enthusiasts believe they know everything about choosing the perfect projection screen, but some of the most widespread myths can actually hinder your setup. Let’s dig deeper into these misconceptions and reveal the nuances that can make a real difference in your viewing experience.
Why the Popularity of High Gain Screens Can Be Overhyped
It’s tempting to think that a higher gain screen automatically means brighter images, especially in rooms with ambient light. However, this is a classic case of oversimplification. High gain screens (above 2.0) tend to create hotspots and glare issues, which can ruin image uniformity. In fact, many experts suggest that a gain of around 1.8 strikes the best balance between brightness and image quality for most bright-room setups. For a detailed comparison of materials and gain options, see this guide.
Additionally, many assume that a high gain screen will always outperform a lower gain one, but the reality is that the material’s micro-structure and surface finish are equally important. Sometimes, a well-chosen semi-matte ALR screen can outperform a glossy high gain screen by reducing glare and preserving color accuracy. Don’t fall into the trap of equating gain with overall quality—consider the material and room conditions as well.
Debunking the Myth That Bigger Is Always Better
Size matters, but only up to a point. Many believe that increasing screen size will automatically enhance immersion, and while that’s partly true, it can backfire if your room isn’t suited for it. A huge screen in a small room can cause eye strain and make the viewing uncomfortable. Conversely, a screen that’s too small might not provide the cinematic feel you want. Use tools like this size calculator to determine the optimal size based on your seating distance and room dimensions. Remember, the goal is to find a size that fills your field of view without overwhelming the space.
Another common mistake is neglecting the aspect ratio and shape. A 16:9 screen might not be ideal for movies shot in wider formats like 2.35:1. Choosing the right aspect ratio enhances your viewing pleasure and prevents cropping or letterboxing issues. For guidance on this, check this resource.
How Advanced Users Can Avoid the Pitfall of Over-Calibration
Many enthusiasts think that the more they tweak their projector’s settings, the better the picture. While calibration is crucial, overdoing it can lead to unnatural colors or washed-out images. The key is to understand that your projector and screen form a system; calibration should be a balanced process. Use professional calibration tools or test patterns to optimize contrast, color, and brightness without overcompensating. An overly calibrated setup can look artificial and detract from the cinematic experience. For expert tips, see this guide.
Maintaining your projection screen and audio-visual equipment over time is essential to preserving image quality and ensuring your home theater continues to impress. Regular care prevents dust buildup, minimizes degradation of screen materials, and keeps your projector and sound system functioning at peak performance. As technology advances, so do the tools and methods available to keep your setup in top shape.
Essential Tools for Long-Term Performance
One of my go-to tools is a high-quality microfiber cleaning cloth. I use it to gently wipe down my projection screen and projector lens regularly. Unlike harsh chemicals, a microfiber cloth removes dust and fingerprints without damaging delicate surfaces. For screens with micro-structured surfaces, like many ALR models, avoid abrasive cleaners that could scratch or degrade the material.
Next, I rely on compressed air cans to blow away dust from projector vents and around the lens. Dust buildup can cause overheating and reduce image clarity. Regularly cleaning these vents ensures proper airflow and extends equipment lifespan. I also keep a soft brush handy for detailed cleaning of connectors and ports, preventing corrosion and connectivity issues.
Calibrating and Updating Software
Calibration isn’t a one-and-done step; it should be revisited periodically. I use professional calibration tools like the Datacolor SpyderX or CalMAN software to fine-tune my projector’s color accuracy and contrast. Regular calibration maintains the vibrant colors and deep blacks that make a big difference in image quality. Additionally, keeping your projector’s firmware and your media player’s software up to date ensures compatibility with new content formats and fixes bugs that might impair performance.
Looking ahead, I predict that smart calibration systems integrated with room sensors will become more common, automatically adjusting settings based on ambient light and room conditions. Investing in such systems now can save time and guarantee consistent quality over the years.
How do I maintain my projection setup over time?
Consistent maintenance involves cleaning your screen and projector regularly, updating firmware and software, and calibrating your equipment periodically. I recommend setting a monthly reminder to inspect and clean your setup thoroughly. Additionally, monitor the ambient light in your room and consider upgrading your screen material or gain if you notice brightness or glare issues. Proper maintenance not only prolongs the life of your gear but also preserves that stunning cinematic experience you’ve worked so hard to craft.
For more detailed tips on choosing the best materials and gain options for your setup, check out this guide. And remember, investing in quality tools and regular upkeep will ensure your home theater remains a source of joy and entertainment for years to come. Don’t forget to try advanced calibration techniques or software upgrades—they can make a substantial difference in your viewing pleasure.
The Hardest Lesson I Learned About Projection Screens
One of my biggest realizations was that choosing the right projection screen isn’t just about size or brand—it’s about understanding how gain and material work together to combat ambient light. I once bought a high-gain screen thinking it would automatically fix brightness issues, but I overlooked hotspots and glare, which made me appreciate the importance of balance. This taught me that more gain isn’t always better—quality materials and proper calibration matter just as much.
3 Myths About ALR Screens That Held Me Back
Believing that all ALR screens are equal was a costly mistake. I discovered that micro-structure and surface finish impact how well a screen rejects ambient light and preserves colors. Initially, I thought a glossy surface was best for brightness, but I learned that semi-matte surfaces often deliver better contrast and less glare in bright rooms. These insights changed my entire setup approach and helped me get that cinema-quality picture I craved.
What Experts Won’t Tell You About Screen Size and Room Fit
I used to think bigger was always better, but I soon learned the importance of measuring your space carefully. A massive screen in a small room not only overwhelms the space but can cause eye strain. By using tools like a projection size calculator, I found that optimal size enhances immersion without discomfort. It’s all about balancing size with your room’s dimensions and your seating distance.
The Truth About Calibration and Over-Tweaking
My biggest mistake was over-calibrating my projector in pursuit of perfection. I learned that understanding the system as a whole—projector, screen, and room—is essential. Using professional calibration tools like the SpyderX helped me achieve natural colors and deep blacks without making the picture look artificial. Sometimes, less is more when it comes to fine-tuning your setup.
Why Regular Maintenance Keeps Your Home Theater in Top Shape
Consistent care—like cleaning the screen with a microfiber cloth and updating firmware—has been my secret to long-term performance. Dust and fingerprints diminish image quality over time, so regular cleaning is a must. I also schedule monthly checks to recalibrate and ensure my setup stays vibrant and sharp. Proper upkeep transforms a good setup into an extraordinary viewing experience that lasts for years.