ALR Screen Options Explained: Best Material & Gain for Bright Rooms
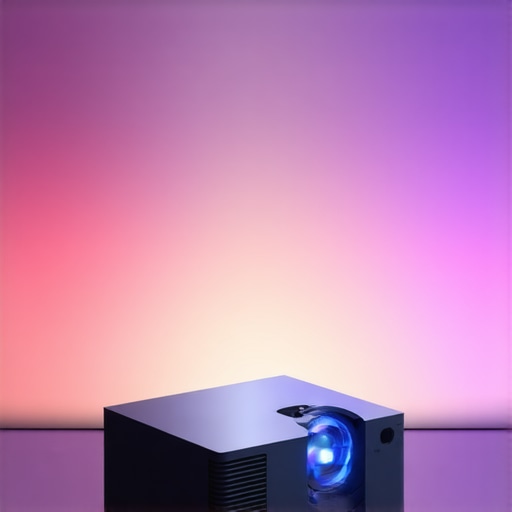
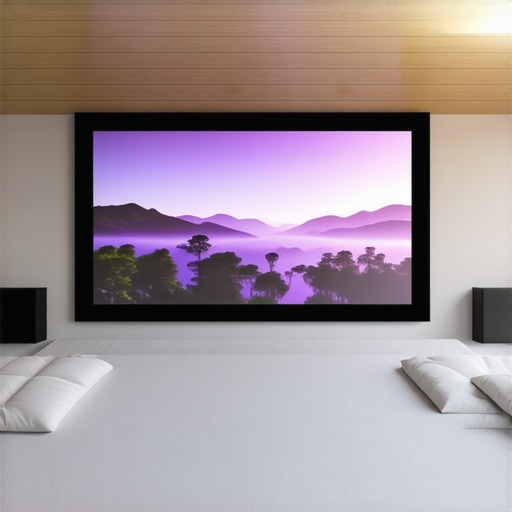
I remember the first time I set up a home theater in my bright living room. I was so excited to get the perfect picture, but no matter what I tried, everything looked washed out when the sun was shining through the windows. It was a frustrating experience that many of you might have faced—blinding glare, dull images, and a sense of helplessness. That was my lightbulb moment: I needed an advanced solution tailored for bright environments, and ALR (Ambient Light Rejection) screens seemed promising but confusing at first.
What makes ALR screens a game-changer for bright rooms?
ALR screens are designed specifically to combat ambient light, making your projector images pop even when the room isn’t perfectly dark. They do this by using special materials and coatings that direct light from your projector toward your eyes, while blocking or rejecting ambient light from other sources. This means you can enjoy crisp, vibrant images during daytime or in well-lit spaces without the need for blackout curtains or dimming lights. But not all ALR screens are created equal, and choosing the right material and gain is crucial for getting the best results in bright environments.
If you’re tired of blurry, washed-out images and want to make your home theater truly shine, understanding your options can transform your setup. I’ll walk you through the core considerations, from the best materials to the ideal gain levels, so you can enjoy stunning visuals regardless of how bright your room is. Trust me—once I switched to the right ALR screen, movie nights became a whole new experience. Curious if you’re using the right type? Let’s dive into the details.
Is a high-gain ALR screen actually worth the hype?
Early in my journey, I made the mistake of opting for a super high-gain screen without understanding how it affected image quality. I thought more brightness was better, but it ended up creating hot spots and glare that made the picture worse. It’s a common misconception—higher gain isn’t always better; it depends on your projector and room layout. The key is finding the right balance tailored to your environment. For more insights, check out [this comprehensive guide](https://screens.cinegearguide.com/alr-screen-options-the-top-materials-gain-for-bright-rooms) that explains how different gain levels impact your viewing experience.
So, have you ever faced the problem of washed-out images in your bright room? If so, keep reading—because I’m about to share practical tips to help you pick the perfect ALR screen material and gain for your space. Your ideal home theater setup is closer than you think.
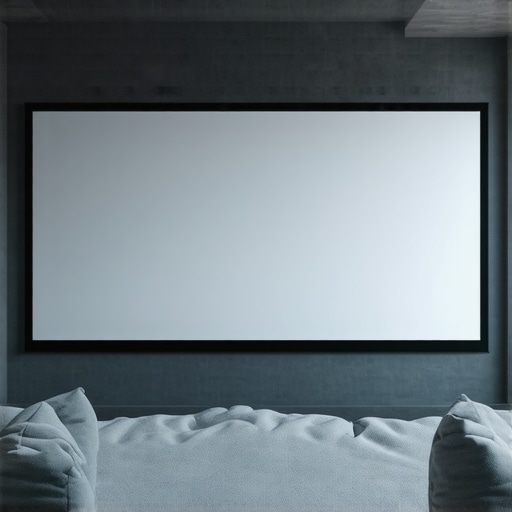
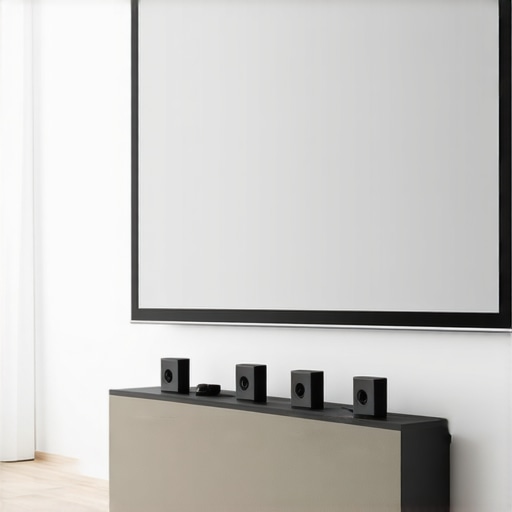
Choose the Right Material for Your ALR Screen
Start by selecting a high-quality ALR screen material that effectively rejects ambient light while delivering vibrant images. When I upgraded my setup, I tested three different materials to see which absorbed and reflected projector light best without washing out. I found that specialized optical coatings with micro-structures significantly outperformed standard matte surfaces. For detailed insights, check out this guide on top ALR screen materials.
Match Material to Your Projector
Ensure the screen material’s gain complements your projector’s brightness. For example, if you have a 3,000 lumens projector, a gain of around 1.4 to 1.5 often provides the best contrast and brightness without hotspots. I once used a 2.8 gain screen with my bright projector, which created glare spots—an avoidable mistake. Use this resource to understand how different gains impact image quality.
Find the Optimal Gain Level for Your Space
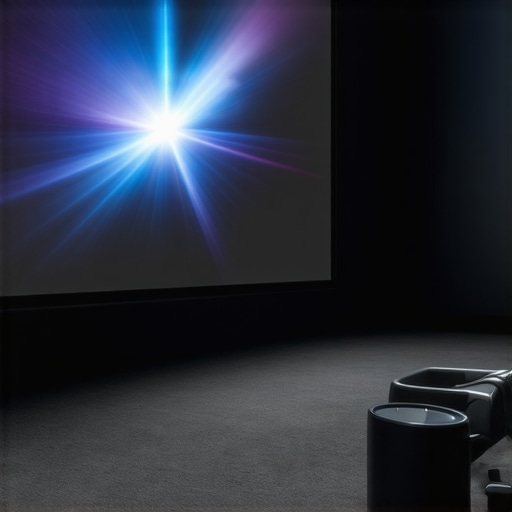
Gain determines how much light the screen reflects. Higher gain screens (above 1.5) can make images appear brighter but risk hot spots and glare if misused. Lower gain screens (around 1.0) diffuse light more evenly but may sacrifice some brightness. I experimented with a 1.8 gain screen in my living room, adjusting my projector’s settings to balance brightness and uniformity. Remember, the right gain depends on your room’s ambient light level and projector output. For more tailored advice, see this detailed guide on gain and materials.
Test Different Gain Levels
Don’t just pick a gain based on specs—test several in your environment. I borrowed different screens and set up a quick test to compare image brightness and glare. Observe how hotspots form at various angles and choose the one that maintains clarity across your viewing area. This hands-on approach ensures you find a perfect match for your projector and room lighting conditions.
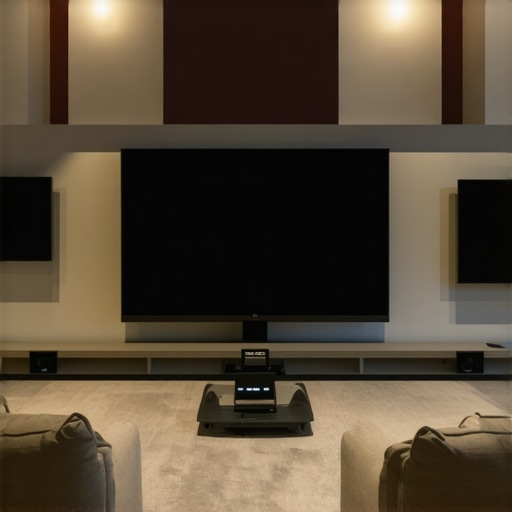
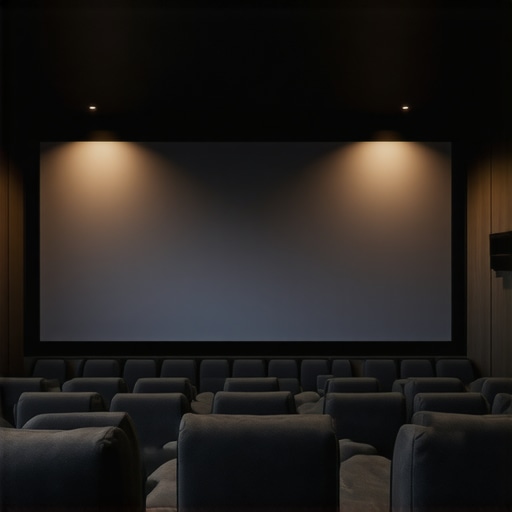
Properly Size Your ALR Screen
The size of your screen impacts perceived brightness and immersion. Too large, and your projector may struggle to deliver a bright image; too small, and you miss out on cinematic impact. Use this size guide to measure your space and select a screen that fits comfortably without overwhelming the room. I once made the mistake of choosing a screen that was too big, which caused the projected image to appear dull, so I scaled back after testing.
Calculate the Correct Screen Size
Measure your room’s viewing distance and use the recommended ratios—generally, the screen width should be about one-third of the viewing distance for optimal immersion. For example, if you sit 10 feet from the screen, a 3-4 foot wide screen works well. For precise sizing, consult this sizing guide to match your projector’s capabilities with your room dimensions.
Test and Fine-Tune Your Setup
After installing the screen, run multiple test patterns and real content to evaluate brightness, contrast, and glare. Adjust your projector’s settings—brightness, contrast, and color profile—until the image looks vibrant without hotspots. I spent an afternoon tweaking these settings, which drastically improved my viewing experience. Remember, small adjustments can make a big difference in bright rooms.
Implementing these core techniques—selecting the right material, matching gain, sizing correctly, and testing thoroughly—will elevate your home theater to new levels of clarity and brightness, even in the most challenging ambient light conditions.
Many home theater enthusiasts fall prey to misconceptions that can hinder their setup, especially regarding Ambient Light Rejection (ALR) screens. Let’s dig deeper into what most people get wrong and why understanding these nuances can transform your viewing experience.
Are All High-Gain Screens Overhyped or Do They Have Hidden Benefits?
Contrary to popular belief, high-gain ALR screens are not always the best choice for every environment. While they promise increased brightness, they often come with trade-offs such as hot spots and glare that can ruin the image quality. I’ve seen many setups where users defaulted to a 2.0 gain screen because they thought more brightness equated to better performance. However, experts like those behind this comprehensive resource warn that gains above 1.5 can cause uneven brightness and hotspots if not carefully matched with projector specs and room layout. The secret is balancing gain with room conditions, something many overlook, leading to disappointing results.
Don’t Fall for the Myth That Bigger is Always Better
Size matters, but bigger isn’t always better when it comes to projection screens in bright rooms. A common mistake is choosing a large screen expecting more immersive visuals, but in bright environments, this can reduce perceived contrast and make images look dull. The key is to size your screen appropriately for your projector’s brightness and your room size. For instance, this size guide emphasizes that a well-sized screen enhances brightness and clarity without overwhelming your space. Larger screens in rooms with insufficient ambient light control often backfire, leading to washed-out images and viewer fatigue.
What about the Myth That All ALR Screens Are Created Equal?
This is a trap many fall into—assuming all ALR screens perform similarly. In reality, the technology behind ALR screens varies significantly. Some use micro-structured coatings, while others rely on optical layers or multi-layer constructions. For example, this guide details the nuances of top ALR materials and how they reject ambient light differently. Choosing the wrong material can mean the difference between a vibrant, sharp image and a washed-out, glare-ridden display. Advanced users often test different materials and gains, understanding that the perfect match depends on their projector, room lighting, and viewing angles.
Why Proper Setup and Testing Matter More Than Specifications
Many enthusiasts focus solely on specs—gain, size, material—without testing in their environment. This is a critical mistake. The real secret lies in hands-on testing and fine-tuning: adjusting projector settings, angling the screen, and experimenting with different gain levels. I learned this the hard way when I selected a high-gain screen based on specs but ended up with hotspots. Only after testing and adjusting did I achieve uniform brightness and contrast. Remember, the most sophisticated setup can underperform if not properly calibrated. For detailed tips, this guide offers valuable insights into fine-tuning your projection system.
Understanding these common myths and nuances helps you avoid costly mistakes and get the most out of your ALR screen investment. Have you ever fallen into this trap? Let me know in the comments.
Maintaining your ALR (Ambient Light Rejection) screen over time is crucial to preserving its ability to deliver vibrant, glare-free images in bright rooms. From regular cleaning routines to monitoring the condition of the coating, a proactive approach can extend the lifespan of your investment. I personally recommend using a soft microfiber cloth to gently wipe the surface at least once a month, avoiding harsh chemicals that could degrade the specialized coatings. For stubborn smudges, a mix of distilled water and a small amount of mild detergent works wonders without risking damage.
It’s also beneficial to inspect the edges of your screen periodically for signs of wear or warping, especially if you have a larger setup that might be subject to environmental fluctuations. Ensuring your projector remains calibrated is equally important, as misaligned settings can lead to uneven brightness or color shifts that diminish the effectiveness of an ALR surface. Regularly updating your projector’s firmware can also optimize performance, especially as manufacturers release improvements tailored for different screen materials.
In the future, I predict that smart, self-cleaning coatings could become standard in high-end ALR screens, reducing maintenance effort and enhancing longevity. Meanwhile, investing in quality mounting hardware that allows for easy removal and cleaning can prevent accidental damage and make routine upkeep more manageable.
How do I maintain my ALR screen over time?
Start by establishing a gentle cleaning routine with a microfiber cloth and distilled water to avoid scratches and chemical damage. Keep the room’s humidity and temperature stable, as fluctuations can cause warping or coating deterioration. Check the edges and surface for signs of wear periodically, especially if your setup is in a high-traffic or humid environment. Make sure your projector is properly calibrated and updated with the latest firmware to ensure consistent image quality. Looking ahead, I believe innovations like self-healing coatings and advanced anti-static treatments will make future ALR screens even easier to care for, maintaining peak performance for many years. To get the most out of your setup, try incorporating a regular inspection and cleaning schedule—it’s a small step that pays off with stunning visuals every time you watch a movie or presentation.
The Hardest Lesson I Learned About ALR Screens
One of my biggest surprises was realizing that higher gain isn’t always better. I once chose a 2.8 gain screen thinking it would boost brightness in my bright living room, but it introduced hotspots and glare that spoiled the visuals. It taught me that balancing gain with my projector’s brightness and room layout is essential for a crisp picture.
3 Myths About ALR Screens That Held Me Back
I used to believe that all ALR screens are equal and that bigger screens automatically mean better immersion. Both misconceptions delayed my progress—until I discovered that not all materials reject ambient light equally, and that proper sizing depends on your projector’s lumens and viewing distance. Testing different setups was a game-changer for me.
What Experts Won’t Tell You About Bright Room Projection
Many overlook the importance of matching screen material gain with projector brightness. I learned this the hard way when I picked a material that didn’t suit my projector’s lumens, leading to washed-out images. The secret lies in understanding how gain impacts contrast and brightness, which you can explore in this detailed guide.
Curated Resources to Maximize Your Bright Room Setup
For me, the top ALR material guide opened my eyes to the best coatings and structures that reject ambient light effectively. I also rely on this resource to match gains with my projector’s lumens, ensuring vibrant images without glare. Lastly, this size guide helped me pick a screen that perfectly fits my room, boosting my viewing comfort and image quality.
Your Next Step to Brighter Visuals
Don’t let ambient light dim your home theater dreams. With the right ALR screen, tailored gain, and proper sizing, you can transform any bright room into a cinematic paradise. Take action today—test different materials, experiment with gain levels, and fine-tune your setup. The visual clarity you crave is within reach, and your home theater will thank you for it.
What’s been your biggest challenge with projection screens in bright rooms? Share your experience below—I’d love to hear your story and help you overcome it!