Understanding Screen Size & Gain for Optimal Projection Setup Today
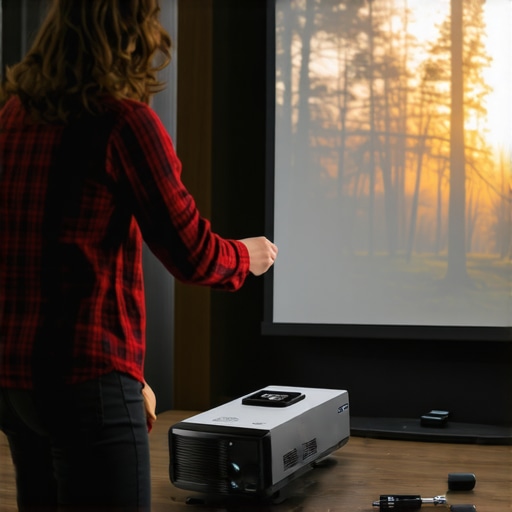
I remember the moment clearly. I had finally set up my home theater, all the pieces in place—the sound system, the seating, the killer projector. But when I hit play on my favorite movie, something was off. The image looked washed out, dim, and just not vibrant enough. I felt my frustration mounting, questioning if I’d chosen the wrong screen or maybe my projector wasn’t powerful enough. Turns out, the problem wasn’t the equipment, but my understanding of one crucial aspect: screen gain and size.
Why Getting Screen Gain and Size Right Can Make or Break Your Home Theater Experience
The truth is, many enthusiasts dive into projectors and screens without fully grasping how screen gain and size influence picture quality. It’s like trying to tune a guitar without knowing how the strings work. You might get close, but you won’t hit the note perfectly. Early on, I made the mistake of choosing a screen based solely on size without considering its gain—mistake number one that dampened my viewing experience.
What I’ve learned over the years is that selecting the right screen gain and size isn’t just technical jargon; it’s the secret to achieving a striking, bright, and clear image, especially if you’re dealing with challenging lighting conditions or larger rooms. In fact, a study published by the Society of Motion Picture and Television Engineers highlights that proper screen gain alignment can improve projected image brightness by up to 50%, making a significant difference in daylight-influenced environments.
If you’ve ever felt disappointed after a setup or wondered why your projector doesn’t look as vivid as in the store, it may be time to explore these elements deeper. Understanding how gain affects brightness and contrast, and how screen size impacts your viewing angles and immersion, can transform your setup from mediocre to magnificent.
In this post, I’ll walk you through what screen gain actually is, why it matters, and how to determine the perfect size for your space. Whether you’re a seasoned movie buff or just starting your home cinema journey, mastering these fundamentals will ensure every viewing feels just right.
Ready to stop guessing and start projecting with confidence? Let’s dive into the core concepts and get your setup tuned to perfection. And if you’ve faced struggles with dim images or mismatched screen sizes, stick around—I’ve got practical tips that will change how you experience your projector forever.
Measure Your Room Before Picking Your Screen
Start by assessing your space. Use a tape measure to determine room length and width, noting any obstructions. Imagine trying to buy a pair of shoes without knowing your foot size—that’s how selecting a screen without measurements feels.
For example, I once measured my living room, which was 15 feet long and 12 feet wide. Knowing this, I tailored my screen size accordingly, avoiding a giant display that overwhelms the space or a tiny one that limits immersion.
Decide on the Brightness Level You Need
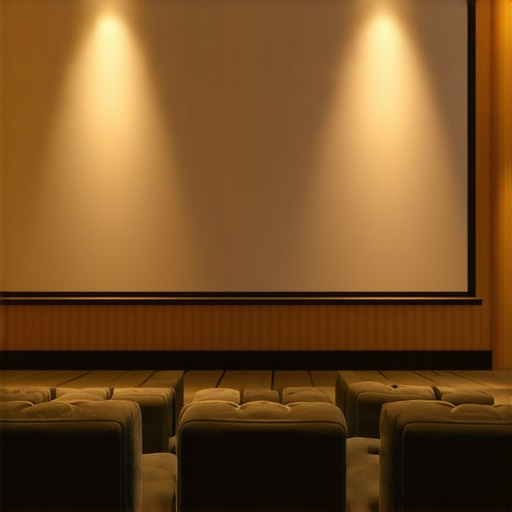
Think of screen gain as the brightness boost button. Higher gain screens reflect more light, making images brighter, especially in well-lit rooms. However, too high a gain can cause hot spotting, where the center looks brighter than the edges.
When I set up my first projector in a room with plenty of ambient light, I opted for a screen with a gain of 1.8. This provided the needed brightness without washing out my picture. Explore options like gain options for 2024 to make an informed choice.
Choose Material That Matches Your Room Conditions
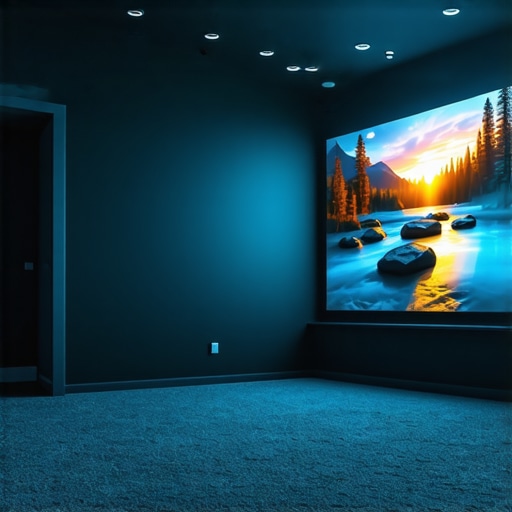
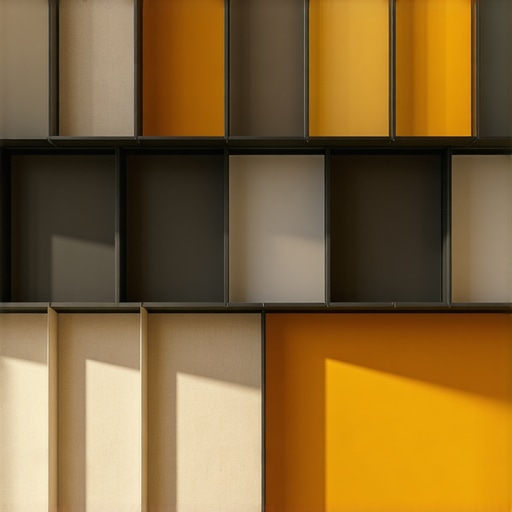
Screen material affects contrast, brightness, and color accuracy. For bright rooms, a matte white or ALR (Ambient Light Rejection) screen can prevent washout. For darker rooms, standard matte surfaces often suffice.
Remember, the right material depends on your lighting conditions. I struggled initially because I chose a glossy screen, which reflected overhead lights and ruined my viewing experience. After switching to an ALR screen, the picture improved dramatically. Learn more about ALR technologies and material options.
Determine the Optimal Screen Size for Your Setup
Use the recommended viewing distance for your projector’s capabilities. A common rule is multiplying your screen diagonal by 1.5 to 2.5; for example, a 120-inch screen works well if you’re sitting about 10-15 feet away.
I once attempted a massive 150-inch screen in a small room, making seating uncomfortable and images too large to appreciate. After adjusting to a more suitable 100-inch size, my viewing comfort and picture clarity improved. Check out best size and gain tips for 2024 for guidance.
Test and Adjust Before Finalizing
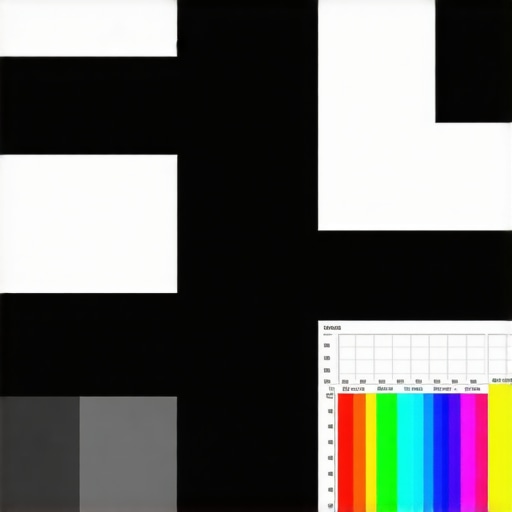
Set up your screen and projector, then run test patterns. Adjust the projector’s zoom and focus, and experiment with placement. Don’t be afraid to tweak gain and size based on immediate feedback. I once spent hours adjusting my projector’s position to eliminate hotspots, ultimately achieving a uniform, vibrant image.
Taking these steps ensures that your home theater setup delivers the best possible picture quality aligned with your space and preferences. Remember, these decisions are iterative. Make small adjustments, view results, and refine your choices accordingly.
 Many enthusiasts get caught up in the basics of selecting a projection screen, but the real nuances can trip you up if you’re not aware. Contrary to popular belief, bigger isn’t always better; selecting a large screen without considering your room size and viewing distance can result in a cramped or uncomfortable experience. For instance, an oversized screen in a small room creates eye strain and diminishes image clarity, so always measure your space carefully. Moreover, many assume that all screen materials are equal, but the truth is, choosing the right material depends heavily on your lighting conditions and desired contrast. A common myth is that glossy screens provide brighter images; in reality, they often cause unwanted reflections, especially under ambient lighting, reducing picture quality. Go for matte or specialized ALR surfaces if your room isn’t completely dark, and explore options like ALR materials to optimize performance.
When it comes to screen gain, many think higher gain means better brightness in all settings. However, screens with very high gain tend to produce hotspots and uneven images, particularly in larger rooms or with wide viewing angles. This is a classic trap—believing that increasing gain always enhances picture quality, but in practice, it can introduce glare and reduce color accuracy. For a balanced setup, consider moderate gain screens around 1.3 to 1.5, which offer a good compromise. To understand how gain interacts with room lighting and projector settings, check out comprehensive gain guides.
Finally, many overlook the importance of choosing a screen size that aligns with their projector’s capabilities and room dimensions. Oversizing can cause pixelation or require excessive zoom, reducing image sharpness. Conversely, too small a screen may underwhelm the viewer. A practical approach is to use the recommended viewing distances based on your projector’s specifications, which can be explored further at size and gain recommendations. Remember, the goal is harmony among projector output, screen material, gain, and room size. Misalignment here is a common mistake that can undermine your entire viewing experience.
Don’t let these overlooked details sabotage your setup. Carefully consider each element—size, material, gain—to match your environment and preferences. Have you ever fallen into this trap? Let me know in the comments.
Keep Your Setup Running Smoothly with the Right Tools and Practices
Maintaining the quality of your projection screen and associated equipment is essential for sustained home theater performance. I personally rely on specialized calibration tools like the DVE HD Basics Disc, which helps me fine-tune my projector’s color and contrast settings accurately, ensuring every scene looks as intended. Regularly cleaning your screen surface with microfiber cloths prevents dust buildup, which can degrade image clarity over time. For the projector lens, I use lens cleaning kits that include blower brushes and gentle wipes to remove smudges without causing scratches.
How do I maintain my projection system over time?
Implement a scheduled maintenance routine where you periodically check and calibrate your projector with professional software like CalMAN or LightSpace. These tools analyze color accuracy and uniformity, guiding precise adjustments that keep your image sharp and vibrant. Additionally, monitor the lamp hours and replace bulbs proactively—most projectors provide lamp lifetime data accessible via their menus. Investing in a surge protector or uninterruptible power supply (UPS) also safeguards your equipment from power surges, extending its lifespan. In the future, advancements in AutoCal technology and intelligent calibration systems may further simplify long-term maintenance, allowing your setup to self-adjust and maintain optimal performance. Staying proactive with routine checks, calibration, and using recommended cleaning tools will ensure your home theater continues delivering stunning images without costly repairs or replacements. Try integrating an automatic calibration tool into your routine to experience maintenance made easier—your future self will thank you.
Looking back, I realize that the true magic of an immersive home theater lies in mastering details most overlook. It’s not just about the biggest screen or the brightest projector but understanding how each element—screen gain, size, and material—interacts to create an unforgettable viewing experience. I learned the hard way that blindly following trends can lead to frustration and underwhelming visuals.
What I Wish I Knew Before Picking My Screen
- The Myth of Bigger Is Better: Bigger screens aren’t always suitable—measure your room to avoid overwhelming your space or causing eye strain.
- Swipe Right on Material: Matte surfaces often outperform glossy finishes in bright rooms, preventing glare and preserving contrast. Trust me, the difference is night and day.
- Gain Matters More Than You Think: High gain screens can cause hotspots, diminishing overall picture quality. Smaller gain options around 1.3 to 1.5 usually strike the perfect balance.
- Room Lighting Changes Everything: Bright environments demand specialized screens like ALR, which can significantly improve brightness and contrast, as explained in this comprehensive guide.
My Toolbox for Picture-Perfect Projections
- Calibration Tools: Apps like CalMAN or LightSpace have transformed my ability to fine-tune colors, ensuring every scene is true to life.
- Cleaning Supplies: Microfiber cloths and lens cleaning kits keep dust and smudges at bay, maintaining clarity over time.
- Measuring Instruments: A reliable tape measure and a protractor help determine optimal screen size and placement, preventing costly missteps.
- Educational Resources: Reading materials like these insights have empowered me to make informed choices that elevate my viewing experience.
Your Next Step Toward Home Theater Excellence
Designing your ideal home cinema isn’t just about technical specs—it’s about feeling excited and confident in your choices. Embrace the learning process, experiment with different setups, and remember that every adjustment brings you closer to cinema-quality viewing in your own space. If I can transform my setup by understanding these nuances, so can you. Dive into the resources mentioned and start crafting your perfect cinematic sanctuary today.
I completely relate to the frustration of setting up a home theater only to find the picture isn’t as vibrant as we imagined. Your detailed explanation of screen gain and size really hits home because I made the mistake of choosing a high-gain screen without considering room lighting, which caused unwanted hotspots and glare. Since then, I’ve learned that moderate gain, around 1.3 to 1.5, offers a good balance, especially in rooms with ambient light. I also agree on the importance of measuring your space—my initial mistake was ignoring room dimensions, leading to a screen that was either too big or too small. Has anyone tried using auto-calibration tools like CalMAN or LightSpace? I’ve been thinking about investing in one to help maintain color accuracy over time, especially with projectors that have changing lamp hours. Would love to hear if others have found these tools helpful, or if there are alternative methods for keeping picture quality top-notch without breaking the bank.
Your post really resonated with me because I went through a similar journey in setting up my home theater. The emphasis on understanding screen gain and size is so crucial but often overlooked by newcomers. I made the mistake of choosing a high-gain screen early on, thinking it would boost brightness, but it ended up creating hotspots and glare, especially during daytime viewing. Like you mentioned, moderate gain screens around 1.3 to 1.5 have been a sweet spot in my experience, particularly in rooms with ambient light. I also found that measurements are key; I once installed a large screen in a small room and quickly realized it caused discomfort and reduced image sharpness. Using tools like CalMAN helped me fine-tune my projector’s settings, ensuring consistent color accuracy and brightness. I’d love to hear—have others experimented with different calibration software or hardware? Also, what has been your biggest challenge in balancing screen size and gain for your space? It’s fascinating how these small details make such a huge difference in the overall viewing experience.