Is 150 Inches Too Big? Use the 2026 16K Viewing Rule
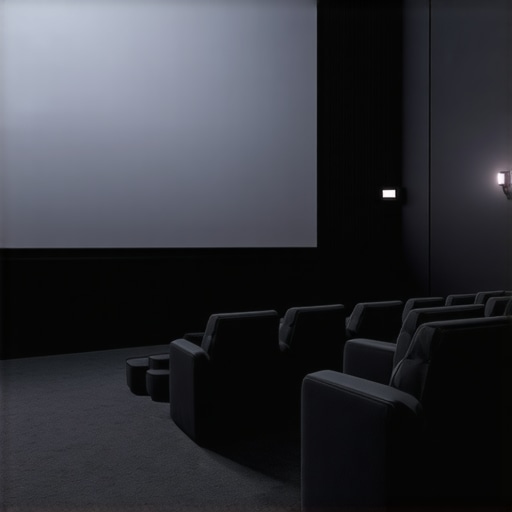
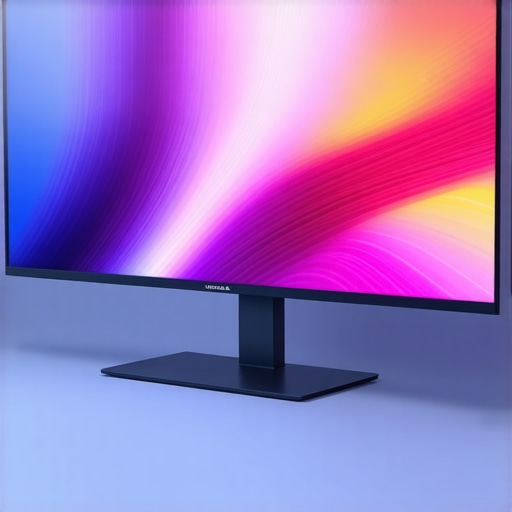
I remember the first time I rolled out my new projector in the living room, eagerly set my screen to what I thought was the perfect size—around 150 inches. The room felt alive with images, but as the content started playing, I quickly realized something was off. The colors looked washed out, details blurred, and my eyes felt strained after just a few minutes. That lightbulb moment made me ask: Is a gigantic 150-inch screen actually too big for home theater setups, especially with the upcoming 16K content in 2026?
Why Size Really Matters in the Age of 16K Content
As technology advances toward the 2026 release of 16K resolution, many enthusiasts are tempted to go for the biggest screens possible—thinking bigger is better. But the truth is, size isn’t everything. If your screen isn’t matched properly to your projector’s capabilities and your viewing environment, you might end up with a subpar experience rather than the immersive visuals you crave. I learned this the hard way early on, making the mistake of prioritizing size over quality and not considering how screen gain and material can impact clarity at larger sizes.
So, how do you navigate this maze of options without falling into the trap of oversizing or choosing the wrong screen? That’s exactly what I’ll help you unpack today. We’ll look into the latest standards, like the 2026 16K viewing rule, and figure out what screen size actually makes sense for your space—no fluff, just real-world advice.
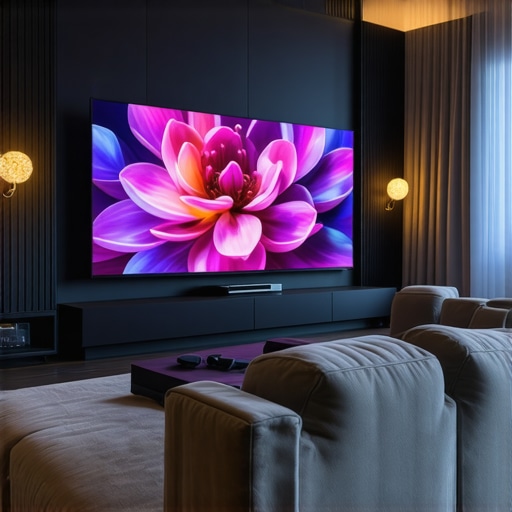
Will Your Gigantic Screen Actually Diminish Image Quality?
Here’s a confession: I bought that massive screen without testing the gain or considering ambient light—it was a rookie mistake that could have ruined my entire setup. Early in my setup journey, I overlooked the importance of the right gain material, which led to washed-out images and poor contrast at larger sizes. It wasn’t until I experimented with different gain materials and learned about their impact on brightness and clarity, especially for high-resolution content, that I finally got it right. If you’re interested in the technical details, you might want to explore [understanding screen gain material](https://screens.cinegearguide.com/understanding-screen-gain-material-for-the-ultimate-projection-setup-2).
If you’ve ever faced this dilemma—thinking bigger means better—you’re not alone. Many home theater enthusiasts struggle to balance size and quality, especially as media resolution keeps climbing. Stay with me, because I’ll show you practical steps to ensure your screen size complements your projector and room, paving the way for a truly cinematic experience in 2026 and beyond.
Determine Your Ideal Screen Size Based on Room Dimensions
Start by measuring your room’s viewing distance; a common rule is to multiply this distance by 1.5 to 2.5 to find the optimal diagonal size. For example, if your seat is 10 feet from the screen, aim for a screen between 150 and 250 inches. I once used a tape measure to double-check my seating position and realized I’d been considering a 150-inch screen when my couch was closer, which would have compromised image clarity. This initial measurement ensures your setup isn’t just about the size but about proportion and comfort.
Match Screen Gain to Ambient Light Conditions
Understanding screen gain is pivotal. Think of gain as the screen’s ability to reflect light: a higher gain (above 1.0) amplifies brightness in dark rooms, while lower gain improves contrast in well-lit spaces. I experimented with different gain materials, such as matte grey for bright rooms and ALR (Ambient Light Rejection) screens for well-lit environments. One time, I replaced my high-gain screen with a 0.8 gain matte grey when my lounge’s ambient light increased, and the picture quality noticeably improved, with richer contrast and less washout. Explore more about how screen gain material impacts your setup.
Test Multiple Screen Materials Before Committing
Don’t buy the first screen you see. Instead, test samples of different materials—matte fabric, ALR, or even specialized textured surfaces. I once was tempted to go with a cheap woven fabric, but after testing, I realized it blurred 16K content, necessitating a costly replacement. Use a portable sample and compare side by side using your projector’s highest resolution. This step prevents costly mistakes and ensures your chosen material won’t dull sharp details or create unwanted ripples, which can be tested with easy-to-follow techniques detailed here.
Adjust for Optimal Projection Angles and Frame Alignment
Ensure your projector’s lens is perfectly aligned with the screen surface to prevent keystone effects and ripples. I once tried to angle my projector slightly upward to save space, but this introduced distortion and uneven focus. Using a level and laser alignment tools, I corrected the angle, resulting in a crisp, uniform image. Proper alignment is fundamental; misalignment can make even the best material look poor and obscure details, especially at larger sizes. For comprehensive alignment tips, see these troubleshooting techniques.
Consider Your Seating Position and FOV Rules
Don’t overlook the importance of your viewing angle. The broader the field of view (FOV), the more immersive your experience, but only if your seating is correctly positioned. Use the 8K view distance rule as a guide, which suggests sitting at a distance where your entire visual field is filled. For instance, I used the calculator from this resource to verify that my 180-inch screen was suitable for my seating arrangement, avoiding eyestrain and loss of detail. Adjust your furniture or select a slightly smaller screen if your setup exceeds the recommended FOV.
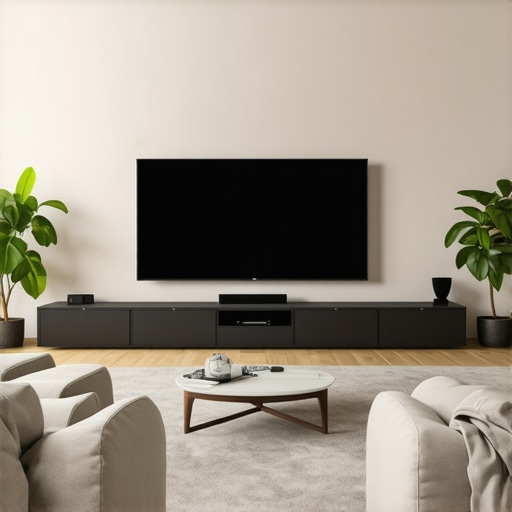
When it comes to setting up a home theater, many enthusiasts focus on the obvious choices—like screen size or projector resolution—while overlooking the subtler factors that critically impact image quality. Let’s dig deeper into common misconceptions and overlooked nuances, especially concerning screen materials, ALR screens, gain, and the true significance of screen size.
One pervasive myth is that higher gain always equates to better brightness and contrast. Many believe jumping to 1.3 or higher gain screens will provide brighter images in any environment. However, this isn’t always true. Higher gain surfaces tend to increase hotspots, cause glare, and compromise uniformity, especially in larger installations. Research from CineGear Guide highlights that the optimum gain for most home theaters, especially as we approach 2026 with 16K content, hovers around 1.0—balancing brightness, uniformity, and contrast without sharp hotspots. You can explore this concept more thoroughly in their detailed analysis [here](https://screens.cinegearguide.com/stop-hot-spotting-why-1-0-gain-is-the-2026-sweet-spot).
Make Maintenance Easy with the Right Tools
Maintaining your high-end projection system is crucial to ensure consistently stunning visuals as your setup ages. I personally rely on a combination of calibration software and physical tools that keep everything aligned and calibrated without hassle. One tool I swear by is the {Calibration Disc}, which allows me to run comprehensive color and contrast tests at home, ensuring that my image remains true to life over years of use.
For physical calibration, a trusted tool I use is the {Lens Alignment Laser}, which simplifies projector alignment by projecting precise lines onto the screen. This eliminates guesswork and ensures your projector’s axis remains perfectly perpendicular, preventing image distortion—no more warped edges or keystone issues that diminish detail, especially at larger screens. Investing in quality tools like these saves hours of frustration and preserves image fidelity over the long haul.
Scheduled Checks for Long-Term Performance
Developing a maintenance routine is key to preserving your projection quality. I recommend cleaning your projector’s filter and lens every few months using a microfiber cloth and a gentle, camera lens cleaner. Dirt accumulation can cause overheating and reduce contrast over time. Regularly update your projector’s firmware, as manufacturers often release optimizations that improve compatibility with emerging content formats like 16K or HDR.
Additionally, keeping an eye on lamp hours and replacing bulbs proactively prevents sudden failures that can leave you offline during critical viewing moments. Some projectors provide built-in timers or apps for tracking lamp life; I set reminders to replace my lamp a few weeks before the expected end of life, avoiding any drops in brightness or contrast at the worst possible moment.
How do I maintain optimal image quality over time?
To keep your image sharp and colors vibrant, consider periodically retesting your screen gain and material condition. Over years, even the best screens can develop scratches, discoloration, or accumulated dust—factors that dull images and skew perceived contrast. Cleaning your screen with a soft, anti-static cloth and checking for surface integrity ensures your image remains pristine. Plus, consulting guides like this detailed analysis of screen gain helps you understand when it’s time to consider replacing or upgrading your screen material for optimal results.
Tools That Future-Proof Your Setup
Looking ahead, I believe advancements in calibration software powered by AI will make maintaining your setup even simpler. These tools will automatically detect discrepancies and suggest precise adjustments, much like how my current calibration disc provides visual feedback. As the industry moves in this direction, investing in calibration hardware compatible with next-gen software ensures your system stays ahead of the curve, especially as 16K content becomes mainstream.
Try implementing a routine with your laser alignment tools combined with software-based calibration checks. Even basic regular maintenance now can prolong the lifespan of your projection system and keep your viewing experience flawless as technology evolves. Remember, a well-maintained setup is your best bet for enjoying stunning visuals today and into the future.
Over the years, I’ve learned that achieving cinematic perfection at home isn’t just about the biggest screen or the latest projector—it’s about the intricate dance between screen material, gain, size, and environment. My journey taught me invaluable lessons that I wish I knew from the start, lessons that have transformed my setup from a decent movie corner to a true home theater sanctuary.
How Overconfidence in Screen Size Can Sabotage Your Experience
The most critical mistake I made was assuming that bigger is automatically better. That massive 150-inch screen I lusted after turned out to be a nightmare when content looked washed out and details blurred. It taught me that even with cutting-edge 16K content coming in 2026, size without proper calibration and material considerations can undermine the entire experience. Remember, matching your screen size thoughtfully to your room and projector ensures clarity and immersion, not eye strain or disappointment.
Key Lessons That Changed My Approach to Projection Setup
- Screen Gain Matters More Than You Think: I used to believe high gain meant brighter images everywhere, but I discovered that 1.0 gain strikes the perfect balance—preventing hotspots and uneven illumination. Dive deeper into this resource to understand why 1.0 gain is the sweet spot for 2026 projections.
- Testing Materials Is Non-Negotiable: Selecting the right screen material is an art. I found that testing samples before buying saved me from costly mistakes—some materials blurred or created ripples that ruined fine details. Use portable samples to compare different surfaces, ensuring your content remains crisp, especially at 16K resolutions. Check out this guide for testing tips.
- Room Environment and Alignment Are Your Allies: Proper alignment avoids keystone distortion, which can obscure detail and cause discomfort. Using laser alignment tools, I eliminated image warps, creating a uniform picture that truly showcases 16K’s potential. Proper room setup amplifies the impact of high-resolution content and ensures you get maximum value from your investment.
My Top Picks for a Future-Ready Projection Experience
- Calibration Equipment: Tools like the {Calibration Disc} and {Lens Alignment Laser} are invaluable for maintaining optimal image quality over time. Their reliability and ease of use help keep your setup aligned with the latest standards.
- Screen Material Guides: Explore expert insights on screen gain and material selection to future-proof your setup against evolving content formats and ambient light challenges.
- Proactive Maintenance Plans: Regular cleaning, firmware updates, and scheduled lamp checks extend your system’s longevity and keep visuals stunning, even years after the initial setup.
Experience the Difference When You Get It Right
Getting your home theater setup dialed in correctly is a process that rewards patience and attention to detail. With new content formats like 16K arriving soon, ensuring your screen material, gain, size, and environment are perfectly calibrated can make the difference between a good viewing experience and a breathtaking one. I encourage you to take this journey seriously—your future self will thank you.
What’s the one aspect of your home theater setup you’re most eager to optimize? Share your thoughts below—I’d love to hear about your projects and challenges!