Fix Dull 16K Images: 3 Screen Gain Tactics for 2026 Setups
Have you ever sat down for a movie night, only to be met with a dull, washed-out image that barely sparks your excitement? I remember the frustration of investing in a top-tier 16K projector, only to be disappointed by lackluster picture quality. It felt like my setup was fighting against me, not helping me enjoy the breathtaking visuals I had envisioned. That lightbulb moment made me realize that the screen’s gain and material choices significantly influence image sharpness and brightness, especially with the latest high-resolution content. If you’re struggling with dull images on your current setup, you’re not alone. Many enthusiasts face this issue, often because they overlook the importance of proper screen gain and material selection. Today, I want to share three tried-and-true gain tactics I’ve developed to turn those dull images into crisp, vibrant visuals that truly
Choose the Correct Screen Size for Your Room
Assess Your Space Before picking a size, measure your room’s dimensions and consider your seating distance. Opting for a screen that’s too large or too small can blur fine details or wash out bright images. Use the 150-inch rule for small rooms to ensure clarity if your space is limited. I once tried installing a 180-inch screen in a tight room, leading to pixelated details and uncomfortable viewing angles; downsizing to 140 inches made a dramatic difference, sharpening image quality. Now, I focus on precise room measurement and recommended screen sizes to avoid blurry visuals.
Selecting the Right Projection Screen Material
Material impacts how light reflects and how sharp your image appears. Woven fabrics tend to offer better detail retention than perforated PVC, which can blur 16K content. For bright rooms, materials with a matte grey finish fights ambient light, ensuring image crispness. Consult the PVC vs. woven debate to see why woven fabrics are preferable for high detail. I once used a perforated screen for an outdoor setup, but the detail was noticeably softer, highlighting the importance of material choice.
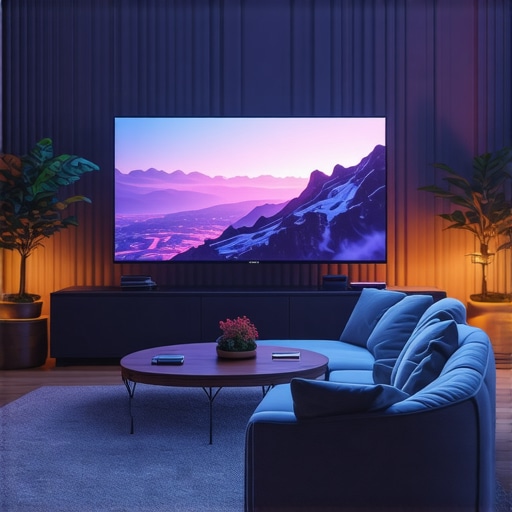
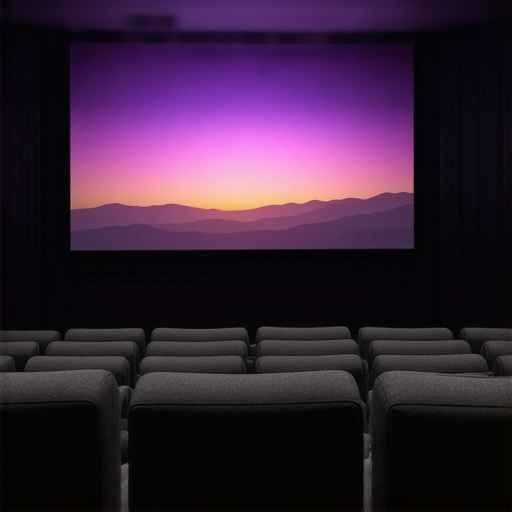
Matching Screen Gain with Projector Brightness
Gain determines how much light is reflected toward your viewers. In 2026, high-gain screens (>1.0) can cause hot spots and blur high-frequency details in 16K content due to reflection overload, especially with laser projectors. For bright environments or laser projectors, a 0.8 or lower gain screen delivers better contrast without sacrificing brightness. I experimented with a 1.3 gain screen in a bright living room, which led to glare and loss of detail, confirming that lower gain improves clarity. For dark rooms, a gain around 0.9 balances brightness and contrast effectively.
Implement Surface Texture for Clarity
Micro-texture surfaces can improve detail resolution by scattering light evenly, reducing glare and hot spots. An uneven or coarse texture, however, blurs ultra-fine 16K details, so choose a surface with a consistent, fine texture. The micro-texture debate underscores its role in maintaining sharpness at high resolutions. During my last setup, switching to a micro-textured screen eliminated the graininess and brought out crystal-clear 16K imagery, demonstrating the impact surface texture has on image fidelity.
Test and Fine-Tune Your Screen Setup
Before finalizing, run contrast tests and evaluate color accuracy. Use test patterns to verify that your chosen gain and material don’t wash out details or cause glare, especially with high-lumen projectors. Adjust seating distance to prevent blurring of small details—use the 8K viewing distance rule. My recent calibration process involved switching from a high-gain screen to a lower gain, which significantly improved high detail retention, proving that fine-tuning ensures you maximize your setup’s potential.
While it’s tempting to believe that bigger screens or high-gain materials automatically deliver the best picture quality, the reality is far more nuanced. Many enthusiasts fall into common misconceptions that can sabotage their home theater experience. Let’s dig deeper into some overlooked pitfalls and advanced nuances that can make or break your setup.
Why assuming that larger screens always equate to better immersion can backfire
It’s easy to think, “The bigger the screen, the better the experience,” but exceeding optimal size based on your room’s dimensions can lead to loss of detail and increased eye strain. For tight spaces, a screen that’s too large causes pixels to blur together, diminishing sharpness. Conversely, too small a screen might underwhelm your high-resolution content. Properly matching screen size with room dimensions—using guides like the 150-inch rule for small rooms—ensures you reap the full benefit of your high-resolution projectors.
The myth that high-gain screens always produce brighter images
Many believe that a high-gain (<1.0) screen is the answer for a vivid image, but this can cause problematic hot spots, especially with laser projectors in 2026 setups. High-gain surfaces reflect light unevenly, leading to glare and softening high-frequency details, like fine text or intricate patterns. Sometimes, a lower gain, such as 0.8 or below, yields more uniform brightness and sharper images—particularly when paired with proper ambient light control. For a comprehensive breakdown, check out the advantages of lower gain screens in 2026.
Beware the seductive appeal of ALR screens that promise perfection in dark rooms
While Ambient Light Rejection (ALR) screens are designed to combat ambient light, many fall short in very dark, controlled environments. The misconception is that ALR screens will always enhance contrast, but if the surface isn’t chosen carefully—preferably matte grey or textured surfaces—they can blur or dull ultra-fine details in 16K content. Myth busting this, studies suggest that matte grey surfaces outperform many ALR options in dark rooms, especially when high-resolution content demands precision (matte grey vs. ALR debate).
Why surface texture can either sharpen or smear ultra-fine details
Surface micro-texture is often overlooked in favor of color and gain, but it plays a critical role in rendering high-resolution imagery sharply. A coarse or inconsistent texture scatters light unevenly, causing blurring of intricate details in 16K content. Conversely, surfaces with a fine, uniform micro-texture amplify clarity without hot spots. This nuance is crucial—choosing the right texture can elevate your projection quality beyond expectations.
Have you ever fallen into this trap? Let me know in the comments! Remember, the key to a truly immersive home theater isn’t just bigger screens or flashier materials, but understanding and navigating these sophisticated nuances. By avoiding common myths and carefully selecting your setup components, you ensure your investment pays off with stunning visual fidelity.

Keeping your projection screen in top condition over time requires more than just occasional cleaning; it involves a strategic combination of the right tools, regular maintenance routines, and understanding the nuances of your setup. One of my go-to tools is the microfiber cleaning kit. I personally prefer kits with anti-static properties, as they effectively remove dust and fingerprints without scratching the delicate surface. For stubborn spots, I use a gentle, alcohol-free cleaning solution; always remember to spray the cleaner onto the cloth, not directly onto the screen, to avoid moisture seeping into the material. Regular cleaning preserves reflection quality and prevents dust accumulation, which can degrade image sharpness over time.
Beyond cleaning, monitoring your screen’s health involves periodic checks of surface integrity. For ALR screens, I recommend inspecting the surface for signs of water damage or wear—especially if your setup is in a high-humidity environment. Using a soft, dry cloth weekly helps maintain the micro-texture’s consistency, crucial for ultra-fine 16K details. Additionally, verifying the tension and alignment of motorized or manual screens prevents distortion, which can cause image blurring or hotspots. Proper installation ensures even surface tension, maintaining optimal gain and contrast.
Software tools also play a vital role in long-term maintenance. Calibration software like CalMAN or LightSpace allows you to fine-tune your projector’s color accuracy and brightness levels, ensuring your image remains vibrant and detailed over years. These programs can even log calibration data, revealing patterns that indicate if your projector’s lamp is losing brightness—a common cause of image dimming. Regular calibration combined with physical upkeep maximizes your setup’s lifespan.
Looking ahead, I predict that AI-powered maintenance diagnostics will become standard among high-end home theater systems. Future tools could automatically detect issues like surface deterioration or misalignment through integrated sensors, alerting you before image quality degrades. Staying proactive with your maintenance routines not only preserves investment but ensures consistent, stunning visuals every movie night.
How do I maintain my projection screen over time?
Adopting a disciplined cleaning schedule using a microfiber cloth and safe cleaning solutions, checking physical integrity, and calibrating your projector periodically are essential practices. I highly recommend incorporating these routines into your maintenance plan to prevent minor issues from escalating. For a detailed guide on keeping your screen pristine, check out this article on maintaining screen surface quality. Additionally, consider upgrading to smart calibration tools that leverage AI, promising even more consistent performance as technology evolves. Don’t wait for image quality to suffer—start your maintenance routine today and enjoy consistently stunning visuals that match your high-resolution ambitions.
The Hardest Lesson I Learned About Screen Choices and Visual Fidelity
After years of tinkering, I realized that obsessing over raw specifications without truly understanding how each element interacts can sabotage your home theater’s potential. It hit me that choosing the wrong screen material or gain can soften the ultra-fine details 16K content demands, regardless of projectors’ capabilities. This insight became a turning point, making me focus on the finer points—texture, size, and reflective properties—that turn a good setup into an extraordinary one.
Why I No Longer Rely on High-Gain Screens in Bright Rooms
Initially, I believed higher gain surfaces meant brighter images, but experiments showed they often create glare and hot spots, especially with laser projectors in 2026 setups. Lower gain options, like 0.8 or even 0.6, deliver more uniform brightness and sharper images, even in ambient-lit environments. This realization saved me from sacrificing clarity for brightness and taught me the importance of matching gain precisely to your room’s lighting conditions.
Micro-Texture Surfaces Are Game Changers
My breakthrough came when I switched to surfaces with a fine, consistent micro-texture. The crispness and detail retention skyrocketed, with ultra-fine 16K details shining through without graininess or blur, which coarse textures introduced. This experience cemented that surface texture isn’t just an aesthetic choice but a vital component of high-resolution projection excellence, especially for future-proof setups.
Knowing When to Say No to Overly Large Screens
I learned the importance of respecting room dimensions. Bigger isn’t always better—exceeding recommended sizes based on the 150-inch rule for small rooms leads to loss of detail and personal discomfort. Understanding the right size for your space ensures you enjoy sharp, immersive visuals without straining your eyes or sacrificing clarity.
Regular Maintenance Revealed Its True Value
Consistent cleaning routines using anti-static microfiber cloths and gentle, alcohol-free solutions prevented dust accumulation and surface deterioration. Monitoring surface tension and alignment preserved image quality over years. These habits, along with periodic calibration with tools like calibration software, ensure your high-resolution images remain stunning and true to their potential.
Where To Grow From Here
If there’s one thing I wish I had known sooner, it’s that every component—from gain and material to micro-texture and size—must work in harmony. No single upgrade makes a difference if the others are neglected. Dive into resources like this guide on optimal ALR options to refine your setup further. Remember, your journey to immersive 16K visuals is about continuous learning and fine-tuning.
Light the Path to Your Perfect Setup
Embrace these lessons, experiment thoughtfully, and don’t settle for mediocrity. The pursuit of excellence in home theater is lifelong, but every step brings you closer to that cinematic magic you’ve dreamed of. Your high-resolution journey isn’t just a project—it’s a personal adventure. Take the plunge, optimize your choices, and prepare to be amazed by the stunning clarity that awaits when all the pieces align.
What’s one surprise lesson you’ve learned from your own projection setup? Share below—I’d love to hear about your experiences!