How to Remove Spills and Dust from 2026 ALR Screen Material
It happened last weekend. I was settling into my home theater, eager to binge-watch the latest sci-fi masterpiece on my 2026 ALR screen. Suddenly, I saw a tiny speck of dust drift across the screen surface, making me wince. Within moments, a careless snack spill left a sticky residue right where the image’s clarity mattered most. That sinking feeling? I’ve known it all too well. Maintaining a pristine ALR screen isn’t just about aesthetics — it’s about preserving that stunning contrast, vibrant colors, and sharp detail that make every scene come alive.
Why Dust and Spills Are Alarming Issues for Your 2026 ALR Screen
If you’re like me, you might have initially dismissed dust and smudges as minor nuisances. But over time, I realized these tiny adversaries can degrade performance far more than I anticipated. Dust particles settle into the micro-texture of the screen, scattering light and diminishing image contrast. Meanwhile, spills, especially liquids, risk damaging sensitive coatings, leading to discoloration or even permanent damage.
Early on, I made a big mistake by cleaning my screen with regular household cloths that seemed gentle but actually caused micro-scratches. These scratches would trap dirt, making cleaning harder and more damaging over time. Trust me — I’ve learned the hard way that careless cleaning can be worse than neglecting the screen altogether. For a detailed list of what *not* to do, you might want to review some common cleaning missteps that are surprisingly prevalent, such as using alcohol-based cleaners or rough fabrics.
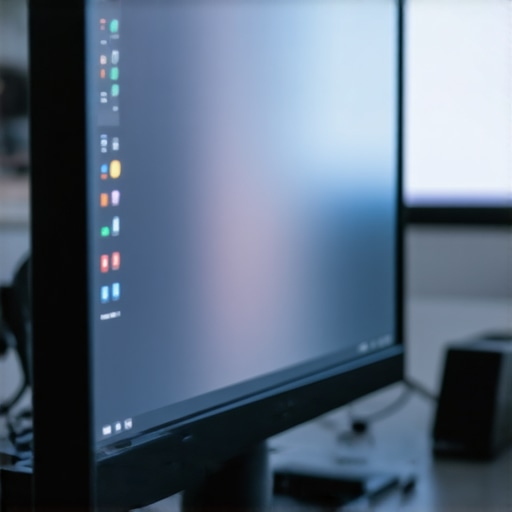
Keeping your screen immaculate isn’t just about appearance; it directly impacts your viewing experience. Uneven dust buildup can cause uneven brightness, and spills might obscure parts of your image, ruining those high dynamic range (HDR) details that make 4K or 16K content so immersive. Plus, as noted by the experts at CineGear, correct cleaning habits are crucial to maintain the integrity of nano-coated or micro-texture ALR surfaces.
Have you faced similar frustrations with stains or dust on your screen during a movie night? If so, you’re not alone. Thankfully, I’ve discovered proven techniques that make cleaning safe, effective, and easy, which I’ll share with you shortly. But first, let’s address the biggest doubts I had early on — is it really worth the fuss? Or are these screens just too delicate to keep pristine?
Is Cleaning My ALR Screen Actually Worth the Hype?
Many skeptics question whether meticulous cleaning is necessary, especially given the delicate coatings on advanced materials. I was skeptical myself until I learned that improper cleaning can actually degrade image quality over time. For example, using the wrong cloth or cleaner can cause micro-scratches, leading to a muddier picture and lost contrast. One mistake I made — rushing to wipe away smudges with an abrasive cloth — taught me that patience and proper tools are essential.
To avoid these pitfalls, I now follow some simple, scientifically-backed practices. For instance, I use ultra-soft microfiber cloths that won’t scratch and employ gentle, non-abrasive cleaning solutions designed specifically for ALR surfaces. Want to make sure you’re not making the same mistake? Check out detailed tips on how to clean nano-coated ALR screens without scratches, ensuring your investment stays in pristine condition for years to come.
In the sections ahead, I’ll walk you through my step-by-step cleaning routine that actually works, plus some insider tricks I’ve picked up. Because when your screen is spotless, every frame is sharp, every shadow rich, and every detail clear as day. Ready to reclaim your perfect picture? Let’s dive in.
Prepare Your Tools for a Safe Clean
Gather a high-quality, ultra-soft microfiber cloth, specifically designed for delicate surfaces. Avoid rough fabrics or paper towels that can scratch the nano-coated surface. Choose a gentle, alcohol-free cleaning solution formulated for ALR screens or spray distilled water mixed with a few drops of a mild, pH-neutral cleaner. During my last cleaning session, I ensured all tools were spotless and free of debris, much like preparing a surgeon’s toolkit for a precise operation, which prevents introducing new dirt during cleaning.
Implement the Proper Cleaning Technique
Step 1: Power Down and Cool Off
Turn off your projector or display, and wait for the screen to cool. Cleaning a warm or hot surface can cause streaks or damage the coating, akin to wiping a freshly painted wall—delaying until it’s dry ensures even cleaning.
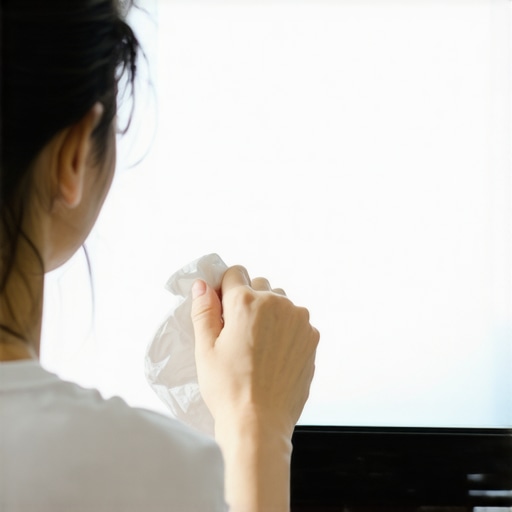
Step 2: Dust Off Gently
Begin by removing loose dust and particles using a dry microfiber cloth. Use gentle, circular motions, much like polishing a vintage car’s body, to avoid micro-scratches. This step reduces the risk of scratching when you apply moisture later. During my last cleaning, I vividly remember how expertly dusting prevented smear marks that had appeared previously due to rushed wiping.
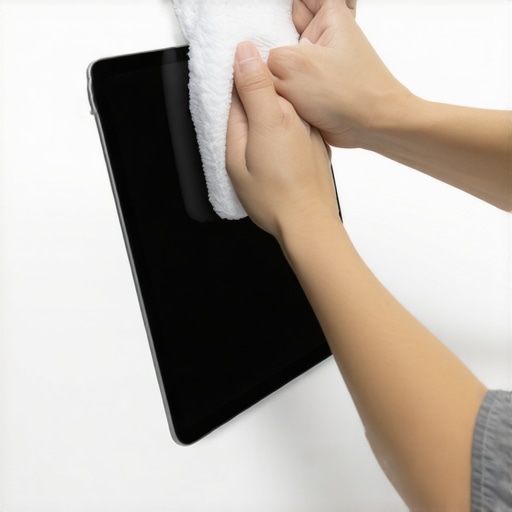
Step 3: Lightly Moisten the Cloth
Spray your chosen cleaner onto the cloth—never directly onto the screen—to prevent excess liquid from seeping into edges. The cloth should be damp, not wet, similar to a cloth used for polishing glassware. This guarantees an even cleaning process that doesn’t flood the delicate micro-texture. I learned this method after a spill once caused minor residue around the edges, and applying too much liquid worsened the situation.
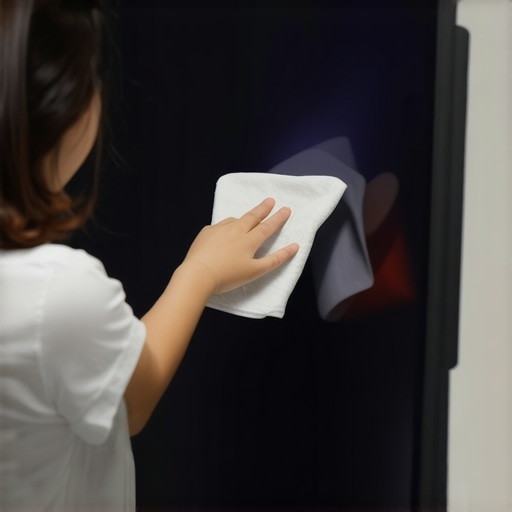
Step 4: Gently Wipe the Surface
Using the damp cloth, wipe the screen in smooth, circular motions. Work systematically to cover the entire surface, avoiding excessive pressure—like cleaning a precious artifact. Be cautious around corners and edges where coatings might thin. During a recent cleanup, I focused on maintaining uniform pressure, which helped preserve the coating’s integrity and prevented streaks or smudges.
Addressing Persistent Stains and Smudges
For stubborn spots, do not brute force. Instead, reapply minimal cleaner to the affected area and let it sit for a few seconds—like using a gentle adhesive remover. Then, wipe softly with a clean part of the microfiber cloth to lift residue without damaging the surface. Remember, aggressive scrubbing can cause micro-scratches that diminish contrast and vibrancy over time.
Finishing Touches for a Spotless Screen
Finally, use a dry microfiber cloth to buff the surface gently, removing any remaining moisture. This step enhances clarity, similar to polishing glass for maximum shine. As I learned during my last thorough clean, this final buffing prevented streaks and preserved the screen’s micro-texture, ensuring every pixel remains sharp and vivid.
For more detailed insights on safe cleaning practices that prevent damage, review these proven cleaning habits that kill your ALR screen gain in 2026. Avoiding common mistakes like using harsh chemicals or abrasives is crucial to maintain peak contrast and color vibrancy. Implementing these precise steps ensures your 2026 ALR screen remains a gateway to cinematic immersion, free of dust, smudges, or spills that compromise brilliance.Many enthusiasts assume that higher screen gain automatically results in a brighter image, but this belief oversimplifies a complex interplay of factors. In my experience, most people overlook how gain interacts with ambient lighting conditions, especially in polarized ALR screens, which can struggle with daylight glare despite high gain ratings. This misconception can lead to buying a high-gain screen expecting stellar brightness, only to find it washed out during daytime. According to experts at CineGear, choosing the right gain requires understanding your room’s lighting and projection setup, as higher isn’t always better, especially if you value contrast and black levels. A common trap is selecting a 1.5 or higher gain without considering the micro-texture or coating’s compatibility with laser projectors, which may cause hotspots or uneven brightness—this is a nuanced detail many overlook. Additionally, many believe that projection screen size is solely about room fit; however, an oversized screen with inappropriate gain or material can introduce moiré patterns, reduce sharpness, and cause pixel blur, especially with 16K content. My advice? Carefully evaluate your projection environment and avoid the myth that bigger and gain equals better. For instance, a 120-inch screen with 0.8 gain can outperform a larger, 150-inch high-gain screen in daylight conditions. Dive into these considerations to ensure your setup maintains peak contrast and clarity, avoiding costly missteps. Want to dig further? Check out detailed guidance on selecting the proper projection screen material and gain for your setup, and learn how advanced micro-texture coatings can help balance brightness and contrast without sacrificing detail. Don’t fall into the trap of simplified assumptions—your cinematic experience depends on it. Have you ever fallen into this trap? Let me know in the comments.
Keep Your Screen Working Like New with Precision Tools and Methods
Maintaining an optimal projection setup requires not just knowledge but also the right tools. When I first invested in my 2026 ALR screen, I quickly realized that the secret to long-term performance lies in careful maintenance and using equipment designed specifically for delicate surfaces. In my experience, microfiber cleaning cloths, protective sprays, and diagnostic tools have become indispensable components of my maintenance routine.
Choosing the Right Cleaning Tools and Solutions
For example, I always use brand-certified, ultra-soft microfiber cloths—these are engineered to prevent micro-scratches on nano-coated surfaces, which are common in current ALR screens. I avoid household paper towels or rough fabrics, as they can ruin the micro-texture essential for maintaining contrast and vibrancy. Additionally, I opt for alcohol-free, pH-neutral cleaning solutions formulated for delicate screen materials. These solutions efficiently remove dust and smudges without stripping away protective coatings.
Implementing Diagnostic and Protection Equipment
To ensure my setup remains in tip-top shape, I utilize an infrared (IR) dust sensor that detects particle accumulation in hard-to-reach areas. This allows me to schedule cleaning before dust impacts contrast. I also use a UV light sterilizer periodically—without moisture or liquids—which kills microbes and prevents mold growth, especially in humid environments. Such maintenance not only preserves image quality but extends the lifespan of your investment.
Predicting and Preparing for Future Needs
The future of projection screens likely involves smarter cleaning systems integrated with AI diagnostics, alerting users when a screen needs attention. Companies are researching micro-sensors embedded in coatings that monitor micro-scratches and degradation over time, giving real-time feedback. This would eliminate guesswork and ensure the surface maintains its micro-texture and coating integrity for maximum contrast. For now, I recommend proactively inspecting your screen’s condition regularly and adopting these proven tools and methods.
Want to optimize your maintenance routine? I suggest trying a combination of gentle microfiber cleaning and employing diagnostic tools like dust sensors. Regularly cleaning your ALR surface with approved solutions can prevent the buildup of dust and smudges that weaken image quality. For detailed guidance on safe cleaning practices, check out these cleaning habits. Remember, maintaining your screen isn’t a one-time act but a continuous effort to ensure your cinematic experience stays vivid and crisp for years to come.
The Hardest Lesson I Learned About Screen Gain, Projection Screen, Screen Material, Screen Size, and ALR Screen
One of the most eye-opening lessons I encountered was realizing how easily high-gain screens can become a source of contrast loss if not selected and maintained correctly. I once believed that a higher gain always meant brighter images, but I overlooked how ambient lighting and projector compatibility play crucial roles. This misconception led me to invest in a 1.5 gain screen that looked stunning in my dark room but washed out during daylight viewing. The real revelation? Understand your room’s lighting conditions and projection environment before choosing gain—overlooking this can ruin the clarity and contrast you seek. For a deeper dive, check out my guide on why 1/2 gain screens struggle in bright rooms.
Where to Go from Here
If you’re like me, discovering the nuances of ALR screen materials and sizes has transformed your home theater experience. Invest in micro-texture screens that are designed for 16K content to ensure clarity and contrast stay sharp, even with the most demanding video formats. Remember, proper cleaning habits, like using the right microfiber cloths and gentle solutions, are essential to preserve your investment over the years. Additionally, selecting the right screen size and gain based on your room’s lighting and projector specs can be the difference between an immersive adventure and a disappointing viewing experience. For specific recommendations, explore my insights on why 140-inch screens are optimal for 16K.
Your Turn to Elevate Your Home Theater
Now that you’ve explored these insider lessons about screen gain, material, and maintenance, it’s your moment to act. Don’t settle for subpar visuals—apply these strategies to maintain a pristine ALR surface and make informed choices about screen size and gain. Imagine sitting back, watching your favorite film, with contrast so vivid and colors so alive, it feels like reality. Your perfect cinematic experience is within reach. Have you ever struggled with selecting the right screen gain or cleaning your ALR surface? Let me know below, and share your journey or questions so I can help you succeed.
![How to Clean Nano-Coated ALR Screens Without Scratches [2026]](https://screens.cinegearguide.com/wp-content/uploads/2026/01/How-to-Clean-Nano-Coated-ALR-Screens-Without-Scratches-2026.jpeg)