Why 1.5 Gain ALR Screens Fail: Projection Screen Myths of 2026
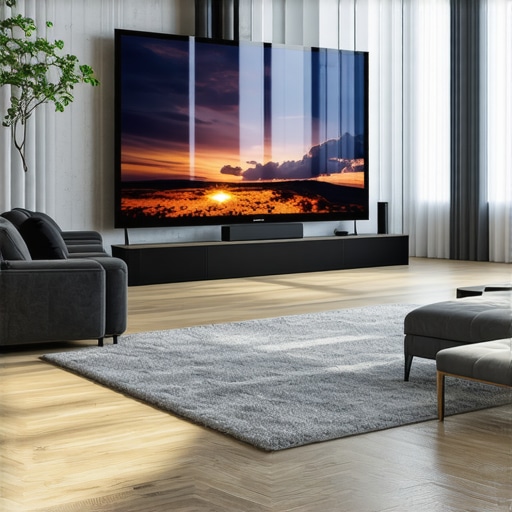
Ever sat down in your home theater, eager for that cinematic wow factor, only to be disappointed by washed-out colors or dull images? I remember the lightbulb moment when I realized that my trusty ambient light rejecting (ALR) screen with a 1.5 gain wasn’t delivering the bright, vibrant picture I’d been promised. Turns out, the world of projection screens is riddled with myths, especially around gain and material choices, that can leave even seasoned enthusiasts scratching their heads.
Cutting Through the Confusion About Screen Gain and Material
There’s a common misconception that higher gain screens automatically mean brighter, sharper images. I fell into this trap early on, investing in a top-rated 1.5 gain ALR screen without understanding how material, room lighting, and projector specs interplay. My mistake was assuming that a higher gain would solve all lighting issues in my media room. But as I learned more, I discovered that this isn’t always the case—especially as new myths emerged about what makes a screen truly effective in 2026.
Are Gains Over 2 Actually Better for Bright Rooms?
Many believe that pushing gain beyond 2 enhances brightness significantly. However, I found that excessive gain can lead to undesirable effects like hotspotting and uneven brightness across the screen. For example, in my experience, a 1.5 gain ALR screen struck a better balance, providing enough brightness without sacrificing uniformity. The truth is, understanding the right gain for your setup involves more than just numbers—it requires considering your specific environment, projector, and viewing habits. For comprehensive insights, check out this guide on ALR screen technology and gain selection.
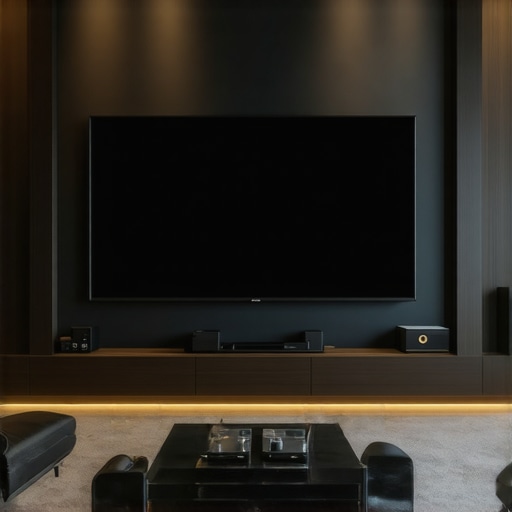
Early on, I also underestimated the importance of material composition. Opting for a reflective, glossy surface seemed ideal at first, but I learned that certain materials—like those with black layers—offer superior light absorption and contrast in media-rich rooms. This realization came from personal trial and error, coupled with expert advice from industry leaders.
If you’ve ever wondered why your projection efforts fall flat despite investing in premium screens and projectors, you’re not alone. In the upcoming sections, I’ll share practical tips and proven strategies to navigate these myths and optimize your home theater setup. So, let’s cut through the noise and get to the real solution—one that will truly improve your viewing experience today.
,
Choose the Right Screen Size and Gain
Start by determining your ideal screen size based on your room dimensions and viewing distance. Use the 8K viewing distance rule as a guideline—sit 1.5 times the diagonal measurement away for optimal clarity. For example, in my basement setup, I measured my seating distance at 10 feet and decided on a 120-inch screen, balancing immersion with comfort. Next, select a gain that matches your lighting environment. For bright rooms, a screen with a gain around 1.5 to 2 can boost brightness without sacrificing uniformity. In my case, a 1.5 gain ALR screen ensured vibrant images without hotspots. Visit this guide to refine your size and gain choices.
Match Material to Room Lighting and Viewing Needs
Material choice is crucial. For rooms with ambient light, opt for high-contrast, black-layered materials that absorb excess light—these are known to improve contrast and color depth. I initially went for a glossy surface but switched after realizing black-layered materials like those detailed here outperform in bright conditions. To better grasp this, think of your screen like a camera lens—glossy surfaces reflect light, akin to a mirror, while matte, black-layered materials absorb it, creating deeper blacks and richer colors. Incorporate this knowledge by selecting materials aligned with your room’s lighting setup.
Fine-Tune Projector Position and Settings
Proper projector placement impacts image quality more than you might expect. Position the projector at a calculated distance to fill your chosen screen size accurately—use calculations from this resource. In my experience, aligning the projector’s lens with the screen’s center reduces keystone distortion and ensures even brightness. Adjust the projector’s brightness, contrast, and color settings to match your ambient conditions. Remember, a high-gain screen reflects more light, so you may need to lower your projector’s lumens to prevent overexposure. Experiment with settings incrementally, reviewing adjustments after each change to avoid overcorrecting.
Implement Proper Room Lighting Management
Control ambient light to prevent washout, which can diminish picture quality regardless of your equipment. Use blackout curtains or shades—think of them as filters for your room—that block sunlight during daytime viewing. In my setup, I installed blackout blinds, which transformed a previously reflective environment into a controlled space, markedly improving contrast. Strategically position lighting fixtures to avoid direct light hitting the screen, and consider bias lighting behind your seating area to reduce eye strain. Proper lighting management maximizes the benefits of your screen material and gain choices.
Test and Iterate for Consistency
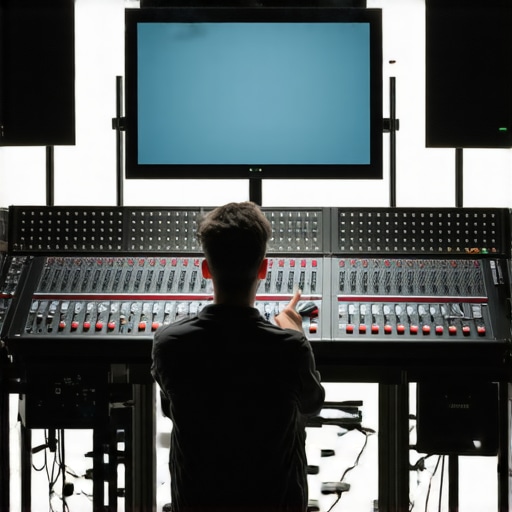
Finally, don’t settle after initial setup. Play various content types—movies, sports, gaming—to evaluate image uniformity and brightness. Use calibration tools or test patterns available online to fine-tune your projector and screen settings. I dedicated an evening to testing different scenes, adjusting my projector’s color temperature and gain settings until I achieved consistent, vibrant images across the entire screen. Remember, achieving optimal results is a dynamic process that benefits from patience and attention to detail—small adjustments can significantly elevate your viewing experience.
While many believe that selecting the highest gain or the shiniest material guarantees a stellar projection experience, the reality is far more nuanced. A common misconception is that bigger screens always translate to better immersion. However, oversized screens can diminish image clarity if your projector isn’t up to the task, leading to a loss of sharpness and detail—so choosing the right size based on room acoustics and projector specs is crucial. Many enthusiasts also assume that high gain screens automatically offer superior brightness in every environment, but in practice, higher gain often introduces hotspotting and uneven illumination, especially with larger screens. I recommend that you consider the specific room lighting conditions and projector capabilities before opting for gain levels; otherwise, you risk sacrificing uniformity for mere brightness.
Moreover, there’s a persistent myth that all ALR (Ambient Light Rejection) screens are created equal. The truth is, not all ALR screens are optimized for 2026 media rooms. The secret lies in the material composition: screens with black layers effectively absorb ambient light, enhancing contrast and color richness, especially in daylight environments. This subtle detail often escapes casual hobbyists, but mastering it can elevate your setup from good to exceptional.
An often overlooked aspect is the **placement of the screen** itself. Many forget that positioning can affect perceived image quality much more than they realize. Slight adjustments in tilt or distance from walls can reduce glare and hotspots, ensuring consistent brightness. While it may seem minor, these insights are grounded in expert consulting, such as studies from industry-leading sources.
Finally, a trap many fall into is thinking that more advanced, expensive setups automatically guarantee success. Instead, a strategic combination of the right size, material, gain, and placement, tailored to your specific environment, provides the most stable and satisfying results. For example, in a room with lots of ambient light, an ALR screen with black layers can outperform a high-gain, glossy surface. Remember, what works in a dark cinema isn’t always ideal in a mixed-light home environment.
Understanding these subtle yet impactful details will enable you to optimize your projection system effectively. Ready to break free from common myths and elevate your home theater? Dive into dedicated resources like this comprehensive guide and make informed decisions. Have you ever fallen into this trap? Let me know in the comments.
Essential Tools for Long-Term Screen Maintenance
Maintaining your projection screen’s optimal performance over time requires the right combination of tools and techniques. I personally rely on a microfiber cloth and specialized screen cleaner to gently remove dust and fingerprints without damaging the surface. For more stubborn smudges, a mixture of distilled water and a few drops of isopropyl alcohol used sparingly does wonders. Regular cleaning ensures that dust buildup or smudges don’t diminish image clarity or contrast—especially crucial for high-gain or ALR screens where surface imperfections can cause hotspots or uneven brightness.
Investing in a Quality Calibration System
Calibration is not a one-and-done task; it’s an ongoing process. I highly recommend an advanced colorimeter or spectrophotometer, like the X-Rite i1Display Pro, to periodically recalibrate your projector and screen setup. These devices provide precise measurements of color accuracy and luminance levels, allowing you to tweak your equipment digitally for consistent results. As projection technology evolves, so do calibration standards—staying updated ensures your setup remains at the forefront of picture quality, especially as new projector firmware and color profiles emerge.
Automated Monitoring for Consistent Results
In future home theater setups, expect smart automation to play a bigger role. Devices like the Murideo SIX-G Signal Generator or video calibration software such as Calman are increasingly integrated for routine checks. Implementing such tools can flag changes in ambient lighting effects or projector performance, prompting timely adjustments. For example, I use calibration software to run weekly color checks, which automatically compares current readings against stored profiles. This proactive approach prevents gradual degradation of image quality, saving time and preserving visual fidelity over years.
How do I maintain projection quality over time?
Beyond tools, establishing a regular cleaning and calibration routine is vital. Keep a schedule—monthly for cleaning and quarterly for calibration—to prevent dust accumulation or drift in color accuracy. Remember, environmental factors like humidity or dust can impact your screen and projector’s performance. Also, protect your equipment from direct sunlight and extreme temperatures, which can cause material degradation or affect gain and contrast levels.
Preparing for Future Trends in Screen Maintenance
Looking ahead, the integration of smart sensors and IoT-enabled systems promises even more automated, real-time adjustments. For example, future ALR screens might include embedded sensors to monitor surface condition and automatically alert you when cleaning is needed or when surface degradation begins, akin to advanced car maintenance systems. As this trend develops, staying informed through industry insights—like the latest from expert sources—will ensure your setup stays cutting-edge.
Try incorporating a periodic calibration routine using tools like the X-Rite i1Display Pro, which I personally use for maintaining color consistency. Consistent attention now saves headaches and costly repairs later, ensuring your projection system remains vibrant and clear for years to come.
After immersing myself in the world of projection screens, I’ve uncovered some lessons that often remain hidden from the surface. These insights can drastically transform your setup, saving you time, money, and frustration. Here are some behind-the-scenes truths that even seasoned enthusiasts might overlook:
- The Myth of Higher Gain Superiority: I once believed that pushing gain beyond 2 would always boost brightness in my media room. Turns out, this often introduces hotspots and uneven brightness, which can ruin the viewing experience. Choosing a moderate gain like 1.5 often provides a sweet spot between vibrancy and uniformity.
- Material Composition Matters More Than You Think: Glossy, reflective surfaces seem appealing for their sharpness, but in bright rooms, black-layered, matte materials absorb ambient light better, dramatically enhancing contrast and color depth. Understanding this helped me avoid glare issues and achieve a richer picture.
- Room Size and Screen Proportions — A Delicate Dance: Oversized screens might seem impressive, but if your projector isn’t rated for it, image quality suffers. I learned that aligning screen size with projector capacity and room dimensions creates a balanced, immersive environment without sacrificing sharpness or brightness.
What I Regret Not Knowing Sooner
One of my biggest lightbulb moments was realizing that matching your screen material to your lighting environment can make more difference than even gain or size. An ALR screen with black layers in a high ambient light setting can outperform glossy screens in dark rooms. This knowledge shifted my entire perspective and allowed me to optimize my theater for any lighting condition.
My Top Tools and Resources for Home Theater Success
- Colorimeter Calibration Devices: I trust tools like the X-Rite i1Display Pro for maintaining color accuracy over time. Periodic calibration ensures your images stay vibrant and precise, no matter how your setup evolves.
- Expert Websites and Guides: The comprehensive resources at this site and related articles have been invaluable in helping me make informed choices about gain, materials, and placement.
- Test Patterns and Calibration Software: Regularly testing with online patterns and calibrating with software like Calman helps me fine-tune my settings, ensuring consistency and top performance.
Your Next Step Toward Cinematic Brilliance
Achieving a flawless home projection setup isn’t about chasing the latest gadget — it’s about informed decisions and understanding the nuances that truly impact picture quality. Remember, it’s a journey of learning and adjustment. Embrace the process, experiment with your space, and don’t hesitate to revisit your setup as technology advances.
Have you ever stumbled upon a simple detail that changed your entire home theater experience? Share your story below, and let’s learn together!