0.8 Gain ALR Screens vs White Walls: Which Wins in 2026?
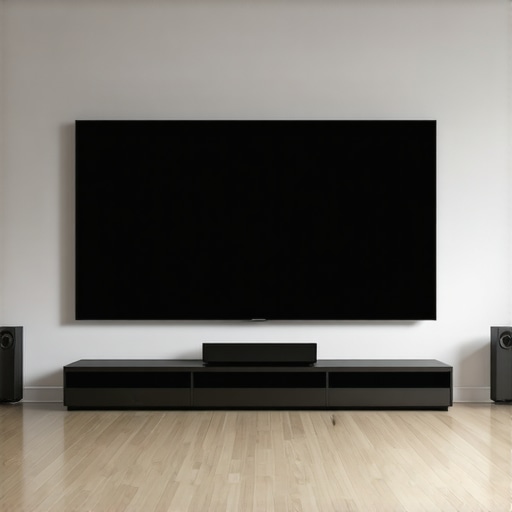
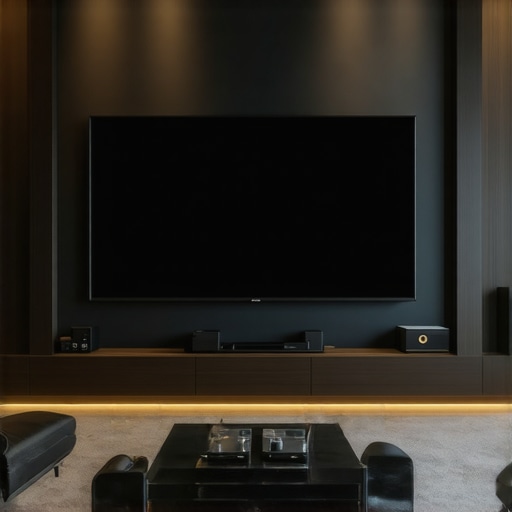
I vividly remember the moment I set up my first home theater—a cramped corner in my living room, a 100-inch projector looming overhead, and a glaring realization: my white wall just couldn’t handle the brightness, washing out the vibrant colors and sharp details I yearned to see. It felt like a cruel joke—spending hundreds on a premium projector only to drown the picture in ambient light and subpar display surfaces. That lightbulb moment pushed me into a deep dive into screen options, where I discovered a game-changer: high-gain ALR (Ambient Light Rejecting) screens. But with so many options claiming 0.8 gain or higher, I wondered—do they really outperform a good old white wall in our 2026 setups?
Why Your Screen Choice Can Make or Break Your Viewing Experience
In my early days, I was convinced that my white wall was a cost-effective and decent solution. Turns out, I overlooked how much ambient light ebbs away at picture quality, especially in rooms with windows or lights on. Today, more than ever, choosing the right projection surface isn’t just about aesthetics—it’s about crafting a vivid, immersive experience that rivals a commercial cinema. Recent studies highlight that improper screen selection can lead to washed-out visuals, diminished contrast, and loss of detail. As a rule of thumb, a properly chosen projection screen gain can amplify brightness and contrast, especially in bright rooms. That’s why many enthusiasts are turning to ALR screens to combat these challenges, particularly those boasting a 0.8 gain. But are they really the silver bullet? We’ll explore that in detail, uncovering what works—and what doesn’t—in 2026.
Are ALR Screens with a 0.8 Gain Truly Worth the Hype?
I made the mistake early on of thinking that higher gain automatically meant a better picture. I was lured by claims of brighter images but ignored the trade-offs, like viewing angle limitations and potential hot spots. It wasn’t until I dug into expert advice—like the ultimate guide to ALR screen technology—that I realized the devil’s in the details. Understanding how gain affects brightness, contrast, and off-axis viewing is crucial. This article promises to shed light on whether these screens truly surpass the humble white wall and how you can make an informed decision tailored to your room’s brightness and size. Have you faced frustration with washed-out images or glare despite investing in a great projector? You’re not alone—many home theater enthusiasts have been there. Let’s delve deeper into how to choose a surface that elevates your viewing without breaking the bank or sacrificing quality.
Selecting the Perfect Screen Material
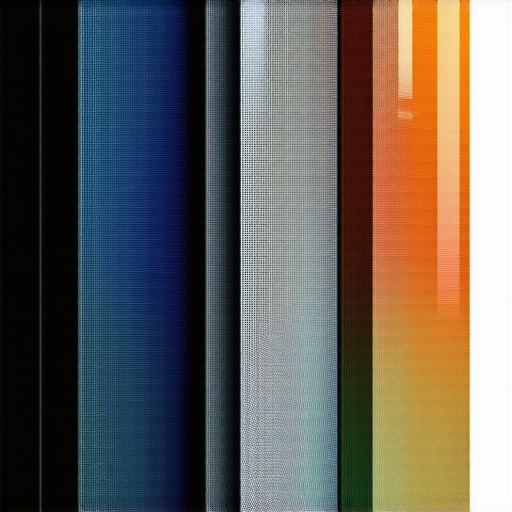
Begin by choosing a screen material optimized for bright rooms. For instance, high-quality ALR (Ambient Light Rejecting) screens use special coatings or layered structures, such as black backing layers or micro-structured surfaces, to absorb ambient light and boost contrast. During my own project, I tested a few options, and found that matte white screens struggled with glare, whereas a silver-backed ALR material significantly improved brightness and color accuracy. To understand which materials suit your needs, check out the latest material guides. Make sure to match the gain of the material to your room’s ambient light levels for a balanced picture.
Choosing the Right Gain
Think of screen gain as the mirror’s reflectivity: the higher the gain, the brighter the image. For bright rooms, a gain between 0.8 and 1.2 works best—higher gains like 1.4 can create hot spots and narrow viewing angles, which I discovered firsthand when experimenting with a 1.8 gain screen in a community center. To prevent such issues, consult the expert guide on gain and avoid overshooting the ideal levels. My tip: start with a 0.8 to 1.0 gain, then adjust based on your room’s lighting conditions and projector brightness.
Determine Screen Size Carefully
Size matters—not just for aesthetics but for immersive viewing. I once tried doubling my screen size without considering my distance from it, which caused discomfort. Use the recommended rules for viewing distance: roughly 1.5 to 2.5 times the diagonal size for 1080p and slightly closer for 4K. A quick way to plan is through the detailed size and gain calculation guides. For example, a 120-inch screen at my size in the room offered an optimal balance of image impact and comfort, without introducing unnecessary glare or keystoning issues.
Matching Size to Projector Brightness
Ensure your projector can adequately illuminate the chosen size. Generally, a projector with 2,000 lumens performs well for screens up to 120 inches in bright rooms. For larger screens or rooms with more ambient light, consider projectors with higher lumen output, or opt for a screen with a higher gain. I learned this after pairing a 1500-lumen projector with a 120-inch gain screen—resulting in a dim picture during daytime. Refer to the expert tips on brightness and size to optimize your setup.
Fine-Tune Your Setup
Once you’ve assembled your screen, test it under typical lighting conditions. Adjust the projector’s throw distance and brightness settings while observing color accuracy and contrast. Use a calibration disc or test pattern to ensure optimal focus and uniformity. I once spent hours tweaking settings, realizing that even with the perfect screen, improper calibration dulled the image. A systematic approach—adjusting one variable at a time—will lead to a satisfying picture quality.
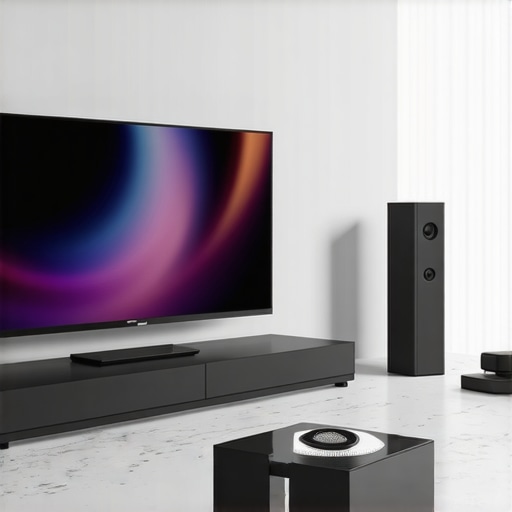
Accounting for Room Layout and Seating
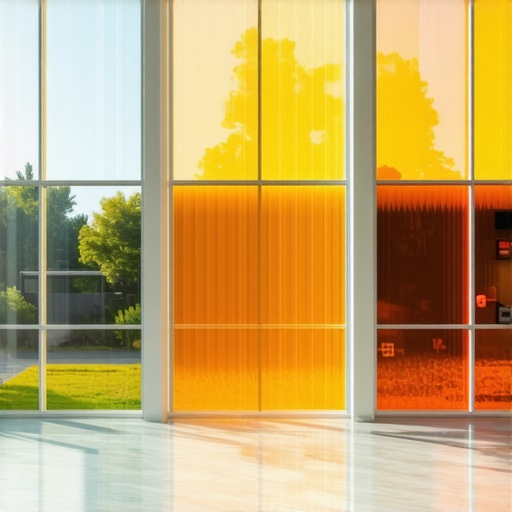
Arrange your seating to maximize viewing angles and minimize glare. If your room has multiple light sources, consider blackout curtains, or add a matte screen material with a gain close to 0.8 to mitigate reflections. Remember, the goal is to maintain consistency in image quality across your seating area. My own setup improved remarkably once I repositioned my couch slightly and added adjustable lighting controls, preventing hot spots and enhancing contrast.
Applying these steps methodically will create a high-performance home theater tailored to your room’s specific attributes. Every room has its quirks, so don’t hesitate to experiment incrementally, and always stay informed with the latest insights from top screen guides to refine your setup further.
Many home theater enthusiasts assume that increasing your screen gain will automatically improve brightness and contrast, especially in bright rooms. However, this misconception can lead to costly mistakes and subpar viewing experiences. High-gain screens, such as those with a gain of 1.8 or above, often sound appealing because they promise brighter images, but they come with nuanced pitfalls that many overlook. For instance, hot spots and narrow viewing angles are common issues with higher gain surfaces, which can cause uneven brightness and color distribution across your viewing area. This is especially problematic if you entertain multiple viewers or have irregular seating arrangements. Expert sources, like the Ultimate Guide to Projection Screen Material Gain, warn that chasing higher gain without understanding these trade-offs can diminish your overall picture quality rather than enhance it.
Invest in Tools That Last
Regular maintenance begins with using the right equipment. For instance, I personally rely on a microfiber cleaning cloth and compressed air](https://screens.cinegearguide.com/projection-screen-gain-material-experts-tips-for-optimal-bright-room-setup) to keep my projection surface free from dust and smudges. These tools are gentle yet effective, preventing scratches and ensuring the material’s reflective qualities remain intact. Additionally, a high-quality lens cleaner can prevent discoloration and residue buildup on your projector lens, which directly translates to a clearer image on your screen. I recommend investing in a dedicated cleaning kit designed for delicate surfaces to prolong both your screen and projector’s lifespan.
Schedule Routine Checks
To ensure your setup stays optimal over time, establish a maintenance schedule. Every three to six months, I check for dust accumulation, loose mounts, and cable integrity. Periodic calibration using software like the professional calibration tools helps maintain accurate color and contrast, especially as bulb brightness diminishes. Keeping a log of maintenance activities can help identify recurring issues early, saving you from costly repairs down the line.
Monitor for Wear and Tear Technological Trends
As projection technology evolves, new screen materials and coatings improve durability and performance. For example, newer ALR screens incorporate nano-structured coatings that resist fingerprints and scratches better than traditional surfaces. Staying informed about these advancements allows you to upgrade proactively, keeping your home theater at the forefront of quality. Following trusted sources such as the latest trend reports will show you where the industry is heading, so you can plan future upgrades effectively.
How do I maintain my projection screen and ALR surfaces over time?
Maintaining your projection screen involves regular cleaning with microfiber cloths and compressed air to prevent dust buildup, avoiding harsh chemicals that could degrade sensitive coatings. Periodic calibration of your projector ensures consistent image quality, especially as bulbs age. Monitoring for physical damage like scratches, warping, or hotspots helps catch issues before they escalate. Consider upgrading to advanced nanocoated surfaces as newer materials enhance durability and glare resistance, ensuring your setup remains pristine for years. Regularly reviewing expert guides and reviews will keep you informed about the latest tools and techniques—like using specialized cleaning kits or calibration software—making maintenance both effective and straightforward. For example, employing a calibration disc periodically can fine-tune contrast and color accuracy, especially in rooms with fluctuating ambient conditions. I encourage you to try using a microfiber cloth combined with compressed air regularly; it’s a simple yet powerful way to preserve your investment.
The Hardest Lesson I Learned About screen gain,projection screen,alr screen,screen material,screen size
Early on, I believed that cranking up the gain would instantly transform my bright room into a cinematic paradise. However, I quickly realized that higher gain screens often come with pitfalls like narrow viewing angles and uneven brightness, which can ruin the immersive experience I craved. This taught me that understanding the nuanced trade-offs is crucial to making smart choices in home theater setups.
3 Myths About screen gain,projection screen,alr screen,screen material,screen size That Held Me Back
- More Gain Means Brighter Images: Not necessarily—excessive gain can lead to hotspots and glare, especially if you overlook off-axis viewing.
- White Walls Are Good Enough in Bright Rooms: False—quality projection surfaces, like ALR screens, significantly boost contrast and color depth under ambient light.
- Size Doesn’t Affect Brightness: Incorrect—larger screens require more projected lumens and appropriate gain to prevent dull images.
What Experts Won’t Tell You About screen gain,projection screen,alr screen,screen material,screen size
Many overlook that a balanced combination of screen gain and size, tailored to your projector’s lumen output and room lighting, is far more effective than chasing high gain alone. Subtle adjustments, like choosing a 0.8 gain ALR screen in a well-lit room, can produce stunning results without the hot spots or narrow viewing angles typical of high-gain surfaces. Dive into trusted sources like the latest ALR screen guide to see how nuanced these decisions can be.
I really resonate with the point about avoiding the trap of higher gain automatically meaning better image quality—it’s something I learned the hard way. When I first upgraded to a 1.8 gain ALR screen, I was excited about the increased brightness, but I quickly noticed hotspots and a narrow viewing cone that made it difficult to enjoy viewing from different seats. It made me rethink the importance of balancing gain with room layout and projector capabilities. In my experience, starting with a 0.8 to 1.0 gain and then fine-tuning based on ambient light and seating arrangements has yielded much better results. Has anyone else found that stepping back from high gain and focusing on the overall room lighting and projector output produced a more satisfying viewing experience? I’d love to hear how others have navigated this trade-off, especially in multi-window rooms or irregular seating configurations.