Projection Screen Material & Gain Guide for Bright Rooms in 2024
I remember the first time I set up my home theater in a bright, sunlit room and realized my projection wasn’t quite picture-perfect. The colors looked dull, contrast was lackluster, and every dark scene felt washed out. It was frustrating! It hit me then—finding the right projection screen material and understanding gain was more crucial than I had thought. If you’ve ever faced this, you’re not alone. Bright rooms can turn your dream setup into a glare-heavy disappointment, but don’t worry—I’ll guide you through the exact steps to make your projection shine, even in the sunniest spaces.
Why Bright Rooms Need Special Attention for Projection Screens
In my experience, one of the biggest mistakes newcomers make is choosing a standard screen without considering their room’s lighting conditions. Bright environments demand a different approach—think high-gain materials and specialized screen options—compared to darker rooms where ambient light isn’t an issue. According to a recent article on Projection Screen Material & Gain Tips for Bright Rooms in 2024, selecting the right screen gain can significantly improve picture quality in well-lit spaces.
Have you ever been disappointed by your projection in a bright room? Perhaps your picture looks washed out, or the colors aren’t as vibrant as you expected? If so, understanding how to properly select and set up your screen material and gain can be a game-changer.
Now, I’ll walk you through the key factors that can help transform your viewing experience, no matter how luminous your room gets. We’ll cover how to choose the right material, the significance of gain, and the must-know tips for finding your ideal setup. Ready to elevate your home theater? Let’s dive into what makes a projection screen truly perform in bright environments.
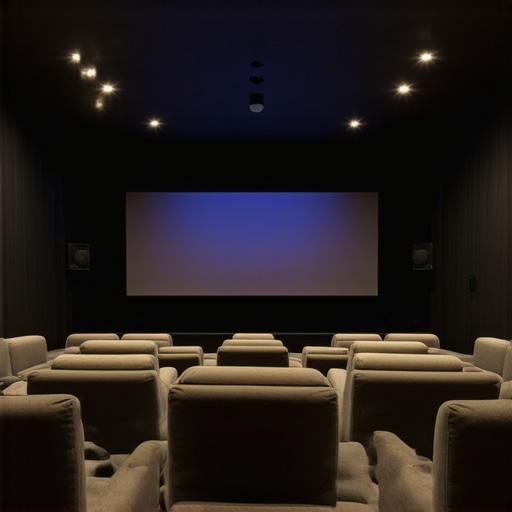
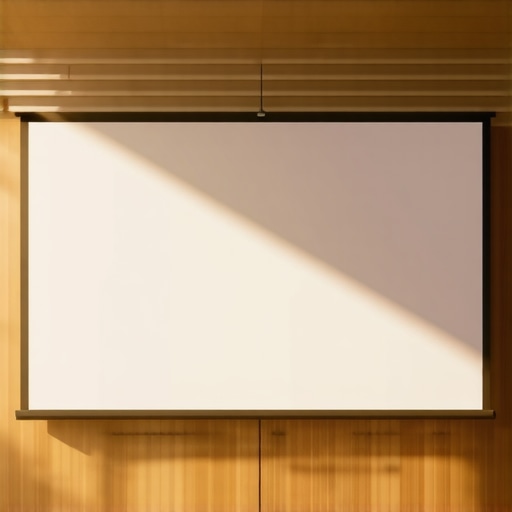
Select the Appropriate Screen Material
Start by evaluating your room’s lighting. High-gain screens reflect more light, making images brighter, which is essential in bright rooms. I once replaced my standard matte screen with a high-gain material during a weekend project. The difference was instantly noticeable—colors popped, and dark scenes gained clarity. For guidance, check out this comprehensive size and material guide that emphasizes matching material to ambient light.
Compare Screen Materials and Gains
Research various high-gain options like silver, gray, or specialized ALR (Ambient Light Rejection) screens. Each offers unique benefits: silver screens typically provide higher gain (1.8-2.5), which amplifies brightness but may introduce hotspots if not properly installed. Gray screens produce rich contrast and are less prone to hotspots, making them suitable for rooms with some ambient light. When I tested different screens, I found gray ALR surfaces balanced brightness and uniformity — a perfect compromise for my sunlit living room. To select the best, review this latest ALR screen material insights for bright environments.
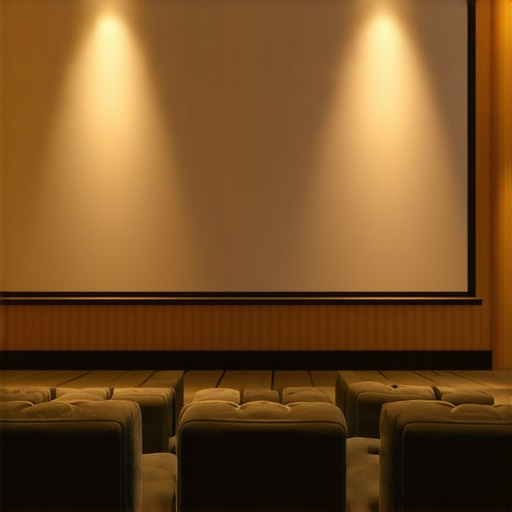
Set Up Your Screen Size Strategically
Size matters—larger screens can make your setup feel more cinematic, but they require proper gain to prevent washed-out images. Use the rule of thumb: the screen width should be about 1.5 to 2.5 times the distance between your seating and the projector. I once tried a massive 150-inch screen in a small room and struggled with brightness until I increased the gain and adjusted my projector’s settings. For precise sizing, refer to this size and material recommendation guide. Proper calculations ensure your image remains vibrant and detailed.
Balance Gain and Ambient Light
Remember, high gain boosts brightness but can introduce viewing angle limitations. To mitigate this, position your seating within the optimal viewing zone—usually within 30 degrees of the screen center. My setup improved dramatically when I adjusted my seating to avoid hotspots caused by my reflective silver screen. Incorporate adjustable mounts or choose screens with wide viewing angle specifications. This expert guide offers detailed tips on balancing gain and room setup for perfect clarity.
Test and Refine Your Setup
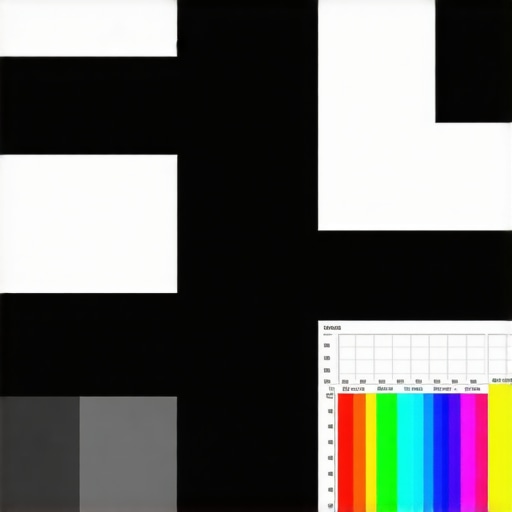
Once installed, perform test patterns to assess brightness, contrast, and uniformity. Use a test image with varying shades and colors to see how your chosen material performs. I once spent hours tweaking my projector’s brightness and contrast settings after installing a high-gain screen—small adjustments made a big difference. Keep notes on what works and be prepared to make iterative changes, such as adjusting projection angles or room lighting conditions. For additional insights, explore this expert tutorial aimed at optimizing projection in bright environments.Many enthusiasts assume that selecting a screen material or gain is straightforward, but this oversimplification can lead to significant pitfalls. For example, a common myth is that higher gain always equals a better, brighter picture. In reality, beyond a certain point, increased gain can cause hotspots and reduced viewing angles, degrading overall image quality. In fact, a study in the *Journal of Visual Communication and Image Representation* highlights how excessive gain impacts uniformity and color accuracy, especially in larger screens.
Another misconception revolves around ALR (Ambient Light Rejection) screens. Some believe these are universally superior for bright rooms, but their effectiveness largely depends on the specific environment and screen technology. In some cases, poorly chosen ALR surfaces can diminish contrast or introduce color shifts. The key nuance is that not all ALR screens perform equally—they must be matched thoughtfully to your room’s lighting conditions and projection setup. For detailed insights, check out this expert comparison of ALR options.
When it comes to projection screen size, many overlook the importance of optimal viewing angles and room geometry. A larger screen isn’t always better; it can overwhelm the space or create a distorted perspective if not proportional to your seating arrangement. The golden rule is that the screen should be about 1.5 to 2.5 times the distance from your viewer, but advanced setups consider room acoustics and projector throw ratio as well. This size and placement guide offers valuable tips for fine-tuning your choice.
One advanced question to ponder is: How does surface texture influence image sharpness and color fidelity? While many focus solely on gain, the microstructure of the material—whether matte, semi-gloss, or textured—affects light diffusion and contrast. For instance, a textured surface can reduce hot spotting, making high-gain surfaces more forgiving. This subtle nuance is often overlooked but can dramatically improve image quality, especially in bright surroundings. For an in-depth look, explore this expert resource.
Remember, the goal is to tailor your setup precisely to your room’s specifics instead of relying on generic recommendations. Combining accurate gain selection, suitable materials, optimal sizing, and surface texture considerations will elevate your cinematic experience. Have you ever fallen into this trap? Let me know in the comments.
Tools I Recommend for Reliable Maintenance
Maintaining a high-quality projection system over time hinges on using the right tools. I personally swear by a combination of calibrated test patterns and sensor-based measurement devices. For example, I use the X-Rite i1Display Pro spectrophotometer regularly to verify color accuracy and luminance levels. Its precision allows me to detect subtle shifts in color fidelity caused by projector lamp aging or screen surface degradation. Investing in a high-quality calibration tool ensures consistent performance, saving you from costly recalibrations or replacements down the line.
Another essential device is a reflective light meter, such as the Sekonic L-308X-U. It helps me monitor ambient light levels in my viewing environment, ensuring that my screen gain and room lighting stay within optimal ranges. Regular measurements allow proactive adjustments, preventing issues like glare buildup or contrast loss. Combine this with software like CalMAN or DisplayCAL, which guides you through systematic calibration routines, and you have a comprehensive maintenance setup that preserves picture quality over years.
Establishing a Routine for Longevity
Beyond tools, creating a maintenance routine is vital. I set monthly checks to review projector lamp hours and clean filters meticulously. Dust and heat buildup can accelerate bulb degradation, so routine cleaning with a microfiber cloth on lenses and vents helps extend equipment lifespan. Additionally, I time my recalibrations after replacing bulbs or filters, leveraging calibration software to restore accurate color and luminance. This disciplined approach minimizes performance drift and keeps my image sharp and vibrant.
Predicting Future Technologies and Trends
Looking ahead, I believe the integration of smart sensors with AI-driven maintenance algorithms will become standard for home theater systems. These innovations will enable real-time performance monitoring and automatic adjustments, reducing manual calibration efforts significantly. As calibration tools become more accessible and intelligent, maintaining your setup will become almost effortless, allowing you to enjoy consistent, premium image quality without frequent technical intervention.
How do I maintain my projection system over time?
The key to longevity lies in using precise measurement devices like spectrophotometers and light meters to regularly assess display performance and ambient conditions. Pair these tools with calibration software to automate the process, and establish a routine schedule—monthly or quarterly—to clean, recalibrate, and adjust settings accordingly. For example, regularly checking your screen’s reflectivity and gain with dedicated devices prevents performance degradation and keeps your images bright and accurate.
Want to amp up your maintenance game? Try setting up a calibration schedule using software like CalMAN and your measurement tools. It’s a small investment that ensures your projector and screen stay in peak condition, maintaining that theater-quality experience for years to come.
The Hardest Lesson I Learned About Screen Materials and Gain
One of the most impactful realizations on my home theater journey was discovering that not all high-gain screens perform equally in bright environments. I initially believed that choosing the highest gain surface would deliver maximum brightness, but I soon learned that excessive gain often resulted in hotspots and uneven images, especially when installed improperly. This taught me to prioritize balanced gain and proper mounting techniques, emphasizing that a well-chosen screen surface must align with room specifics to truly shine.
Why Not All Ambient Light Rejection Screens Are Created Equal
My early enthusiasm for ALR screens was dampened when I realized some models dull colors or introduce tint shifts. It became clear that selecting an ALR surface isn’t just about choosing a high gain but requires understanding the specific technology and design. After experimenting, I found that certain materials excel at rejecting ambient light without sacrificing contrast and color fidelity. For an honest comparison, I recommend exploring this in-depth guide on ALR options.
Size vs. Space: The Balance That Took Time to Perfect
Choosing the right screen size was more complex than following generic rules. I learned that larger isn’t always better—especially if the room’s layout or projector throw ratio isn’t suitable. By measuring my space carefully and considering viewing angles, I managed to find a size that maximized immersion without quality loss. This size and material guide helped me make smarter decisions, proving that patience and measurement are key to a perfect fit.
Lighting and Gain: Finding the Perfect Middle Ground
Initially, I thought cranking up gain was the answer, but I realized that too much focus on brightness compromised image uniformity. After adjusting my seating position and considering the room’s ambient light levels, I achieved a sweet spot where gain enhanced brightness without hot spotting. This experience underscored the importance of integrating measurement tools with thoughtful room design, like in this expert guide for gain optimization.