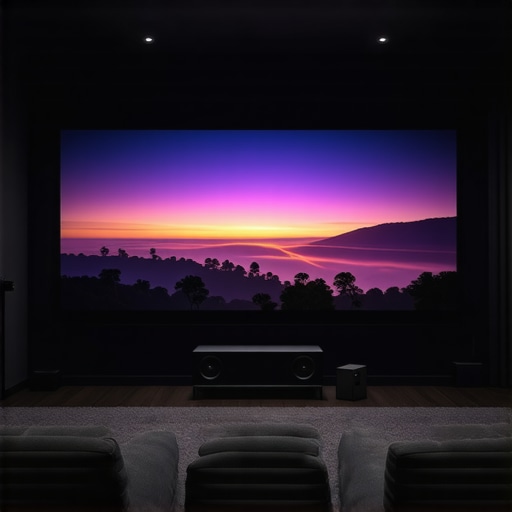
Why 120-Inch Screens Still Beat 150-Inch Models in 2026
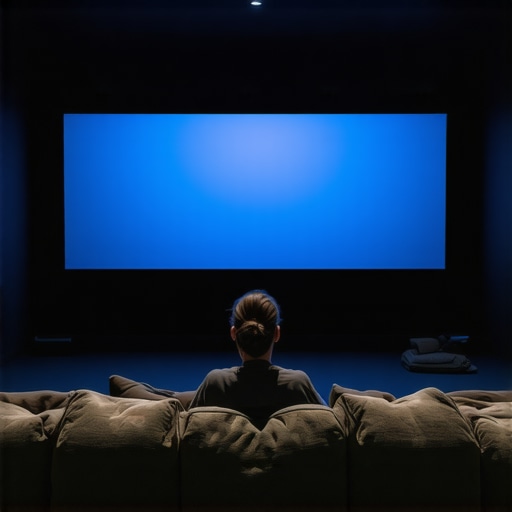
It was a rainy Saturday afternoon when I finally realized I’d been chasing the wrong size for my home theater. After upgrading to a massive 150-inch screen, my once-enthusiastic movie nights turned into a frustrating experience—images washed out, colors dulled, and the overall picture feeling less vibrant despite the larger size. I felt like I had taken two steps forward and one giant step back. That moment was a lightbulb for me: bigger isn’t always better, especially if your setup isn’t optimized.
The Real Reason Bigger Isn’t Always Better in Home Theater Screen Choices
If you’re like I was, you might think that a larger screen automatically means a more immersive experience. But in 2026, that assumption no longer holds up, particularly when considering modern ALR (ambient light rejection) screens, materials, and gain options. The challenge is finding the perfect balance between size, gain, and material quality to create a stunning picture without unwelcome compromises. This is exactly what I want to guide you through today.
Have you ever felt disappointed after investing in a larger screen, only to find your image lacking brightness or colors that don’t pop? You’re not alone. Many home theater enthusiasts make this mistake early on—trust me, I did it myself. Initially, I overlooked the importance of considering gain and room lighting, which are crucial factors influencing how effective your screen size will be.
Supporting this, a recent study highlights how ambient lighting and screen gain significantly impact perceived image quality, often more than size alone (source: Understanding projection screen gain). This kind of insight helped me realize that a 120-inch ALR screen with the right gain material could outperform a larger, less optimized 150-inch setup.
In the sections ahead, I’ll share practical tips and personal experiences on choosing the right screen size, gain, and material for your space—so you can avoid my mistakes and get the most out of your home theater investments. Ready to see how the right screen can transform your viewing experience? Let’s dive into what truly makes size matter in 2026.
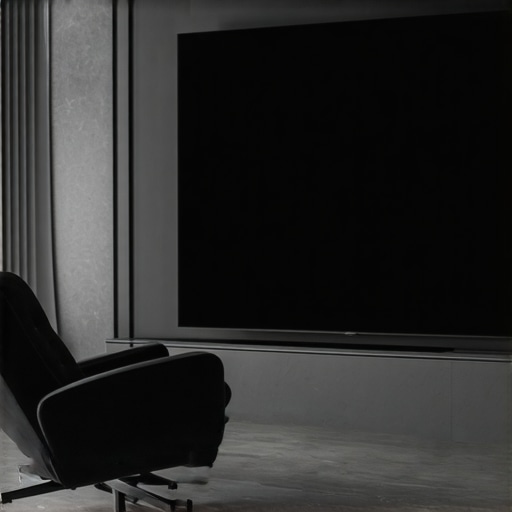
Select the Ideal Screen Size for Your Room
Begin by measuring your viewing distance accurately. For a cinematic experience, aim for a screen width that spans approximately 30% of your distance from the seating area. Use a calculator like the 2026 screen size rule (check this tool) to determine whether 120 or 150 inches fits best. I once had a setup where I purchased a 150-inch screen assuming bigger was better, but my sofa was too close, causing image distortion. Re-evaluating with the calculator saved me from a costly mistake.
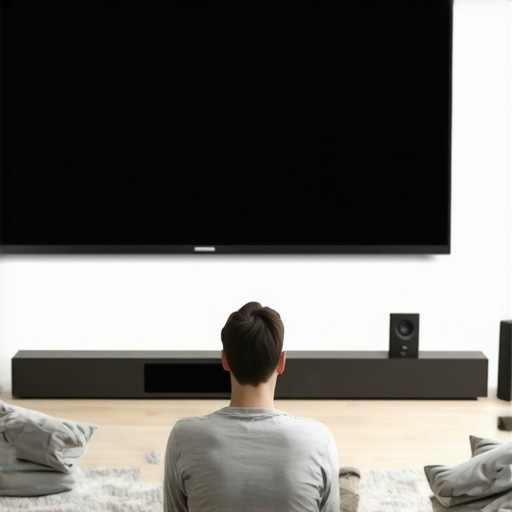
Choose the Right Projection Screen Material
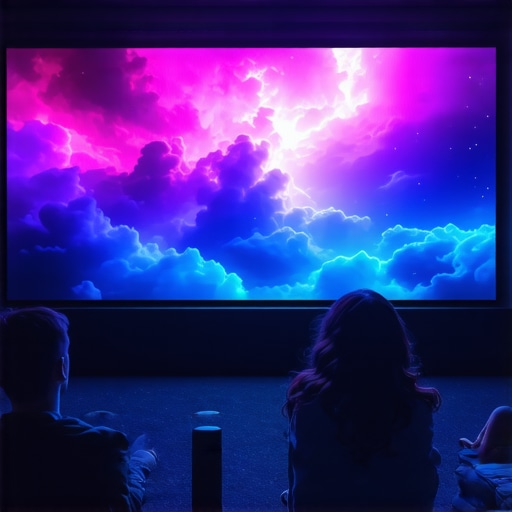
Select a material that matches your room’s lighting conditions and projector type. For bright rooms, opt for high-gain ALR (ambient light rejecting) screens to boost brightness and contrast (see options here). My experience with a woven ALR material made a marked difference in clarity, especially during daytime viewing, compared to traditional matte screens. Consider also nano-coated surfaces for easier cleaning without scratches (more details). I applied a nano-coating to my screen, which made maintenance effortless and kept image quality pristine over time.
Match Gain to Room Lighting and Projector Power
Screen gain influences brightness and viewing angles. For rooms with ambient light, aim for gain between 1.3 and 2.0—higher gain enhances brightness but narrows viewing angles (discover gain options here). In my setup, I chose a 1.5 gain ALR screen, balancing brightness and wide viewing angles, which prevented wash-out during afternoon movies. Remember, too high gain (above 2.0) can produce hotspots and reduce uniformity, so match your projector’s lumen output accordingly.
Fine-Tune Your Room for Optimal Image Quality
Controlling ambient light is crucial. Blackout curtains and dimmable lighting can significantly improve contrast on even moderate gain screens. I installed blackout curtains and optimized lighting placement, which allowed me to use a 1.5 gain screen without sacrificing image quality. Additionally, positioning your projector at the correct throw distance—using manufacturer guidelines—ensures optimal image size and focus (see projection distance tips here). I experimented with projector placement, which initially caused slight distortion, but after adjusting, the picture became crisp and aligned perfectly with the screen dimensions.
Test and Adjust Brightness and Contrast Settings
Once installed, calibrate your projector’s brightness, contrast, and color settings to match your screen’s characteristics. Use calibration tools or professional services for best results. In my case, I manually adjusted the contrast settings, noticing that minor tweaks dramatically improved color vibrancy and depth, especially with high-gain screens. Remember, a properly calibrated setup maximizes your investment and ensures the image you see is as close to cinema-quality as possible.
#When diving into high-end home theater setups, many enthusiasts focus on selecting the biggest or most popular screen material without appreciating the nuanced factors that truly define a stellar viewing experience. Most people assume that increasing gain or screen size guarantees better picture quality, but this overlooking often leads to costly mistakes and subpar image reproduction.
One common misconception is that higher gain screens always produce brighter images, which isn’t necessarily true. While a gain of 2.0 might seem ideal for daylight conditions, it can create hotspotting and uneven brightness distribution if not carefully matched with projector lumen output and room lighting. For example, an overly high gain in a room with uncontrolled ambient light can sometimes wash out detail, contrary to the popular belief that brightness is always beneficial. Instead, understanding the specific gain profile and room environment is crucial—this is explained in detail in the comprehensive guide to gain materials.
Are Higher Gain Screens Always Better in Bright Rooms?Maintaining your projection screen and related equipment is crucial to ensure long-term performance and image quality. One of the best ways to keep your screen in top condition is by using specialized cleaning tools. I personally recommend a microfiber cleaning cloth combined with a gentle, non-abrasive cleaning solution designed specifically for nano-coated surfaces. This combo effectively removes dust and smudges without damaging delicate coatings, ensuring your screen remains vibrant and clear over years of use. Additionally, a low-pressure air blower can help safely eliminate dust from hard-to-reach areas such as the edges and textured surfaces. Regularly inspecting the frame and mounting hardware is equally important; tighten loose fittings and check for warping or damage that could affect image alignment or throw off your calibration.
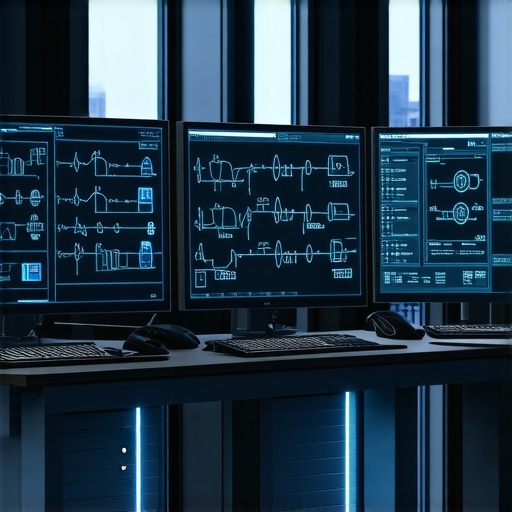
For ongoing calibration, dedicated software tools like CalMAN or DisplayCAL allow you to fine-tune your projector and screen setup with professional precision. I’ve found that employing a colorimeter like the X-Rite i1Display Pro accelerates this process, providing accurate readings to maintain consistent color fidelity and brightness. As technology advances, integrating automatic calibration systems—such as ambient light sensors coupled with dynamic tone mapping—are becoming more accessible and can help preserve optimal picture quality with minimal manual input.
Looking ahead, I predict that maintenance will become increasingly automated, with smart systems constantly monitoring your setup’s health and making real-time adjustments. This not only simplifies long-term upkeep but also ensures consistently stunning visuals.
**How do I keep my projection screen performing well over time?** Regular cleaning with the right tools, periodic calibration, and proactive hardware inspections are key. It’s especially advisable to follow manufacturer recommendations and verify your cleaning solutions are compatible with your specific screen material. For nano-coated surfaces, avoiding harsh chemicals and abrasive tools is essential—using a microfiber cloth in combination with a dedicated cleaner will prolong the life of your investment. Remember, a well-maintained screen not only looks better but also extends its lifespan, saving you money and frustration.
Don’t hesitate to experiment with tools like automatic calibration sensors—they can be transformative in maintaining picture quality with minimal effort. Keeping your setup in peak condition is part of the joy of a true home theater experience.
The Unexpected Lessons That Changed My Perspective on Screen Selection
One of the most powerful realizations I encountered was that bigger isn’t always better—especially if your setup isn’t tailored to leverage that size. I learned this the hard way when my pursuit of larger screens led to washed-out images and dull colors, proving that understanding your room’s lighting, gain preferences, and projector capabilities is crucial.
Another insight was how often enthusiasts overlook the importance of screen material quality and gain matching. A high-gain ALR screen, for example, can dramatically improve daytime viewing experiences, but only if its gain aligns with your projector’s lumen output and ambient light conditions. This nuanced understanding can make or break the immersive feel you’re aiming for.
Finally, I discovered that maintenance and calibration are ongoing processes. Utilizing tools like professional calibration software and gentle cleaning methods not only preserve image quality but also extend the lifespan of your investment, ensuring every movie night remains a feast for the senses.
![5 Screen Size Mistakes That Ruin 8K Clarity [2026]](https://screens.cinegearguide.com/wp-content/uploads/2026/01/5-Screen-Size-Mistakes-That-Ruin-8K-Clarity-2026.jpeg)
Reading this post really resonated with my own experience of upgrading to a larger screen only to be disappointed by the image quality. It’s interesting how much room lighting, gain, and material choices impact the overall picture, often more than size alone. I’ve found that investing in a high-gain ALR screen made a huge difference for daytime viewing in my bright living room, but I had to be careful to match it properly with my projector’s lumen output to avoid hotspots or washed-out areas. The part about calibration really struck a chord—I used calibration tools like the X-Rite i1Display Pro and seen how key proper settings are for vibrant colors and deep contrast. It makes me wonder, how many home theater setups fail to consider the importance of ongoing calibration and maintenance? I’d love to hear others’ tips on keeping their screens in top condition long-term, especially for those who use high-gain materials.