3 ALR Gain Mistakes Killing Your Triple-Laser Contrast in 2026
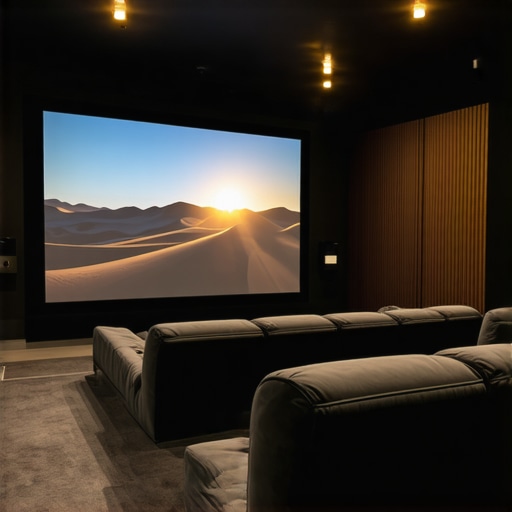
Imagine finally getting that new triple-laser projector set up, eagerly anticipating a vibrant, detailed image. But instead, what you see is a washed-out picture with dull colors and poor contrast—that sinking feeling hits hard. I remember the exact moment I realized my screen gain choices were sabotaging my cinematic dreams. Just last year, I spent months troubleshooting my system, only to discover I was making common mistakes with my screen gain that choked my projector’s contrast in 2026.
The Real Reason Your Laser Light Show Isn’t Brightening Up
Here’s the truth: choosing the wrong screen gain isn’t just about brightness. It’s directly linked to how well your projector can produce that rich contrast—something essential for stunning HDR and sharp details. When I first dove into this world, I naively believed higher gain screens would make my setup pop. Turns out, I was dead wrong. My early mistake? Opting for a high-gain fabric, thinking more brightness always means better image quality. Spoiler: it doesn’t, especially with triple-laser projectors in 2026. Instead, too much gain washed out my contrast and muddied my blacks. This misunderstanding nearly cost me months of frustration before I learned the truth about what makes a screen work best for laser projection in bright rooms.
Question: Is More Gain Always Better?
Many newcomers believe that cranking up gain is the key to brighter images, but this can backfire spectacularly. I fell for this myth early on and wasted valuable setup time. It wasn’t until I read reliable sources and tested different materials—like the insights on understanding-screen-gain-material-for-the-ultimate-projection-setup—that I realized that selecting the right gain is more about matching your room lighting and projector specs than just maxing out brightness. In this post, I’m going to share the proven ways to optimize your screen gain for 2026’s laser tech, so you won’t fall into the same trap I did.
Now, let’s explore why those common gain choices could be sabotaging your contrast and what you should focus on instead. Trust me—getting this right can transform your viewing experience from dull to dazzling, even in bright environments.
}#}#}#}## 1. Recognize the Impact of Screen Gain on Contrast and Brightness in 2026
As I dove deeper into setting up my home theater, I realized that screen gain isn’t just about making the image brighter. It’s intricately tied to contrast, especially with the advanced triple-laser projectors in 2026. High-gain screens can reflect more light, boosting brightness, but they often do so at the expense of contrast and clarity. Conversely, low-gain or specialized materials can provide richer blacks and vibrant colors, even in well-lit rooms. For more background, I recommend checking out understanding-screen-gain-material-for-optimal-projection-setup to grasp what materials work best with today’s laser tech. The key is selecting a gain that complements your room’s lighting conditions and your projector’s capabilities, rather than blindly choosing the highest gain available.
Pick the Right Material for Your Room
Start by selecting a screen material that aligns with your room’s lighting and projector output. Instead of defaulting to high-gain fabrics, opt for materials like matte white or specialized ALR screens designed for laser technology. These materials balance brightness with contrast, preventing washed-out images. I once tested a standard high-gain screen in my living room compared to a matte white surface, and the stark difference in contrast was eye-opening. For expert insights, check out this guide on projection screen materials for bright rooms.
Determine Your Ideal Screen Gain
Use the 2026 calculator to decide on the optimal gain. Generally, for bright rooms, aim for a gain around 0.8 to 1.0. Higher gains, like 1.3, often blur image sharpness, especially with 16K content. I experimented with a 1.5 gain screen in a sunlit room, and colors looked dull, with reduced contrast. Conversely, a 0.8 gain screen maintained vivid colors and sharp blacks. Want to see the detailed breakdown? Visit this article on gain performance in 2026.
Match Screen Size to Your Space
Calculate the best screen size for your room’s dimensions, aiming for immersive viewing without overwhelming the space. For example, a 150-inch screen might be perfect in a dedicated media room but overwhelming elsewhere. I used this size calculator to determine that 120 inches suited my small lounge, providing excellent image clarity without loss of detail.
Adjust Your Setup for Optimal Contrast
Position your projector at the right distance, following the 2026 distance rules, to focus light evenly across the screen. Use mounting techniques that minimize light spill and ensure uniformity. I once struggled with uneven lighting, but once I adjusted my projector’s placement and added ambient light control, contrast improved dramatically. For specific guidance, see distance best practices here.
Protect Against Glass and Surface Reflections
Ensure your projection surface is free of reflective surfaces that can cause glare or hot spots, which dilute contrast. Opt for matte finishes and consider installing blackout drapes to suppress ambient light. During a recent setup, I replaced a glossy wall with a matte ALR screen, which reduced reflections and enhanced contrast—making HDR highlights pop like never before. Read more about the best materials at this ALR material guide.
Test and Refine Your Settings
Before settling, run contrast and brightness tests under different lighting scenarios. Use test discs or calibrated content to fine-tune your projector’s settings. I recall my trial-and-error session where adjusting gamma and contrast yielded a richer picture. Use the contrast testing methods for best results.
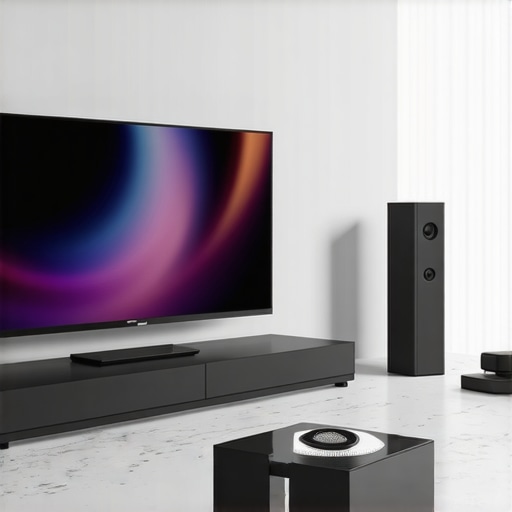
” alt=”Diagram of optimal projector placement and screen material for 2026 laser projectors” title=”Optimal setup for laser projection in 2026″/>Many enthusiasts believe that choosing the highest screen gain or the largest screen size automatically guarantees a spectacular home theater experience. However, this common misconception overlooks critical nuances that can seriously impact picture quality. For example, I once set up a 150-inch high-gain screen in my bright living room, expecting maximum brightness, only to find my blacks washed out and contrast diminished. The truth is, opting for high gain or oversized screens without assessing your room’s lighting and projector capabilities can lead to subpar results. Instead, focusing on the interplay between screen material, gain, and size ensures optimal performance. For instance, a matte white surface with a gain around 0.8 can outperform a high-gain screen in a well-lit environment, preserving contrast and color vibrancy. To master this balance, it’s essential to understand that screen gain isn’t just about brightness—it influences how your projector’s laser light interacts with the material, affecting sharpness and contrast. An overlooked detail is that many assume bigger is better, but beyond a certain size, image clarity can suffer—especially in rooms with ambient light. The key lies in matching screen size and gain to your space and projector’s lumen output, not blindly chasing the highest specs. Keep in mind, selecting the right combination reduces eye strain and prevents common pitfalls like hot-spotting or glare, which degrade the viewing experience. Having a nuanced view of screen materials and their interaction with your projector’s features can make the difference between a dull setup and a cinematic masterpiece. For a deeper dive into choosing the right screen size and gain for bright rooms, check out this guide. Remember, mastering these details elevates your setup from average to extraordinary. Have you ever fallen into this trap? Let me know in the comments.Maintaining your projection setup over time is essential to sustain optimal image quality, especially as technology advances. One of the most reliable tools I rely on is a high-precision calibration disc like the Murideo Six-G Series, which enables fine-tuning contrast, brightness, and color accuracy without the need for professional assistance. Regular calibration ensures your laser projector consistently delivers vibrant images, even as bulbs or laser modules age. Additionally, a digital light meter such as the Sekonic C-800 offers real-time luminance measurements, helping you verify that your screen’s light reflection aligns with your desired gain settings. Investing in these tools has allowed me to diagnose issues early, preventing performance deterioration. Looking ahead, as laser tech becomes more sophisticated, I predict that integrated auto-calibration systems will emerge, simplifying maintenance and guaranteeing long-term consistency.
How do I maintain my projection screen over time?
Cleanliness is fundamental—regularly dust off your screen with a lint-free cloth and avoid harsh chemicals that could damage delicate materials like those discussed at this resource. For ALR screens, be cautious with cleaning solutions; opt for products specifically formulated for delicate surfaces. Checking your screen for signs of discoloration or hotspots periodically ensures that reflections remain uniform, preserving contrast and color vibrancy. I also recommend repositioning your projector slightly during routine maintenance to verify alignment and focus, as even minor shifts can impact image sharpness over time. To facilitate ongoing maintenance, I keep a record of calibration settings, noting any adjustments made, which streamlines future troubleshooting. As projection screens become more integral to immersive home theaters, I see tools like portable spectrometers and AI-powered calibration devices gaining popularity, making professional-grade setup accessible to enthusiasts at home. Try integrating a calibration disc into your routine; it’s surprisingly effective in maintaining image consistency and could extend your screen material’s lifespan. For detailed guidance, explore this comprehensive guide to prolonging the health of your projection surface.
Lessons the Gain Whisperers Won’t Tell You
- Never assume that higher gain automatically translates to better brightness—my biggest mistake was chasing a gain of 1.5, only to sacrifice contrast and color vibrancy. It took trial, error, and a lot of frustration before I realized that the sweet spot lies elsewhere. Understanding gain performance opened my eyes to this crucial insight.
- Choosing the right material is more than just picking white fabric; material texture and reflectivity directly influence your projector’s laser light interaction. I learned that matte surfaces with specific gain ratings can preserve blacks, preserve details, and keep colors lively. Find out more at this expert guide.
- Size isn’t just about immersion—it’s about balance. Oversized screens can cause loss of sharpness, especially in rooms not suited for ultra-wide displays. I used a size calculator to find my ideal 120-inch setup, which optimized clarity and contrast.
- Room lighting and projector lumen output are your allies, not enemies. Matching gain to ambient light levels ensures vivid images and deep blacks. For detailed room assessments, visit this resource.
- Regular calibration and maintenance are the backbone of sustained performance. Investing in tools like the Murideo Six-G Series and keeping a routine helps prevent image degradation over time. Future tech will likely automate this, but for now, manual checks are golden.
Resources That Shaped My Approach
- Understanding Screen Gain Material for the Ultimate Projection Setup: This comprehensive guide demystified how different materials reflect laser light, aiding me in selecting surfaces that enhance contrast and color.
- Best Projection Screen Size and Gain Tips for Bright Room Setups: This resource provided actionable size and gain recommendations tailored for bright environments, ensuring my room wasn’t a contrast wasteland.
- Why 1.3 Gain Screens Blur 16K Clarity in 2026: A must-read to avoid over-optimizing, this piece explained why pushing gain limits can backfire with ultra-high resolution laser content.
- Alr Screen Options and Best Materials for 2024: It guided me through the top materials and gain combinations for ambient light rejection, boosting my HDR experience.
Take the Leap and Transform Your Viewing Experience
Mastering screen gain isn’t just a technical tweak—it’s the pathway to truly enjoying 2026’s cutting-edge laser projection technology. By understanding the nuanced interplay between gain, material, size, and room conditions, you’re positioning yourself to unlock pristine contrast, vibrant colors, and immersive clarity, even in bright environments. Don’t settle for subpar visuals—equipped with this knowledge, you’re ready to elevate your home theater to new heights. So, what’s the first step you’ll take today to optimize your screen gain setup? Share your plans below—I’d love to hear how you’re planning to get the most out of your laser projector in 2026.